I am now working on my second ever wooden ship (boat) build. My first build was the Grand Banks Dory, part of the Shipwright of Old trio.
I started about 4 weeks ago. Three weeks ago I had a hip transplant, which delayed further progress. I can finally sit for more than 10 minutes at my work table.
I am trying to apply what I learned during the Dory build, and from reading other Pram build logs.
Lesson One: Sand, seal, sand, seal,... We will see how well I did with sanding and sealing when I finally apply paint.
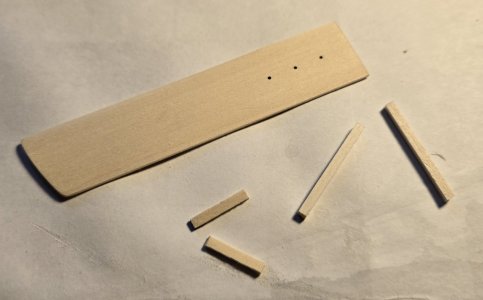
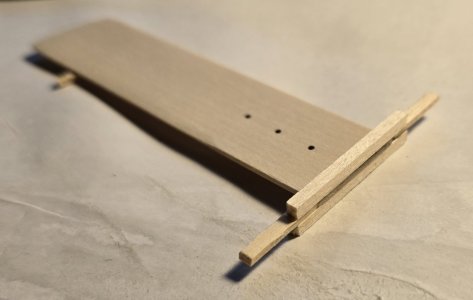
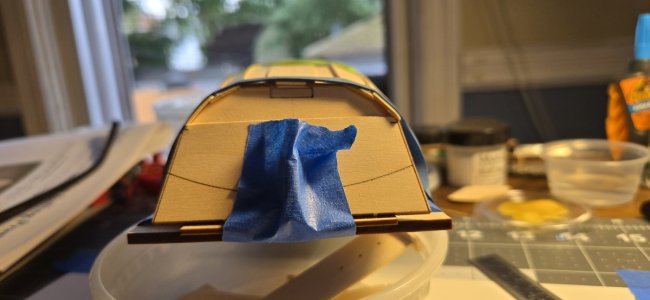
I added the bow and transom knees, and aligned and attached the upper transom. Pretty confident I was able square them up well.
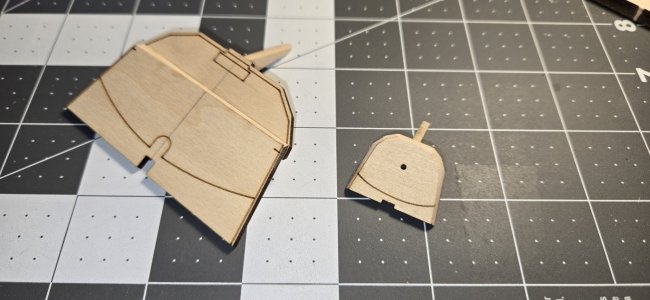
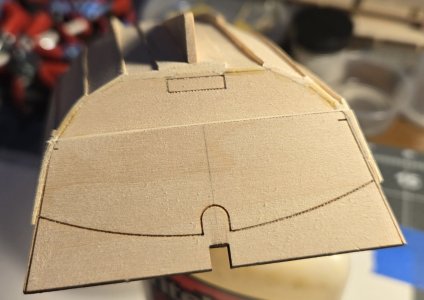
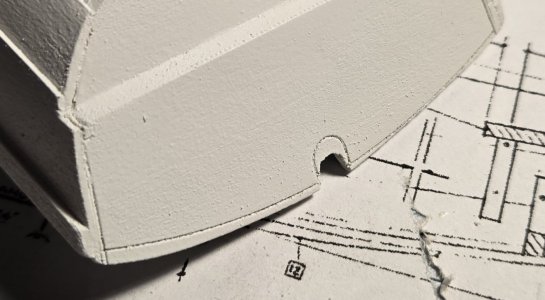
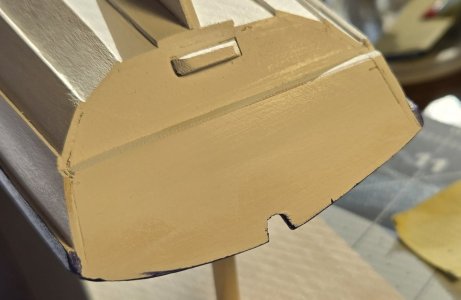
Next up was beveling the edges. I made the cuts around the center tab at the bottom of the transom, per instructions. Further comment on that later.
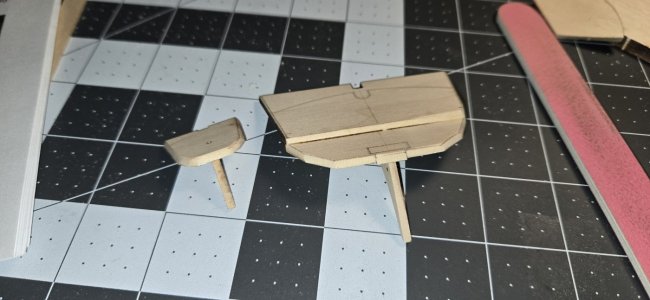
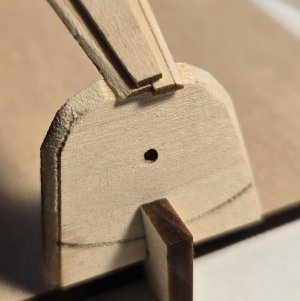
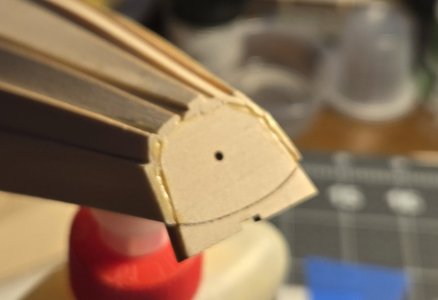
I eased the edges of the knees, and drilled through the hole in the bow through the bow knee.
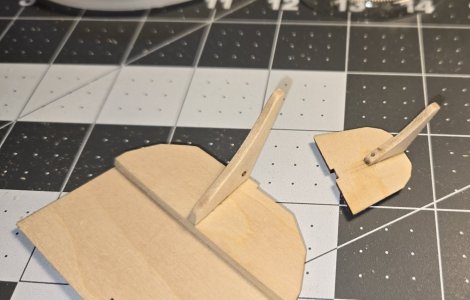
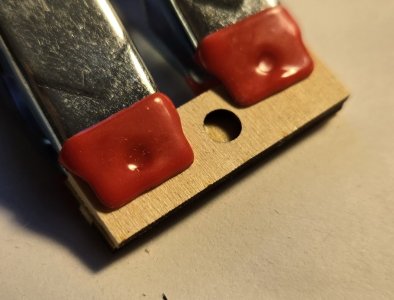
It took three tries to finish drilling out the hole through the bow knee. As gently as I went I split the knee twice. Each time repaired with CA. Will probably need to consider some sort of backing or jig for any future such efforts.
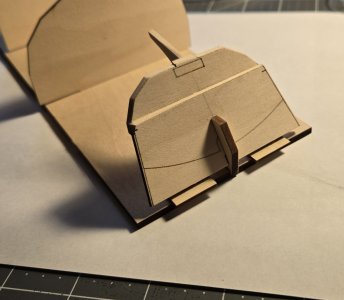
I set up the Building Board, per instructions, and placed the bow and transom.
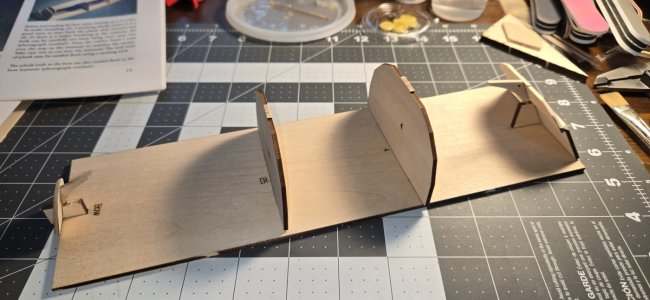
Since the transom brace is NOT glued in place the transom wobbled, making planking alignment an issue.
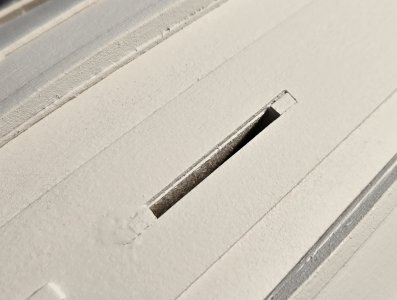
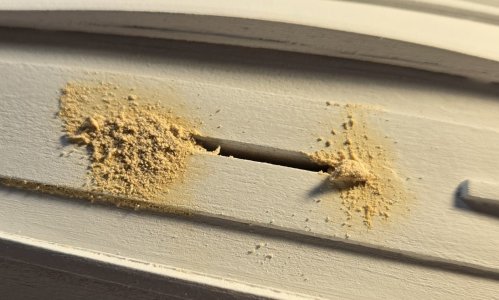
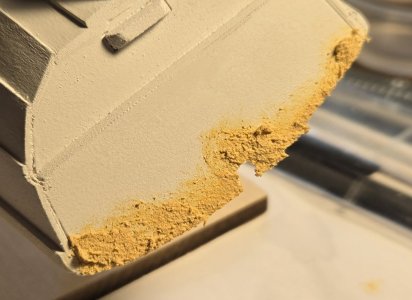
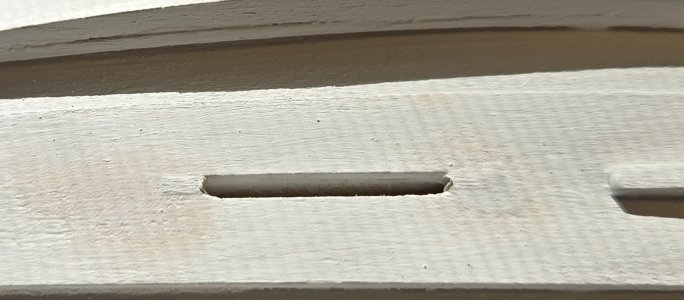
UPDATE: An issue I had with the building board was the misalignment of the two forms. First, the tabs of the forms were longer than the slots in the board. I had to judiciously sand down the ends, slowly and evenly, to make the boards fit. Snugly. Second, the boards did not stand square. To remedy this I sued a file to sand one top edge and the opposite lower edge of the slot. Using the above image, form 25 is leaning aft. To help it align vertical I sanded down the top long edge on the bow side, and the bottom edge on the stern side. That allowed me to align the forms vertically without opening the slot too much. The snug fit from right to left helps keep the form in place.
I glued two spacers (left over from the Dory build) to the building board to fill in the gap and steady the transom. Not perfect, but it helped.
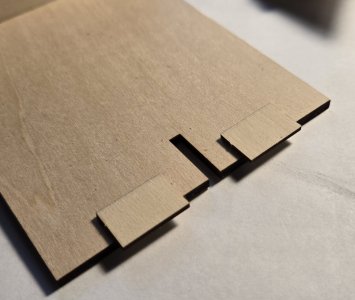
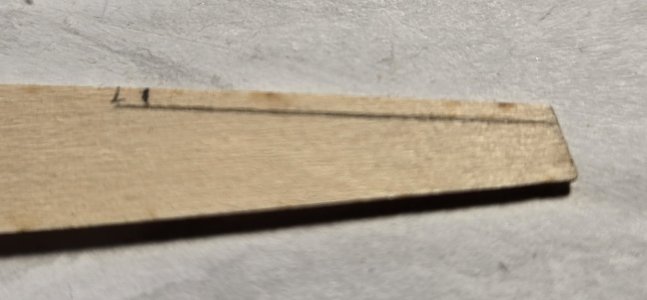
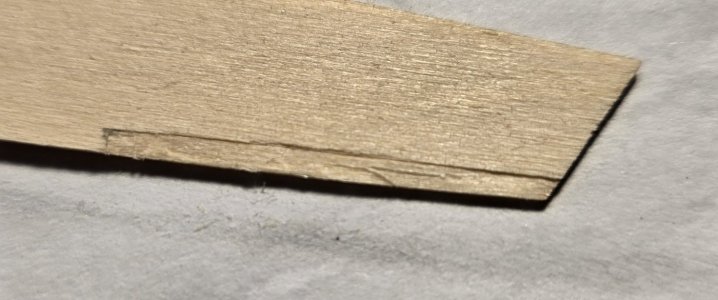
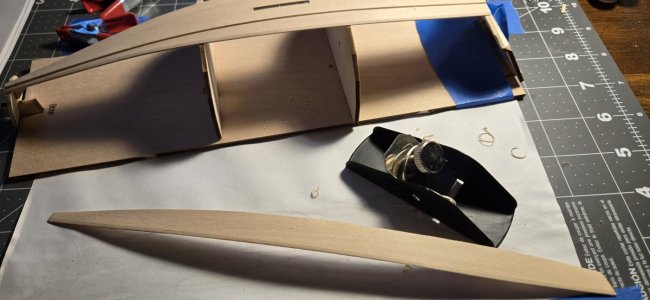
Time to bevel the outboard edges of the bottom planks.
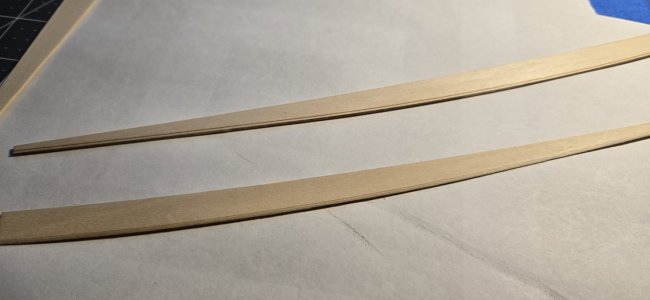
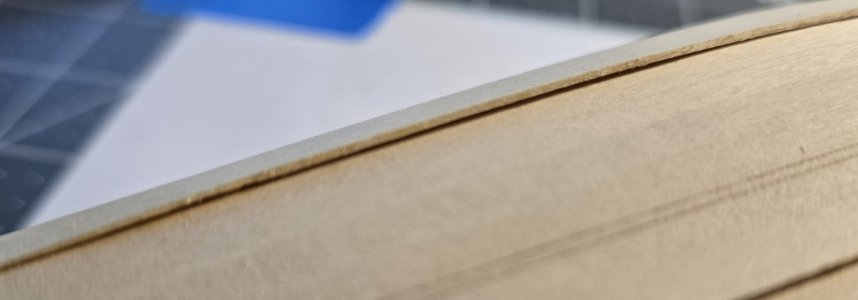
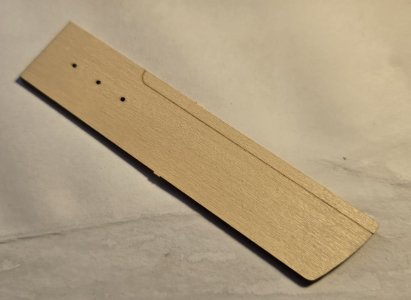
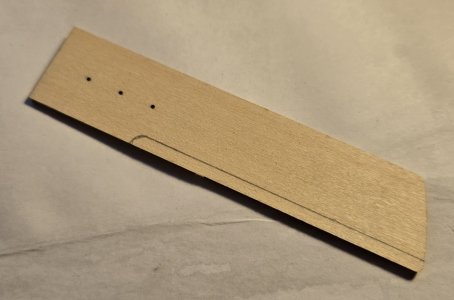
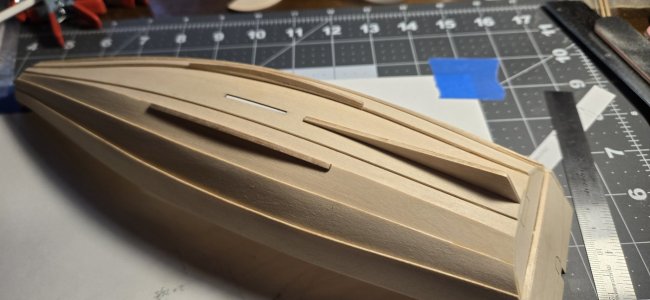
The top planks has not been beveled, the lower planks beveled.
I next soaked the bottom planks in hot water for about ten minutes, then formed them on the building board.
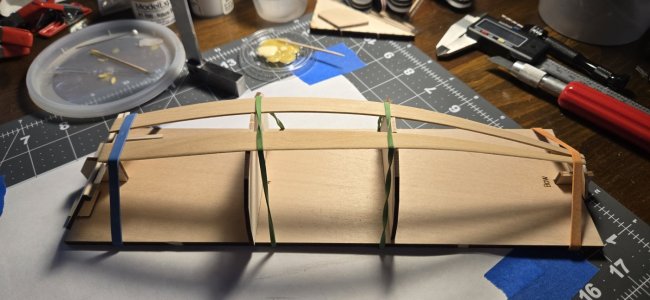
Following the instructions to have the fore ends of the bottom planks touching, with a slight overhang at the stern, I left the bottom planks to dry.
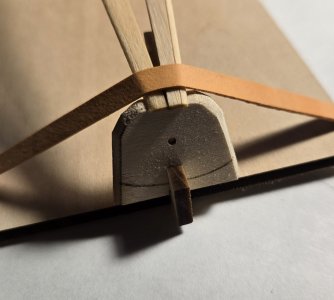
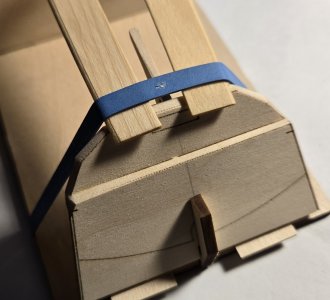
Once the bottom planks were dry, I sanded both sides of each plank with progressively finer sanding boards, until they were very smooth to the touch. Each were then sealed, and held to the building board again, to ensure they maintained their bend. I repeated the sanding and sealing one more time, then one final sanding with a 220/240 sanding board. Once finally dry, I glued the two boards to the stem and transom.
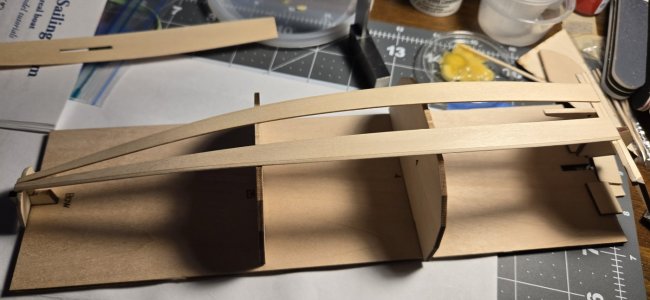
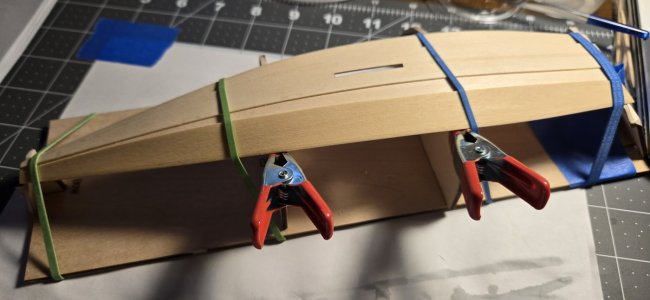
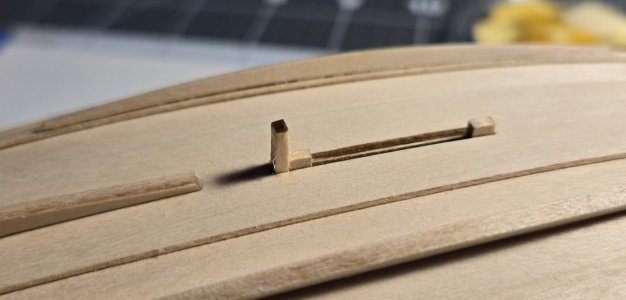
UPDATE: Due to there being some spring in the bottom planks, still, the transom and its brace kept popping out of its slot. To remedy, I placed clamps at the end of the board, effectively wedging in the transom and its brace. To maintain the alignment of the stern knee to where the keel plank would lay (I forgot to take a picture) I clamped a toothpick (cocktail stick) to the inboard side of the transom. About 3/4" to 1" stood up above the bottom planks. Using a rubber band around the toothpick, and pulling it sternward, I used it as a lever to align the transom to the point where the bottom of the knee was level with the bottoms of the bottom planks.
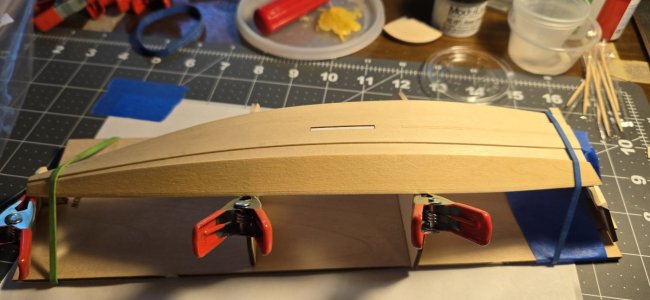
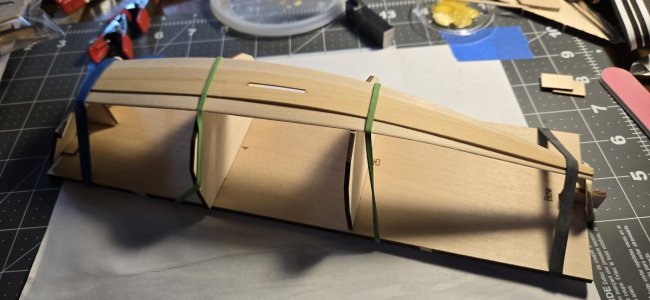
I repeated the soaking, sanding, and sealing process to the keel plank, and secured it to the building board to dry.
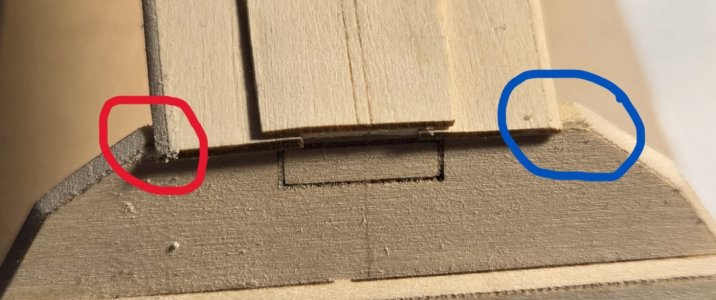
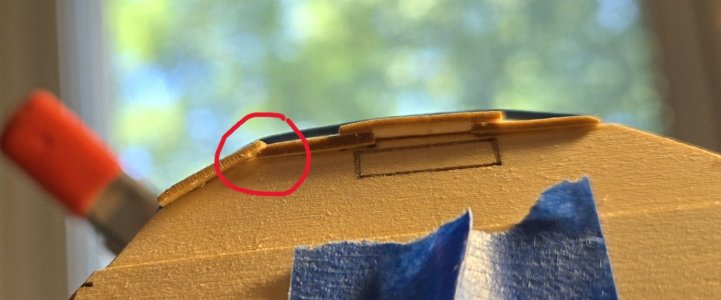
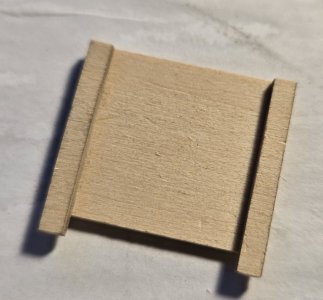
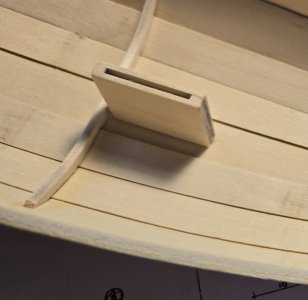
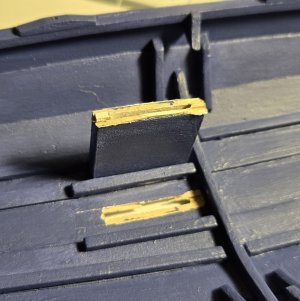
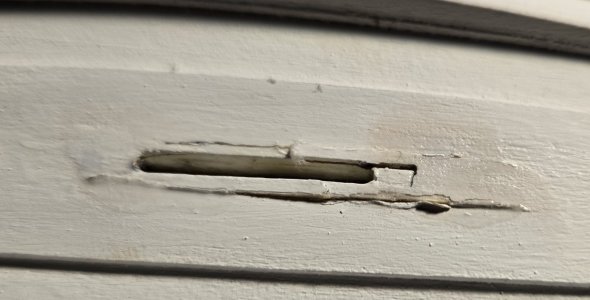
An issue I noted in several Pram builds was the gap between the keel plank and the bottom of the transom. I do not know if the tab at the bottom of the transom is too short, or it was beveled too much. I cut a shim from the scrap wood from the planking sheet, to fit the width of the gap, and as deep as the transom front to back, and glued in place. I believe once the pad is placed for the lower gudgeon, the shim should be invisible.
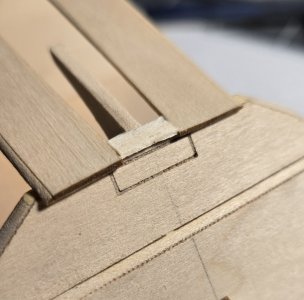
Before I glue down the keel plank, I will sand the shim flush to the surface of the bottom planks. When I trim the aft ends of the bottom and keel planks the shim will get sanded flush with the ends of the planks and transom.
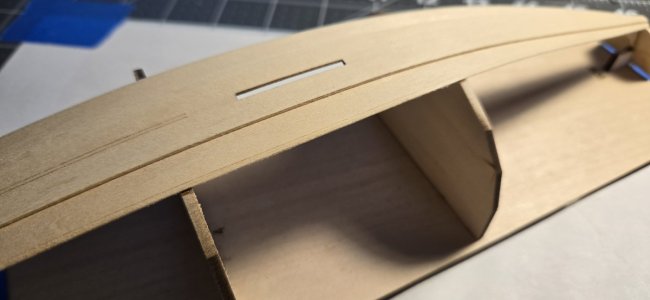
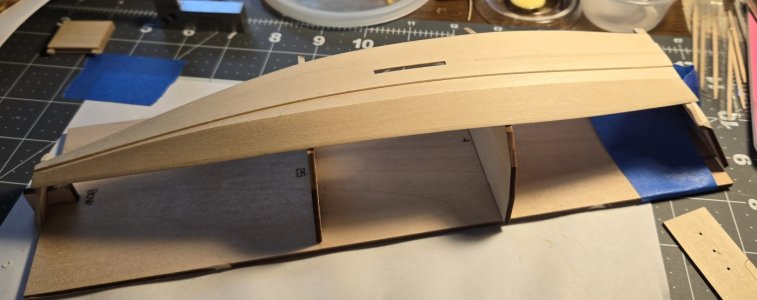
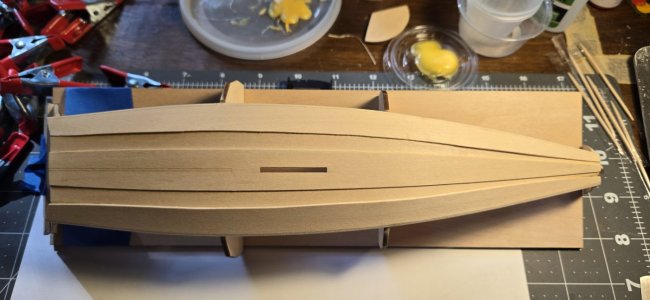
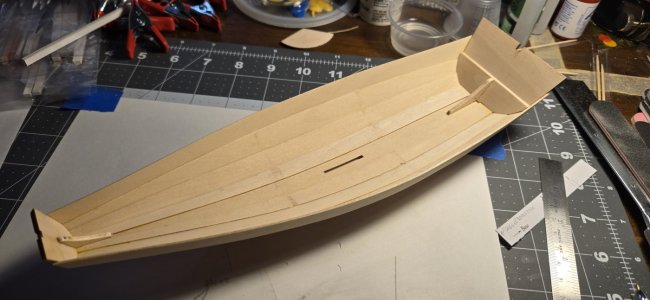
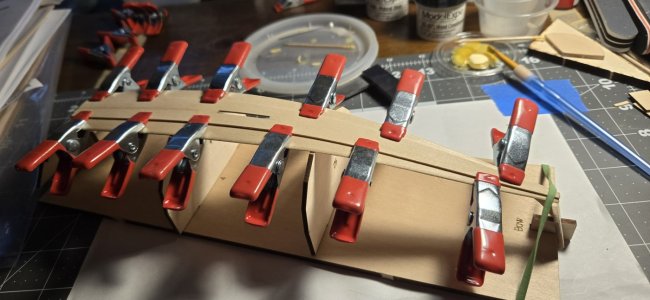
The keel plank glued to the bottom planks.
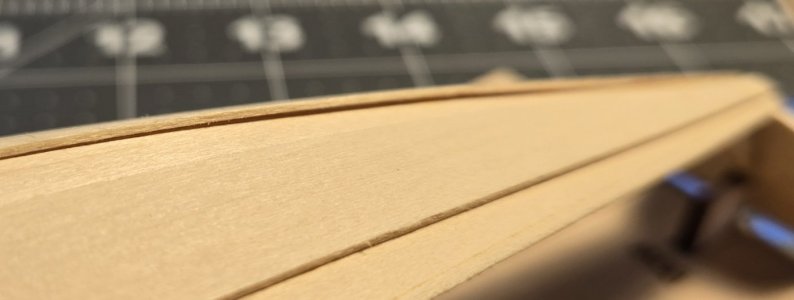
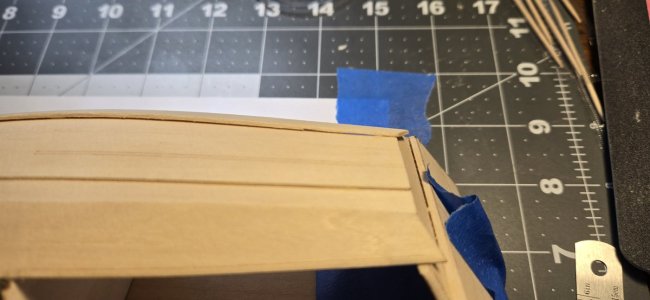
With the keel plank drying, you can see how the shim fills the gap between the transom tab and the plank.
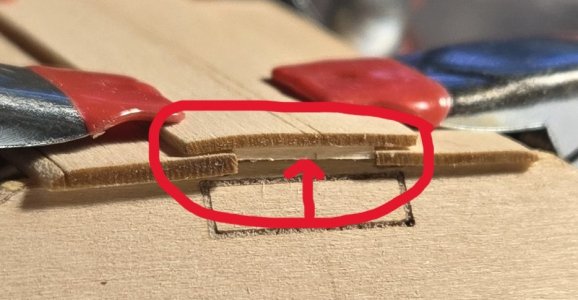
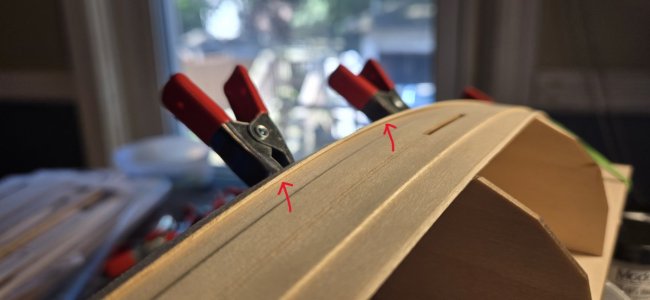
I thought I had sanded the shim enough. The warp of the keel plank says otherwise. I think a little filler may be in store once the outboard transom has been finished flush.
This weekend I will start the rest of the planking.
The metal fabricating will have to wait until my hip heals a bit more. I need to clear all of the auto parts and associated sundry from my work bench. I am currently using a portable work table in my dining room. Not enough room to work with soldering irons and such.
I started about 4 weeks ago. Three weeks ago I had a hip transplant, which delayed further progress. I can finally sit for more than 10 minutes at my work table.
I am trying to apply what I learned during the Dory build, and from reading other Pram build logs.
Lesson One: Sand, seal, sand, seal,... We will see how well I did with sanding and sealing when I finally apply paint.
I added the bow and transom knees, and aligned and attached the upper transom. Pretty confident I was able square them up well.

Next up was beveling the edges. I made the cuts around the center tab at the bottom of the transom, per instructions. Further comment on that later.

I eased the edges of the knees, and drilled through the hole in the bow through the bow knee.

It took three tries to finish drilling out the hole through the bow knee. As gently as I went I split the knee twice. Each time repaired with CA. Will probably need to consider some sort of backing or jig for any future such efforts.
I set up the Building Board, per instructions, and placed the bow and transom.

Since the transom brace is NOT glued in place the transom wobbled, making planking alignment an issue.
UPDATE: An issue I had with the building board was the misalignment of the two forms. First, the tabs of the forms were longer than the slots in the board. I had to judiciously sand down the ends, slowly and evenly, to make the boards fit. Snugly. Second, the boards did not stand square. To remedy this I sued a file to sand one top edge and the opposite lower edge of the slot. Using the above image, form 25 is leaning aft. To help it align vertical I sanded down the top long edge on the bow side, and the bottom edge on the stern side. That allowed me to align the forms vertically without opening the slot too much. The snug fit from right to left helps keep the form in place.
I glued two spacers (left over from the Dory build) to the building board to fill in the gap and steady the transom. Not perfect, but it helped.


Time to bevel the outboard edges of the bottom planks.

The top planks has not been beveled, the lower planks beveled.
I next soaked the bottom planks in hot water for about ten minutes, then formed them on the building board.

Following the instructions to have the fore ends of the bottom planks touching, with a slight overhang at the stern, I left the bottom planks to dry.


Once the bottom planks were dry, I sanded both sides of each plank with progressively finer sanding boards, until they were very smooth to the touch. Each were then sealed, and held to the building board again, to ensure they maintained their bend. I repeated the sanding and sealing one more time, then one final sanding with a 220/240 sanding board. Once finally dry, I glued the two boards to the stem and transom.

UPDATE: Due to there being some spring in the bottom planks, still, the transom and its brace kept popping out of its slot. To remedy, I placed clamps at the end of the board, effectively wedging in the transom and its brace. To maintain the alignment of the stern knee to where the keel plank would lay (I forgot to take a picture) I clamped a toothpick (cocktail stick) to the inboard side of the transom. About 3/4" to 1" stood up above the bottom planks. Using a rubber band around the toothpick, and pulling it sternward, I used it as a lever to align the transom to the point where the bottom of the knee was level with the bottoms of the bottom planks.
I repeated the soaking, sanding, and sealing process to the keel plank, and secured it to the building board to dry.

An issue I noted in several Pram builds was the gap between the keel plank and the bottom of the transom. I do not know if the tab at the bottom of the transom is too short, or it was beveled too much. I cut a shim from the scrap wood from the planking sheet, to fit the width of the gap, and as deep as the transom front to back, and glued in place. I believe once the pad is placed for the lower gudgeon, the shim should be invisible.

Before I glue down the keel plank, I will sand the shim flush to the surface of the bottom planks. When I trim the aft ends of the bottom and keel planks the shim will get sanded flush with the ends of the planks and transom.
The keel plank glued to the bottom planks.

With the keel plank drying, you can see how the shim fills the gap between the transom tab and the plank.

I thought I had sanded the shim enough. The warp of the keel plank says otherwise. I think a little filler may be in store once the outboard transom has been finished flush.
This weekend I will start the rest of the planking.
The metal fabricating will have to wait until my hip heals a bit more. I need to clear all of the auto parts and associated sundry from my work bench. I am currently using a portable work table in my dining room. Not enough room to work with soldering irons and such.
Last edited:


