OCCRE Golden Hind - beginner (have a few questions)

Joined
Nov 24, 2023
Messages
8
Points
43

Location
Leiden area
Hi all,

I live in the Netherlans and I am new to building wooden ship models. In te past however, I have done many other model builds.
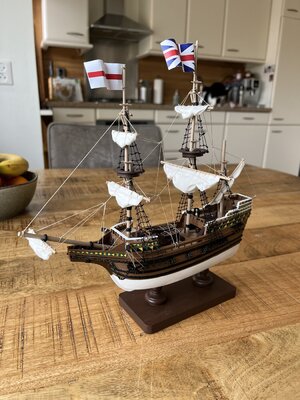
This year I started my very first kit: a beginners kit from Amati (see below). My goal is to one time build "De Zeven Provinciën" from Kolderstok.
For now I want to improve my skills and I started the Golden Hind from OCCRE

IMG_0463.jpg


Golden Hind Build
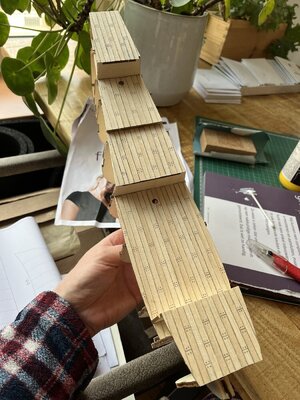
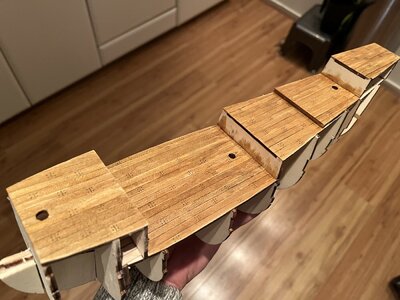
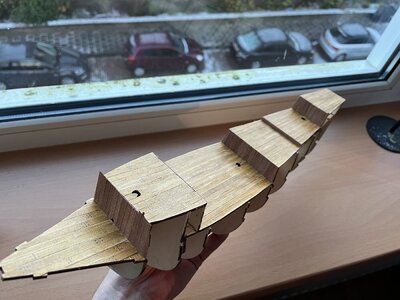
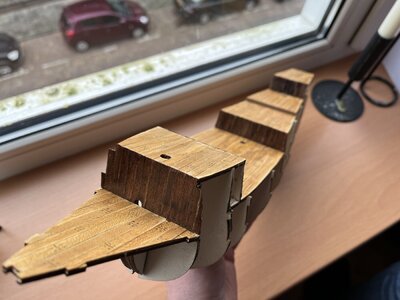
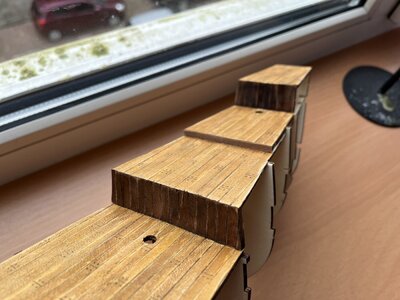
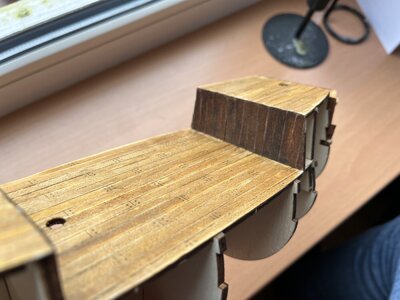
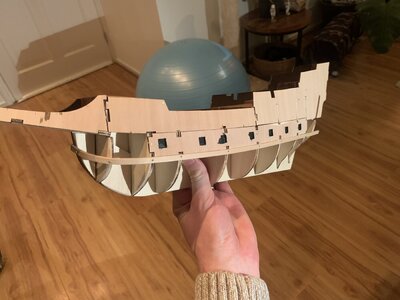
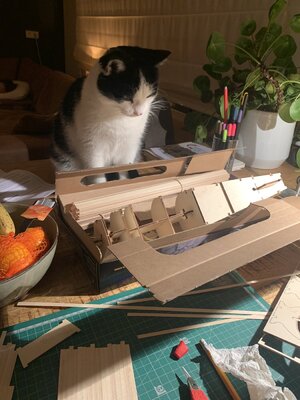
So I started with the frame and decks.
IMG_1745.jpg
IMG_0499.jpg
My first question to you guys: do I need to varnish this deck? I also bought the paint kit that OCCRE sells and it includes their satin varnish (https://occre.com/en/products/barniz-satinado-100-ml). I am affraid the deck will become to shiny, do you guys have any advice?

Many thanks already and groeten uit Holland.
 
Hi. The deck will not shine because you have a satin varnish, otherwise medium or semi-gloss. I hate shiny wood but satin is ok. I use it for everything. Before you apply varnish, I recommend using some light stain, it will completely change the deck, unless you prefer light Occre wood.
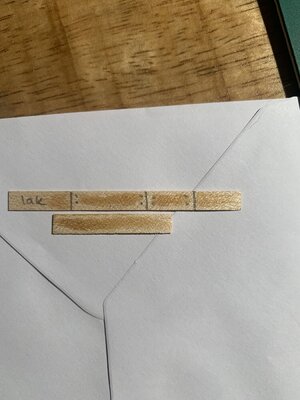
Before you apply anything, make a pattern - a piece of each strip and apply varnish, stain or even paint.
 
First I apply a pore plug acrylic to water, let it dry and litter with fine sandpaper. Then I apply matte colorless varnish, also water. In fact, this is the treatment I use for the entire ship.
 
Do you mean something like this when you are talking about making a pattern? By not staining the entire strip?

EFABACBC-CBB9-4DA9-A17D-48B7C090B08B.jpeg
 
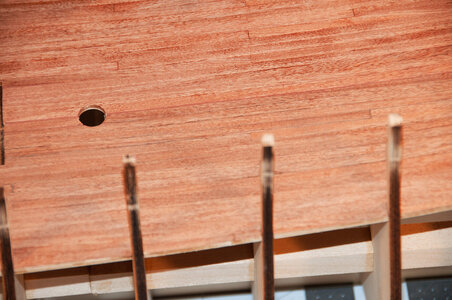
Personally, I prefer a bit darker wood for the deck but that is my preference only. I apply a matte or satin brushing lacquer to the deck at the stage you are at. You won't be able to apply finish later. One thing - whatever your choice of finish is, try it on scraps of wood first to see what you think. The image I am adding here has brushing lacquer on the deck

Nuestra_84.jpg
 
Do you mean something like this when you are talking about making a pattern? By not staining the entire strip?
You can't make a pattern with varnish.
You can only do this with light stain. A very small amount of light stain, practically wiped dry brush.

Apply the varnish only at the end. If you want to leave this color of the wood, just apply varnish.
Before you put anything on your ship, test it first.
 
I have tried to make a pattern with pine stain. During the process I was hoping not to ruin the deck. The result is not too bad, gives way more character to the decks than just applying varnish on the light wood. Thank you very much for the suggestions and tips.
B045961C-F094-4DE4-891D-7325D9412D69.jpeg
 
Sometimes to learn something, you need to break something. Now is not the time yet. It's good work.
 
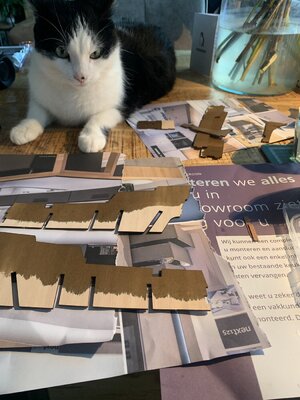
Small update, finished the planking 'on the inside'.
IMG_0523.jpg
After that I decided to also create pattern on this wood:
IMG_0525.jpg
IMG_0527.jpg
IMG_0526.jpg

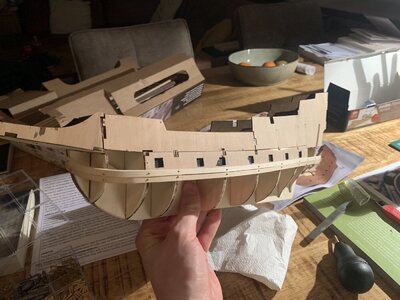
Now preparing the precut parts for the hull:
IMG_2192.jpg

After attaching these parts the planking can begin. Do you guys have any tips for this? Maybe some links to video's that explain this pretty well?
I do have the manual plank bender, do you guys recommend the electric (heated) plank bender?
 
I definitely recommend an electric plank bender, specially for beginners. When you start out building, you don't have a good feel for how to support a wet plank while you bend it, and how far you can bend a wet plank before it breaks. Breaking a lot of planks on your first ship model is very discouraging, and plank bending is a risky thing for beginners. If you soak the planks wet, then carefully press them into a concave form, then apply heat with an electric plank bending iron, you have a great chance of making bent planks without breakage. The heated planks hold their new shape better than planks that are wet, pressed into a form, and then let dry naturally, plus you can get sharper curvatures using the electric heater.

The trick when pressing the plank into the concave form is to support the plank along as much of the planks surface as you can using your fingers. Applying pressure only in the center of the plank with one finger will snap it for sure. You can us clamps to hold the plank along the entre length of the bend in the form and allow it to dry naturally, or use the electric plank bender to press the wood into the form. When using the electric planks heater, press and hold the heater end only as long as it takes to generate steam, and then roll the bender along the length of the plank over the wetted portions until the curve is made. Do not hold the heater to the wood too long, or the water in the wood will evaporate and then the wood will begin to scorch. If you boil away too much water, and the plank dry to the point of scorching the wood, the plank will become very brittle and may break under the slightest bend. Practice with a few scrap strips until you get a feel for how much heat to apply.

To achieve a slight twist in a plank in addition to a curve, which is needed for some planks at the bow half way down to the keel and further down, place the wet strip at an angle relative to the axis of curvature in the form, and then apply heat to fix the plank into the new shape. Make sure you get the twist in the right direction, or you will get a plank that is shaped for the port side of the hull instead of the starboard side, and vice versa.

With practice, you will be able to know how much heat to apply, how deep a form you need to achieve a certain curvature in the plank, and be skilled enough to make planks to the desired shape without having to re-soak and re-form the plank a second or third time. And, you will be able to control how sharp the curvature is and vary it along the strip of wood such that it will fit the hull very well and you won't have to rely on pins and glue to hold a springy plank to the frame. You will also know when you need the plank bender for sharp curves and when you can get away with just bending the plank dry or just soaking it wet and bending it without heat.

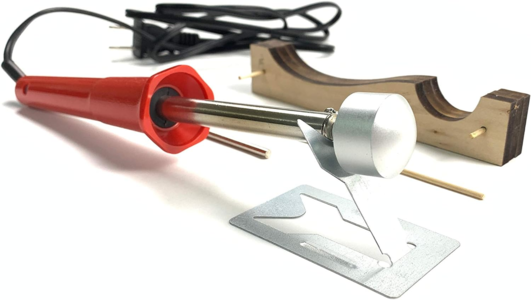
This is the plank bender I use, and you can get it on Amazon for $40.00 USD.
1701607226098.png
 
Small update, finished the planking 'on the inside'.
View attachment 411526
After that I decided to also create pattern on this wood:
View attachment 411527
View attachment 411528
View attachment 411529

Now preparing the precut parts for the hull:
View attachment 411530

After attaching these parts the planking can begin. Do you guys have any tips for this? Maybe some links to video's that explain this pretty well?
I do have the manual plank bender, do you guys recommend the electric (heated) plank bender?

Maybe these two tutorials helpfull for you.


And also you can find much more information on the forum.

Best Regards

Bilal
 
I definitely recommend an electric plank bender, specially for beginners. When you start out building, you don't have a good feel for how to support a wet plank while you bend it, and how far you can bend a wet plank before it breaks. Breaking a lot of planks on your first ship model is very discouraging, and plank bending is a risky thing for beginners. If you soak the planks wet, then carefully press them into a concave form, then apply heat with an electric plank bending iron, you have a great chance of making bent planks without breakage. The heated planks hold their new shape better than planks that are wet, pressed into a form, and then let dry naturally, plus you can get sharper curvatures using the electric heater.

The trick when pressing the plank into the concave form is to support the plank along as much of the planks surface as you can using your fingers. Applying pressure only in the center of the plank with one finger will snap it for sure. You can us clamps to hold the plank along the entre length of the bend in the form and allow it to dry naturally, or use the electric plank bender to press the wood into the form. When using the electric planks heater, press and hold the heater end only as long as it takes to generate steam, and then roll the bender along the length of the plank over the wetted portions until the curve is made. Do not hold the heater to the wood too long, or the water in the wood will evaporate and then the wood will begin to scorch. If you boil away too much water, and the plank dry to the point of scorching the wood, the plank will become very brittle and may break under the slightest bend. Practice with a few scrap strips until you get a feel for how much heat to apply.

To achieve a slight twist in a plank in addition to a curve, which is needed for some planks at the bow half way down to the keel and further down, place the wet strip at an angle relative to the axis of curvature in the form, and then apply heat to fix the plank into the new shape. Make sure you get the twist in the right direction, or you will get a plank that is shaped for the port side of the hull instead of the starboard side, and vice versa.

With practice, you will be able to know how much heat to apply, how deep a form you need to achieve a certain curvature in the plank, and be skilled enough to make planks to the desired shape without having to re-soak and re-form the plank a second or third time. And, you will be able to control how sharp the curvature is and vary it along the strip of wood such that it will fit the hull very well and you won't have to rely on pins and glue to hold a springy plank to the frame. You will also know when you need the plank bender for sharp curves and when you can get away with just bending the plank dry or just soaking it wet and bending it without heat.

This is the plank bender I use, and you can get it on Amazon for $40.00 USD.
View attachment 411535
Same one I use. Its only drawback is its not too effective on thicker wood stock. But works great on planking! For thicker bending, I find that steam works the best and clamping into a form and allowed to dry.
 
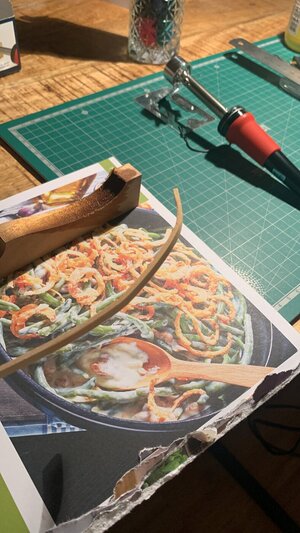
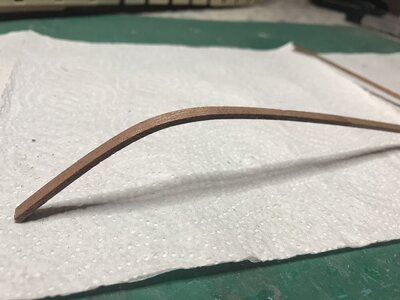
So due to my excellent behavior, Santa came early this year. I first tried heating some scrap wood to get an idea of how the wood bends.

1F68A2D2-164F-46B6-A65F-EF81399CBDB2.jpeg
After that I started the planking:
762C772D-A2C5-4AD7-AD1B-13AB4A8092B8.jpeg

8DBED8C9-A066-486E-B78D-33B258A7E0DB.jpeg
The planks are a bit thick (2mm). I now see there is a little to much space between the two planks, but luckily this model requires double planking. Hopefully I will have some time to plank the coming weeks.
 
So due to my excellent behavior, Santa came early this year. I first tried heating some scrap wood to get an idea of how the wood bends.

View attachment 412970
After that I started the planking:
View attachment 412971

View attachment 412972
The planks are a bit thick (2mm). I now see there is a little to much space between the two planks, but luckily this model requires double planking. Hopefully I will have some time to plank the coming weeks.
Be sure to soak the wood before bending....
 
So due to my excellent behavior, Santa came early this year. I first tried heating some scrap wood to get an idea of how the wood bends.

View attachment 412970
After that I started the planking:
View attachment 412971

View attachment 412972
The planks are a bit thick (2mm). I now see there is a little too much space between the two planks, but luckily this model requires double planking. Hopefully I will have some time to plank the coming weeks.
Multiple sessions of filler and sanding will make the first planking layer baby smooth in preparation for the finish planking stage.
 
Thanks for the tip Philski. I did leave the part of the wood that I wanted to bend in a glass of water for about 5-10 minutes. The wood is pretty thick, so it does not bend that easily. Maybe I should have more patience in resoaking it.
 
Thanks for the tip Philski. I did leave the part of the wood that I wanted to bend in a glass of water for about 5-10 minutes. The wood is pretty thick, so it does not bend that easily. Maybe I should have more patience in resoaking it.
Put wood in hot water from the kettle for 2 minutes, quick work.
 
Thanks for the tip Philski. I did leave the part of the wood that I wanted to bend in a glass of water for about 5-10 minutes. The wood is pretty thick, so it does not bend that easily. Maybe I should have more patience in resoaking it.
hallo Harry, ik laat mijn te buigen hout enkele dagen in een fles water, en dan kan je zeker nog de soldeerbout blijven gebruiken om een mooiere vorm te krijgen suc6 groetjes DJ56

Hello Harry, I leave the wood to be bent in a bottle of water for a few days, and then you can certainly continue to use the soldering iron to get a nicer shape, suc6 greetings DJ56
 
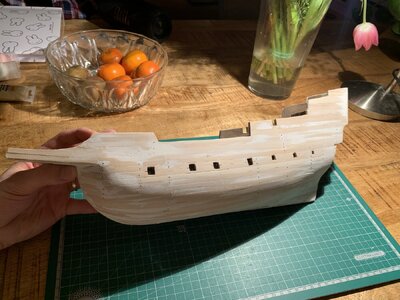
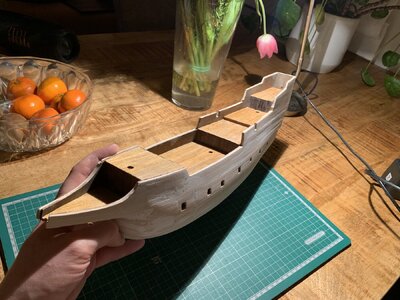
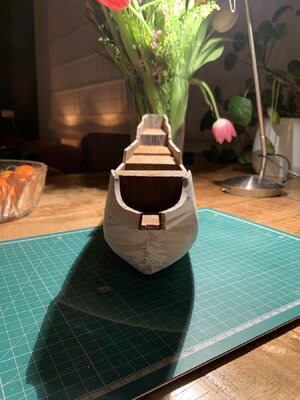
I have not posted here for a while, almost done with the first layer of planking.

I’ve learned a lot of lessons already. For the first time planking I am not dissatisfied, however there is certainly room for improvement. Luckily it’s now just about the shape and another thinner layer of planking will follow.

I still need to finish the planking at one side, it needs some sanding/filling and the bulwarks need to be cut and shaped properly.
75CC79FA-EFD1-47D9-8923-A5B0487E615D.jpeg


32516A41-78CE-4244-AADF-42419F6C2E1F.jpeg

578D68CD-5CF4-4D0C-9C13-CB2DB3C9AECB.jpeg

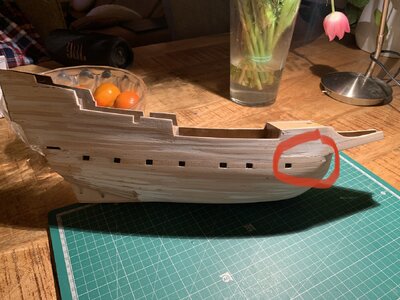
This side needs to be finished, however I am also a little concerned about the shape in the marked area. Is there a way to fix this?
9A40927E-0141-4CA6-BFDA-7CEA9445AAE8.jpeg
 
Back
Top