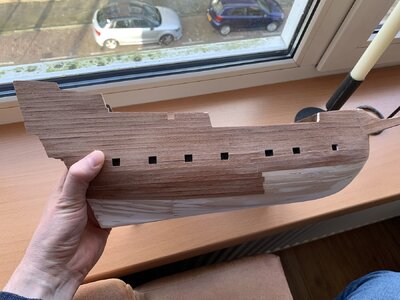
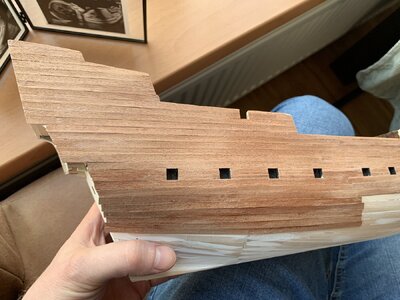
Look at pictures of the finished model or depictions of the actual ship in artwork to determine what how the hull to the beakhead transition should appear. The idea is, you want to raise the low spots on the hull, not just remove the high spots except in very few areas. Use filler and sand to the desired shape using both cylindrical and flat sanding blocks. <-- USE THE RIGHT TOOLS!I have not posted here for a while, almost done with the first layer of planking.
I’ve learned a lot of lessons already. For the first time planking I am not dissatisfied, however there is certainly room for improvement. Luckily it’s now just about the shape and another thinner layer of planking will follow.
I still need to finish the planking at one side, it needs some sanding/filling and the bulwarks need to be cut and shaped properly.
View attachment 424395
View attachment 424400
View attachment 424399
This side needs to be finished, however I am also a little concerned about the shape in the marked area. Is there a way to fix this?
View attachment 424401
Don't use your fingers and sandpaper, or the weaker of the two materials (either wood or filler) will wash away leaving only the stronger material proud, and you will continue to have ripples and flat spots in the surface, and perhaps create even more. Add filler around a bulge, and add filler to flat spots in order to raise low areas and smooth the overall hull shape. You don't want to only sand the high areas down, because you will sand through the planks somewhere and create a hole in the hull. Check to see that the shape is symmetrical port to starboard. When viewing the hull, use sunlight and look along the hull's surface at an oblique angle to look for waves, bulges, and flat spots. Looking directly at the hull won't show you much. Repeat filling/sanding until it looks correct.


