• Ships of Scale has incorportated an extra level of security when you log In. Please follow on-screen prompts to acknowledge that you are not a robot via a "Check Box" or a "Pictorial Check Box Puzzle". This is needed due to higher level of AI Activity Security.
  • SUBSCRIBE TO SHIPS IN SCALE TODAY!

    The beloved Ships in Scale Magazine is back and charting a new course for 2026!
    Discover new skills, new techniques, and new inspirations in every issue.

    NOTE THAT OUR NEXT ISSUE WILL BE July/August 2026
  • Win a Free Custom Engraved Brass Coin!!!
    As a way to introduce our brass coins to the community, we will raffle off a free coin during the month of August. Follow link ABOVE for instructions for entering.

Pavel Nikitin 1/25 Oseberg V.3

Boris,
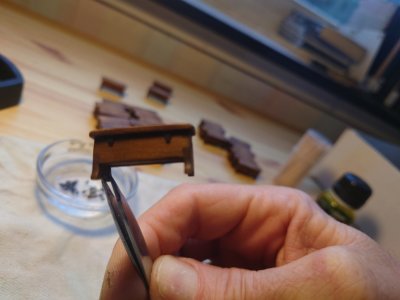
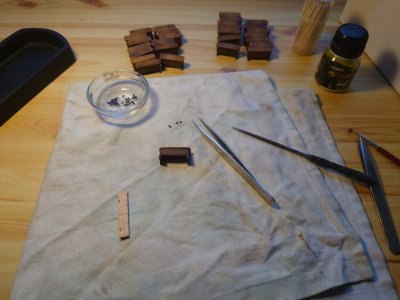
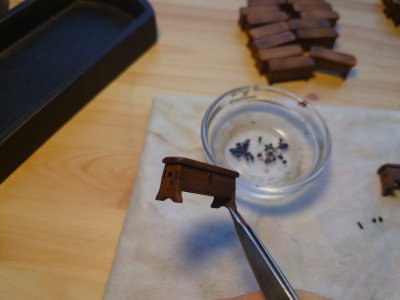
Such brilliant work - mast step looks amazing as well a the benches.

PS: what did you use for cover hinges - I also intend to do more work with the benches including cover hinges and a closing clasp of some sort
 
New project: grooving the gangboards
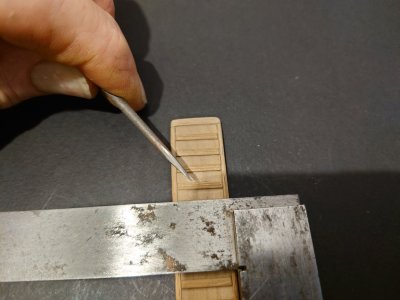
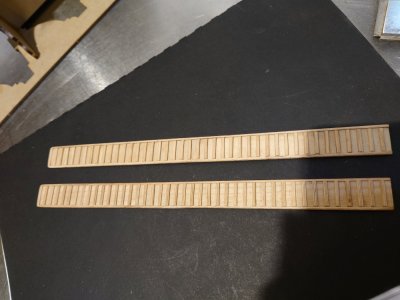
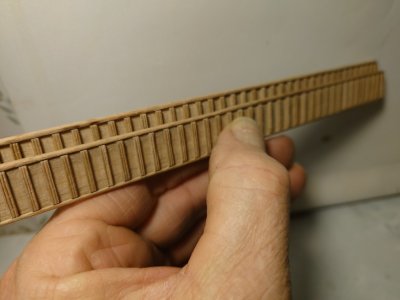
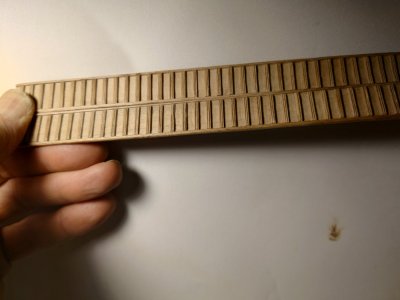
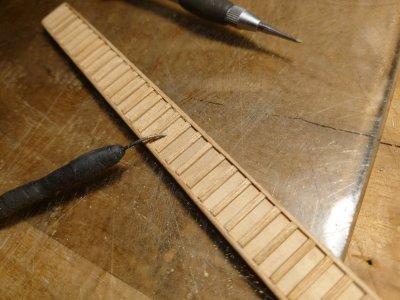
After previously building the gangboards and making the necessary adjustments, I have now started adding the grooves. To replicate the scale-accurate strength and grip, I am applying these by hand.
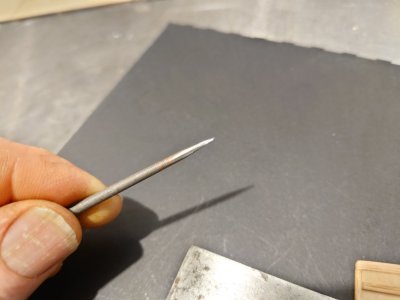
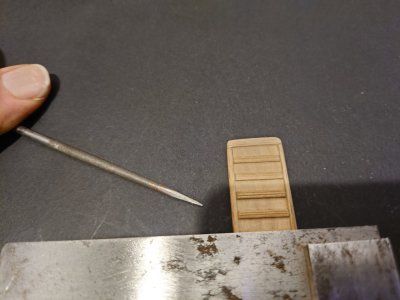
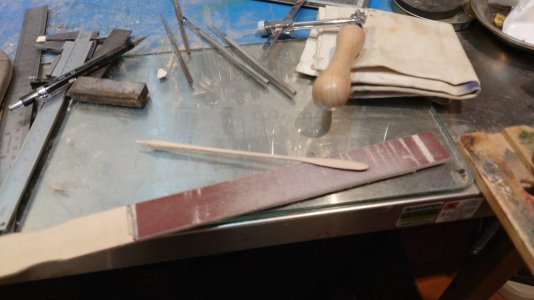
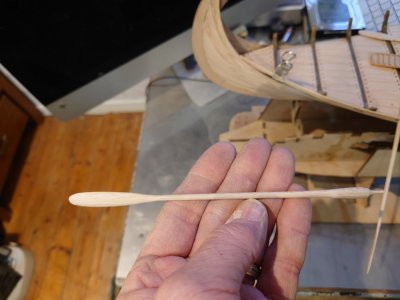
For this, I use a modified needle file:
One side is customized to set the grooves cleanly into the wood.
The other side features a cutting edge for fine preparatory work.
By using a machinist square as a guide, the notches remain perfectly square and evenly spaced. Below are some photos of the work in progress.

20260327_213903.JPG20260327_213801.JPG20260327_213735.JPG
Looks to me a bit more realistic lower versus up gangboard
20260327_224332.JPG
 
Last edited:
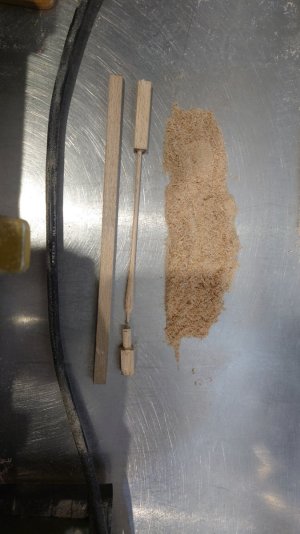
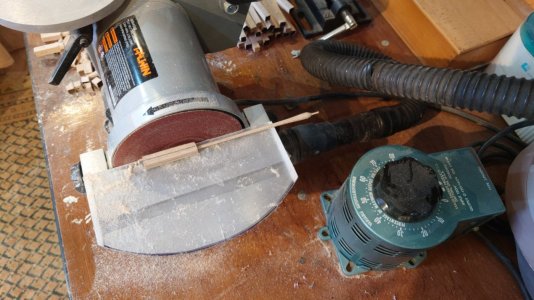
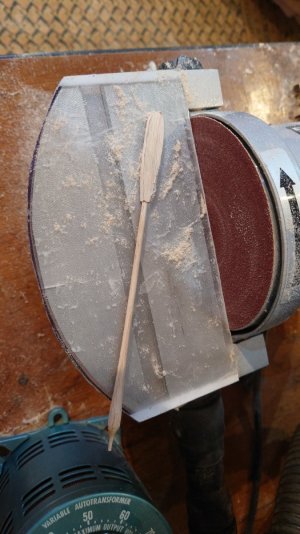
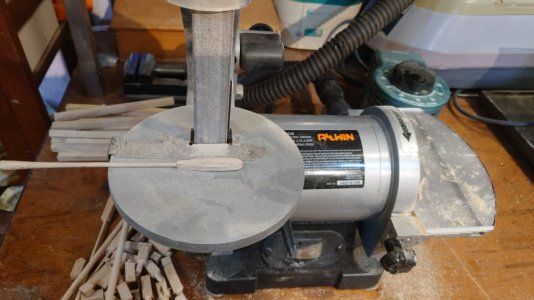
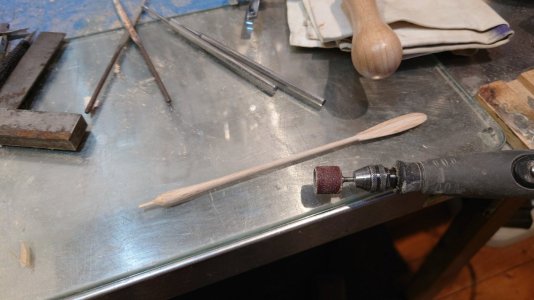
To give you an idea of the process, here are the steps I follow to craft each oar:


Step 1: Turning the Base​

IMG-20260125-WA0009.jpeg
The initial base of the oar is turned from a square timber strip measuring 1.2 x 1.2 cm.


Step 2: Maximizing Width​

IMG-20260125-WA0011.jpeg
The remaining section of the 1.2 x 1.2 cm strip is sanded flat diagonally. This technique achieves a maximum width of 1.7 cm. I use the horizontal centerlines as a reference to ensure both sides are sanded down equally.


Step 3: Shaping the Blade​

IMG-20260125-WA0013.jpeg
Once the blade's outline is marked, it is sanded into its primary shape.


Step 4: Refining Thickness​

IMG-20260125-WA0015.jpeg
The blade is brought to the correct thickness using a belt sander.


Step 5: Transition and Detail​

IMG-20260125-WA0019.jpeg
I use a rotary tool to shape the transition from the blade to the shaft and make final adjustments to the blade's thickness where necessary.


Step 6: Finishing Touches​

IMG-20260125-WA0023.jpeg
The final touch is applied using a manual sanding block, with a bit of extra sanding wherever it's needed for a smooth finish.


Step 7: Completion​

20260125_155459.JPG
And there we have it—another oar ready.
 
The gangboards

I have finished adding all the grooves. However, I wasn't entirely satisfied with them yet. Since these gangboards were crafted from a single long board, the tools used were most likely axes and adzes, which would have left distinct marks.

I decided to recreate these traces to some extent. For this, I used a watchmaker's screwdriver that I previously modified into a curved chisel. It was perfect for roughening the wood, and the scale seems quite realistic.

20260328_232149.JPG20260328_232249.JPG20260328_224736.JPG
 
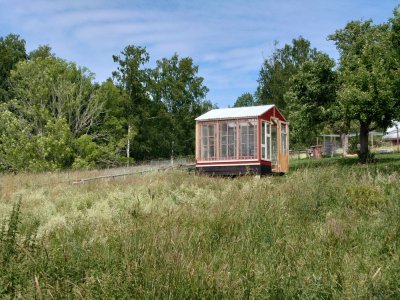
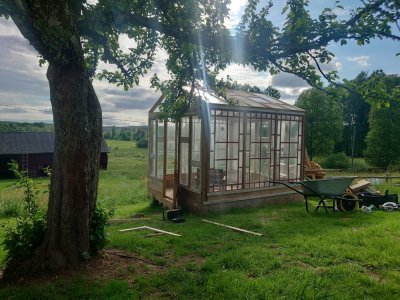
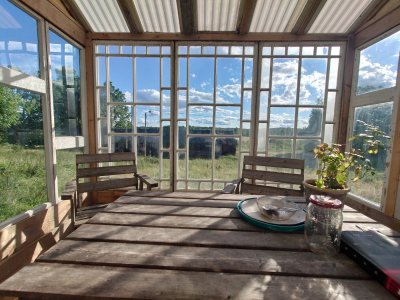
It's been a while since I worked on my model, simply because I have many other projects going on, especially now that the days are nice and long and the weather is good. One of my 1:1 projects was building a so-called garden room where I can work on my model. For instance, I still had the original windows and frames of the house standing in the barn, which are more than 150 years old and have been sitting under the hay in an attic since 1970, plus a quantity of wood that is also over a hundred years old. After the necessary hard work, I built my garden room. Miraculously, there were exactly enough windows and wood to build the whole thing, as if it had been waiting for 56 years...
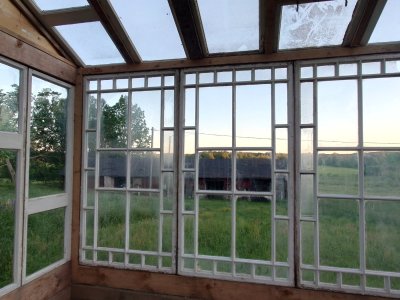
What I find really special about all of this is that the original cylinder glass has a unique effect. It’s quite amazing that the original residents looked through this exact same glass at the barn, which is still exactly the same as it was back then. A bit of a time bubble feeling
Below are a few photos

20260630_142740.JPG20260608_180858.JPG20260611_215023.JPG20260705_184127.JPG
 
It's been a while since I worked on my model, simply because I have many other projects going on, especially now that the days are nice and long and the weather is good. One of my 1:1 projects was building a so-called garden room where I can work on my model. For instance, I still had the original windows and frames of the house standing in the barn, which are more than 150 years old and have been sitting under the hay in an attic since 1970, plus a quantity of wood that is also over a hundred years old. After the necessary hard work, I built my garden room. Miraculously, there were exactly enough windows and wood to build the whole thing, as if it had been waiting for 56 years...
What I find really special about all of this is that the original cylinder glass has a unique effect. It’s quite amazing that the original residents looked through this exact same glass at the barn, which is still exactly the same as it was back then. A bit of a time bubble feeling
Below are a few photos

View attachment 617130View attachment 617131View attachment 617132View attachment 617133

What a fine build. My wife's relatives are from Askebo.
 
Back
Top