Follow along with the video below to see how to install our site as a web app on your home screen.
Note: This feature may not be available in some browsers.
Ships of Scale has incorportated an extra level of security when you log In. Please follow
on-screen prompts to acknowledge that you are not a robot via a "Check Box" or a "Pictorial Check Box Puzzle". This is needed due
to higher level of AI Activity Security.
The beloved Ships in Scale Magazine is back and charting a new course for 2026!
Discover new skills, new techniques, and new inspirations in every issue.
NOTE THAT OUR NEXT ISSUE WILL BE July/August 2026
Win a Free Custom Engraved Brass Coin!!!
As a way to introduce our brass coins to the community, we will raffle off a free coin during the month
of August. Follow link ABOVE for instructions for entering.
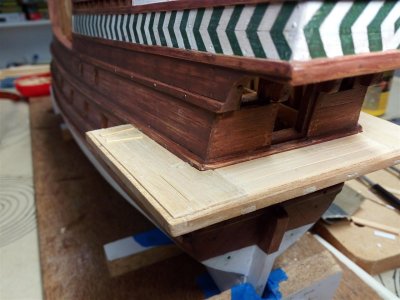
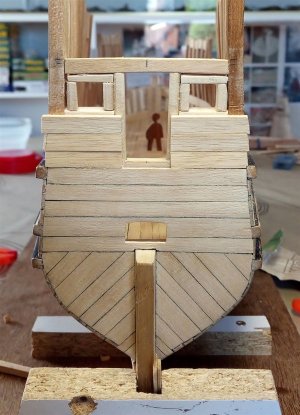
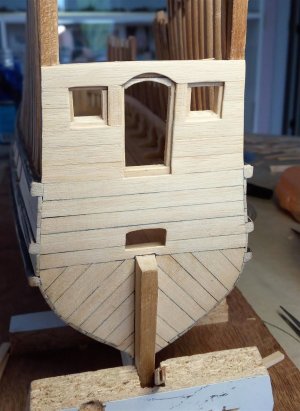
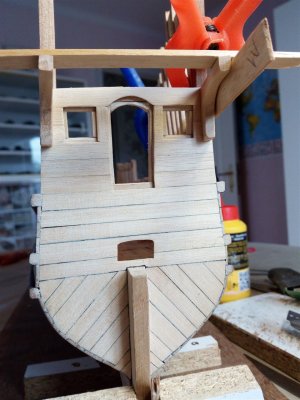
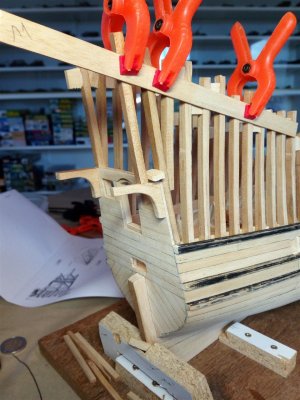
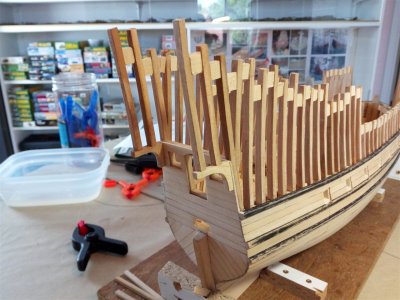
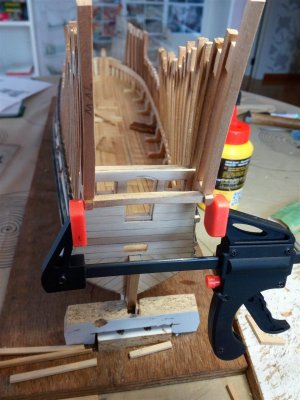
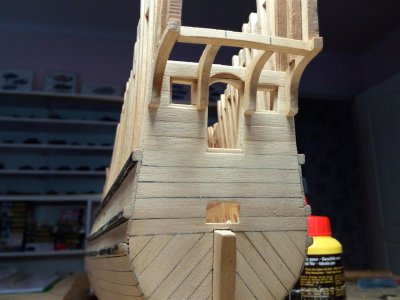
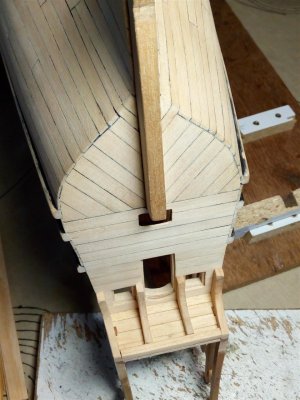
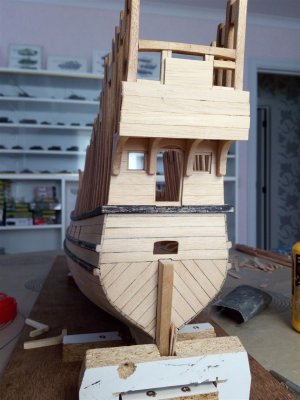
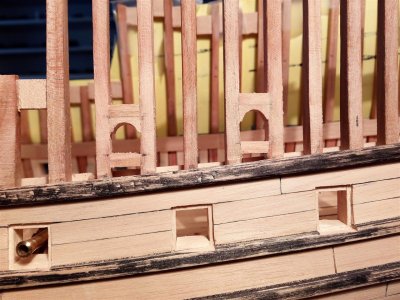
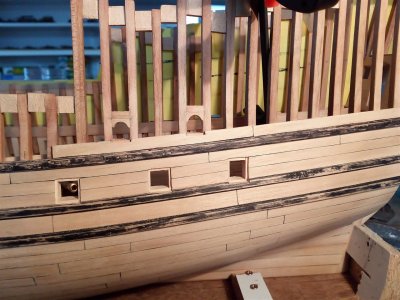
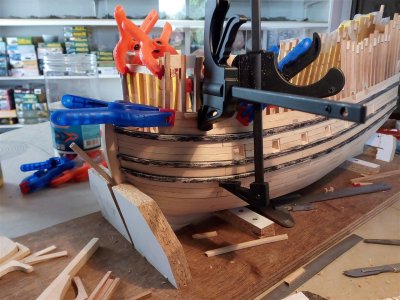
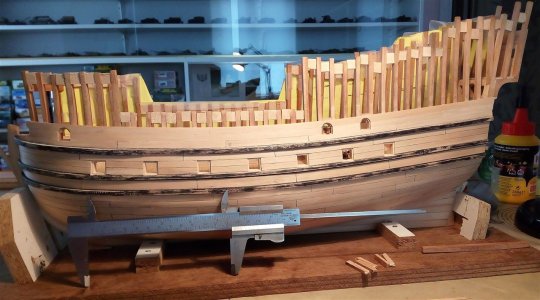
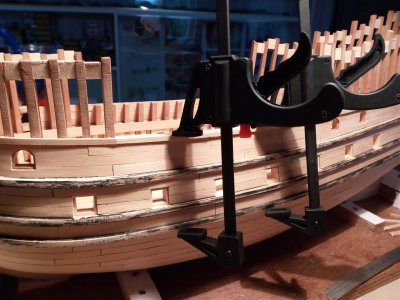
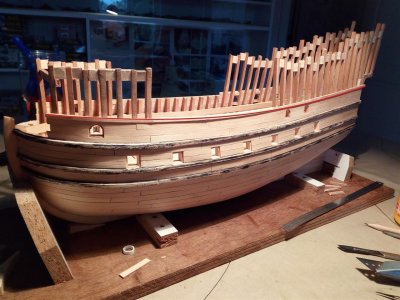
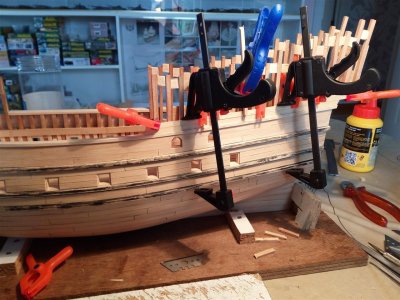
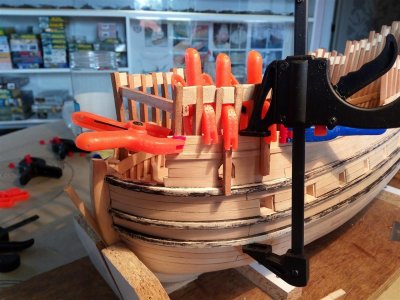
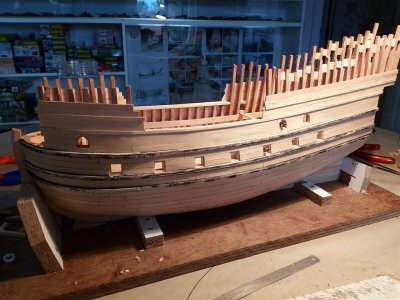
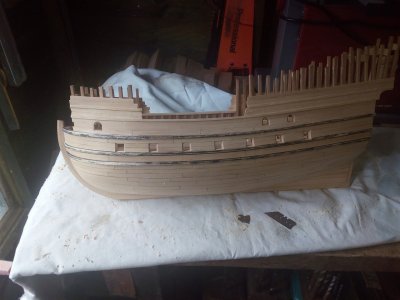
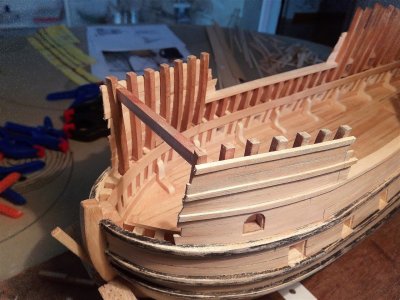
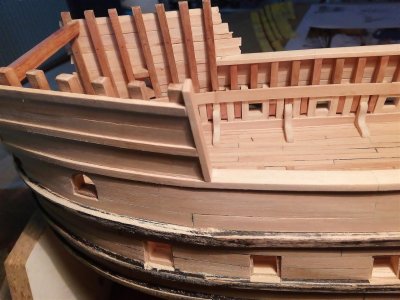
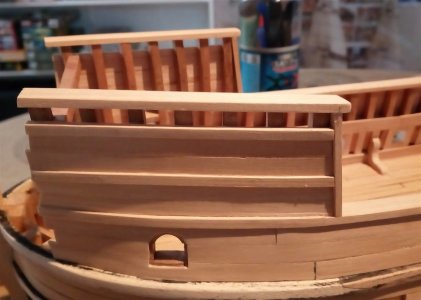
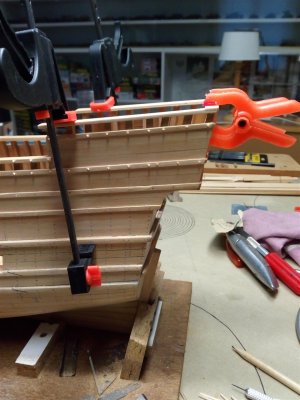
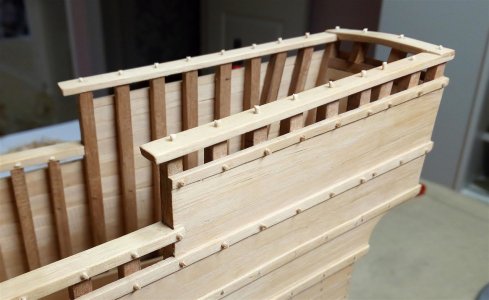
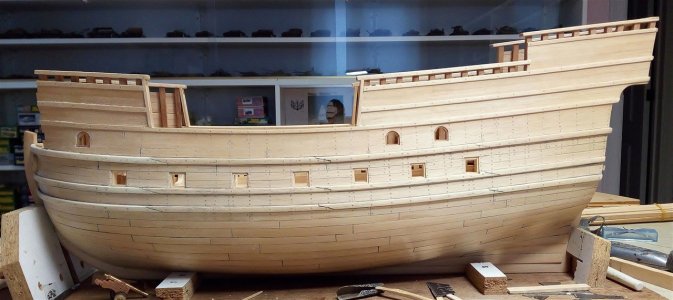
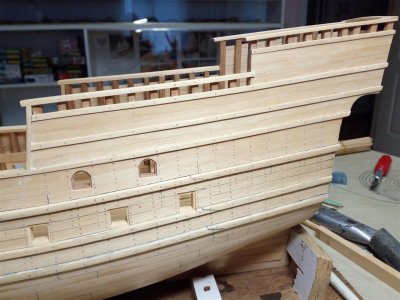
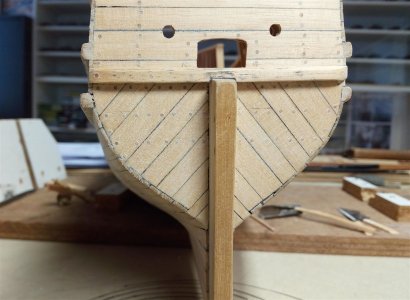
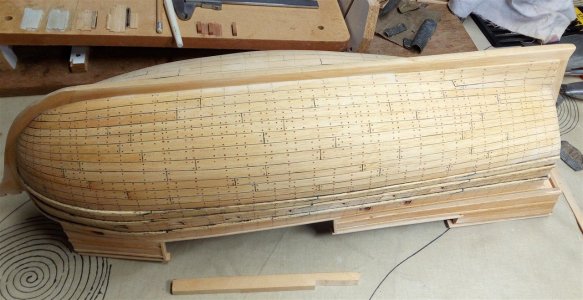
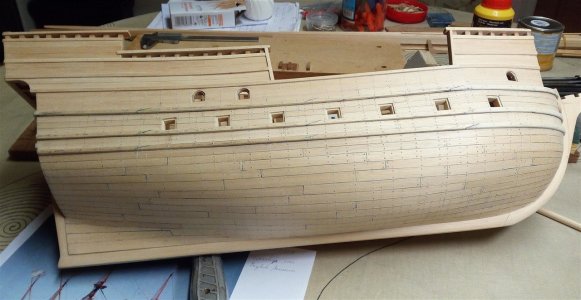
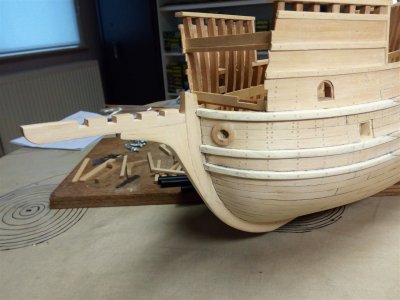
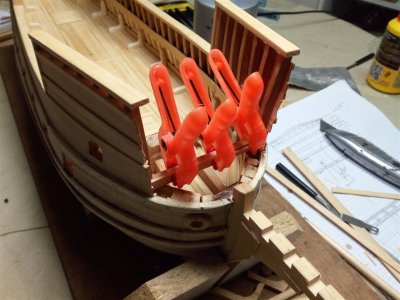
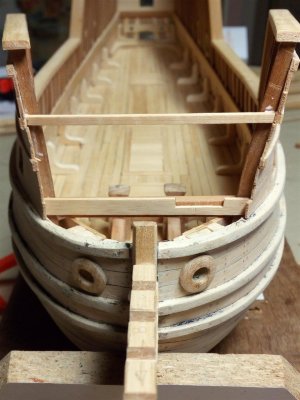
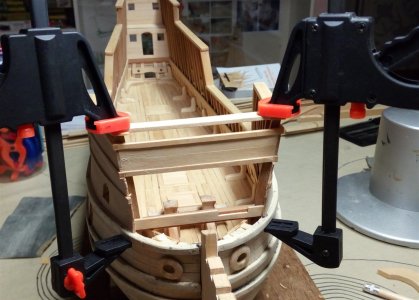
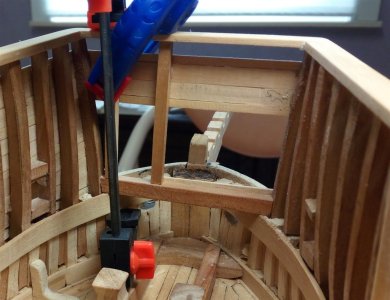
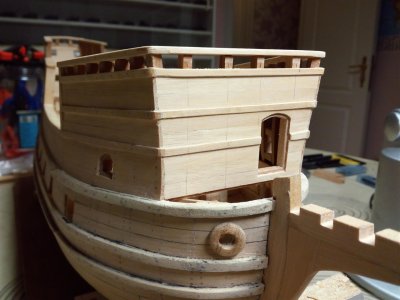
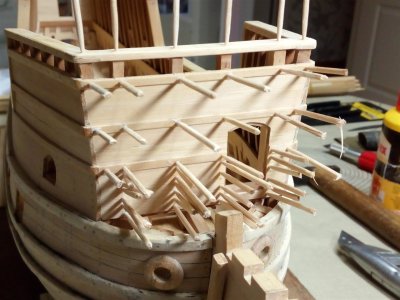
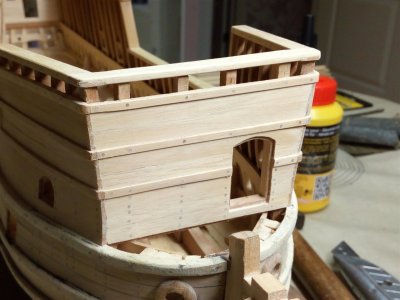
Further planking of the upper section. This will be spread across several posts due to the number of photos.
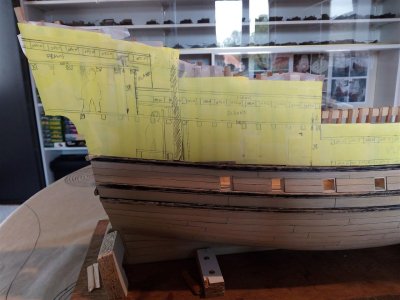
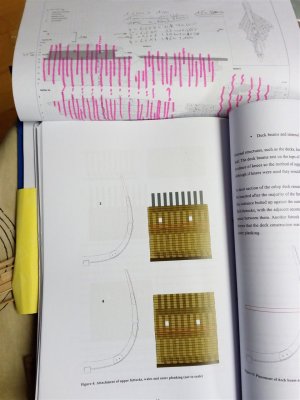
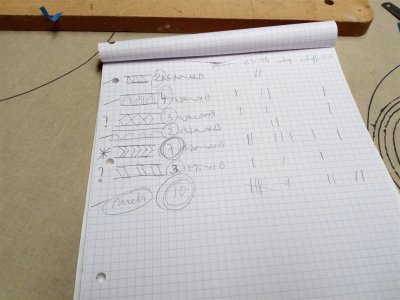
First, a rough sketch of what it should look like.
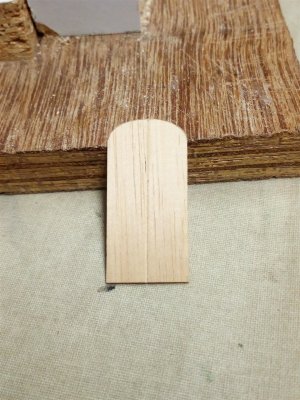
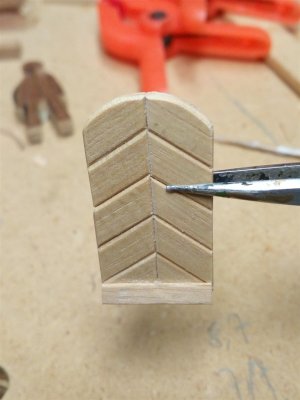
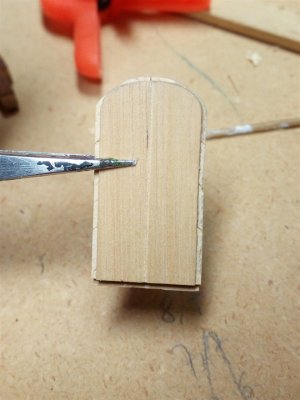
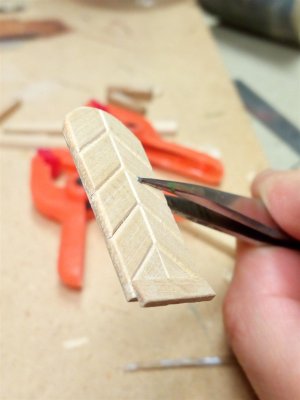
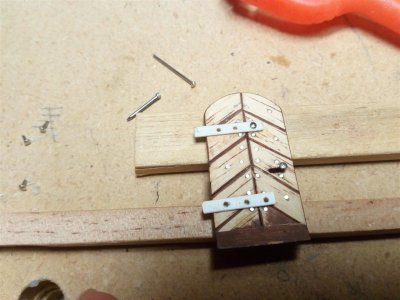
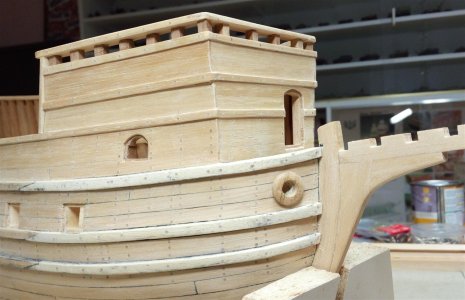
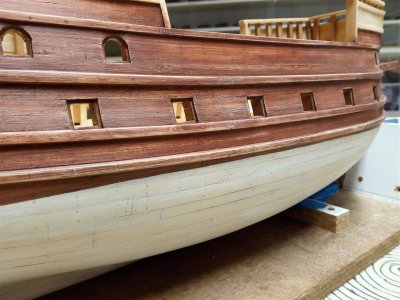
The cannon ports have a rounded shape at the top here.
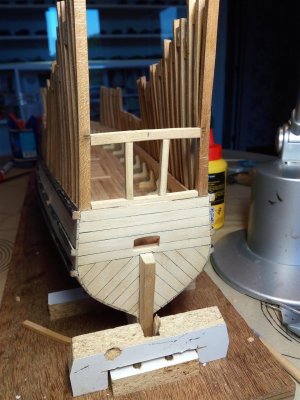
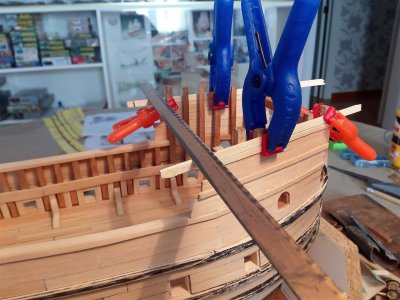
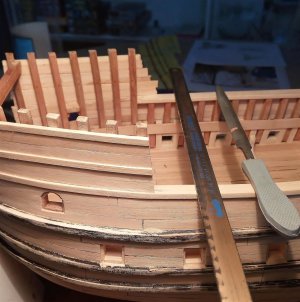
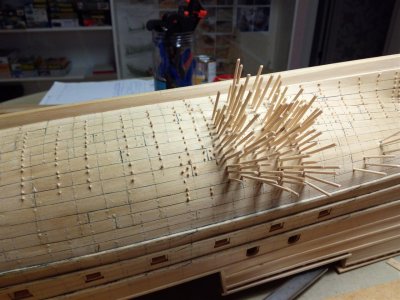
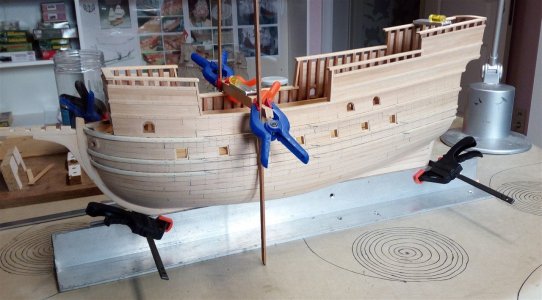
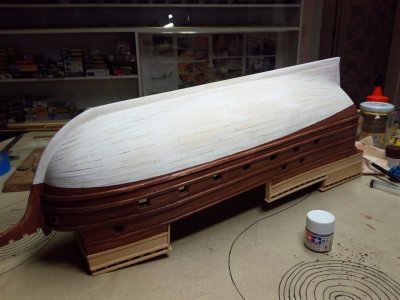
Further planking on the frames.
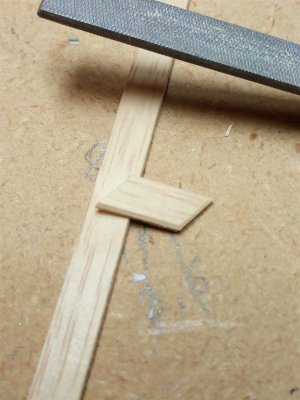
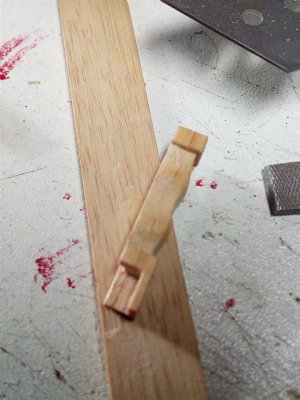
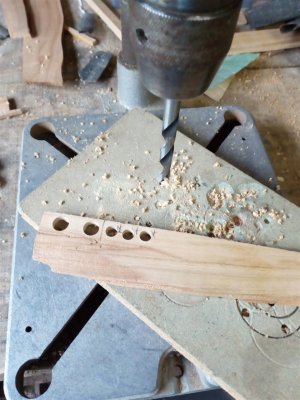
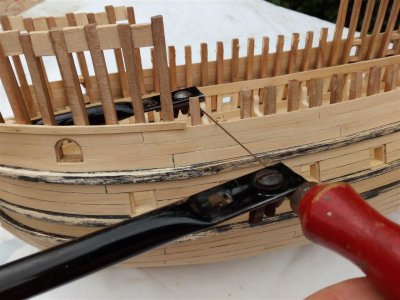
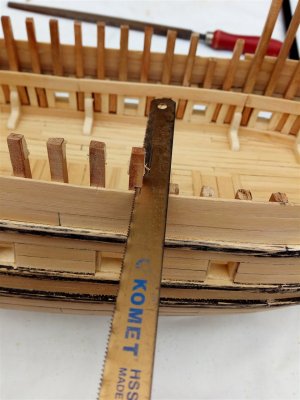
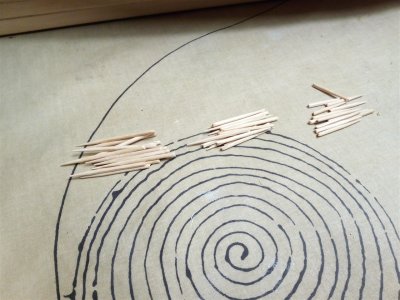
Sawing to size according to plan A.
Switching to plan B, much faster, more accurate, and better.
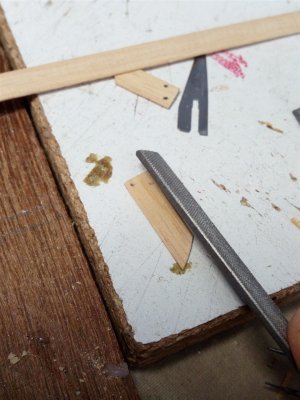
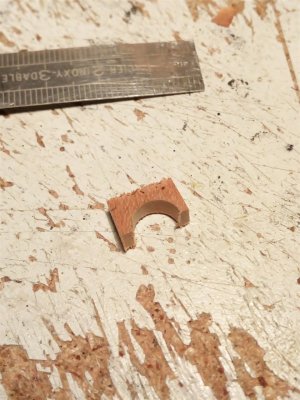
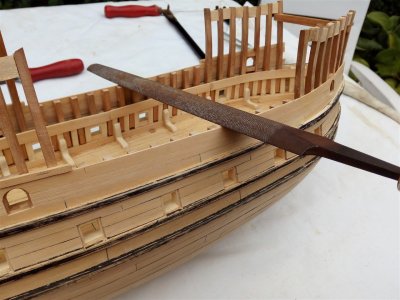
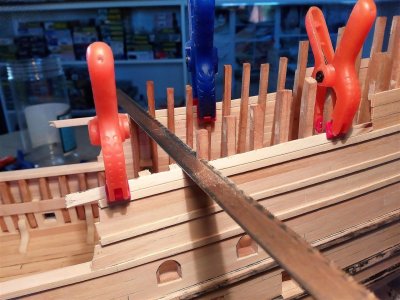
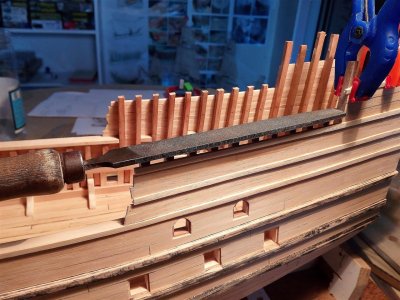
And filing neatly to size.
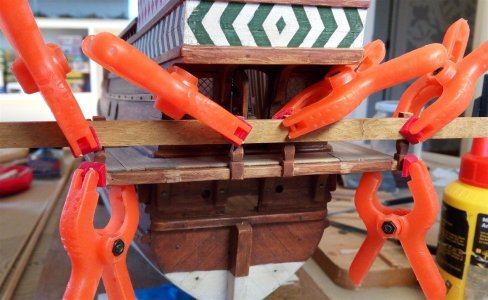
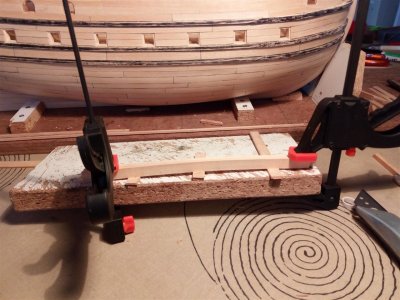
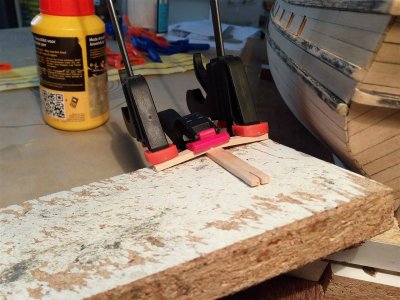
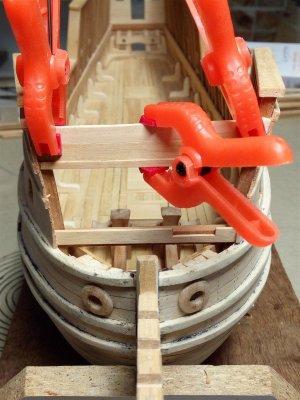
Bending the "potdeksels" (English?) soaked in water for a few days, bending and clamping, and then letting them rest like that for a few days while clamped...
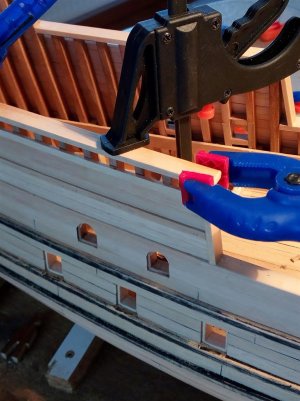
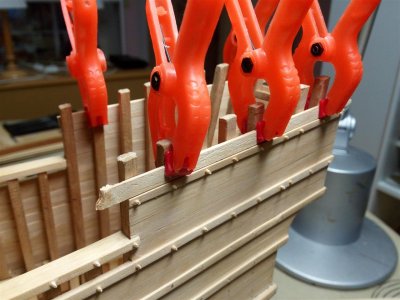
And gluing.
a smooth line.
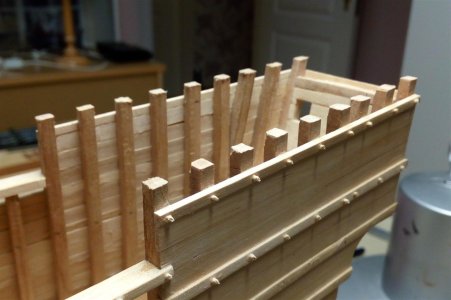
And further planking.
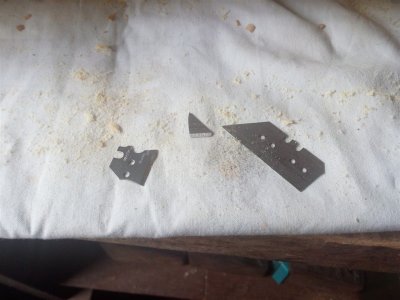
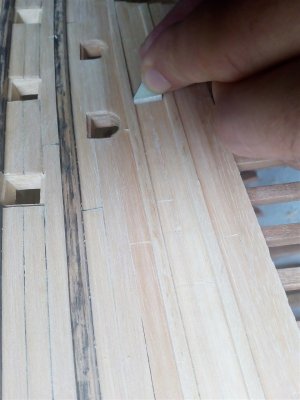
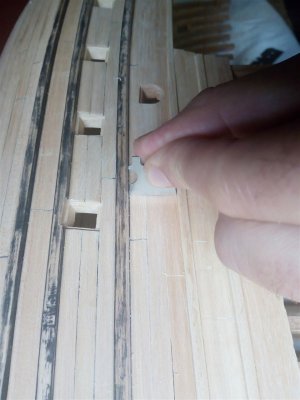
And neatly scraping with pieces of Stanley knife
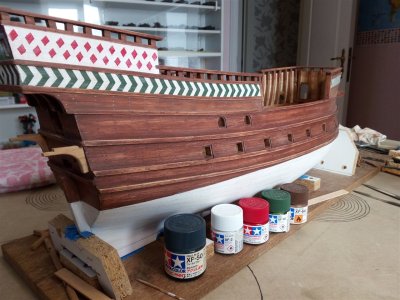
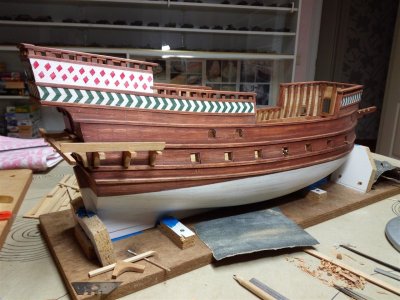
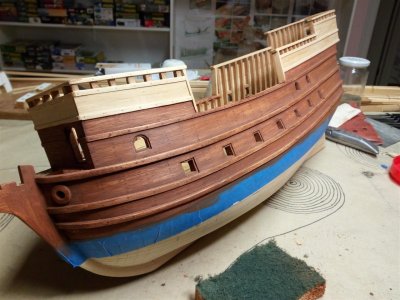
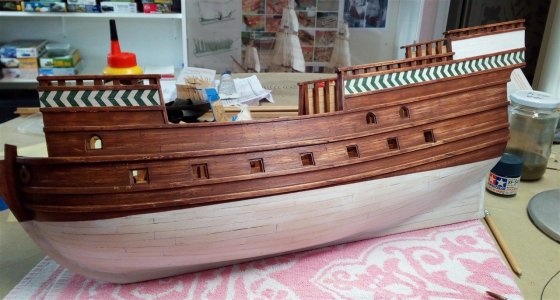
Painting the hull.
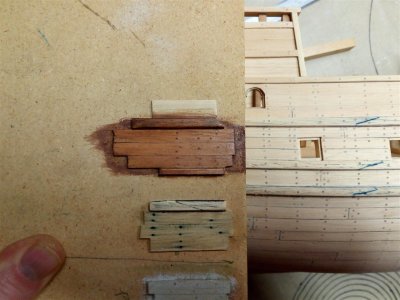
For this, diluted Tamiya paint was used, which was then polished with dishwashing Scotchbrite (a new sponge, of course )
test
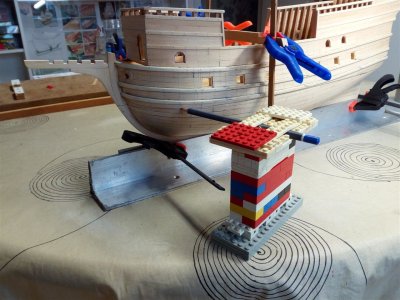
Leveling the model
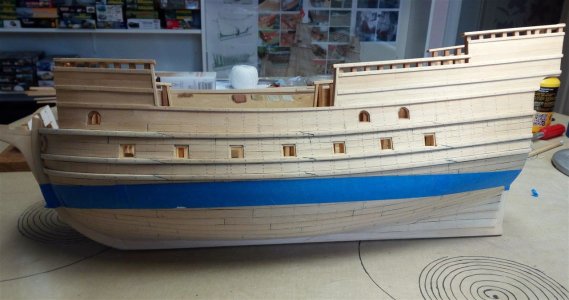
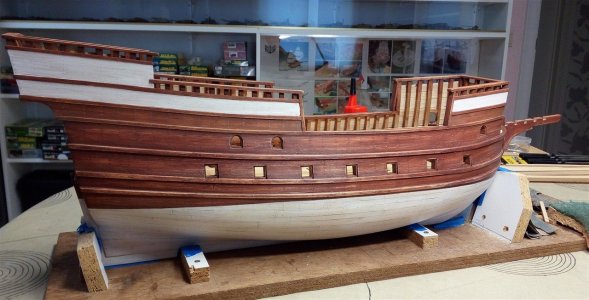
Marking and taping off the waterline.
Brown at the top
And the white at the bottom, painted freehand. In the 16th century, they didn't have scotch tape either.
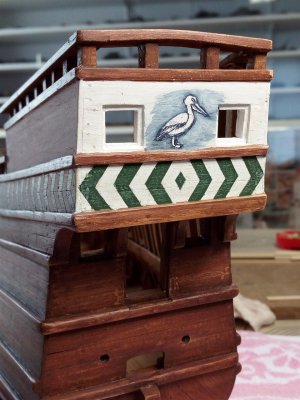
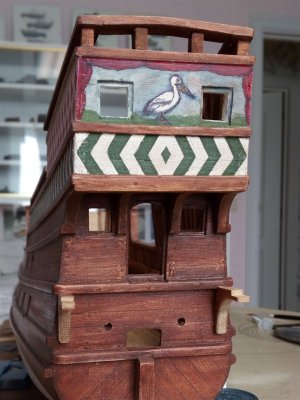
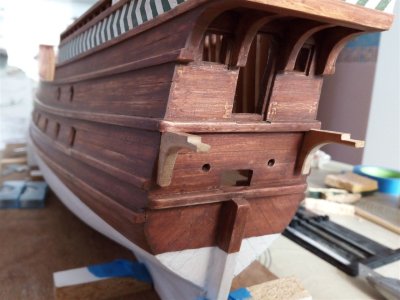
Result
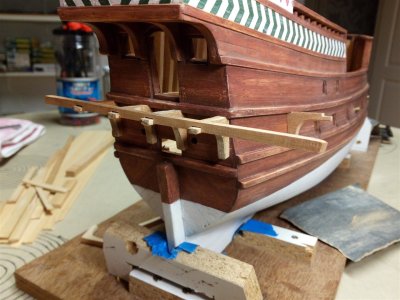
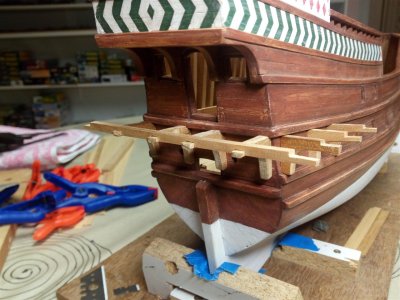
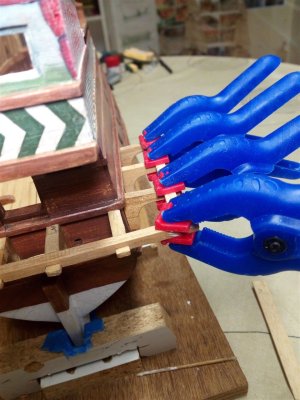
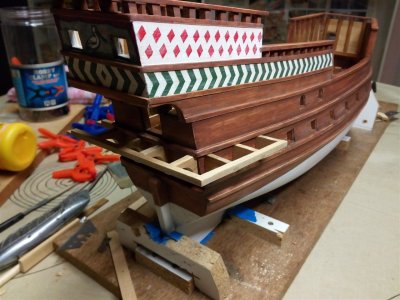
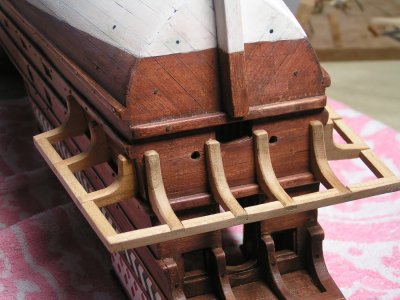
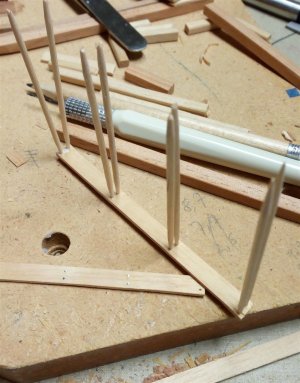
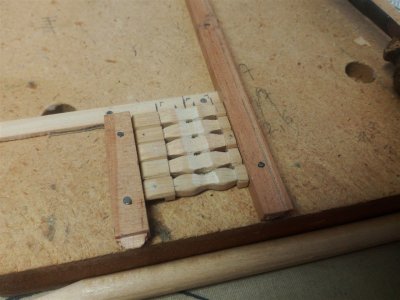
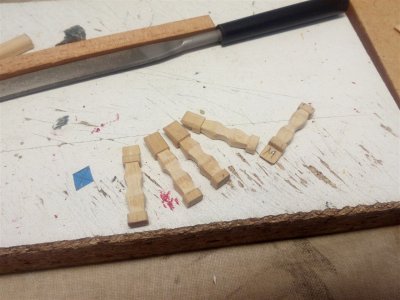
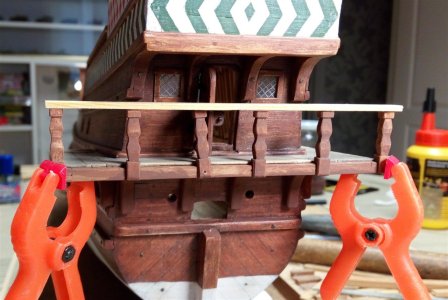
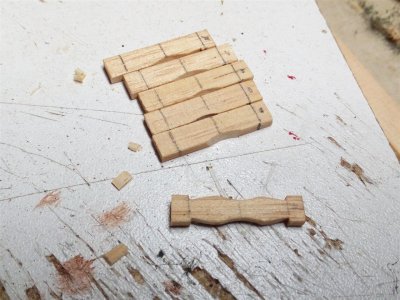
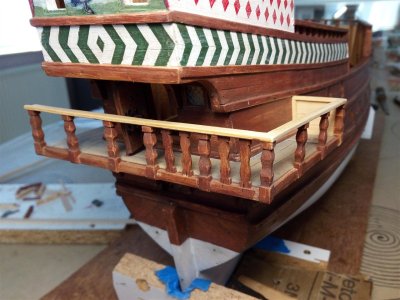
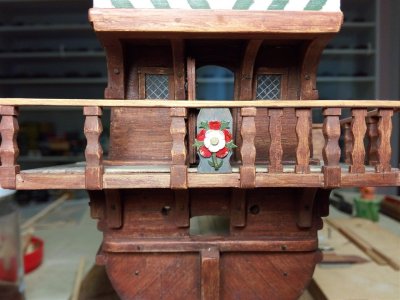
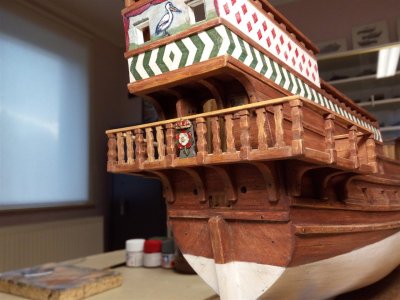
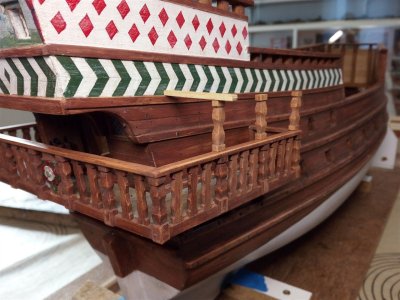
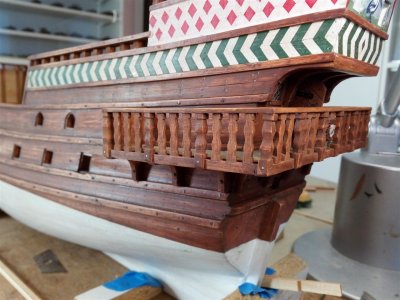
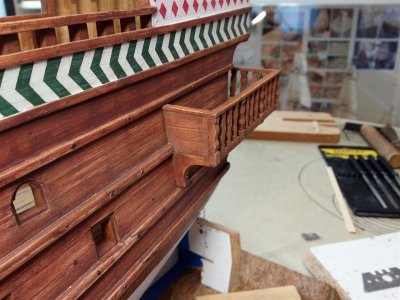
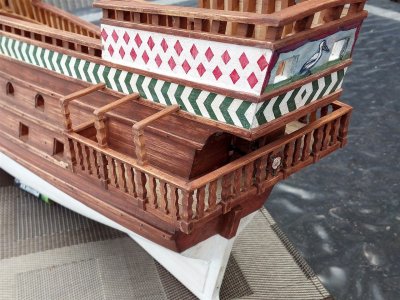
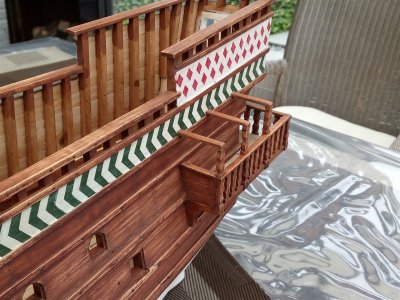
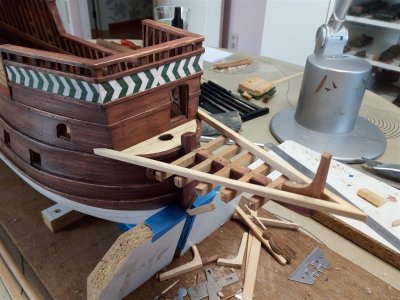
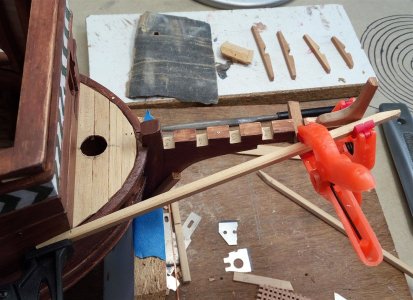
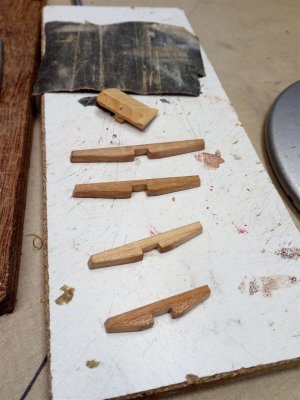
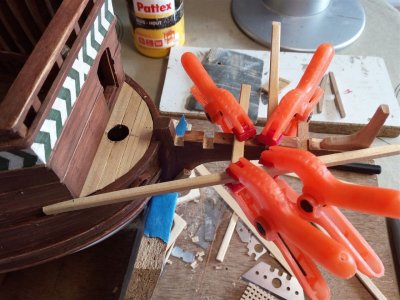
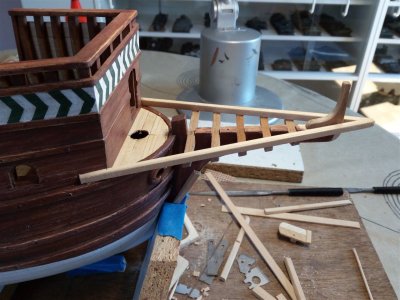
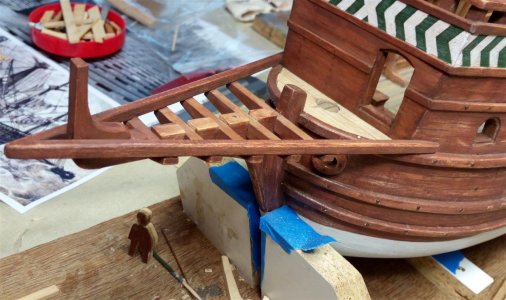
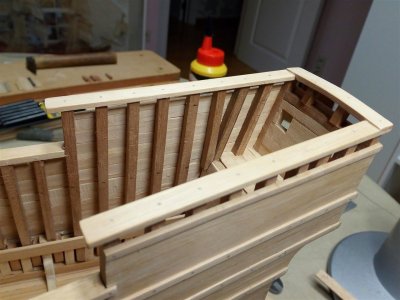
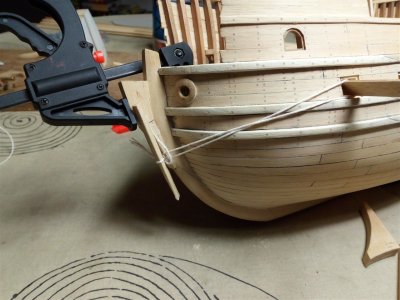
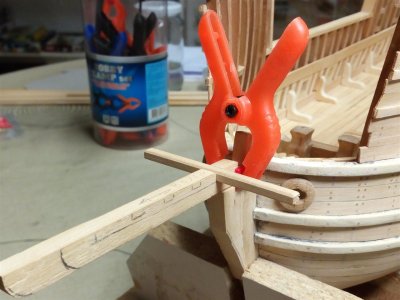
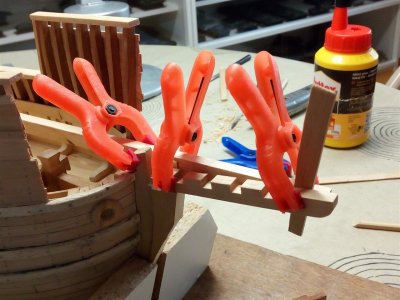
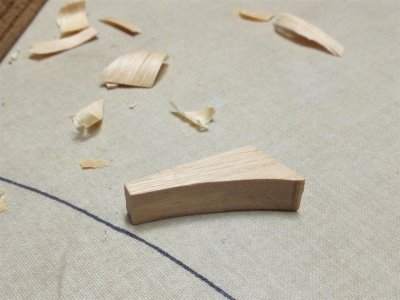
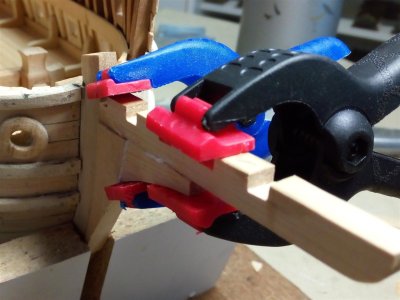
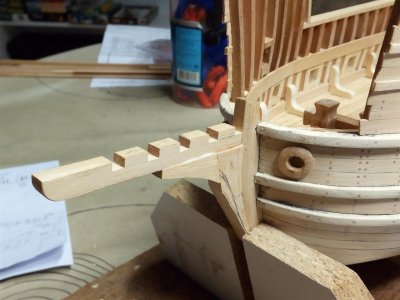
The balcony
As mentioned at the beginning. If I had to do it again, no balcony. Or certainly narrower balcony on the port and starboard sides.
The construction would also have to be much lighter.
Part two.
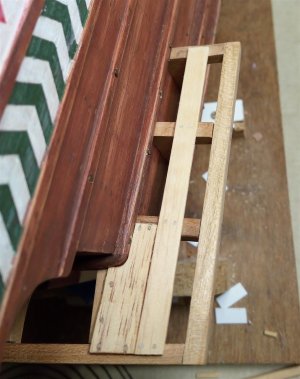
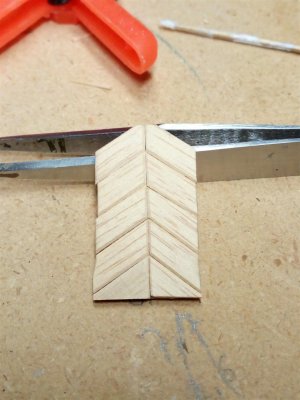
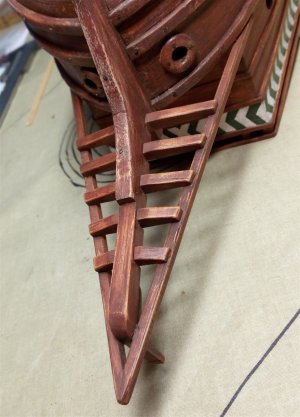
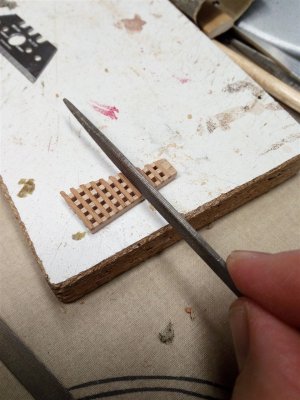
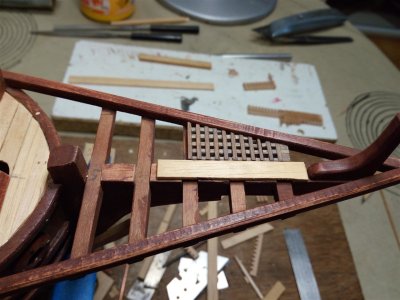
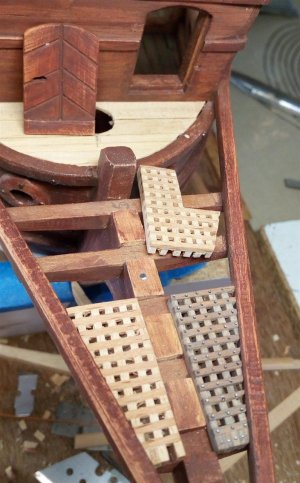
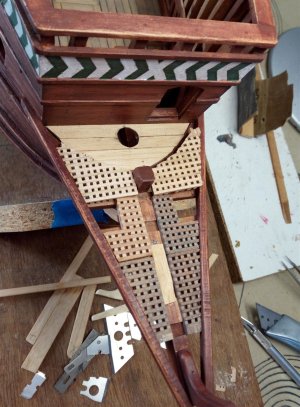
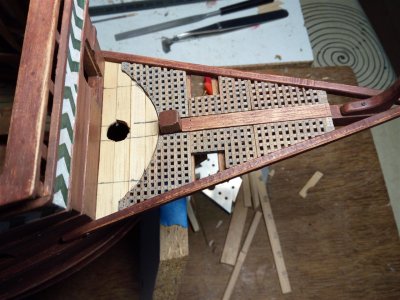
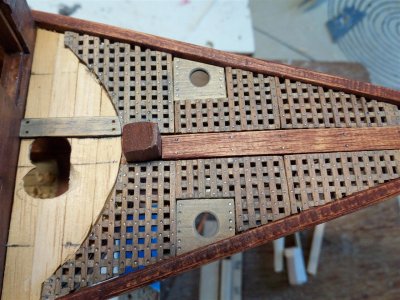
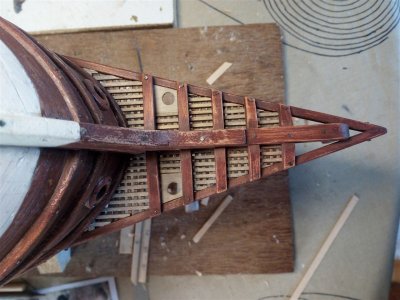
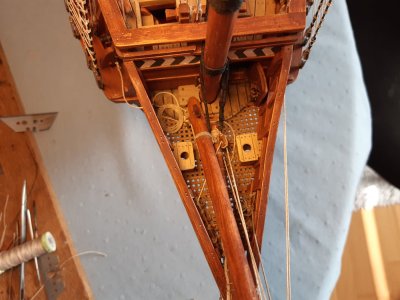
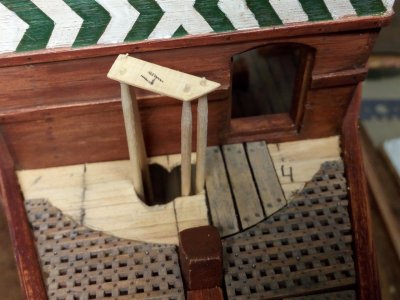
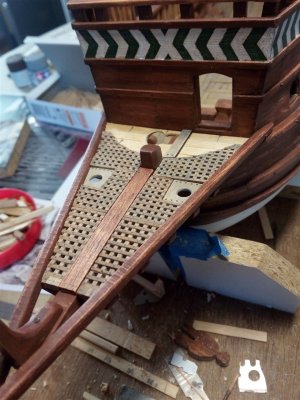
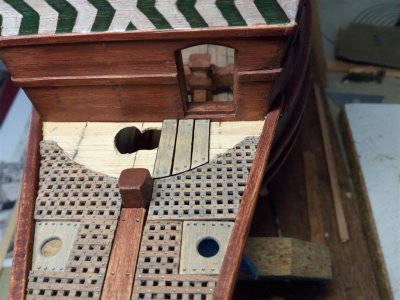
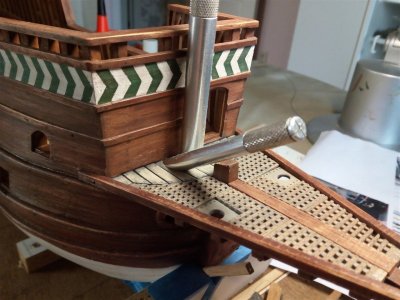
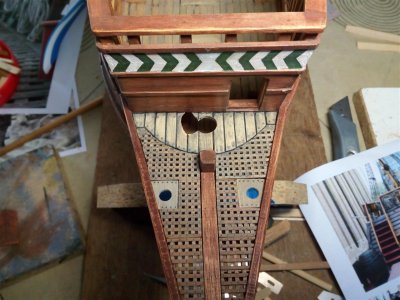
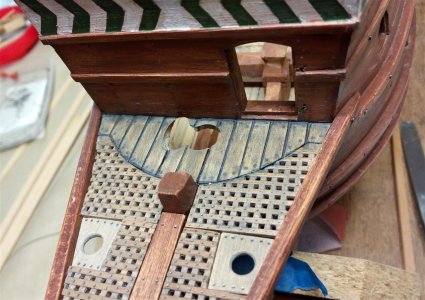
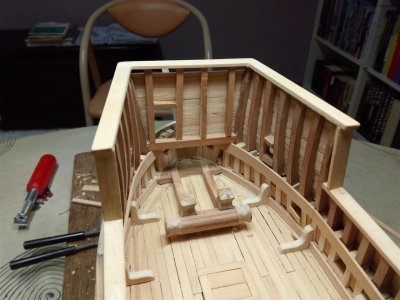
Grating and sanitary facilities.
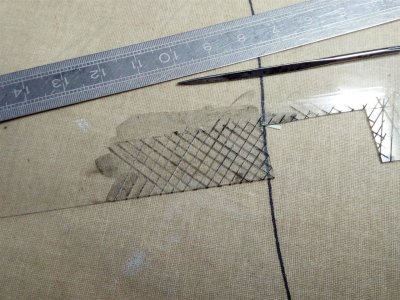
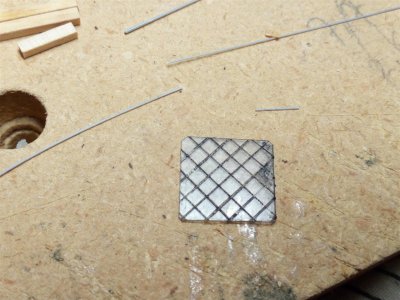
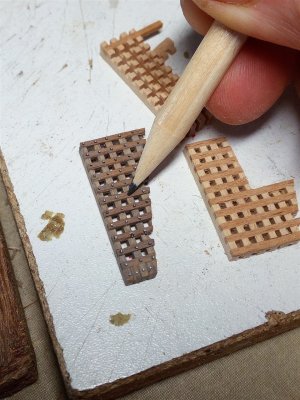
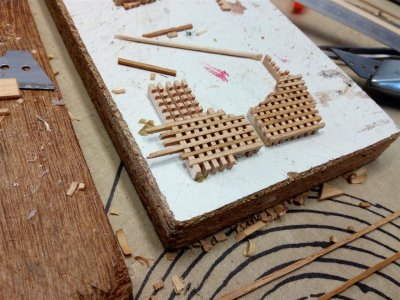
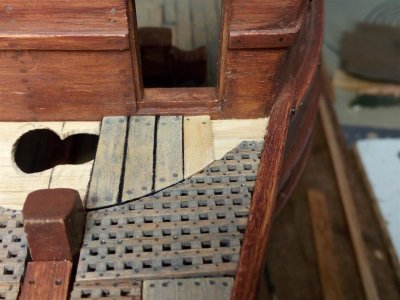
For the grating, material from a kit manufacturer (which one?) and custom material were used.
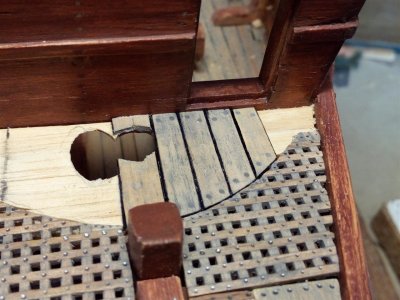
The sanitary facility was initially "a hole in the floor".
This was later modified into a "seated model". No photos of the modification could be found.







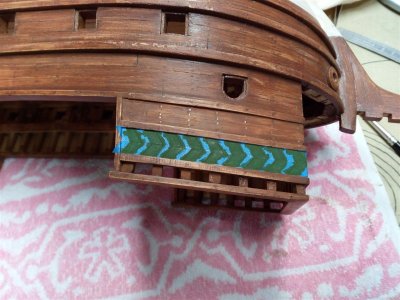
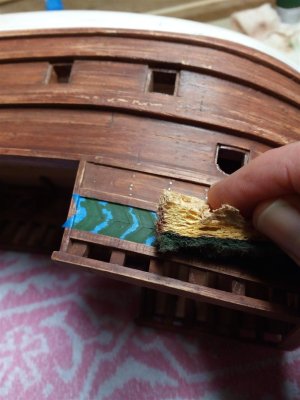
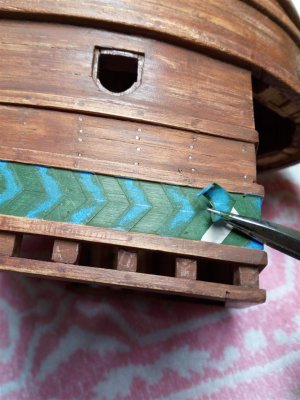
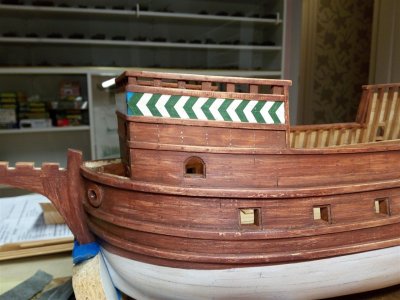
 rt one finished