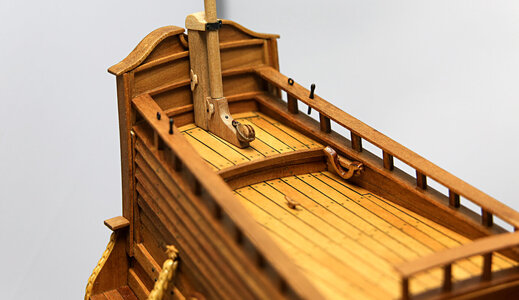
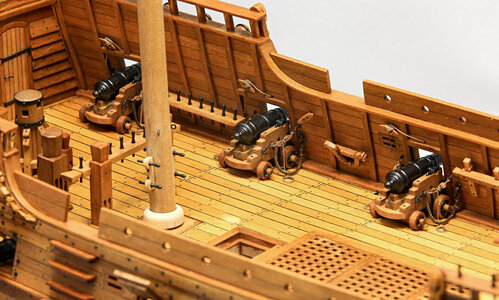
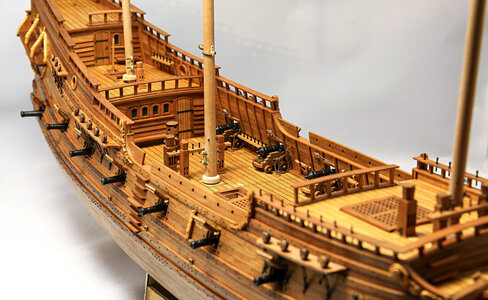
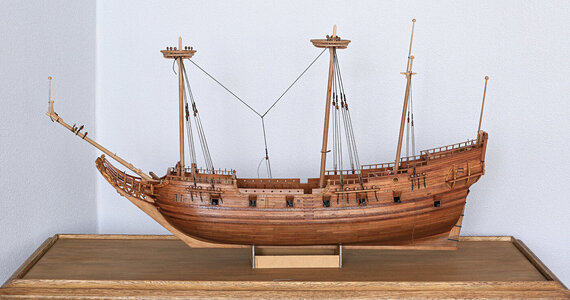
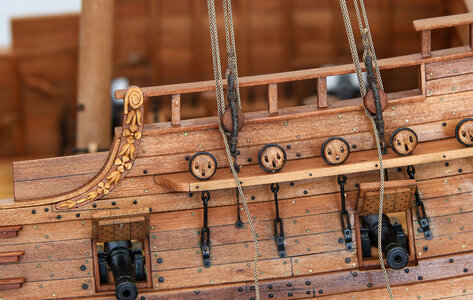
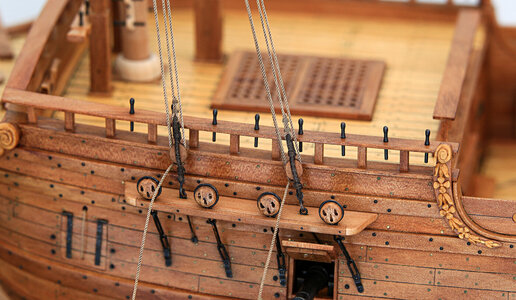
Pinnace Papegojan 1627 - 1/48 [COMPLETED BUILD]

Specific for Matt:
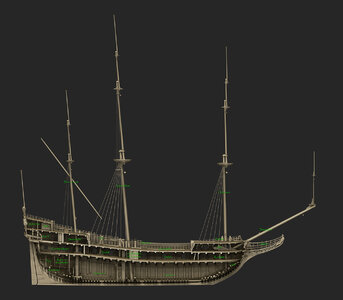
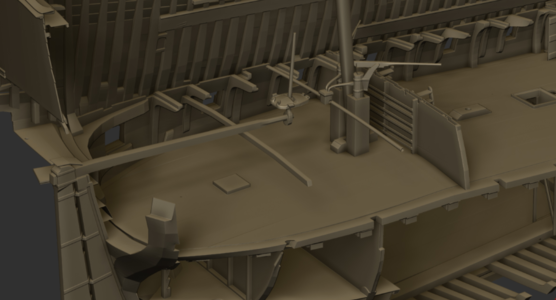
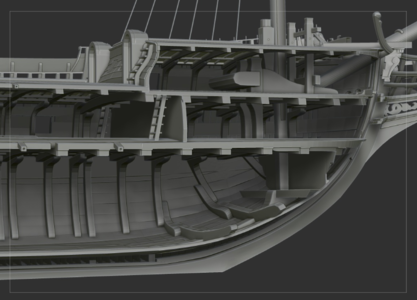
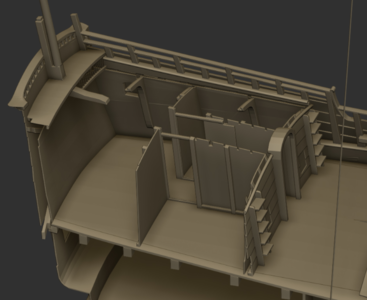
Earlier today I made a promis about a surprize. That surprize was the announcement of the launch of an online program, in which the user can walk through a virtual pinas ship from 1671 and get all sorts of technical information about parts of the vessel.
This afternoon I was informed that the launch is postponed two weeks because the English texts were not entirely installed. So in two more weeks the program ‘Witsen scheepsbouw’ will be online.
Soon on this screeen!
 
@Ab Hoving
This is just simply amazing :oops::oops::oops:
Mind blowed...

It will be endless mine of knowledge for those who would like to build "Witsen" pinas or any other similar to it.
Witsen is on my list... but I'm still with few doubts as I'm not great with carvings and decors and Witsen has quite few of them ROTF
One day I have to get the plans of this vessel and re-think next model.


I have also small update with progress on Papegojan.

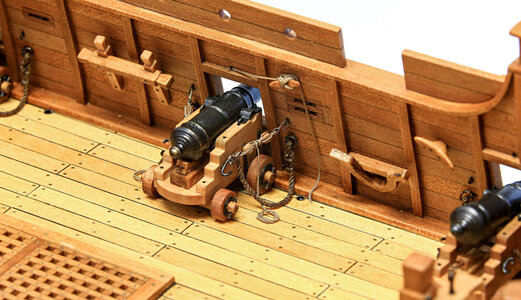
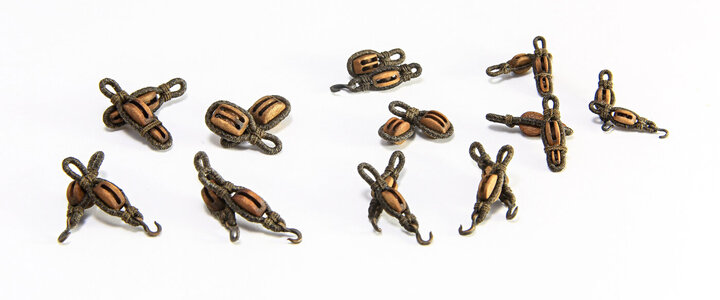
Currently I'm working on so far most annoying details... gun tackles o_O
Blocks 2mm, rope - around 0,25mm
At the same time I'm working on gunport lids tackles - rope 0,35mm

Here's how it looks so far...

5DM34211.JPG

Blocks are made of pear wood.
Long time ago they were made by my friend Mirek on CNC. They were patiently waiting for their turn.

If someone is looking for blocks (I hope admin don't mind if i past the link ??)


@SZKUTNIK has them now available on his online shop.

Cheers,
Matt
 
Last edited by a moderator:
Greetings Mati again. Don't be modest, your work is truly first class !! Explosion

My problem with the plans is the same, today I would also go to another ship, historically more accurate. But with historical details, the model can certainly be specified. I'm so glad we have Ab Hoving with his work. And who is also a very helpful helper.First Place Metal

I also plan to build Vitsen in the future, we'll see what time brings. I'm really looking forward to the walk through Pinasa !!Explosion
 
Hi All,

Another small update.

Ropes, Blocks & Rock'n'Roll ROTF

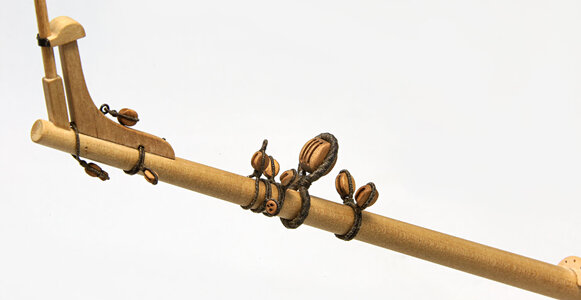
I've started with bowsprit. It's just easier to do it when is not attached due to quite few blocks as you can see... rather than moving whole model and for sure damaging something ROTF

I'm just missing few stoppers for stropped blocks, which were protection for sliding on the bowsprit.

5DM34221.JPG

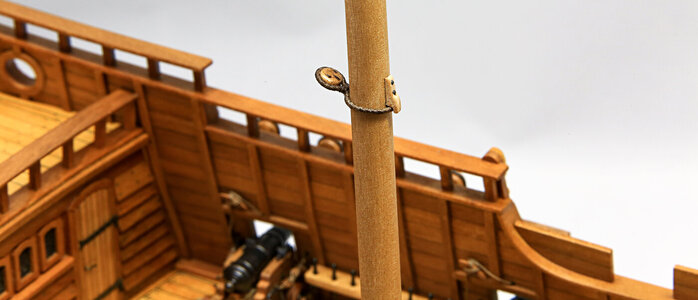
Lower part of main mast also received deadeye which is a part of mizzenmast shroud.

5DM34228.JPG

Double block on the flagstaff, which is part of mizzen sheet.

5DM34230.JPG

All gun tackles and breeching ropes done... so ship is ready for battle ROTF:p

5DM34225.JPG

5DM34231.JPG

Cheers,
Matt
 
Last edited:
Question to Master @Ab Hoving :p;) if I may :)

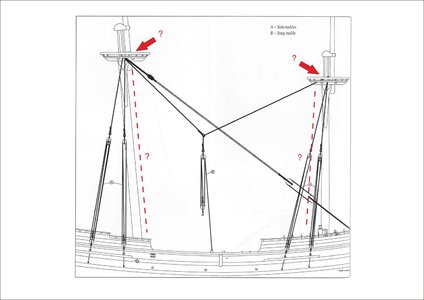
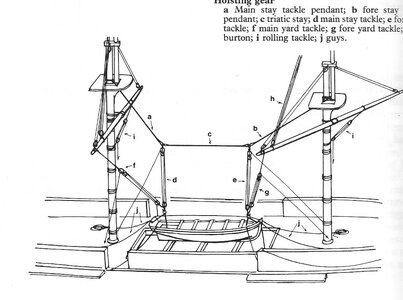
I'm trying to figure out how to fix the main stay tackle pendants around main mast and fore mast heads.

Obviously this part of the rigging is just rigged when in use. So I guess it can't have any permanent splice around the mast head.
It'a a serious secret for me how to do it correctly.
However, this pendant shown below it's rigged before shrouds?... So as the matter of fact should be covered by shrouds, right?
Or can be rigged on top of the shrouds?
Bit confusing to my small head ROTF

Beznazwy-1.jpg

For sure side tackle goes first.
Then mastheads pendants.
I'm guessing main mast pendant can have seized eye at the end and to allow finally to create bight around the masthead?

Zrzut ekranu 2021-03-2 o 14.54.21.png

How about fore mast pendant? Should it be in the same fashion? Or this was hooked around the fore masthead and belayed to fife rail with it's own belaying pin to allow for adjustment with length of this pendant?

Thank you in advance :)
 
Hi Matt,

In fact the truth is simple, though a bit misleading.

As you know rigging the mast starts with the two tackles on both sides of the masts, mostly stored behind the shrouds. The mistake in the drawing is that two of these tackles are used the way it is shown on the drawing. I even doubt if they were ever used the way it is shown here. They were used combined with tackles that were attached to the ends of the yards so for instance for loading and to bring out the boat. Like here:
Witsen_fluit_125vt_3_LR.jpg
So if you rigged the two tackles behind the shrouds, you don't have to do anything more.

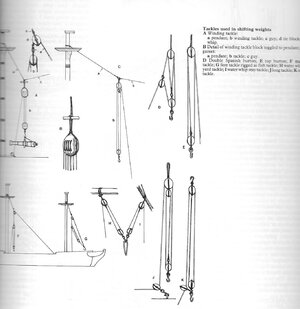
There is another tackle though, you might like to put on your model. This one, on the main stay:
Scan.jpeg
Or here, a bit clearer. Sorry for the bad picture, the book is huge and can hardly put it on my scanner...
Scan 1.jpeg
Hope this helps.
Ab
 
Last edited:
@Ab Hoving I find this very interesting about these tackles. Question if I understand correctly:
So I understand well that the Garnet tackle (the tackle on the stay or on the masthead) was not use for the boat. R.C Anderson speaks about this tackle that it was only was rigged when bringing out the guns (like your drawing shows). And that the tackles behind the shrouds where used for the boat in combine with the yard-tackles. Please correct me if I understand it wrong.
 
Thanks, I find Anderson difficult to read (I'm Dutch and my English is not that good) but glad I understand it correctly
Nice book John Harlands.
 
Thanks @Ab Hoving for your very clarification.
Very interesting. So in fact depends to how heavy load crew was planing to lift they were rigging different tackles.

I think I will go with garnet-tackle. Perhaps with main yard tackle.

...but what you think about garnet-tackle pendant and guy? Should I hang them on top of the shrouds? or on top of side-tackles pendants?
This is where I still have a doubt.
I think reasonable will be to hang them on top of the shrouds as in real life they could remove them at any time.

Thank you!
Matt
 
Not only the weight was the factor to decide which tackle to use. If you want to bring a boat out, you have to have two points outside the ship. That's where the yard tackles were necessary. These tackles were not constantly in place. They were only attached if necessary. The pendants, which were used in combination with the yard tackles were the first standing rigging parts that were rigged, so they are deep down below the shrouds. If in rest, they were hooked to eye-bolts in the channels.
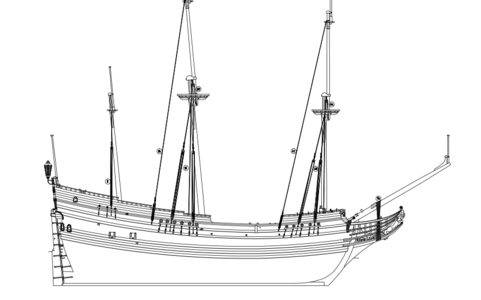
So rigging starts here:
Schermafbeelding 2021-03-03 om 10.15.51.png
For the time being: forget the tackles from the stay and the yard-arms. If you like it, you can always add them later.
 
Thanks, I find Anderson difficult to read (I'm Dutch and my English is not that good) but glad I understand it correctly
Nice book John Harlands.
if you are interested in Harlands book, take a look here:
 
Hi All,

Thank you @Ab Hoving for your time and explanations.

Meanwhile, I've managed to finish all side-tackles blocks.

5DM34238.JPG

Next step... I guess... is to start rigging :p finally after many years.


Cheers,
Matt
 
Last edited by a moderator:
Thank you @Cirdan ;)

Hi All,

This time... finally some rigging.

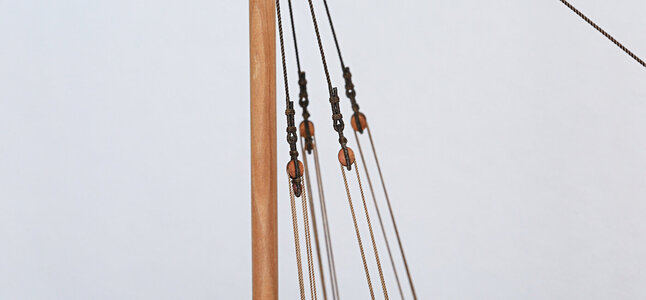
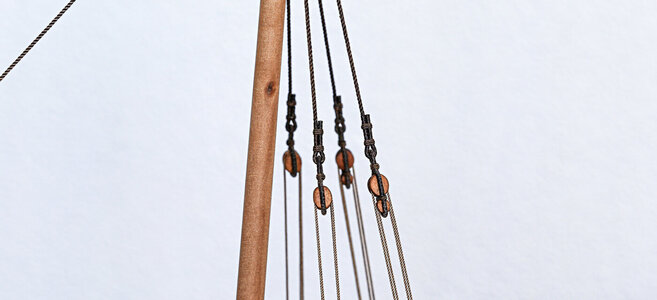
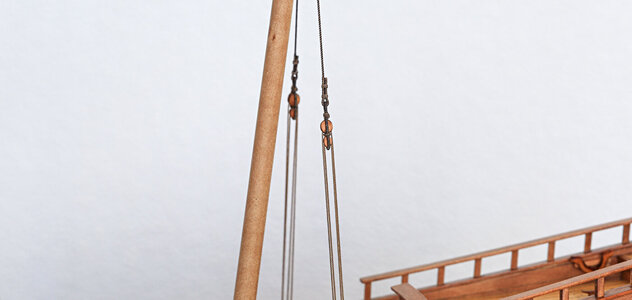
Mentioned above side tackle and garnet tackle.
For the time being garnet tackle pendant and guy will be removed as it will go over the shrouds.
Obviously running rigging is not yet fixed permanently. It will be necessary with shrouds and stays to do some tension adjustments.

Next step... shrouds.

5DM34252.JPG

5DM34263.JPG

5DM34264.JPG

5DM34265.JPG

5DM34247.JPG

5DM34243.JPG

Cheers,
Matt
 
Last edited by a moderator:
Hi Matt,

Amazing work you do.
What technique do you use to color your ropes?
Your tarred rope looks amazing, but also your running rigging.
 
Back
Top