• Ships of Scale has incorportated an extra level of security when you log In. Please follow on-screen prompts to acknowledge that you are not a robot via a "Check Box" or a "Pictorial Check Box Puzzle". This is needed due to higher level of AI Activity Security.
  • SUBSCRIBE TO SHIPS IN SCALE TODAY!

    The beloved Ships in Scale Magazine is back and charting a new course for 2026!
    Discover new skills, new techniques, and new inspirations in every issue.

    NOTE THAT OUR NEXT ISSUE WILL BE July/August 2026
  • Win a Free Custom Engraved Brass Coin!!!
    As a way to introduce our brass coins to the community, we will raffle off a free coin during the month of August. Follow link ABOVE for instructions for entering.

Pinta Caravel 1:65 by Amati - an End of Build Log

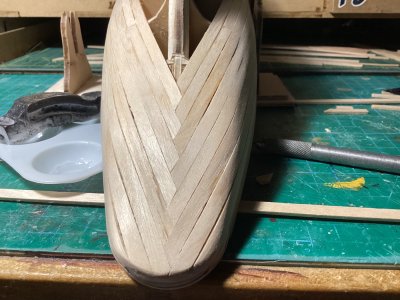
Regarding the video only instructions for the Artesania Latina Pen Duick ... they leave some hull details to the builders imagination. :oops: Plus the planks at the bow do not end at the keel, but instead meet/join in the air in front of the keel. Cautious And the stern assembly o_O ... Geeze but I miss good instructions.
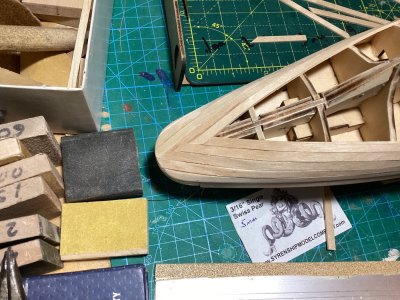
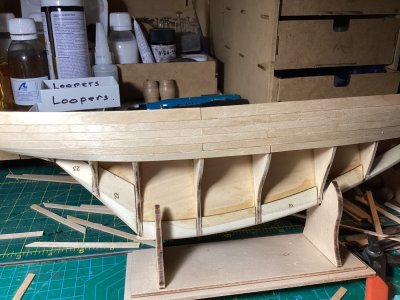
 
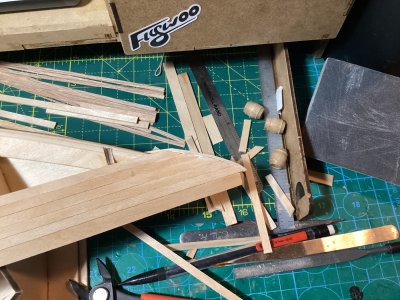
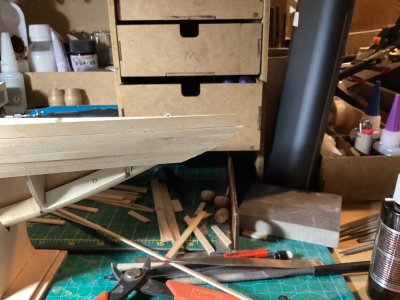
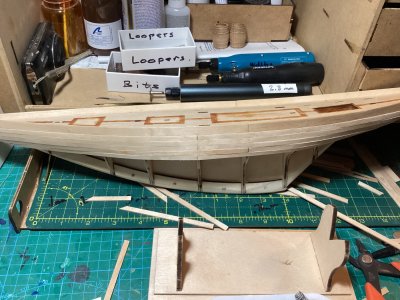
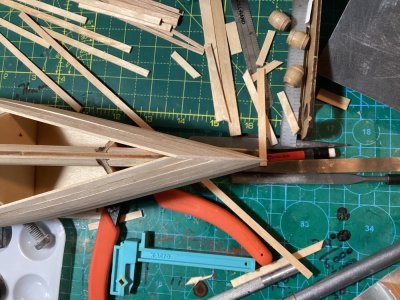
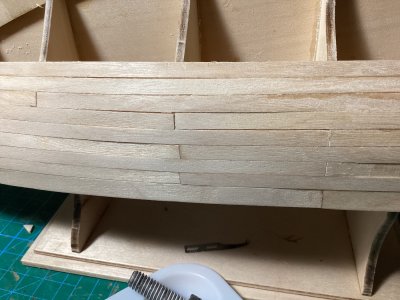
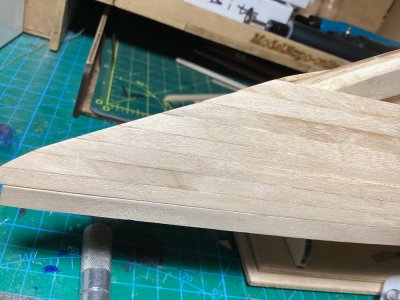
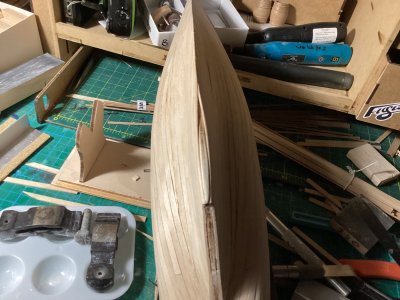
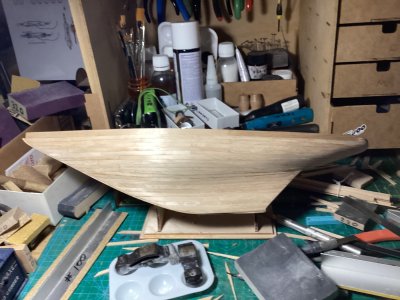
9 strakes mounted, starting from the top.

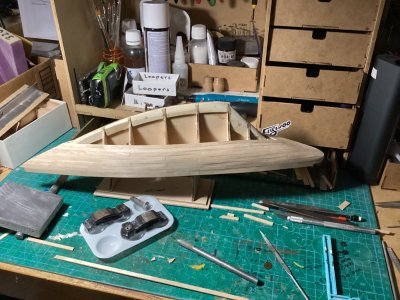
IMG_7145.jpegIMG_7144.jpegIMG_7140.jpegIMG_7141.jpeg

Not following the video for this, as the planking shown changes during the vid without explanation ... with the port side being planked differently than the starboard. And even shows a long plank being added, longer than anything included with this kit. So ...

I do preliminary sanding while laying planks, to be sure that I am not doing anything that cannot be sanded out later.

This gets sanded and puttied and sanded again, so I was mainly concerned that the bow apex was in line with the hull frame, and that the stern was correctly shaped. Looking for symmettry.
 
Last edited:
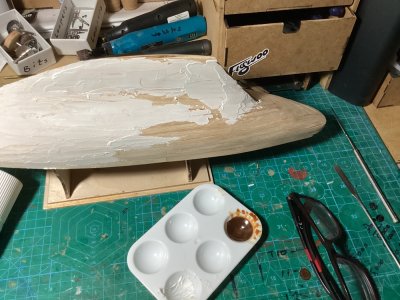
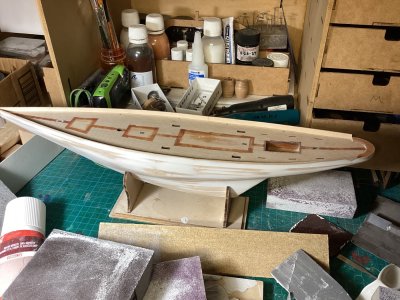
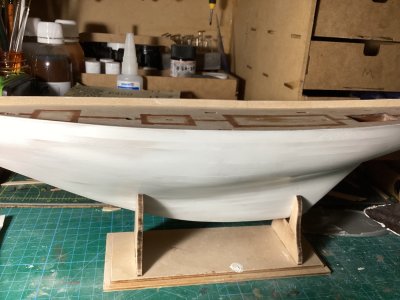
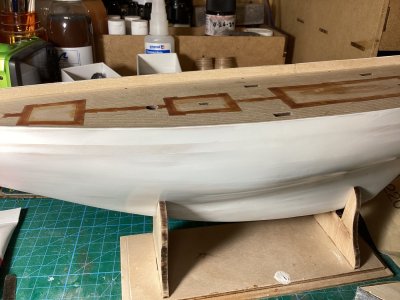
Hull is planked, plus I applied the acrylic putty, and sanded it down.

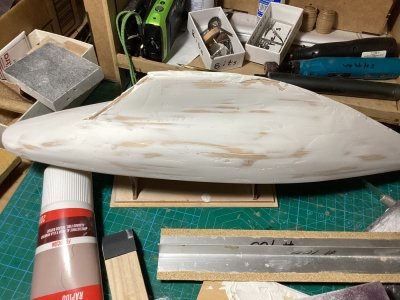
Still a couple of blemishes to putty out. Then it gets 3 coats of primer filler, before any finish coats are applied.

I have never puttied a hull before, so this was all new to me. Before thus, I always chose to show the planks and the grain, even with finish coatings applied. Anyway, I put too much putty down, and had way too much putty removal to do.

Here are some picks, of the final planking, putty unsanded, and the puttied sanded hull.
IMG_7166.jpegIMG_7169.jpeg
IMG_7174.jpeg
IMG_7175.jpegIMG_7182.jpegIMG_7192.jpeg
IMG_7196.jpegIMG_7191.jpegIMG_7198.jpeg

Cheers.
 
Last edited:
So ...
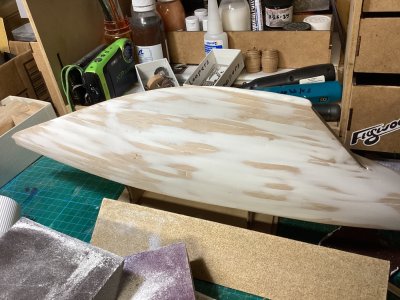
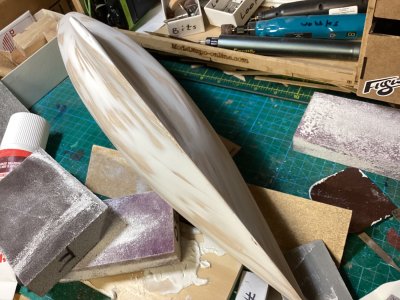
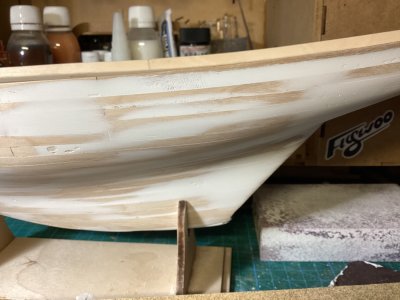
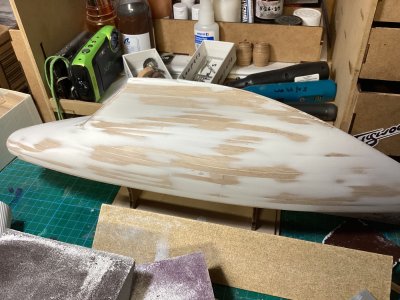
  • sanded it down pretty good
    • made a point of removing some artifacts
    • to that end, I also used flat (not sponge or finger held) sandpaper blocks to remove some high plank edges - a big YES to this technique
      • sponges or holding sandpaper in my fingers won't do that - tends to remove everything equally, smoothing the high spots almost as much as the low spots - and if the high spots are wood, even moreso as the putty sands off easier than the wood
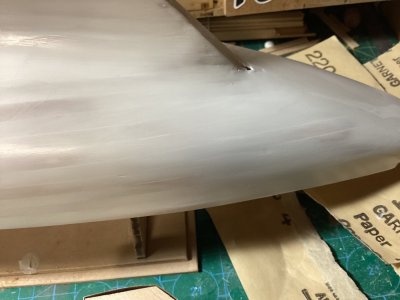
  • applied 4th coat of primer filler
    • likely gonna sand it down again - more flat sanding block work and some sponging -
    • and apply a 5th (and last?) coat of primer filler -
    • yeah - if 5 coats doesn't get it there - this isn't for me.
    • And I''ll have to go with a worn fiberglass hull look
    • Or more realistically, since some planking lines may still be visible ... it will look like what it is - a carvel planked hull built for sailboat racing - with most planking edges feathered out in the finish.
    • So - maybe the 4 coats of primer filler is enough then. Should still look like a sleek carvel planked sailboat hull built to cleave water.
Hmmm ... maybe I don't want to go to the effort of removing every single artifact from that hull? Maybe.
 
Back
Top