• Win a Free Custom Engraved Brass Coin!!!
    As a way to introduce our brass coins to the community, we will raffle off a free coin during the month of August. Follow link ABOVE for instructions for entering.

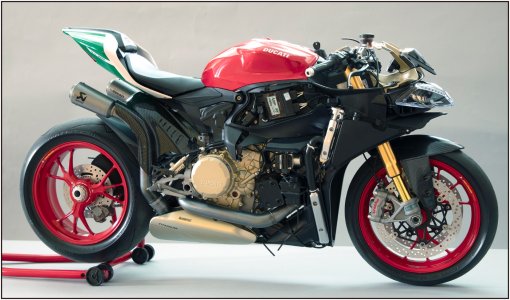
Pocher 1:4 Ducati Panigale S ‘Anniversario’ + ‘Final Edition

Thanks, Stephan. You are right. Luckely we have this sub-forum: Super Detailing Static Models / Other Genres
With this explanation:
This forum gives our members a chance to share ideas, techniques, and results of "super detailing" their models. This will not be limited to ship models as the techniques used to super detail models typically spans all types of models, not just ships. It also gives our members the chance to showcase their modeling prowess, regardless of whether their best work such as Planes, Cars, Trains, Motorcycles, Figurines, etc.
Regards, Peter
Yeah maybe an old plane from before WW I or from around that time. Something that triggers me a long time.
 
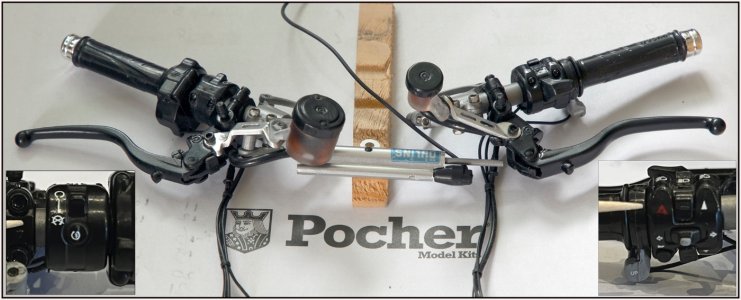
Took some time to work on the Duc. Both handle bars:
034 Handle Bars.jpg
The left on has 25 parts, 11 screws/bolts and 9 tiny decals. The right one has 24 parts, 14 screws/bolts and 2 decals. Decals of the size of +/- 1,5 mm .....:rolleyes: On both inserts you can see the point of a toothpick.
Made on both 2 extra wires from the switches. And the 2 reservoirs got there fluid.
One minor point for Pocher: to made the brake and clutch levers functional there is a little spring in the construction. There was only 1 deformed little spring in the kit. Made a e-mail request to Hornby. Will see how they react.

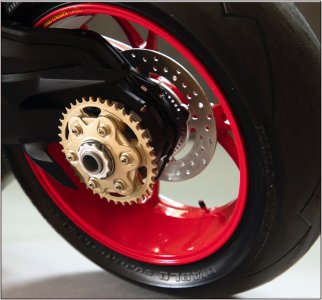
Also some detailing on the rear wheel:
035 Rear left.jpg
Also a tiny decal in the edge of the rim. And a securing wire on the main axel screw. The 6 screw threads received their paint markings after tightening to the correct torque.

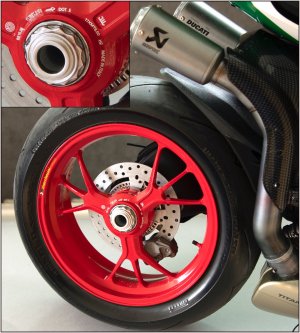
The other side:
035 Rear right.jpg
The main screw got also the securing wire. The inscription on the wheel around the hub consists of 9 tiny decals. That's a plus point for Pocher. :)
On to the next chapters.
Regards, Peter
 
Thanks, Dean. Tiny white decals on a white background ;)……. and to long in the water and it’s floating away like a flea …. :( Indeed a challenge.
Regards, Peter
I put them in the water one at a time and pull them out quickly while still on the backing paper. I use an xacto knife, slide the blade under the decal and get the decal on the blade where it hangs off enough to attach to the surface when placed. But sometimes a toothpick is needed to assist and position the decal. Definitely tedious work! ;)
 
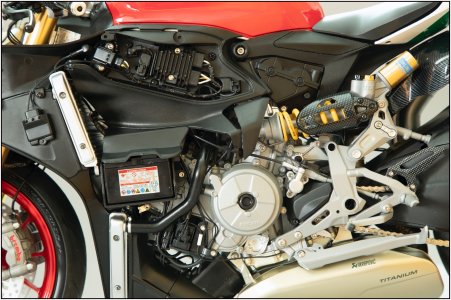
I've spent quite a few hours building the Duc and now have all the parts, except for the fairing, installed and the wiring and tubes connected.
Some parts are already obstructing the view, and with the fairing installed, they'll be even more so. It's a shame, but it's a model based on the original. And you want a sleek engine for that. So, I've taken some photos of both sides first.

The left side:
036 Left side.jpg
Zoomed in slightly on the engine:
037 Left side.jpg
Under the tank is the space where all the electrical components are located. The wiring harnesses are wrapped with 'fabric tape'.

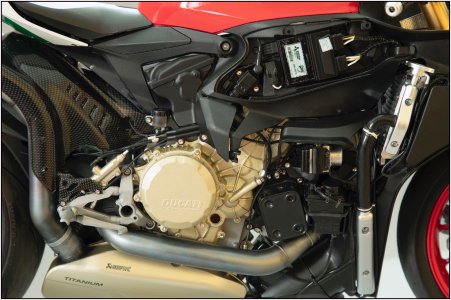
The right side:
038 Right side.jpg
And the engine:
039 Right side.jpg
Ditto with the wrapped wiring harnesses.

Now I can install the fairing.
Regards, Peter
 
Last edited:
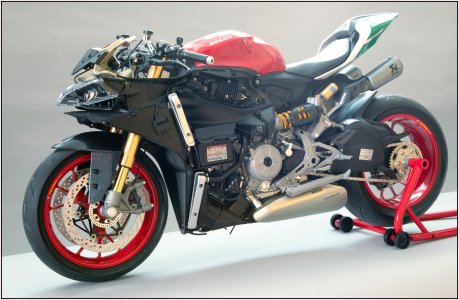
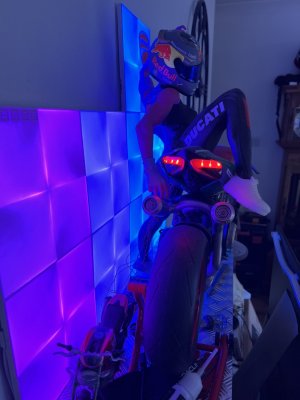
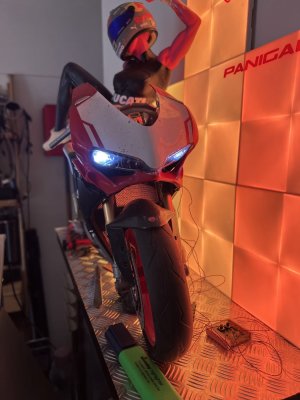
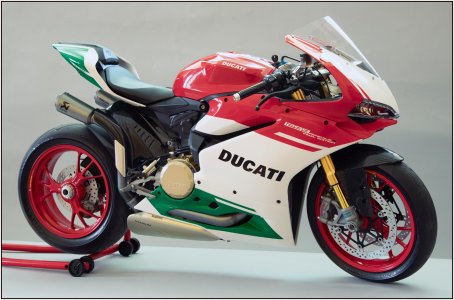
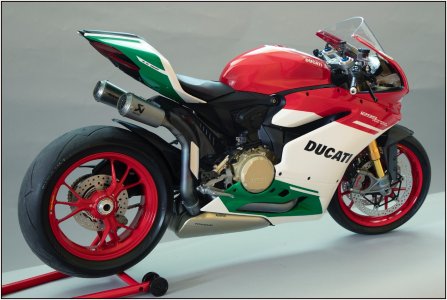
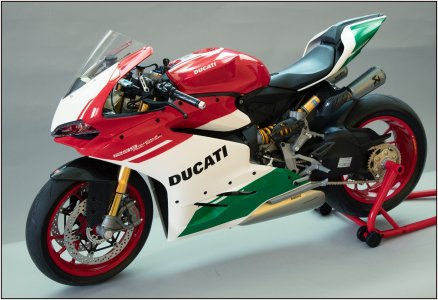
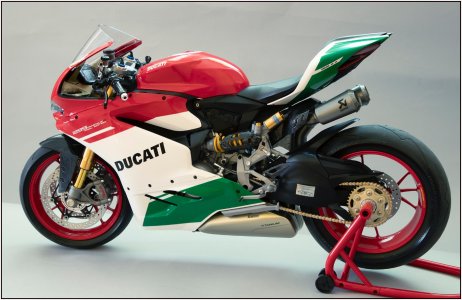
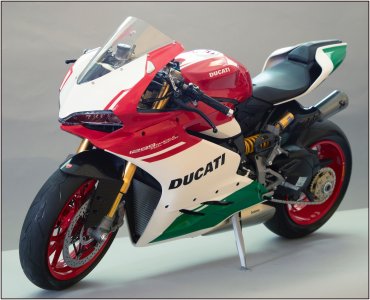
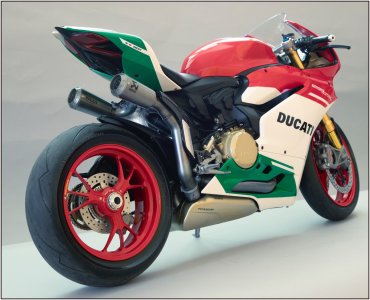
And a few more hours later, it's finished. From all 4 angles:
040 Right side.jpg
041 Right side.jpg
042 Left side.jpg
043 Left side.jpg

On the functioning sidestand:
044 Parking.jpg
045 Parking.jpg
With a nice view of the exhaust from this position. If I do say so myself... I'm pretty proud of it!:)
And as for Pocher: a fantastic kit. Especially when installing the fairing, I was once again impressed by the perfectly fitting parts.
Regards, Peter
 
Back
Top