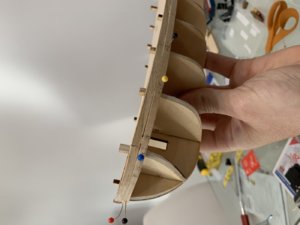
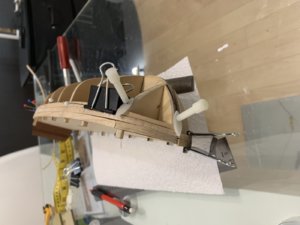
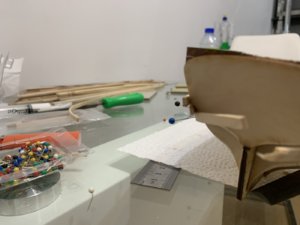
with me just the same of my Occre kit (santisima trinidad) with what I have left from the hull planking I can build another ship, and for my Victory (from Mantua) I have had to buy extra hull planking
-

Win a Free Custom Engraved Brass Coin!!!
As a way to introduce our brass coins to the community, we will raffle off a free coin during the month of August. Follow link ABOVE for instructions for entering.
-

PRE-ORDER SHIPS IN SCALE TODAY!
The beloved Ships in Scale Magazine is back and charting a new course for 2026!
Discover new skills, new techniques, and new inspirations in every issue.
NOTE THAT OUR FIRST ISSUE WILL BE JAN/FEB 2026
You are using an out of date browser. It may not display this or other websites correctly.
You should upgrade or use an alternative browser.
You should upgrade or use an alternative browser.
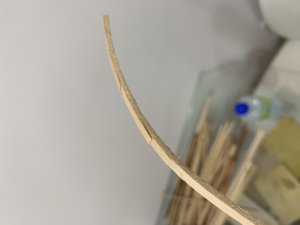
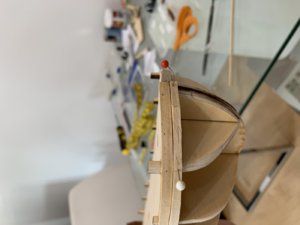
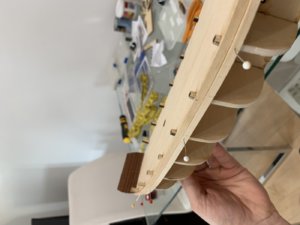
Actually the first plank I installed had a breaking point right at the bow curvature. See below photo. I believe this is ok given that it will be covered. Do I need to use wood filler or anything or just keep it as is?
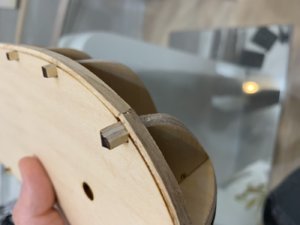
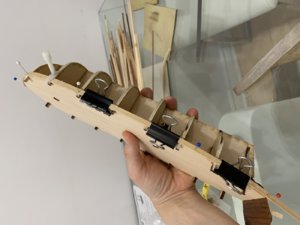
Which looking from top view actually created a small bump now. Should I be worried about this? How can I remedy it?
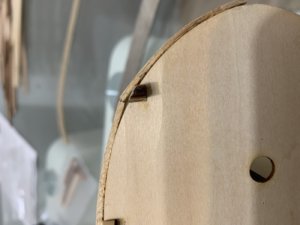

Which looking from top view actually created a small bump now. Should I be worried about this? How can I remedy it?

Last edited:
- Joined
- Dec 1, 2016
- Messages
- 6,383
- Points
- 728

once all the first layer of planking is done then sand the entire hull and smooth out any bumps so at this stage you OK
Quick question as I’m now measuring the distances from the bottom of the first plank to the keel in order to ascertain how much tapering needs to be done. Do I measure up to the beginning of the keel or do I go to halfway through?
Related question: will the keel be planked as well?
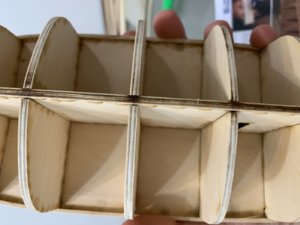
Also when I’m measuring from the transom do I go all the way to the keel or just to the bottom of the transom? Do I account for the curvature of the bulkheads or straight line?
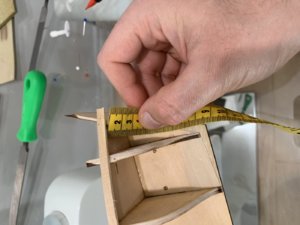
Related question: will the keel be planked as well?

Also when I’m measuring from the transom do I go all the way to the keel or just to the bottom of the transom? Do I account for the curvature of the bulkheads or straight line?

Last edited:
- Joined
- Dec 1, 2016
- Messages
- 6,383
- Points
- 728

Also when I’m measuring from the transom do I go all the way to the keel or just to the bottom of the transom? Do I account for the curvature of the bulkheads or straight line?
lay that measuring tape along the edge of the bulkhead it is NOT a straight line measurement. Measurements should go all the way down to the edge of the profile center piece at the bottom.
Quick question as I’m now measuring the distances from the bottom of the first plank to the keel in order to ascertain how much tapering needs to be done. Do I measure up to the beginning of the keel or do I go to halfway through?
Related question: will the keel be planked as well?
quick answer
the keel itself is a solid timber that rests on the edge of the profile piece. Personally I run the planking to the center of the profile piece so the keel ends up sitting on the planking. Other builders will install the keel first then cut a rabbit so the garboard plank notches into the keel.
there is no planking involved with the keel itself
check out the build log for the royal james below
OR
you may want to go here and check out the articles on planking
Thanks Dave, will check the links.
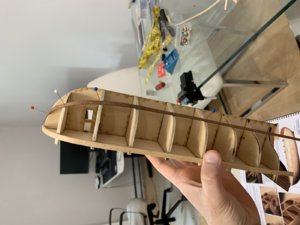
So I’m reading multiple resources at my disposal to start planking. My manual wants me to measure deck to keel at various bulkhead intervals and do the tapering maths then plank 10 timber after which I will add an untapered plank allowing it to follow its natural bend (which will be approximately midway down the hull) and cutting the overlapping planks at both the bow and stern. They want me to actually make place for the new plank to rest nicely but cutting the edges of some of the previously installed ones at both end.
Another document I have on hand, uses a method of actually installing said midway plank (without gluing it) which divides the hull into an upper and lower parts which will be planked separately starting by the upper part.
I personally find the second method to be more practical as you physically have a plank in the middle which allows you more accurate measurements and also allow to feel how the planks are fitting with respect to reference points (deck, midway plank, keel)
What are you guys thoughts? Can I go with the second method or do you suggest strictly following the manual for a first timer?
- Joined
- Dec 1, 2016
- Messages
- 6,383
- Points
- 728

Another document I have on hand, uses a method of actually installing said midway plank (without gluing it) which divides the hull into an upper and lower parts which will be planked separately starting by the upper part.
this is called lining off the hull and what you are doing is taking thin strips of wood and bending them so they naturally follow the shape of the hull. you now have belts of planking which are planked.
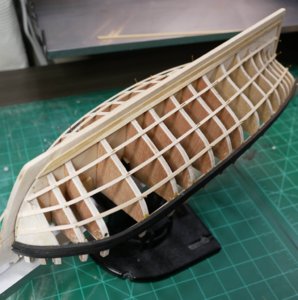
this is called lining off the hull and what you are doing is taking thin strips of wood and bending them so they naturally follow the shape of the hull. you now have belts of planking which are planked.

hello Bringo, it is not up to me to give you some good advice, because I am also a Novato, but I would say let the wood work and find its place (in the first planking) if it is necessary to use pieces refill do it, when the first planking is finished and it is not 100% then you still have sandpaper and stuffing a grater or a scraper sometimes do wonders, which is important that the hull gets its shape that it should have (for your 2nd finishing board of the hull) and do as I do "y no ropes mucho la cabeza como haser" which is important that your planks are in the water enough time to bend them in their shape more easily.
Greetings DJ56 (Willy)
Greetings DJ56 (Willy)
One thing I didn’t understand in the manual instructions is that they want me to account only for the first bulkhead in terms of calculating the tapering reduction but not the bow (distance from deck to keel at bow). Why? The area is smaller than at the first bulkhead and it will get narrower, doesn’t make sense.
YOU WILL HAVE GOOD AND BAD DAYS, THE BAD ONES YOU CAN TURN THEM POSITIVE BY LEARNING BY YOUR MISTAKES. Don


