- Joined
- Dec 7, 2022
- Messages
- 207
- Points
- 113

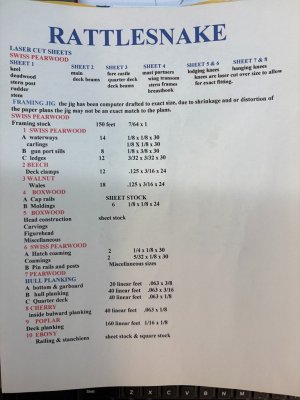
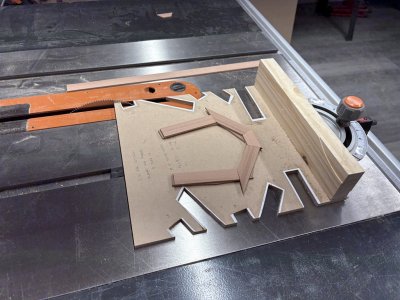
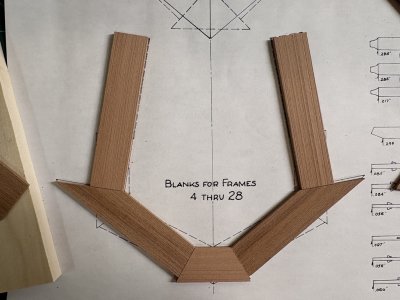
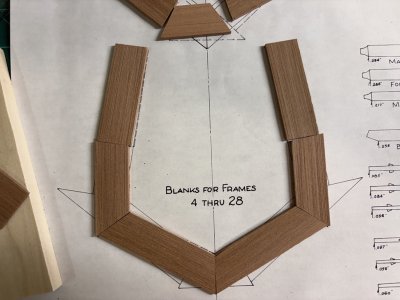
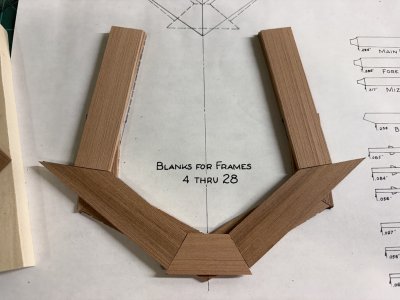
This class-offering certainly will have similarities to Dave Steven’s exposition on Sir Edward Hawke; but it will also have noticeable differences. With respect to hull construction, Dave created laser cut components to build many of the Hawke frames. Here we will stay true to the Hahn method – building sistered frames from strip stock. Full masting and rigging is also planned for this model.
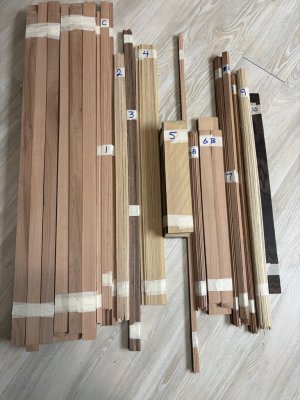
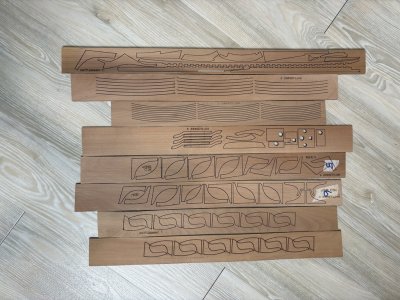
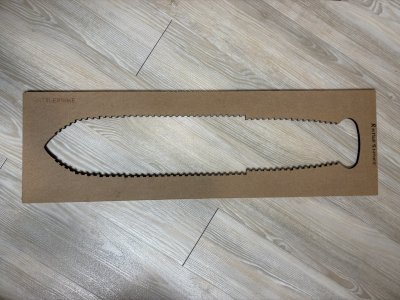
I will be working from the semi-kit that is made available at The Lumberyard for Model Shipwrights. To help guide the construction of the model there are several Harold Hahn documents that I will appeal to. In Dave’s thread on Harold Hahn it was made exceedingly clear that beyond Hahn’s modeling and artistic skills, he also was a prolific author!
Some of the Hahn literature that I find useful for this project include:
Ships of the American Revolution and Their Models. In this book, Hahn provides basic construction information on 6 ships and detailed information on creating a model of HMS Alfred. While Alfred is a much more involved model than that of Rattlesnake, the techniques involved are basically the same.
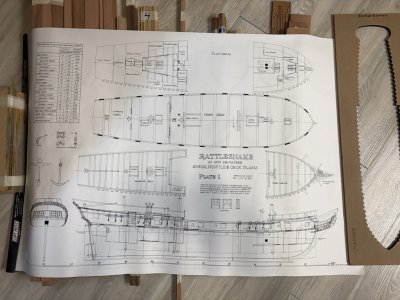
Rattlesnake, a 20-Gun Privateer. This article was published in the Nautical Research Journal Vol 39 No 1. You can also find a link to the original typed manuscript within Dave’s thread on Harold Hahn. In this article, Hahn talked about choices he made in creating his plans and model. Some pictures of the model were printed in the article. Interestingly, a full set of plans were published as part of the article.
I will also be making use of a collection of photographs of Hahn’s Rattlesnake model that can be viewed at https://www.modelshipbuilder.com/img/models/rattlesnake.pdf
Harold Hahn drew his plans based on drawings made by Howard Chapelle, George F. Cambell (who produced plans for the Model Shipways Rattlesnake kit), a model of Rattlesnake that was held by the Smithsonian, as well as Admiralty drawings.
Chapelle noted that history of Rattlesnake was vague, but that she had received her first commission in June of 1781. In 1782 the ship had been captured by the British and renamed Cormorant. At this time the Admiralty drawings were made. Apparently, the ship was renamed Rattlesnake in 1784. This information was all gleaned from Hahn’s article in the NRG.
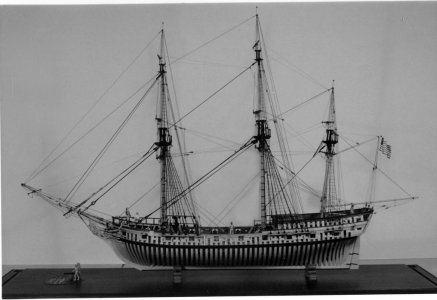
It was this photograph of Hahn’s model that hooked me quite a while ago:
An order was placed in 2017 for the semi-kit. It has been on the shelf for a while and now it is time to get to it. A very interesting aside – The Lumberyard has NOT increased the price of this product; it now cost exactly the same as in 2017!
I will be working from the semi-kit that is made available at The Lumberyard for Model Shipwrights. To help guide the construction of the model there are several Harold Hahn documents that I will appeal to. In Dave’s thread on Harold Hahn it was made exceedingly clear that beyond Hahn’s modeling and artistic skills, he also was a prolific author!
Some of the Hahn literature that I find useful for this project include:
Ships of the American Revolution and Their Models. In this book, Hahn provides basic construction information on 6 ships and detailed information on creating a model of HMS Alfred. While Alfred is a much more involved model than that of Rattlesnake, the techniques involved are basically the same.
Rattlesnake, a 20-Gun Privateer. This article was published in the Nautical Research Journal Vol 39 No 1. You can also find a link to the original typed manuscript within Dave’s thread on Harold Hahn. In this article, Hahn talked about choices he made in creating his plans and model. Some pictures of the model were printed in the article. Interestingly, a full set of plans were published as part of the article.
I will also be making use of a collection of photographs of Hahn’s Rattlesnake model that can be viewed at https://www.modelshipbuilder.com/img/models/rattlesnake.pdf
Harold Hahn drew his plans based on drawings made by Howard Chapelle, George F. Cambell (who produced plans for the Model Shipways Rattlesnake kit), a model of Rattlesnake that was held by the Smithsonian, as well as Admiralty drawings.
Chapelle noted that history of Rattlesnake was vague, but that she had received her first commission in June of 1781. In 1782 the ship had been captured by the British and renamed Cormorant. At this time the Admiralty drawings were made. Apparently, the ship was renamed Rattlesnake in 1784. This information was all gleaned from Hahn’s article in the NRG.
It was this photograph of Hahn’s model that hooked me quite a while ago:
An order was placed in 2017 for the semi-kit. It has been on the shelf for a while and now it is time to get to it. A very interesting aside – The Lumberyard has NOT increased the price of this product; it now cost exactly the same as in 2017!