TKAM, I dont know if you got all your blocks yet but Model Expo is having a sale on falkonet blocks 50% off today
-

Win a Free Custom Engraved Brass Coin!!!
As a way to introduce our brass coins to the community, we will raffle off a free coin during the month of August. Follow link ABOVE for instructions for entering.
-

PRE-ORDER SHIPS IN SCALE TODAY!
The beloved Ships in Scale Magazine is back and charting a new course for 2026!
Discover new skills, new techniques, and new inspirations in every issue.
NOTE THAT OUR FIRST ISSUE WILL BE JAN/FEB 2026
You are using an out of date browser. It may not display this or other websites correctly.
You should upgrade or use an alternative browser.
You should upgrade or use an alternative browser.
- Joined
- Mar 27, 2019
- Messages
- 823
- Points
- 403

TKAM, I dont know if you got all your blocks yet but Model Expo is having a sale on falkonet blocks 50% off today
Yeah I got that email too. As of now I have a whole mess of blocks from Passaro and a handful of test blocks from China. I think I'm good for awhile.
- Joined
- Mar 27, 2019
- Messages
- 823
- Points
- 403

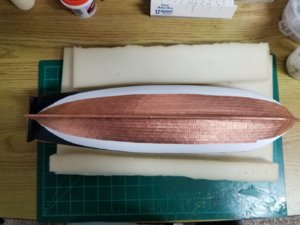
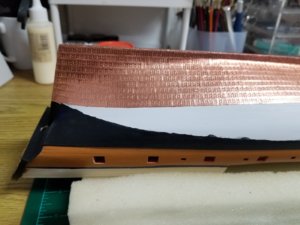
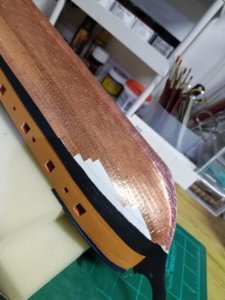
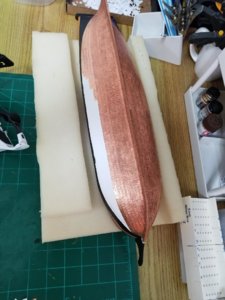
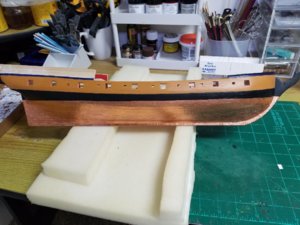
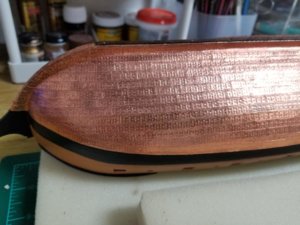
This pre-stamped copper tape from China really is looking good. I don't know why American and European suppliers aren't doing the same thing.
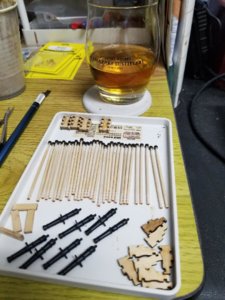
So the roll of 500 plates need to be individually cut, that takes a couple of hours. The last pic you see represents maybe 2.5 hours. Total estimate for entire Hull I'd say a bit under 20 hours of labor, that's a solid 10-15 hours less than stamping my own. And they are all identical as opposed to a certain randomness when I made my own. Overall I'm happy with the product.
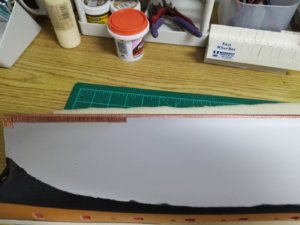
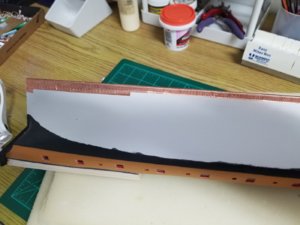
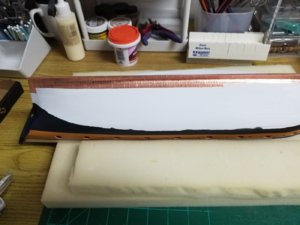
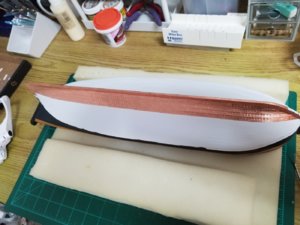
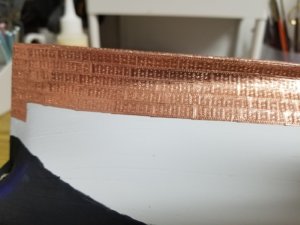
So the roll of 500 plates need to be individually cut, that takes a couple of hours. The last pic you see represents maybe 2.5 hours. Total estimate for entire Hull I'd say a bit under 20 hours of labor, that's a solid 10-15 hours less than stamping my own. And they are all identical as opposed to a certain randomness when I made my own. Overall I'm happy with the product.


Very nice, cant wait till you start the rigging I am stalling out on mine
- Joined
- Mar 27, 2019
- Messages
- 823
- Points
- 403

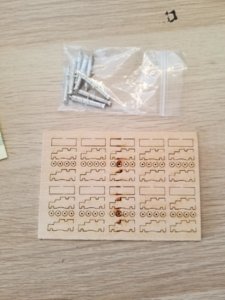
The extra gun carriage laser cut sheet and cannon finally arrived from Model Shipways. It took awhile as they are not too responsive to customer call outs but in the end they didn't charge me for the extra materials, that's a win in my book. I plan on filling 8 of the remaining 10 gun ports that this kit has closed with these cannon, the port in the front was not normally used when Rattlesnake was sailing the seas so that port will remain closed.

- Joined
- Mar 27, 2019
- Messages
- 823
- Points
- 403

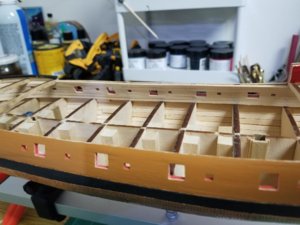
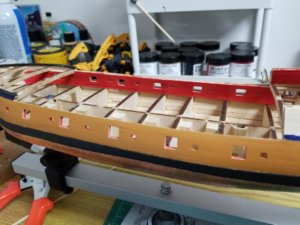
Now that the hull is complete, at least from from wales on down, I'm starting on the inside of the hull. As you know it's best to do one thing before you tackle the next job and in the right order. For example, I'm just dying to plank the forecastle area but I know I should (I'm figuring this out on my own because the "detailed" practicum that came with Rattlesnake is bare on details) do the ceiling planks first. That way I can reach my fingers down to set the planks in position. So, I'm working here on the ceiling planks (bulwarks) from bow to stern. I'm going to plank as far forward as I can even though you won't be able to see too much under the forecastle area. Underneath the poop deck will be completely closed up so I'm only planking to just past where the bulkhead with doors will be.
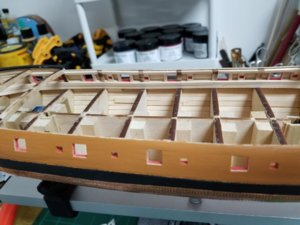


...now I understand what makes our hobby even more interested, it is a single malt scotch... in a glass. And yes, that's a glass of single malt scotch in the background.
I think every one has there own way of doing it, I did ceiling first mine worked out so I didnt have to split the top one then waterway then deck
...being you said you did it differently, would you mind to show us your build or finished model?I think every one has there own way of doing it, I did ceiling first mine worked out so I didnt have to split the top one then waterway then deck
- Joined
- Mar 27, 2019
- Messages
- 823
- Points
- 403

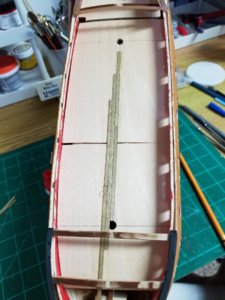
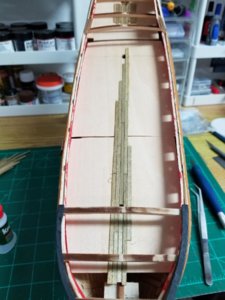
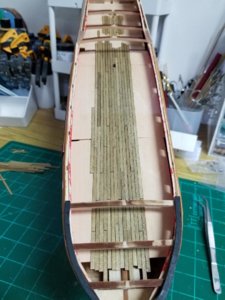
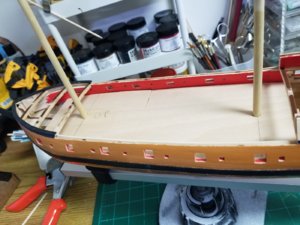
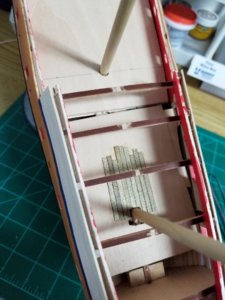
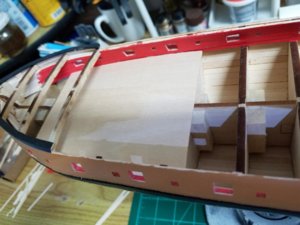
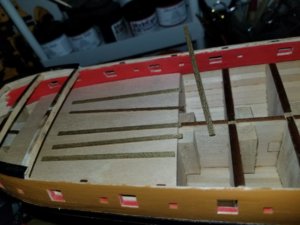
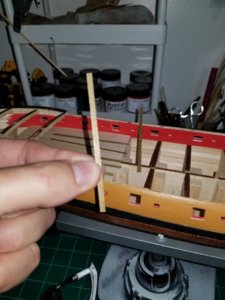
I'm moving ahead a bit here but (again) while I wait for bow planks to soak I have time to do other stuff. I got these genuine teak strips for the decking from a Chinese supplier and I like what I see. The only problem is they are super thin and without a false deck they just won't hold a straight line or accept deck furniture like the thicker boxwood strips would. So I'm working on creating a false deck first along the gun deck, then one for the poop, then one for the forecastle.


I recently bought this model. After posting on another board I was told this would be a great starter kit. This will be my first wooden ship model. I have also purchased the Mamoli USS Constitution that is 38 inches. It was suggested that I do the Rattlesnake first as a learning kit.
- Joined
- Mar 27, 2019
- Messages
- 823
- Points
- 403

Honestly I wouldn't call this a beginner's kit, only because the "directions" are bereft of anything useful. If you really want to start with this kit I would buy the practicums for it.

 www.lauckstreetshipyard.com

Search Results Page | lauckstreetshipyard
 www.lauckstreetshipyard.com
- Joined
- Mar 27, 2019
- Messages
- 823
- Points
- 403

- Joined
- Mar 27, 2019
- Messages
- 823
- Points
- 403

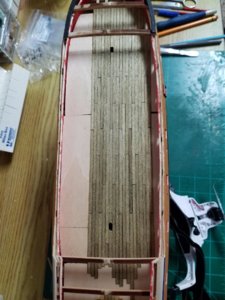
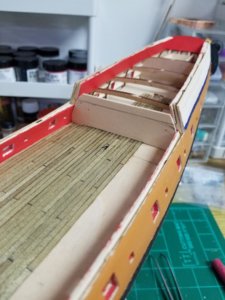
Gun deck planking is proceeding nicely. I'm really digging these teak strips. Again, you need a false deck if you plan on using decking strips as thin as these. Most of the European kits use false decks and thin strips, I think my Bounty was Tanganyika wood for the deck which were nice an uniform but I needed to stain and wipe with mineral spirits, stain and wipe, stain and wipe, all to get that off grey color of a deck well used to scrubbing with holy stones. These teak strips are already the correct color and I don't think I'll be staining them at all.
