Re: Royal William 1/48 scale

Joined
May 25, 2017
Messages
3,201
Points
688

Location
Australia.
30.jpg

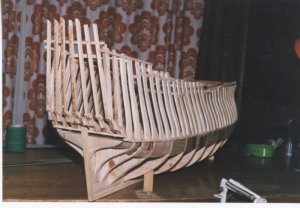
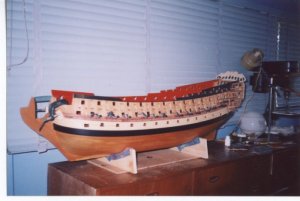
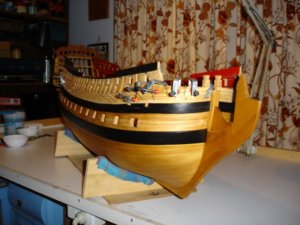
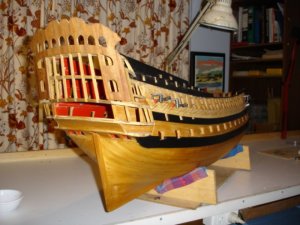
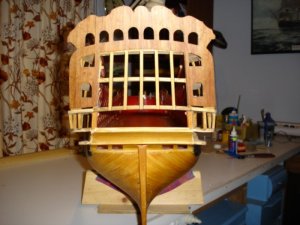
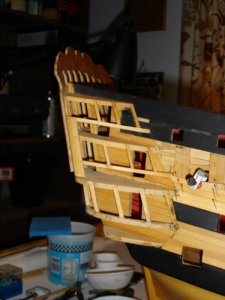
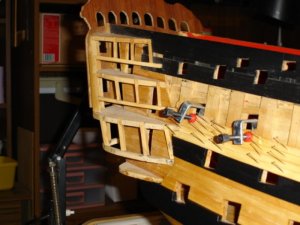
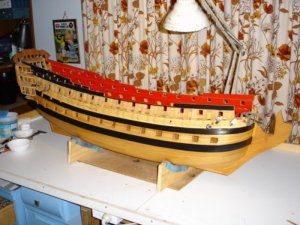
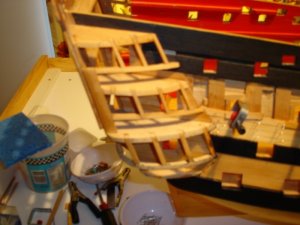
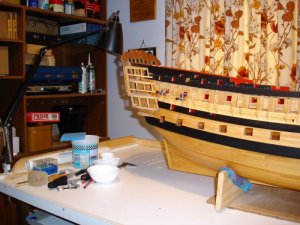
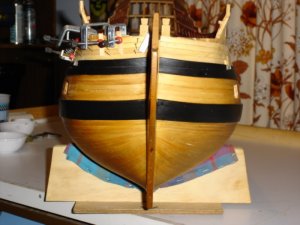
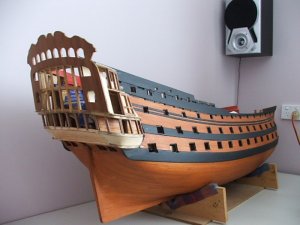
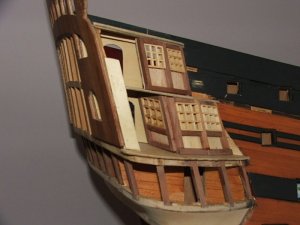
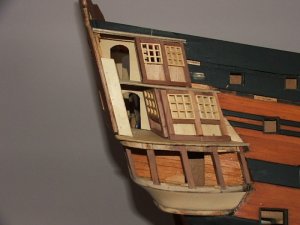
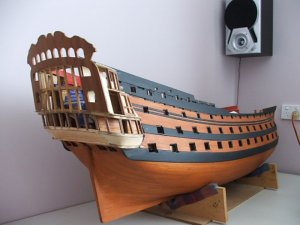
This is how the ship looks as of last week, I hav'nt worked on her for quite a while, but have to get her finished, she is scratch built except for the cannons, dead eyes and blocks, she is 55inches long from the stem to the transom, 12inches wide and 18inches high at the transom.


1.jpg
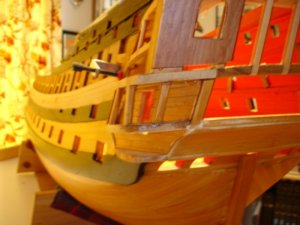
Close up


2.jpg

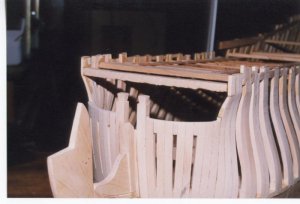
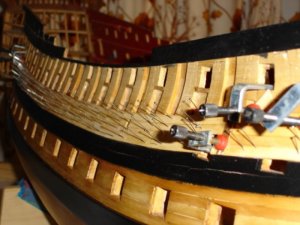
I built her from Euro model plans which I resized from 1/72 to 1/48, and then using the body and water lines I drew the frames up, I used bulkhead type frames below the wales and double frames above the wales, with a belt of western red cedar between the frames at the wales level.


3.jpg
Full view, I don't have a lot of pics as this was pre digital period


4.jpg
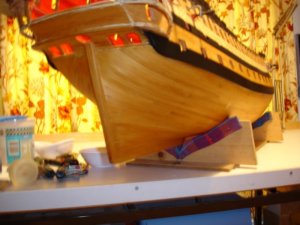
Bow view


5.jpg6.jpg
The hull is planked with Houn Pine and all the wales are Tasmanian Myrtle painted black.


7.jpg1.jpg
 
Last edited:
zoly99sask said:
Wow John,this is a huge model,is the full lenght is 55 inches or just the hull?

G'day Zoly, at the moment it is just the hull that is 55inches, longer with the bowsprit, I was going to frame all the decks, but I have so much to do that I will just do some beams across and top with thin plywood with planks on it, also when she is finished she will probably not look much like the RW as I will be doing my own decorations from what I have at hand, I am not much of a carver, thanks for dropping by, catch ya soon,

best regards John.
 
Last edited by a moderator:
Y

21.jpg
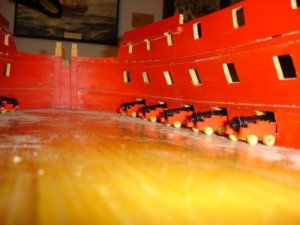
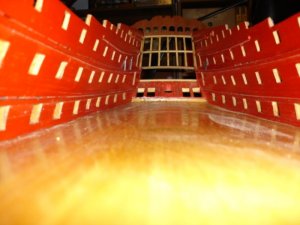
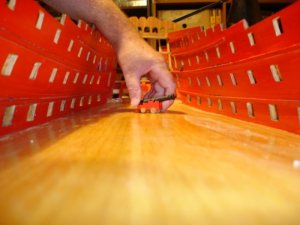
along the main gun deck


25.jpg
one of the lower deck cannon


23.jpg
view to the port bow


30.jpg
you have probably noticed she looks a slightly darker colour than the preceding pics, this is because I sanded her down when last I worked on her and varnished her with Wattyls Golden Oak as I thought the Huon looked too light, I might have a bit of a problem, as there are a couple of areas on the hull that need touching up and I do not know if the Golden Oak is still available, I might have to sand her completely and re varnish.
 
Last edited:
Now some of the things that complicate the scratch building of a model like this is the figure head and carvings ( at least for me, Janos would have no problems ) so I had to adapt what I could get my hands on to do the job.
By nature I am a bit of a scrounger, some might say scoundrel , I love going to car boot sales etc, at one of these places I came across two plastic ornaments that were identical, they were of a Roman soldier standing in a chariot pulled by two horses, the RW for a figure head, has a double figure head of a Roman soldier mounted on horse back, so I bought them for couple of bucks as I thought I might be able to use them.
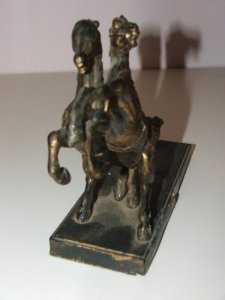


31.jpg
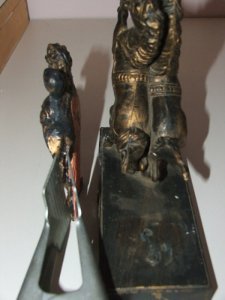
This is the horses cut away from the chariot
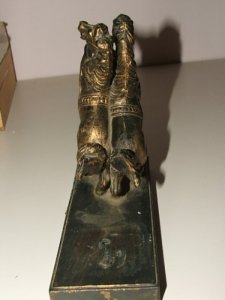


32.jpg
Rear view


33.jpg
The left hand horse cut away from one of the sets
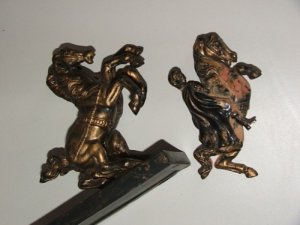


34.jpg
This is the starboard side, unlike the horses I only had two figures, so I had to use one for each side, and make no mistakes, I had to cut the horses legs down, cut a bit from under the horses head so the head could be lowered, also shows the Roman after his plastic surgery, I blended everything with fine car body filler and ended up with the figure on the right of the pic. Mine due to using the two figures show a front side on the port figure and a back side on the starboard one.


35.jpg
the port side figure


36.jpg
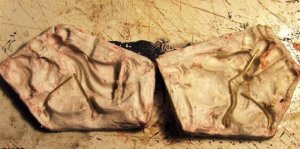
After I was satisfied with the figures I then made an RTV Silicone mould of both the figures, this was a little bit tricky as there were undercuts, also in the mould I placed some brass rod supports that you can just make out.
Actually this was the second mould I made as this one has the Cherubs added and also the horse blanket with the RW initials on it.


37.jpg
I then made two castings, this was the first moulds. with just plain resin to see how they would turn out.
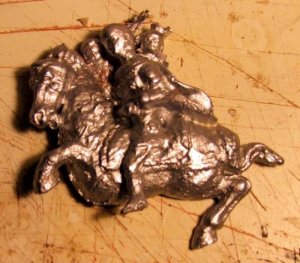


38.jpg
I also cast one in white metal, but it was too heavy, this one doesn't look so good but it was the first out of the mould and sometimes you have to do two or three casts to warm up the mould.
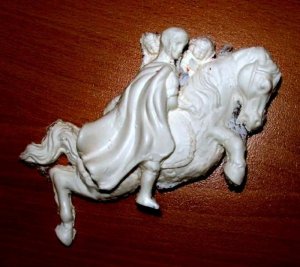


39.jpg
So I went back to casting resin, these still need to be cleaned up and have the excess resin trimmed back.


40.jpg
So I went back to casting resin, these still need to be cleaned up and have the excess resin trimmed back.
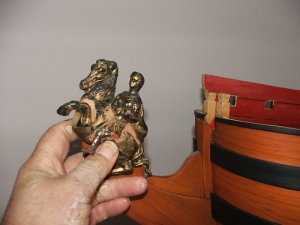


42.jpg
Using the proto type this is where it will sit.
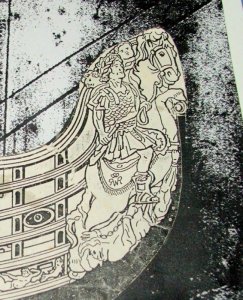


horse.jpg
This is what I had to copy, this is from the plan.

Sorry I have been so long winded in describing the process, thanks for your patience.
 
Last edited:
55" long! Wow, this is an amazing model John. Your skills are impeccable, I'm very impressed.

I'll definitely be following this build. Thanks for posting it.

Take care,

Bob Hunt
 
I remember this build log on the other forum John, and very happy to see it here.

I built R.W in 1-72 scale from the Euromodel kit, but I lost interest in the kit and ended up giving it away to another ship modeller half finished.
 
Thank you Zoly, Bob, Brian and Greg, for all the nice comments, I think you flatter me too much, all you guys are excellent modellers as can be seen by your build logs, but thank you anyway it is much appreciated,

best regards John.
 
49.jpg
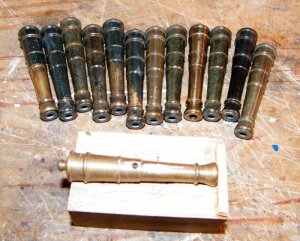
I tried blackening the larger cannon but the results were not too good as you can see from the pic, so I made up a small jig to hold the large cannon, these are 65mm long, so I could drill the holes for the trunions.


50.jpg
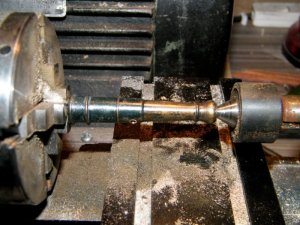
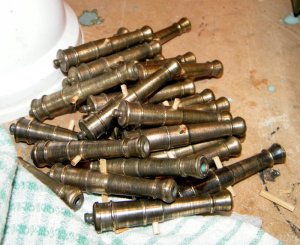
Then I mounted them in the lathe and cleaned them up with wire brushes.


51.jpg
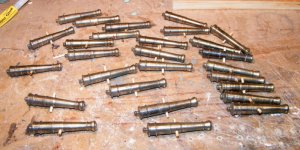
A pile of cannon after cleaning and having the trunnions inserted.


52.jpg
Another view.


53.jpg
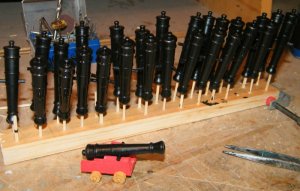
I decided to paint them black and will give them a coat of matt varnish.


48.jpg
These are the 104 cannon I have bought over a period of time.
 
Last edited:
63.jpg
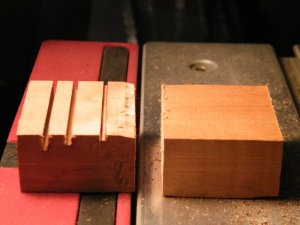
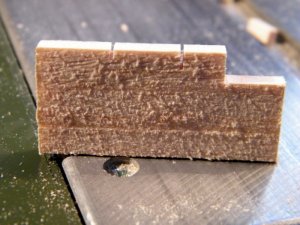
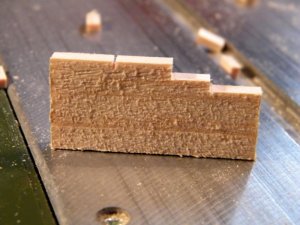
Next up was the carriages for the cannon, I cut some wood into blocks of the right length, then I ran
them over the saw, first cutting the depth of the back step then the depth of the front step and finally
a shallow cut to mark where the trunnions will sit, of course I cut all the back slots at once then the
same with the others.
64.jpg
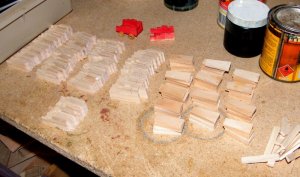
Then I sliced off all the carriage sides, there were 112 total for the two lower decks, there will not be
much seen of these as they are under the decks, the top deck ones will be a little posher so to speak.
This also shows the back step cut out. They also have to have a good sanding as well.

65.jpg
And both the steps cut.


68.jpg
All the carriage sides and the stools cut ready for gluing.


69.jpg
And all the carriages assembled with transom piece in the front, I think thats what it is called, and
a cannon showing what they will look like, as I said before these are very basic as they are going
in under the decks.
 
Last edited:
That's a lot of cannons! That's the sort of thing you have to do assembly line style. Rigging cannons and masts are my lease favorite part of building a model ship :lol

Take care,

Bob
 
G'day John
Beautiful work on the cannons mate!


What angle did you use for the sides of the carriages? They'll look so good.
Will you be leaving the wheels that colour or black?
Havagooday tomorrow mate
Greg
 
Thanks guys for all the interest and the comments, I have been a bit busy this last week and have not posted anything, so this is a bit of a catch up


43.jpg
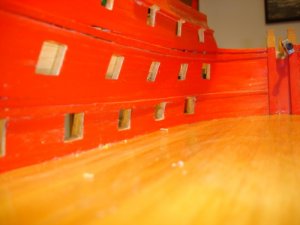
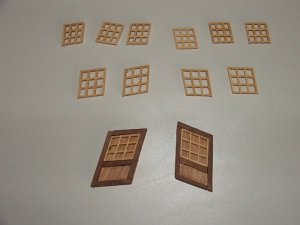
These first three pics show one way I was going to do the windows,
the wood would be cut away from behind the windows.


44.jpg


45.jpg
A better view

and again, I cut these windows on the saw table very similar to the way I do the gratings


55.jpg
These next two pics show another idea using some mesh.


56.jpg
 
Last edited:
Excellent work John.

I am thinking of making the cannon carriages for my Connie. I am very glad there are not 104 carriages to make.

Cheers
Geoff
 
Last edited by a moderator:
Back
Top