• Win a Free Custom Engraved Brass Coin!!!
    As a way to introduce our brass coins to the community, we will raffle off a free coin during the month of August. Follow link ABOVE for instructions for entering.

Re: Royal William 1/48 scale

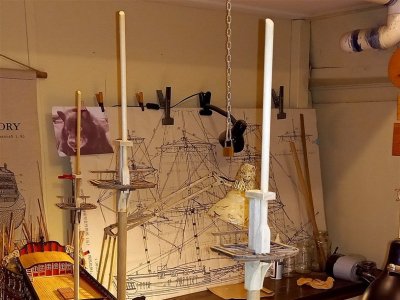
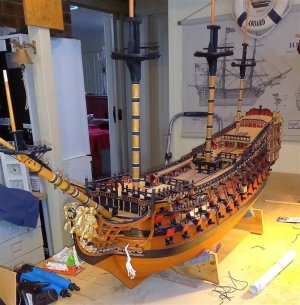
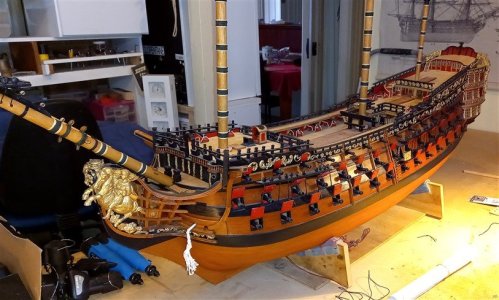
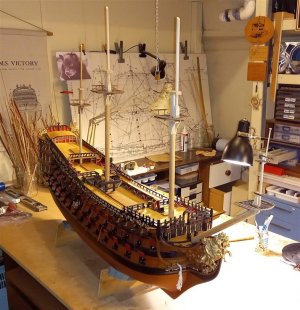
Ive put the lanthorns aside for now, they will probably be one of the last items to be installed, so I am continuing on with the masts,

1389.jpg
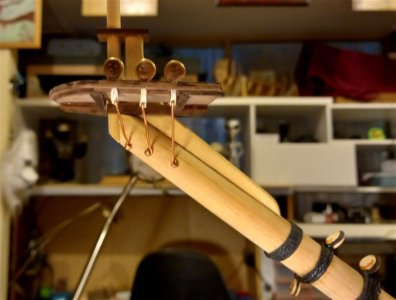
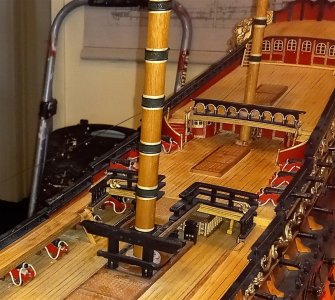
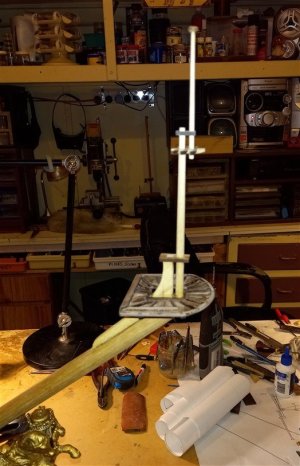
I will not be fully rigging her, just the lower shrouds, due to the space that would be needed, the Fore Main and Mizzen are all glued up, but not fixed in place yet, the same with the bow sprit but the sprit top will be glued on last,
1390.jpg
close up of the sprit top,

1391.jpg
all the other masts I have cut down as shown, I might cut them down a bit more latter on,

1392.jpg
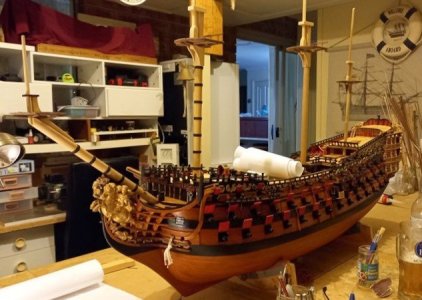
attaching the cleats for the bow sprit gammoning, the rope is just for alignment,
1393.jpg
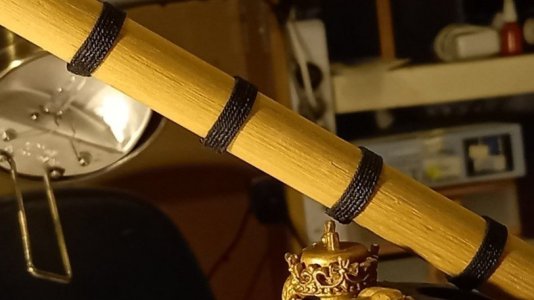
started on the wooldings,

1394.jpg
close up view of the bowsprit wooldins, trying to decide whether to add the wooden hoops or not, I have to try cutting some very thin wood strips to wind around the bowsprit,

thank you for looking in,

best regards john.

.
 
1402.jpg
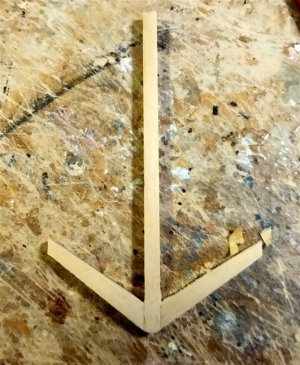
Making the pattern for the anchor, I cut and CA glued the three pieces of Jelutong to a piece of stiff cardboard, then I cut the excess cardboard away, I was surprised at how strong the three pieces were , after the joints between the wood had set I cut and sanded the cardboard from the back of the anchors,


1403.jpg
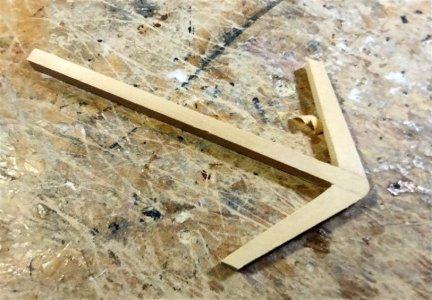
another view, this part still has to be thinned ans shaped to the actual anchor itself,

1404.jpg
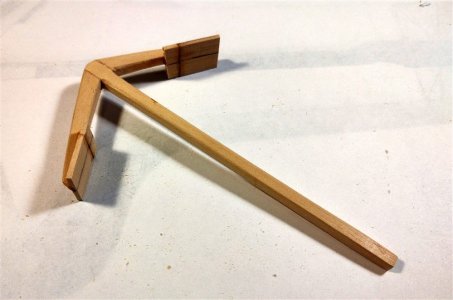
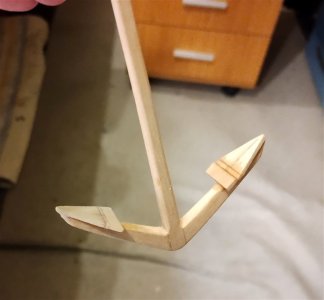
after trimming and shaping I attached the wood pieces that were going to be the anchor flukes,,


1405.jpg
after shaping, after casting these can be shaped further if needed,


1406.jpg
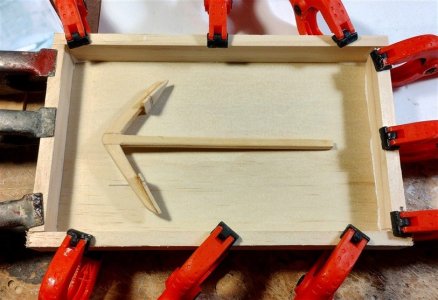
then I made up a box that will be filled with plasticene that the anchor will be set in, more to follow next time,

thanks for looking in,

best regards john,
 
1407.jpg
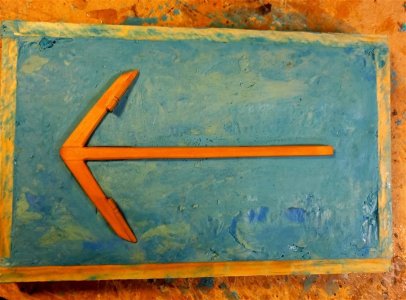
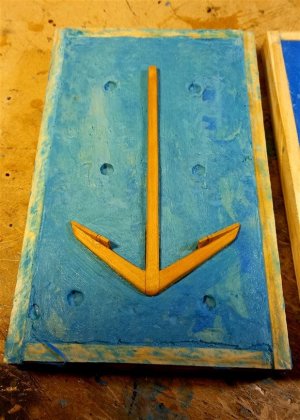
After filling the box with plasticene I smoothed and leveled it down, and after giving the wooden anchor a coat of oil I pressed it firmly down into the plasticene to about half of its depth,


1408.jpg
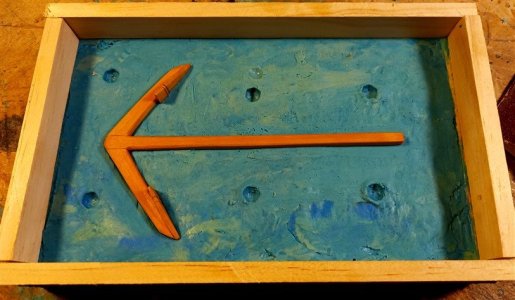
then i constructed another box on top of the first one, I also made some indents into the plasticene as reference points for aligning the moulds up,


1409.jpg
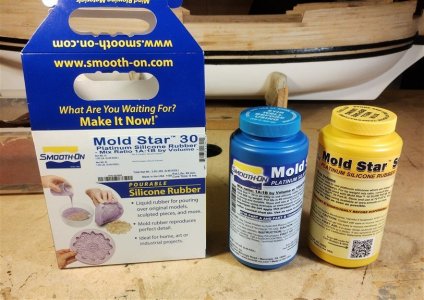
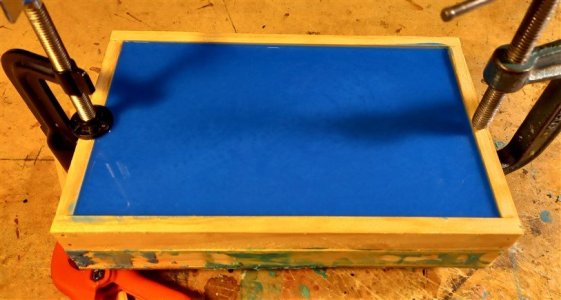
clamped the boxes together and filled them with the silicone rubber, have to wait for six hours before I can seperate them when the rubber has set,


1410.jpg
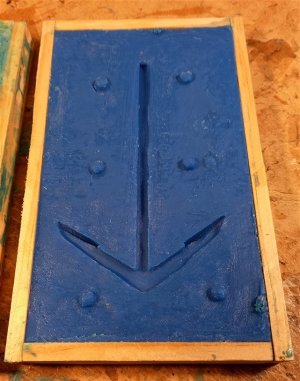
after seperation, the bottom box,


1411.jpg
and the other half with the silicone rubber impression, will show more in the next posts,

thanks for looking in,

best regards John,

.
 
Slowly getting back into the build, turning up the pieces for the bottom of the masts,


1415.jpg
I had a nice piece of Myrtle that I turned down to the outside dia of the largest ring that I needed,


1416.jpg
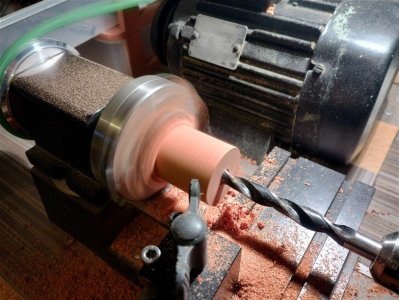
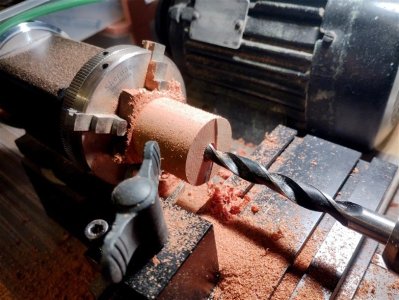
I wanted to get the parts for the three masts out of the one piece of wood, so I turned it down to the largest Dia needed and then drilled it out to acept the boring bit,


1417.jpg
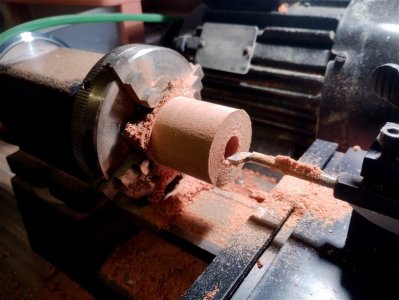
I then bored through for the Dia of the mizzen mast,


1418.jpg
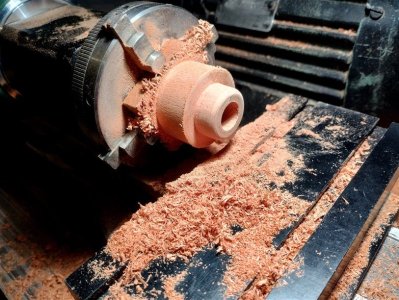
then turned it down to the outside Dia of the mizzen and parted it off, then I bored it again for the Dia of the main and fore masts and made them,


1419.jpg
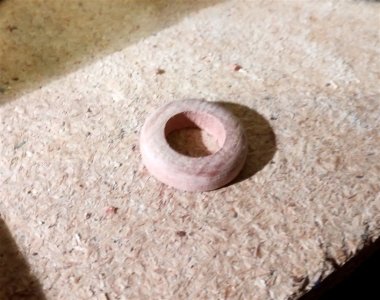
the parted off mizzen piece, you can if you want mark them as wedges or just leave them as they are,

thanks for looking in,

best regards John,
.
 
Last edited:
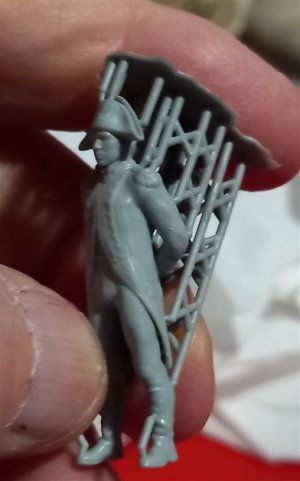
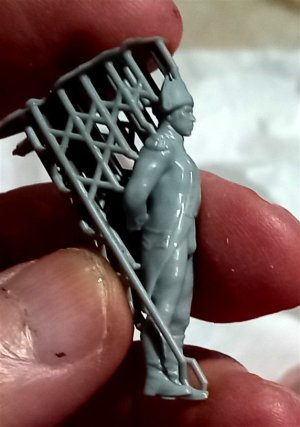
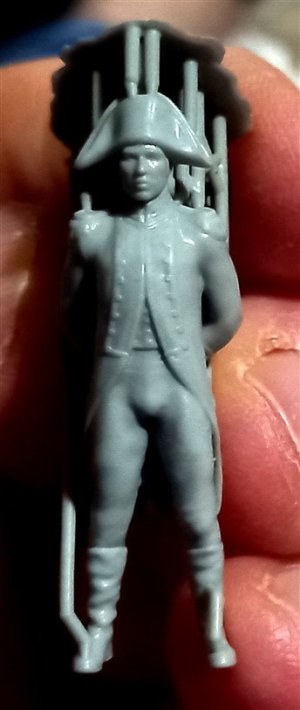
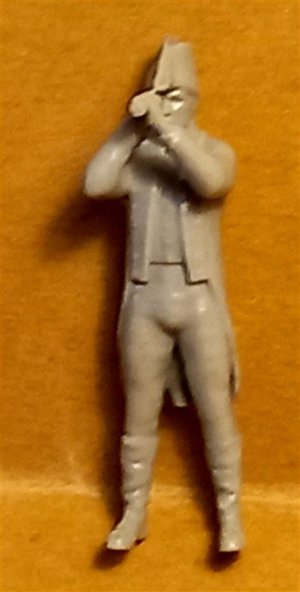
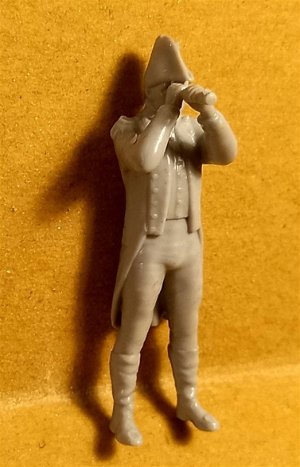
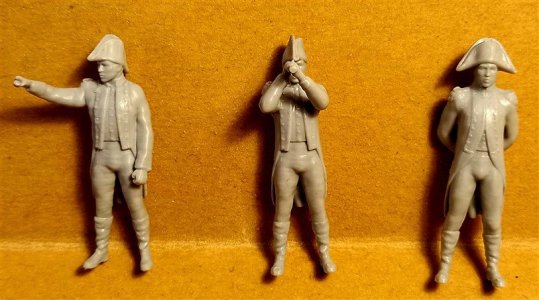
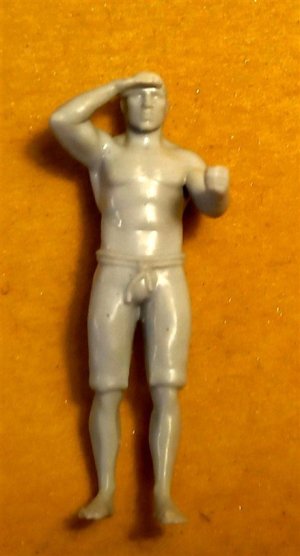
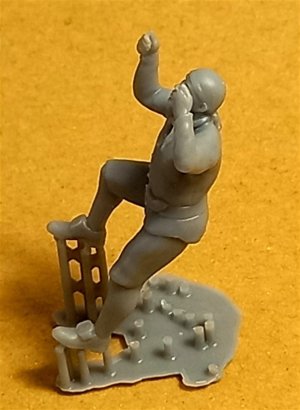
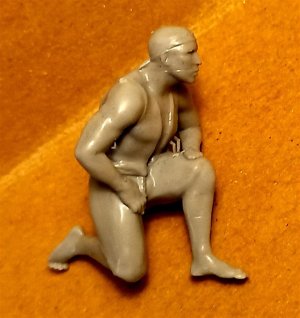
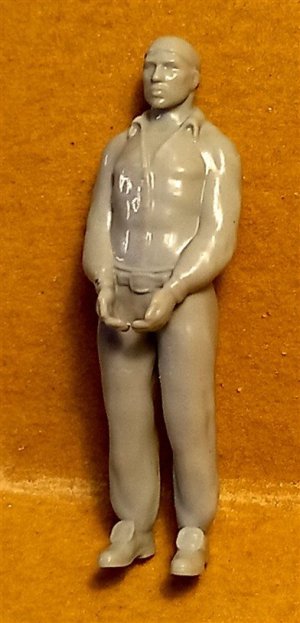
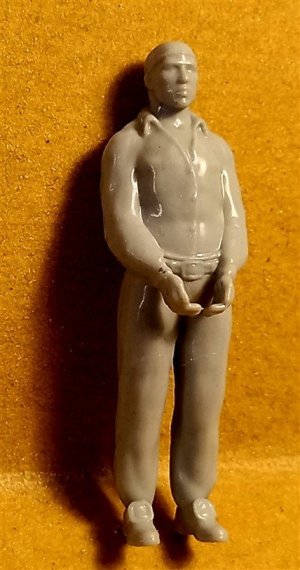
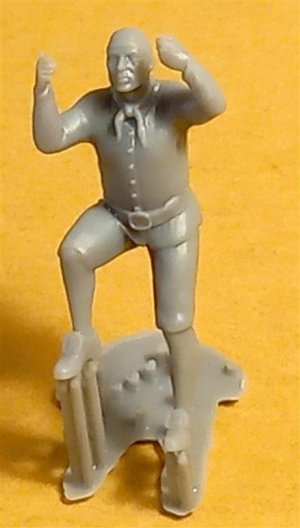
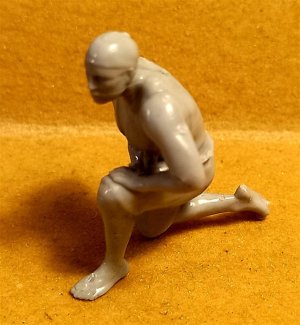
Some of the figures I purchased for the model,


1423.jpg
The Captain showing him attached to the sprue's, my pics do not do him justice,

1424.jpg
and the other side,

1425.jpg
and a frontal view,

1426.jpg
a couple of one of the officer's with a telescope,

1427.jpg


1428.jpg
and the Captain and two officer's, after clipping through the Sprue's they came away from the figures quite cleanly,

1429.jpg
I spy,

1430.jpg
one of the crew climbing the shrouds,


1431.jpg
another view,


1432.jpg
and two views of the gunner looking along the barrel,


1433.jpg

1434.jpg
Two views of a gun crew member carrying a cannon ball, you have to supply the ball,

1435.jpg

1436.jpg
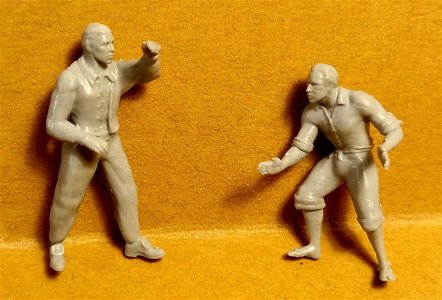
the upright figure is to go at the side of the ships wheel, I have one for each side, and the semi crouched figure is helping to move a cannon into position,

1437.jpg
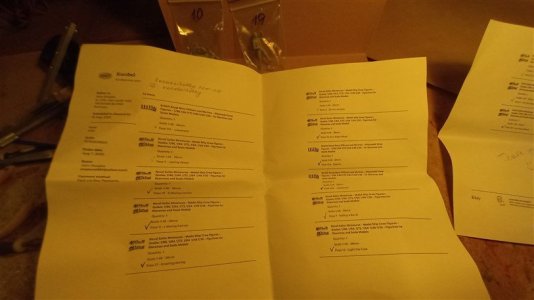
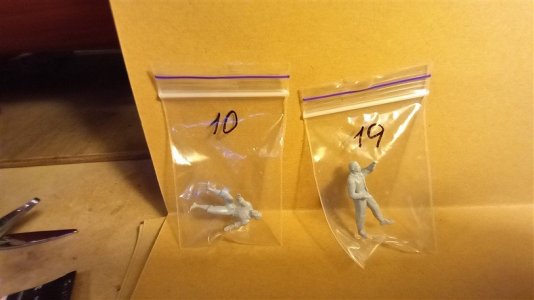
All the figures come in a separate numbered bag and also a list of all the figures and descriptions of what they are doing,

1438.jpg
I'm really pleased with them,

Best regards John,

.
 
Very impressive model work.

Couple of questions what is the scale of the figures? Where are they sourced from are they available in the UK?

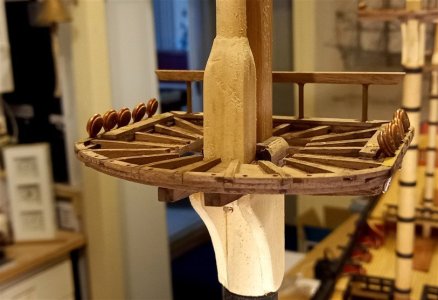
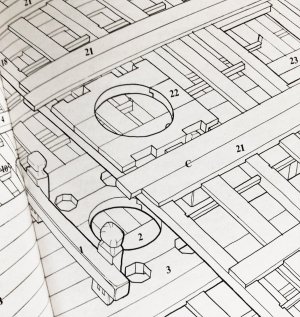
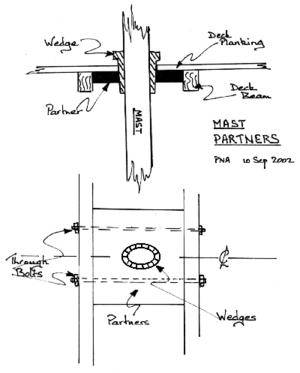
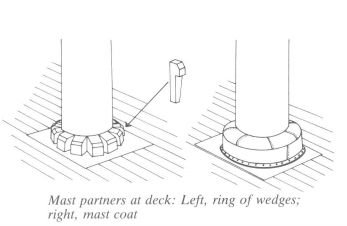
Where the masts pass through the deck great looking coller you mentioned wedges? In the real ship is the hole in the deck slightly larger and wedges used to centre the mast. I realise that whilst authentic this could look messy on a superb model like yours.

Thanks SS
 
Hello John, that’s a nice touch for your model.
wonderful work John
Oh wow, that's incredible work. Those figures will add a lot.

Jan
Very impressive model work.

Couple of questions what is the scale of the figures? Where are they sourced from are they available in the UK?

Where the masts pass through the deck great looking coller you mentioned wedges? In the real ship is the hole in the deck slightly larger and wedges used to centre the mast. I realise that whilst authentic this could look messy on a superb model like yours.

Thanks SS

Thanks guys for all the nice comments and also for all the likes,

The figures come in different scales mine are 1/48, to find them search for Etsy.com scale figures

best regards John.
 
Last edited:
Very impressive model work.

Couple of questions what is the scale of the figures? Where are they sourced from are they available in the UK?

Where the masts pass through the deck great looking coller you mentioned wedges? In the real ship is the hole in the deck slightly larger and wedges used to centre the mast. I realise that whilst authentic this could look messy on a superb model like yours.

Thanks SS

A few pics explains a little better,


1.jpg


217774-bcb0d2fdbc4976f62868066909d356b8.png


3.jpg

best regards John ,
 
Back
Top