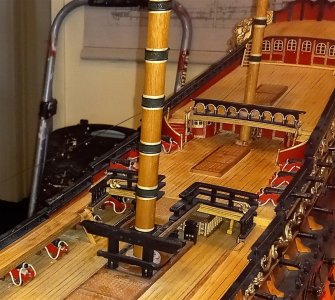
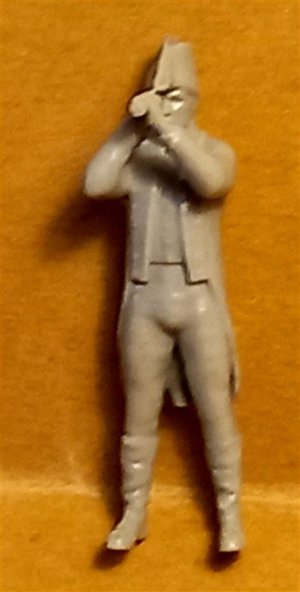
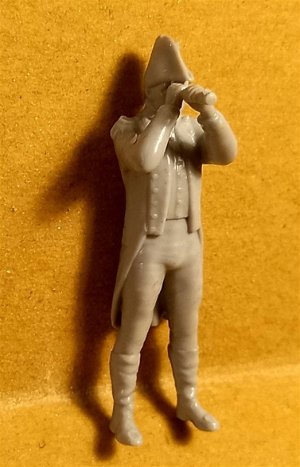
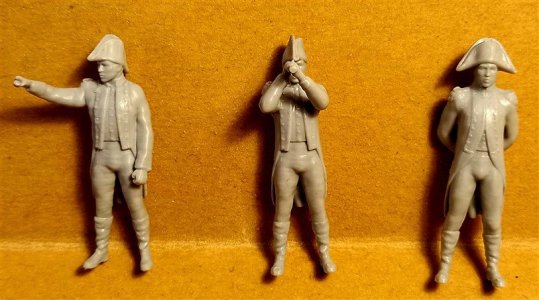
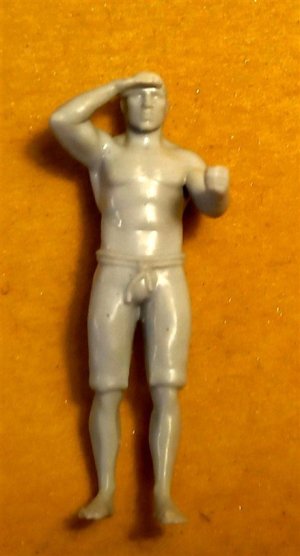
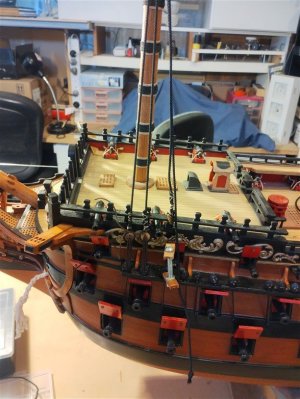
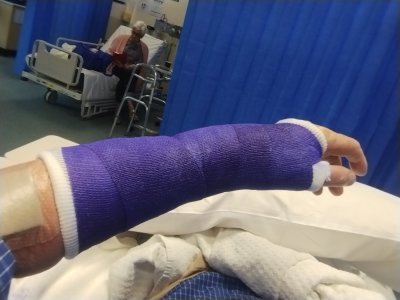
Ive put the lanthorns aside for now, they will probably be one of the last items to be installed, so I am continuing on with the masts,
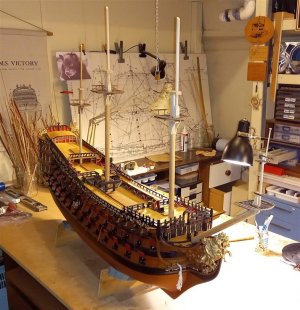
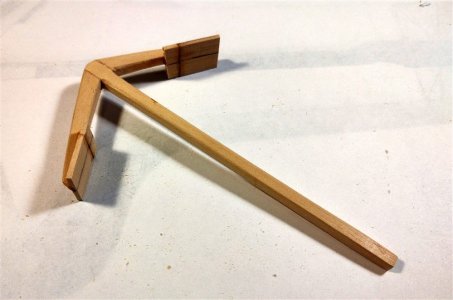
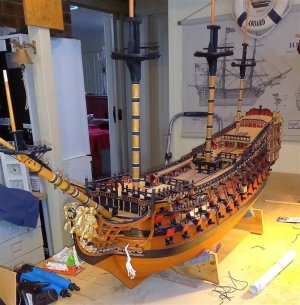
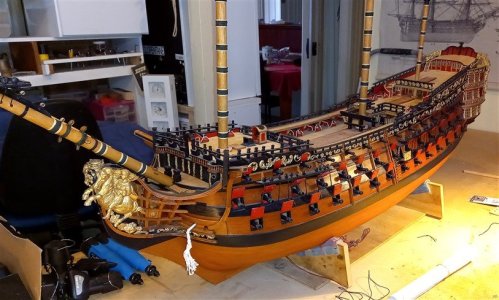
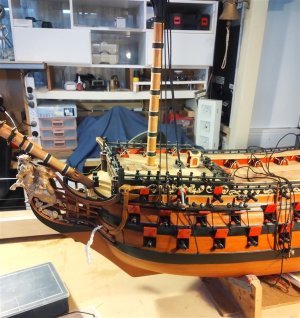
I will not be fully rigging her, just the lower shrouds, due to the space that would be needed, the Fore Main and Mizzen are all glued up, but not fixed in place yet, the same with the bow sprit but the sprit top will be glued on last,
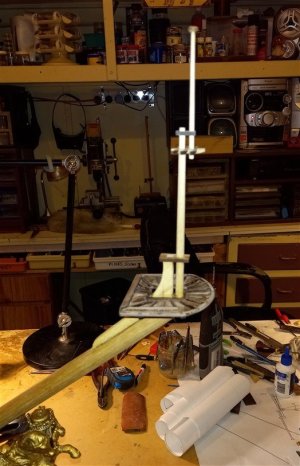
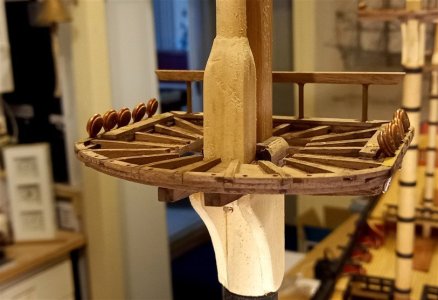
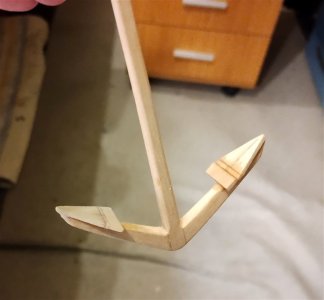
close up of the sprit top,
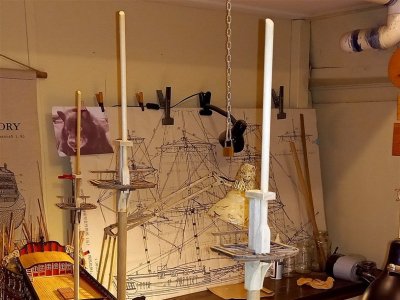
all the other masts I have cut down as shown, I might cut them down a bit more latter on,

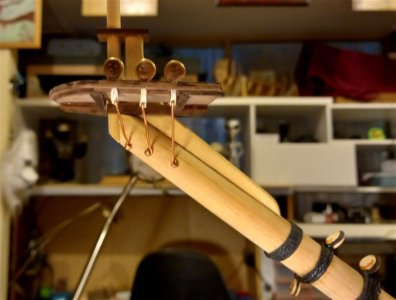
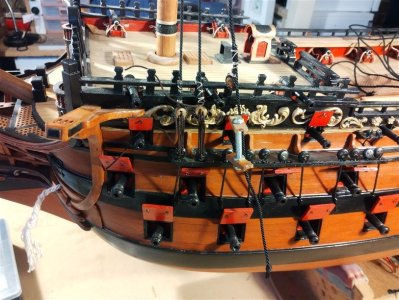
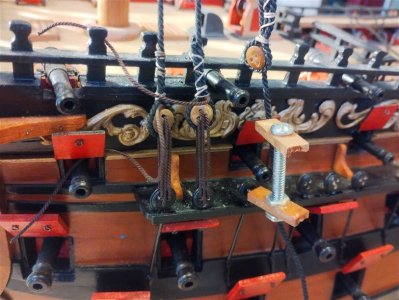
attaching the cleats for the bow sprit gammoning, the rope is just for alignment,
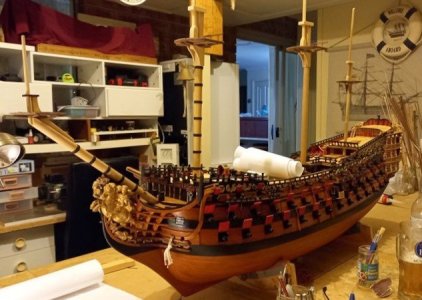
started on the wooldings,
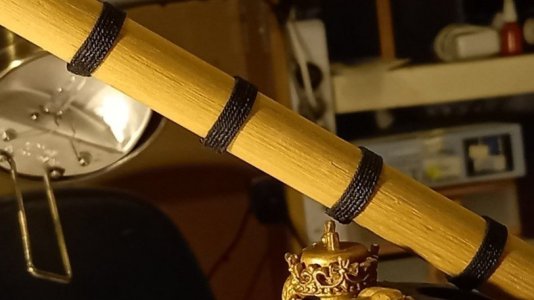
close up view of the bowsprit wooldins, trying to decide whether to add the wooden hoops or not, I have to try cutting some very thin wood strips to wind around the bowsprit,
thank you for looking in,
best regards john.
.

I will not be fully rigging her, just the lower shrouds, due to the space that would be needed, the Fore Main and Mizzen are all glued up, but not fixed in place yet, the same with the bow sprit but the sprit top will be glued on last,

close up of the sprit top,

all the other masts I have cut down as shown, I might cut them down a bit more latter on,

attaching the cleats for the bow sprit gammoning, the rope is just for alignment,

started on the wooldings,

close up view of the bowsprit wooldins, trying to decide whether to add the wooden hoops or not, I have to try cutting some very thin wood strips to wind around the bowsprit,
thank you for looking in,
best regards john.
.


