Re: Royal William 1/48 scale

1355.jpg
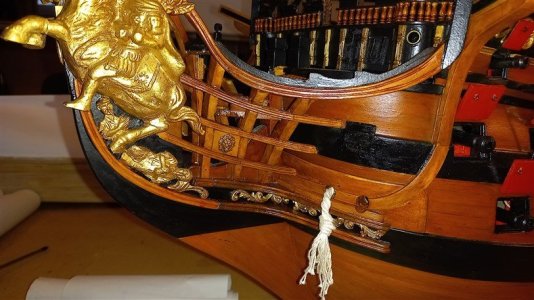
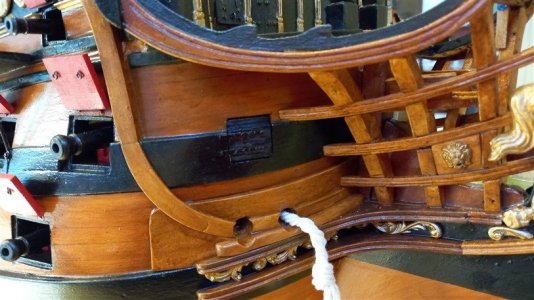
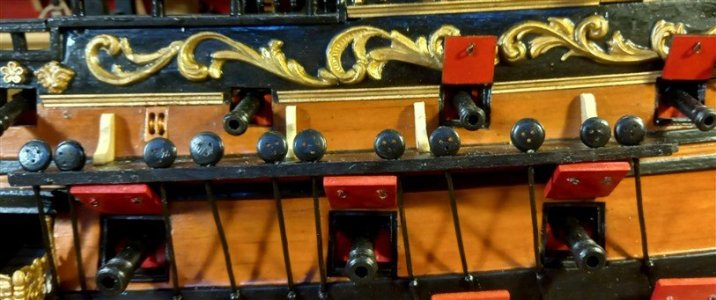
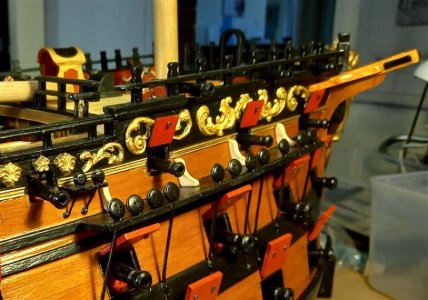
I have fitted the port cover right at the very front, I think this one was used mainly when employing the Anchor, also fitted a lions head for the tack to run through,

1356.jpg
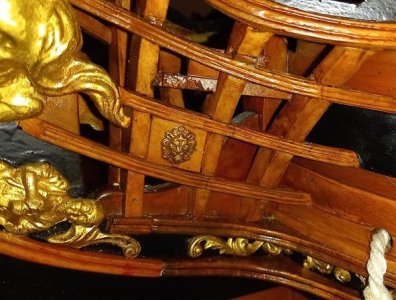
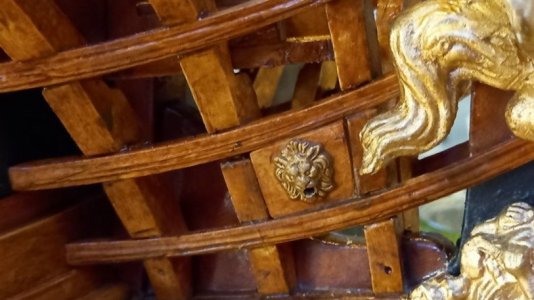
close up of the lions head, you cannot see it but there is a hole through its mouth for the tack rope to run through,

1357.jpg
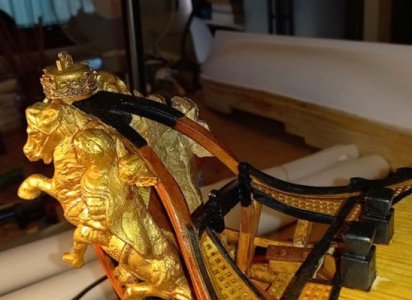
also finished the small bits just behind the figure head,

1358.jpg
Port lid and lions head on the starb side,

1359.jpg
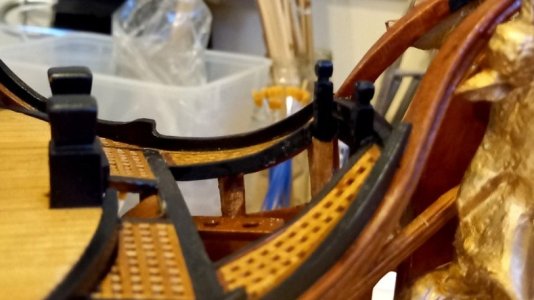
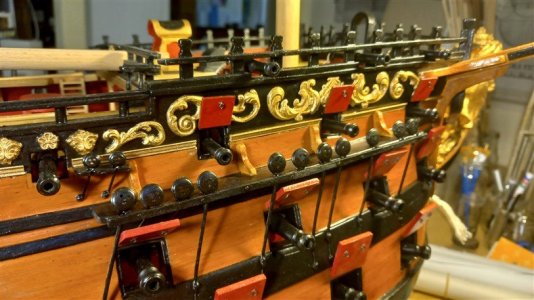
a better view of the bitts,

1360.jpg
and a clearer view of the starb lions head, the starb tack line would go through the lions mouth then up between the head rails and belay up above,


. best regards john.
 
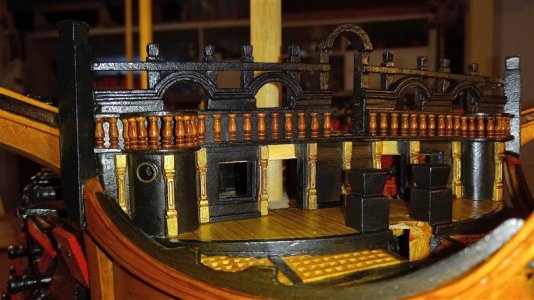
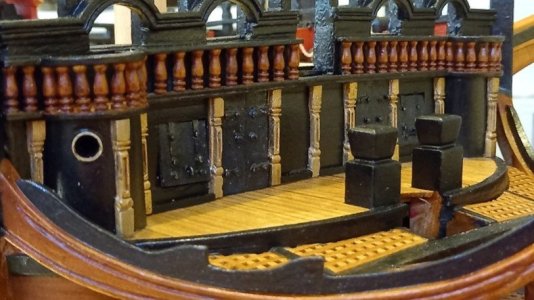
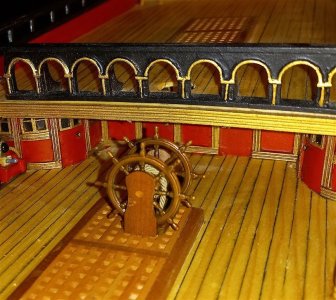
next up is the ships wheel, I should have installed it when I was building the bulkheads, would have been a lot easier,

1361.jpg
I was going to scratch build it but I happened to have two Amati 30mm wheels so I opted to use them instead, they are nice clean castings,

1362.jpg
after making the stand and attaching the wheels etc,

1363.jpg
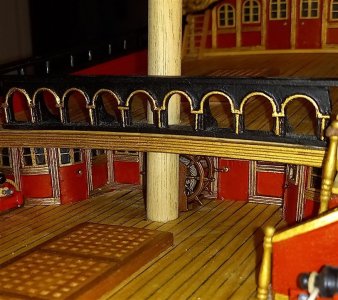
and sitting in place behind the mizzen mast, I was'nt sure if it should have been a single wheel or a double, I had looked on the net and some showed single and some double so i used builders license and built it double,

1364.jpg
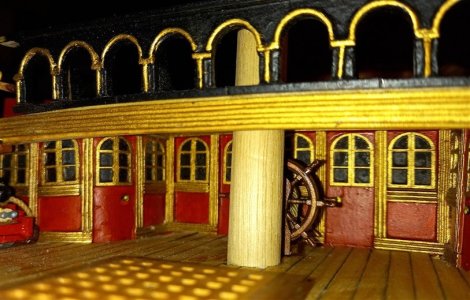
and another view lower down,

thanks for looking in and all the comments and the likes,

best regards John.


.
 
1365.jpg
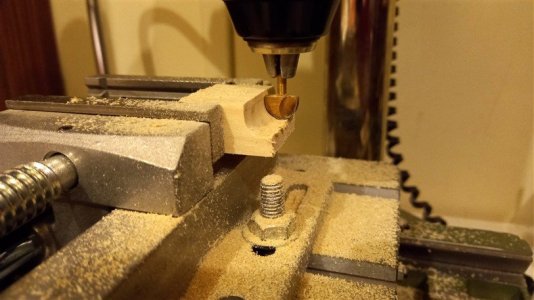
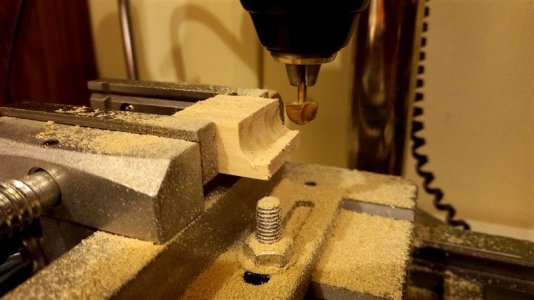
Next up were the supports for the Channels, I cut several small blocks of wood a little oversize so I could clamp them in the vise, and used a small Dremel router bit to cut them to shape, this is the first couple of passes,

1366.jpg
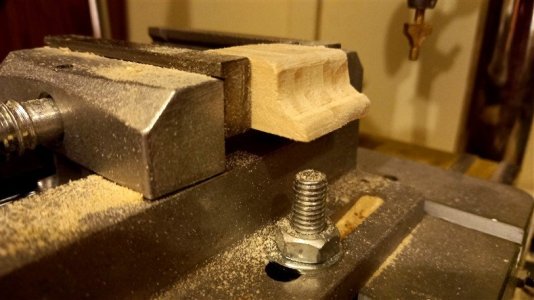
Thats the final depth,

1367.jpg
then I used another Dremel router bit to round off the corners,

1368.jpg
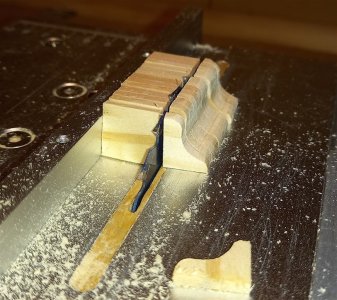
and then cut off the excess on the small saw,

1369.jpg
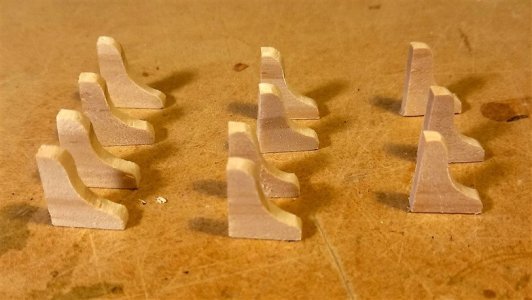
Just got be cleaned up with some fine sandpaper,

best regards John,


,
 
We have just come back from a lovely eleven day cruise around the Caledonia Islands in the Coral Sea, it was a great cruise on the Pacific Adventure, most relaxing and enjoyable,

Now its back to work on the RW,

1376.jpg
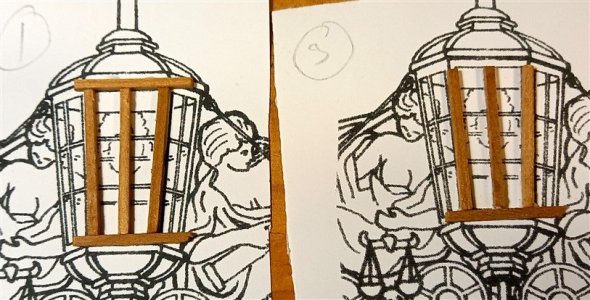
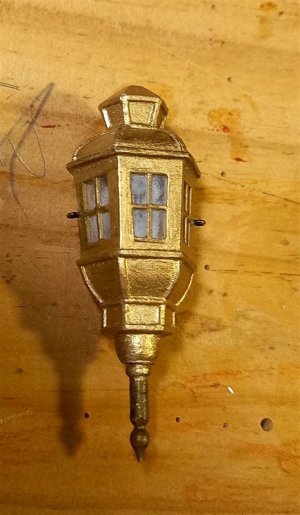
I tried making the Lanthorns out of wood but that didnt work out, so i tried making them with brass, this shows the top and bottom plates for one of the lanthorns,
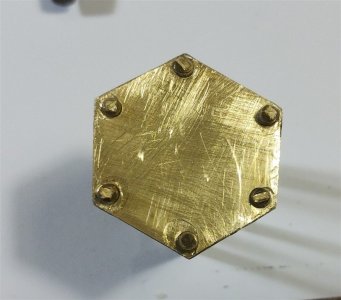

1377.jpg
all the holes drilled and uprights glued in place,
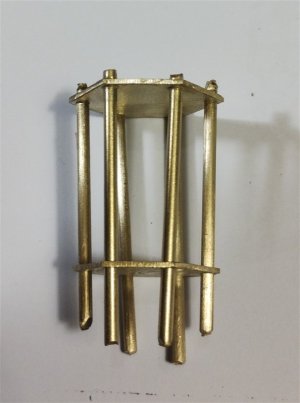
1378.jpg
but it seemed even with getting the holes in what i thought were the right places, things were not lining up, wish I had a 3D printer, and then I would probably still mess it up,
1379.jpg
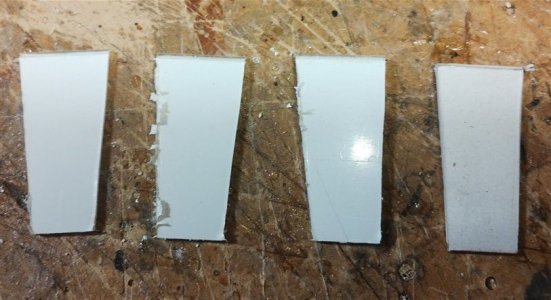
I even tried cutting and using perspex as the base for building them up, it was getting so frustating,
1380.jpg
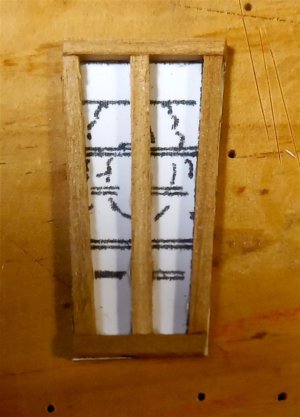
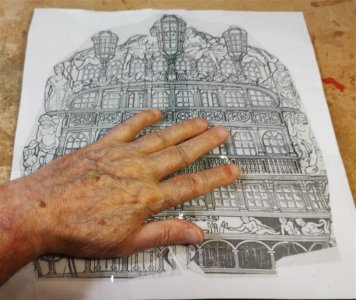
this is the transom to actual size, the middle lanthorn needs to be 60mm high and the two side ones 50mm high, they look like they would be easy to build but they are so fine, I ended up going on line and looking to see what was available,

best regards John.


.
 
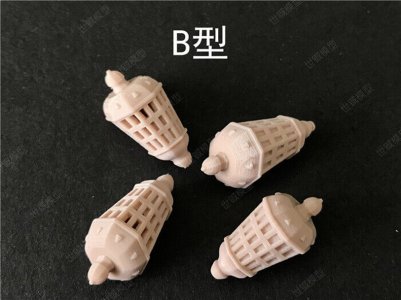
These are about the best Lanthorns that I could find, found them on ebay,

1381.jpg
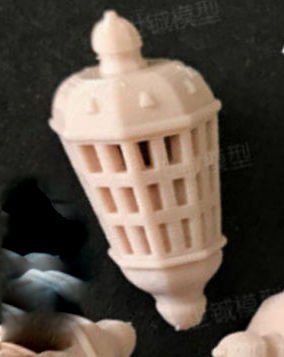
You can have them made to your size and they come in a solid version or a hollow one, I opted for the hollow version,

1382.jpg
solid version,

1383.jpg

hollow version, these are the ones that i ordered, in the post now, I will post more pics when they arrive, Ive posted a link to the ebay site in case anyone is interested, if you want them to a custom size you have to get in contact and give them the sizes you need and they will give you a price, or the prices are shown and the different types in the list of the standard sizes

https://www.ebay.com.au/itm/255302751865?var=555283696849

thank you for looking in,

best regards John.
 
Nice lanterns
The link below may be helpfull to you
Ship Model Fittings - A wide range of wooden model ship kits to choose from, model ship fittings and tools. Ship Modelling. Latest from Maris Stella, Amati and … https://search.app/vnBAA2EunRNAa4JCA
Regards

View attachment 507909
Thank you Korsan for the information, but these ones are not big enough, but I will keep the information for future use,
Best regards John,
 
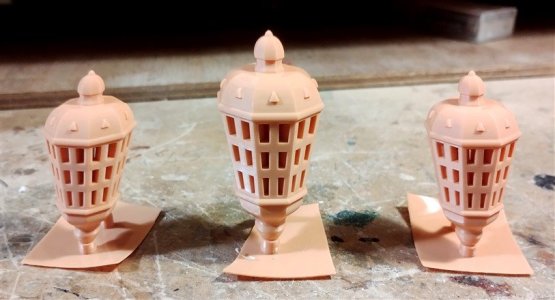
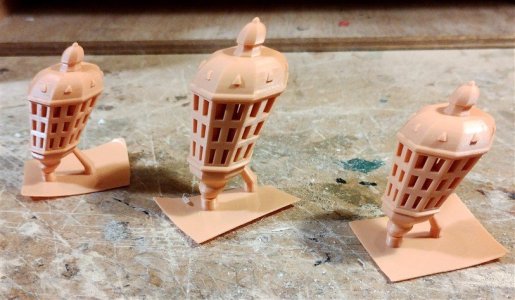
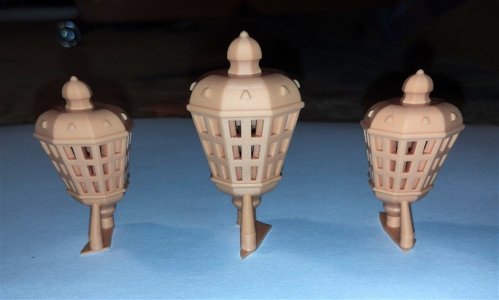
My Lanthorns have arrived, four weeks from paying till delivery, I'm really pleased with them, any comments welcome,


1384.jpg
front view, middle lanthorn is 60mm high, and the two outside ones are 50mm high,

1385.jpg
side on view,

1386.jpg
and from the rear,

1387.jpg
a close up,

1388.jpg
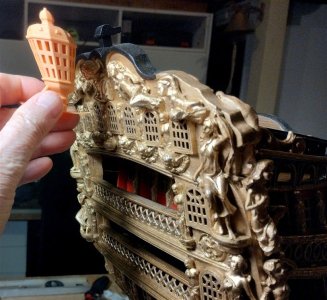
and a view of the highest one against the transom,

thanks for looking in, any questions just ask,

Best regards john.
.
 
Back
Top