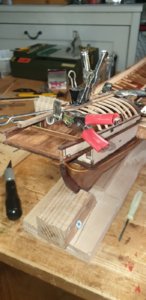
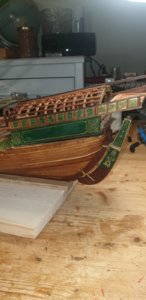
Reale De France - Corel - 1:60

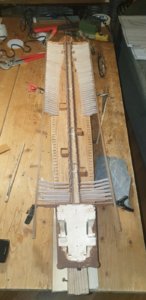
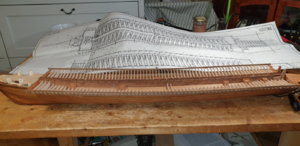
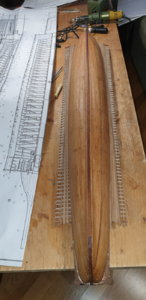
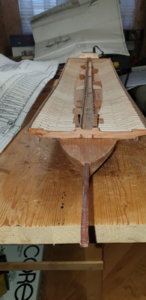
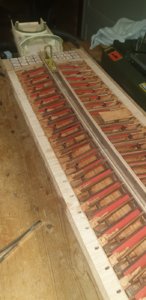
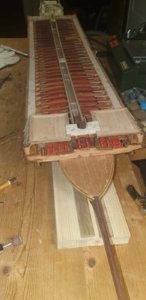
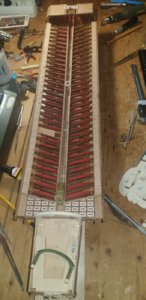
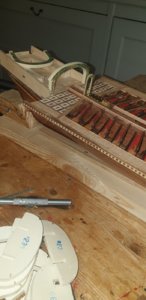
Thank you, Nigel and Everyone who started watching my work! Nothing interesting is happening yet. I realized that if possible it is necessary to assemble the keel, frames and first deck without glue. So far, it has appeared: the frames do not stand in the slots and are not perpendicular to the keel. Are prepared to work carefully with a needle file( sandpaper) not sticking.
Спасибо, Найджел и Все, кто начал смотреть за моей работой! Пока ничего интересного не происходит. Понял что по возможности надо собрать киль, шпангоуты и первую палубу без клея. Пока проявилось : шпангоуты не встают в прорези и получаются не перпендикулярно килю. Готовлюсь поработать аккуратно надфилем( наждачной бумагой) не склеивая.
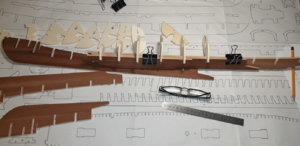
20200104_131914.jpg
 
Last edited by a moderator:
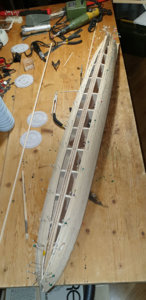
Hi Igor

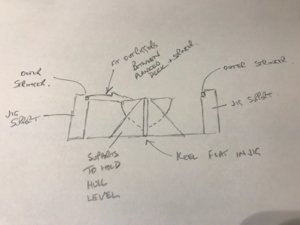
This is what I was trying to explain regarding a jig for when you fit the outriggers for the sponsons.The fully planked hull is set in a jig with the edge of the keel set on the baseboard.Some supports I required to ensure keel is upright and 90 degrees to the board.By marking various cross sections on the drawing you can fit posts to locate the outer stringers both in height and in relation to the centreline of the ship.I believe the outriggers are not laser cut in this kit.Any inaccuracies in cutting will not affect the end of the outrigger as the stringer is already set.Also check the one piece outriggers that go at the bow and stern.These go across the full width and the notches for the stringers may be slightly out

Kind Regards

Nigel

reale1.jpg
 
Last edited:
Hi Igor

This is what I was trying to explain regarding a jig for when you fit the outriggers for the sponsons.The fully planked hull is set in a jig with the edge of the keel set on the baseboard.Some supports I required to ensure keel is upright and 90 degrees to the board.By marking various cross sections on the drawing you can fit posts to locate the outer stringers both in height and in relation to the centreline of the ship.I believe the outriggers are not laser cut in this kit.Any inaccuracies in cutting will not affect the end of the outrigger as the stringer is already set.Also check the one piece outriggers that go at the bow and stern.These go across the full width and the notches for the stringers may be slightly out

Kind Regards

Nigel

View attachment 127205
Nigel! Figured out the blueprint. Thanks! Valuable information. But this is a little later. We have holidays, work, wife's birthday! All agreed, tomorrow will start to eat through and mounted without glue! If the family does not require entertainment!)) Sincerely, Igor
 
Igor
Yes this is a fair way into the build.I would add that when you start building the hull itself,the supports that hold the keel vertical need to be shaped so that you can fit as many of the first planks as possible before you need to remove the hull.I am sure on one of the builds I have seen,the builder built the frame and planked the hull upside down.The deck was then fitted afterwards.I am not convinced this is something I would do myself as other issues can arise using this method,notably planking to deck join.
And finally,your Wife's Birthday must come before any of the above;)

Kind Regards

Nigel
 
20200112_175801.jpg20200112_175852.jpg20200112_180036.jpg
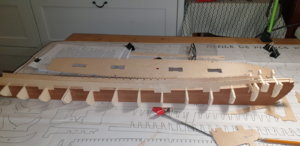
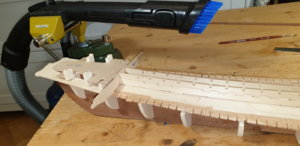
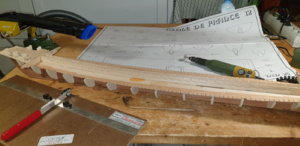
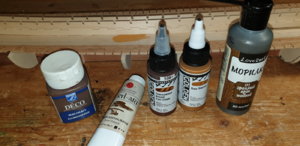
Work continues. As you can see from the photo in a dry (without glue) assembled part of the structure, as recommended by the manufacturer, from the 1st position according to the drawing. What conclusion. Not one frame does not sit in the groove, they need to expand and perform work on the geometry (perpendicular). The main deck, as you can see began to do nakat deck, I think it will be more aesthetic. It is necessary to expand the grooves on the edge for further Assembly. The roll is not made completely, there is a need to press the main deck to the frames, I think in addition to glue to use carnations. I'll do it on the set deck. The last frame ( # 25) + # 26 will be installed a little later, there is a lot of work ahead on grinding the edges, preparing for mounting the skin ( drawing 12 in the photo). Interested in the design of plywood parts located on the main deck (No. 27), which you see in the photo. Stains did not come, I decided to paint, under the tree. In the photo with the number 508, I think under
Работы продолжаются. Как видим по фото в сухую (без клея) собрана часть конструкции, как рекомендовал производитель , с 1 -42 позиции по чертежу. Какие выводы. Не один шпангоут не садится в паз, их надо расширять и выполнять работы по геометрии (перпендикулярность). Основная палуба, как видите начал делать накать палубы, считаю так будет эстетичнее. Приходится расширять пазы по краю для дальнейшей сборки. Накат сделан не полностью, есть необходимость прижимать главную палубу к шпангоутам, думаю кроме клея использовать гвоздики. Сделаю его на установленной палубе. Последний шпангоут ( № 25) + № 26 установлю чуть позже, впереди большая работа по стачиванию кромок, подготовка к креплению обшивки ( чертеж 12 на фото) . Заинтересовало оформление фанерных деталей расположенных на главной палубе ( №27), которые вы видите на фото. Морилки не подошли, решил красить, под дерево. На фото с цифрой 508, считаю подойдет. Это цена в российских рублях.
 
The process is underway. NOT fast. In pleasure. The first layer of Linden is finished. There are shortcomings, I eliminate. The main thing is not to grind everything to dust. The keel will be inserted after the finishing trim.Good Luck Everyone!
Процесс идет. НЕ быстро. В удовольствие. Закончена обшивка первым слоем из липы. Есть недочеты, устраняю. Главное не сточить все в прах. Киль буду вставлять после финишной обшивки.Удачи Всем!111.jpg112.jpg113.jpg
 
Last edited by a moderator:
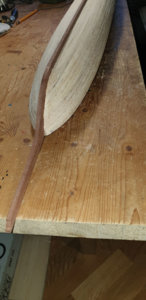
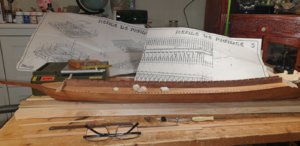
The work continues in small steps. The ship's side trim was made, and the bowsprit, keel, and aft end were installed. Formed a slipway, but figured out how to make it more convenient. By cutting a groove in the Board, it will be easier to center the body. I will tell you the result. Good Luck To Everyone.
Небольшими шагами работы продолжаются. Сделан чистовая обшивка борта корабля, установлен бушприт, киль и кормовая оконечность. Сформирован стапель, но придумал как его сделать удобнее. Прорезав паз в доске, и отцентровать котпус будет проще. Результат расскажу. Удачи Всем.

20200210_220533.jpg

20200212_193107.jpg

20200212_193140.jpg

20200210_220533.jpg20200212_193107.jpg20200212_193140.jpg
 
Last edited by a moderator:
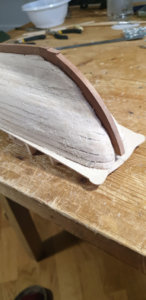
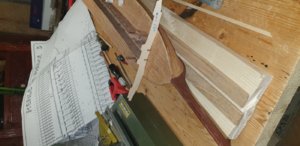
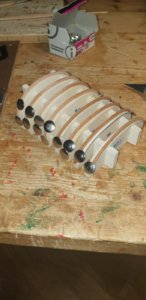
As something so, until is obtained. Developed its own mounting and installation technology. The whole difficulty is that all profiles must be parallel to each other, perpendicular to the keel, and create a profile on the deck, and the grooves must allow you to insert longitudinal beams. It turned out that we still need to make a bulwark on these winged profiles. I didn't see it right away..
Как-то так, пока получается. Разработал свою технологию крепления и установки. Вся сложность, что все профили должны быть параллельны между собой, перпендикулярны килю, и создавать профиль по палуба, и пазы должны позволять вставить продольные балки. Оказалось, что еще надо делать фальшборт на этих крылатых профилях., сразу этого и не увидел.20200216_200733.jpg20200219_190342.jpg20200222_132408.jpg20200222_132325.jpg20200222_132518.jpg
 
Last edited:
20200324_223925.jpg20200324_224001.jpg20200324_224023.jpg20200324_224119.jpg20200324_224325.jpg
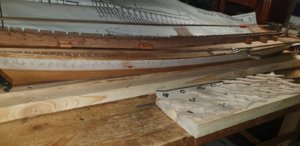
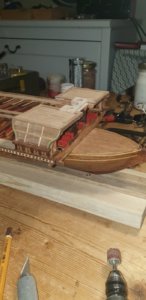
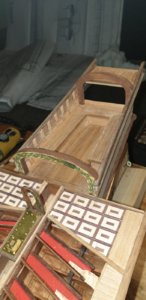
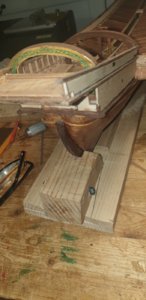
Work continues. Here went decorating and giving the model a beautiful look. Not just is the superstructure joining, but everything is solvable. If you have any questions, ask them.
May God protect You and avoid diseases!
Sorry for the quality of shooting , the case is very long and it is inconvenient to photograph it.
Работы продолжаются. Вот пошло украшательство и придание модели красивого вида. Не просто идет состыковка надстроек , но все решаемо. Если есть вопросы задавайте.
Да хранит Вас Бог и минуют болезни
!Простите за качество съемки, корпус очень длинный и неудобно его фотографировать.
 
He hung up the steering pen. I had to suffer and Refine. Don't judge me harshly, I'm almost blind to small details. I do everything by touch, no glasses are magnifying glasses, microscopes do not help.
Повесил перо руля. Пришлось помучиться и дорабатывать. Не судите строго, я почти слеп на мелкие детали. Все делаю на ощупь, ни очки, ни лупы, микроскопы не помогают.
20200408_202931.jpg
 
Last edited by a moderator:
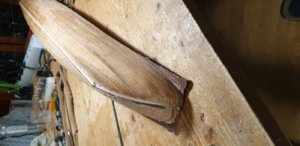
Back
Top