-

Win a Free Custom Engraved Brass Coin!!!
As a way to introduce our brass coins to the community, we will raffle off a free coin during the month of August. Follow link ABOVE for instructions for entering.
-

PRE-ORDER SHIPS IN SCALE TODAY!
The beloved Ships in Scale Magazine is back and charting a new course for 2026!
Discover new skills, new techniques, and new inspirations in every issue.
NOTE THAT OUR FIRST ISSUE WILL BE JAN/FEB 2026
You are using an out of date browser. It may not display this or other websites correctly.
You should upgrade or use an alternative browser.
You should upgrade or use an alternative browser.
Restoration of my OCEANIC [COMPLETED BUILD]
- Thread starter Wolle
- Start date
- Watchers 16
-
- Tags
- completed build hegi oceanic
Great Job of clean up and salvage of a very dirty old model. Most people upon finding an old model in that shape would have scrapped it. She owes her second life to your hard work. Congratulations.
the model is looking already much better, but there is still very much to do ...... a lot of hours of work are still in front of you 
Kurt Konrath
Kurt Konrath
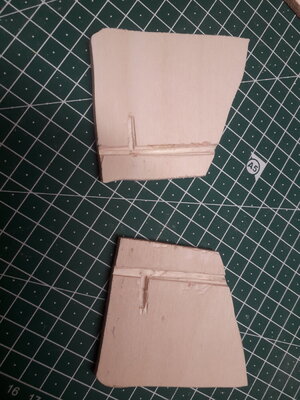
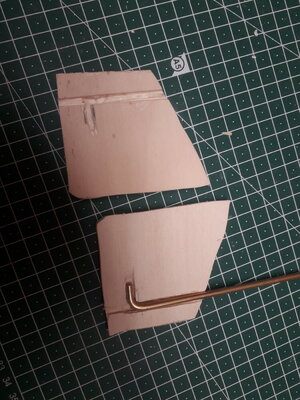
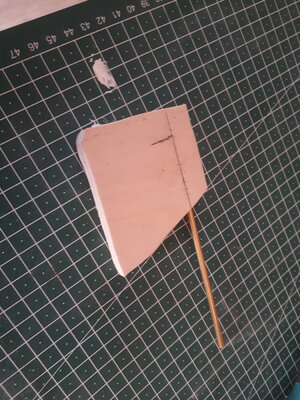
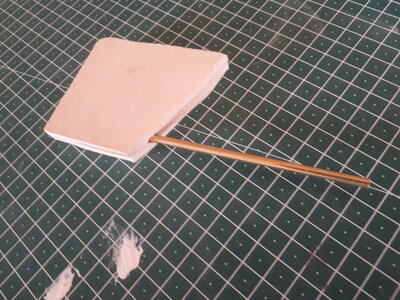
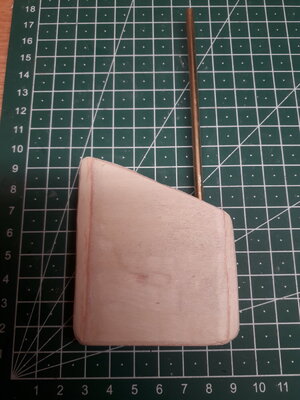
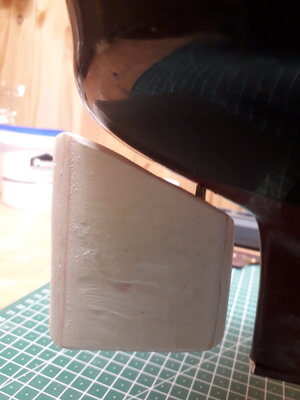
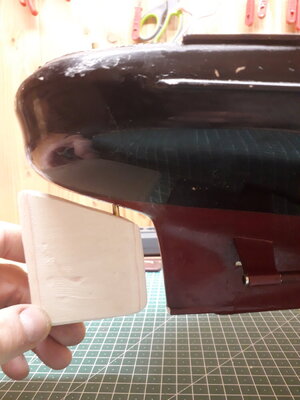
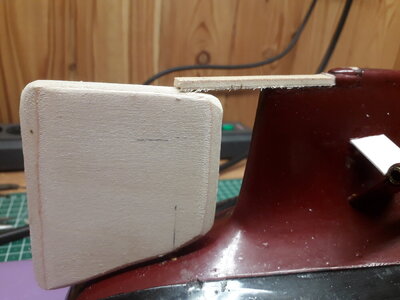
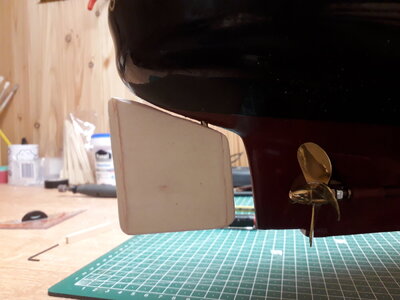
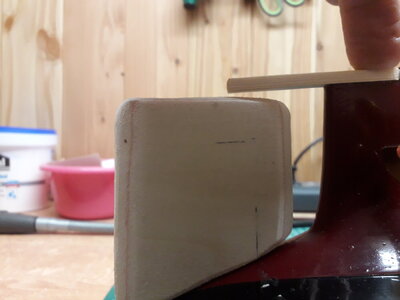
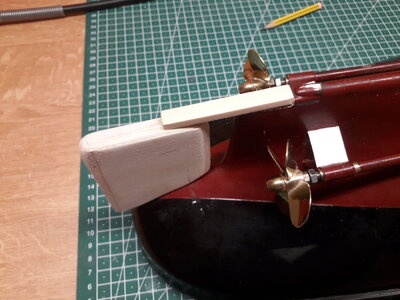
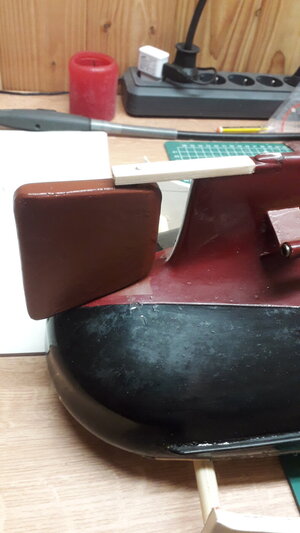
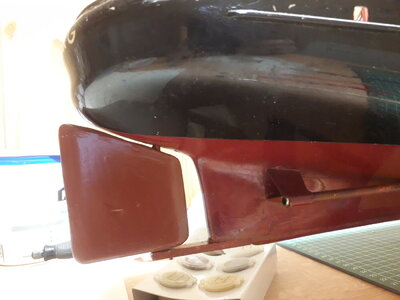
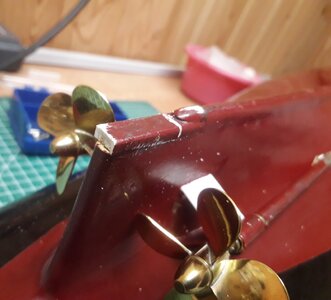
The new rudder work looks well done. She will be ship shape soon and back at sea in no time.
- Joined
- Jun 17, 2023
- Messages
- 595
- Points
- 308

Hallo WDOIhre Restaurierung sieht sehr gut aus. Mir gefällt, dass Sie reinigen und reparieren und nicht versuchen, sie wieder wie neu zu machen. Tolle Arbeit, gut gemacht!
Ja, mir ist es wichtig, dass die OCEANIC so alt aussieht, wie sie wirklich ist. Ich habe sie am Ende auch ordentlich rosten lassen, aber das wird noch kommen. Immer schön Schritt für Schritt.
- Joined
- Jun 17, 2021
- Messages
- 3,200
- Points
- 588

I don't read or speak German, but I do know the word "schmutz" 
Wonderful job! As one with a lot of intimate knowledge of, and experience in restoration both of ship models and antique furniture, I am enormously appreciative and impressed!


Great pictures, by the way, Very comprehensive and informative. Thanks for that.
Pete G.

Wonderful job! As one with a lot of intimate knowledge of, and experience in restoration both of ship models and antique furniture, I am enormously appreciative and impressed!


Great pictures, by the way, Very comprehensive and informative. Thanks for that.
Pete G.
Last edited:
- Joined
- Jun 17, 2023
- Messages
- 595
- Points
- 308

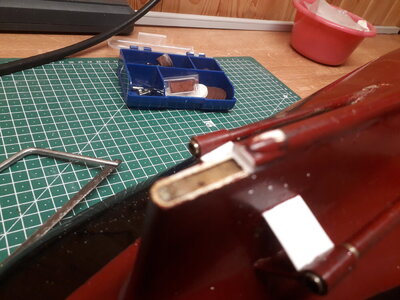
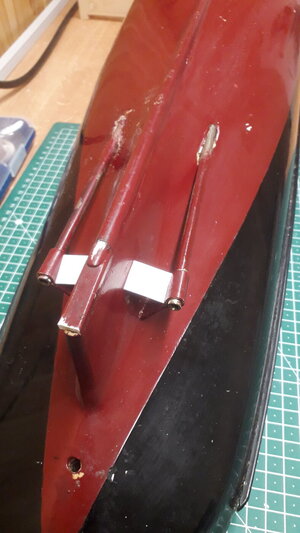
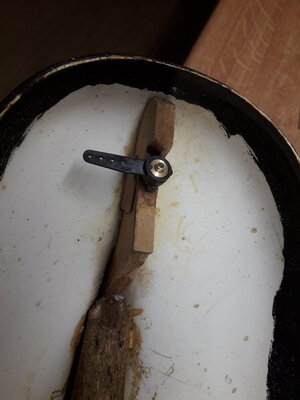
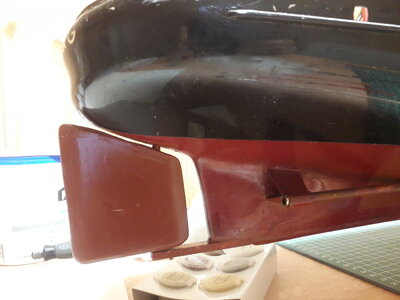
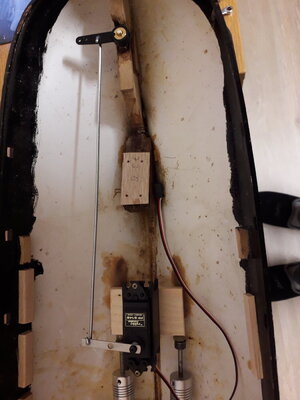
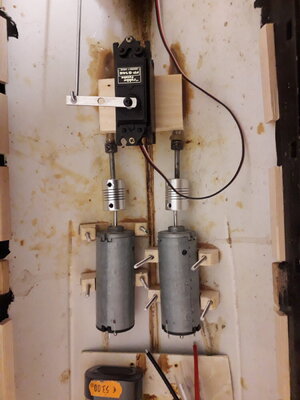
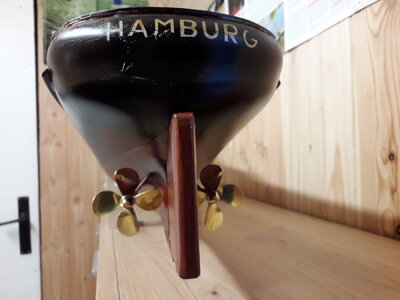
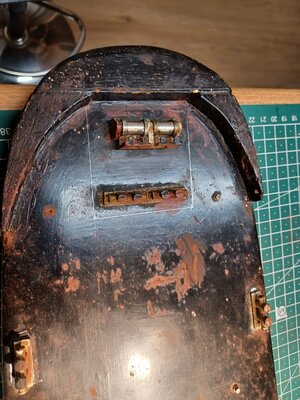
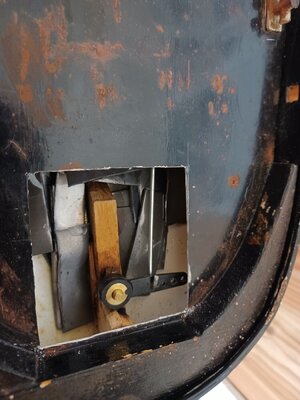
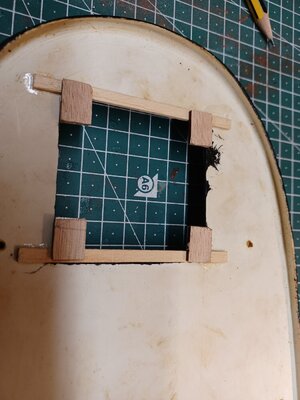
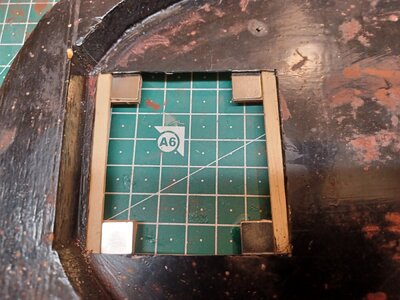
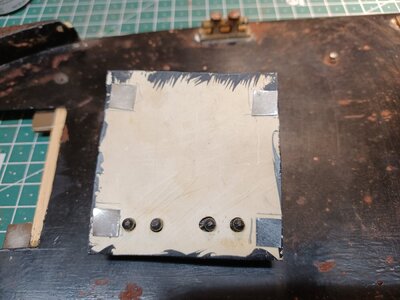
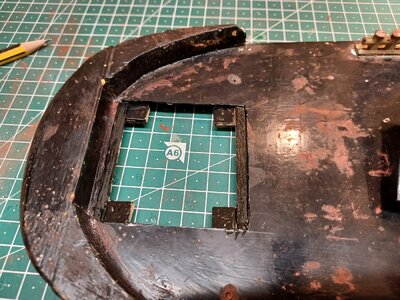
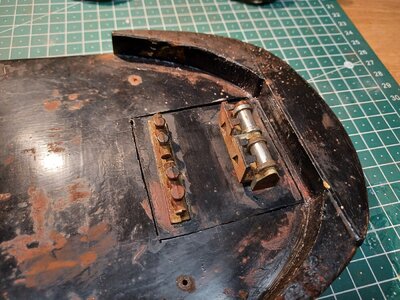
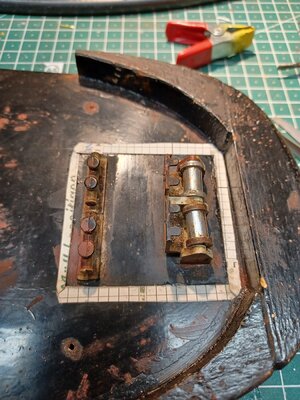
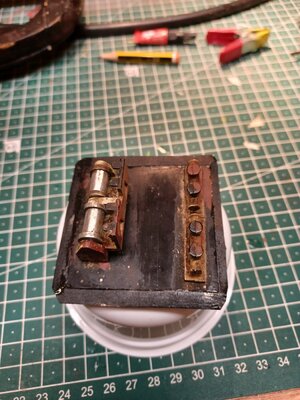
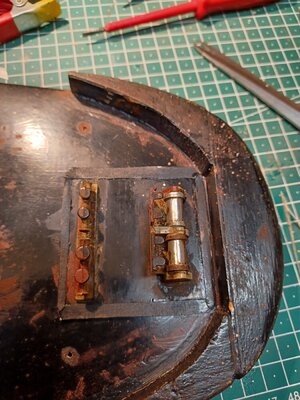
Das Servo für die Ruderanlenkung ist ebenfalls eingebaut. Um später an das Ruder zu gelangen, habe ich ein weiteres Loch im Achterdeck geschnitten. Die Abdeckung wird von 4 Magneten gehalten. Es waren auch ein paar neue Schrauben nötig, die alten, roten funktionierten überhaupt nicht. Mir gefällt es besser mit 2 Messingblechschrauben.


Very impressive work. From what I can gather from your report, you intend to make them look their age, with rust and mess and all that entails, I think that's great.
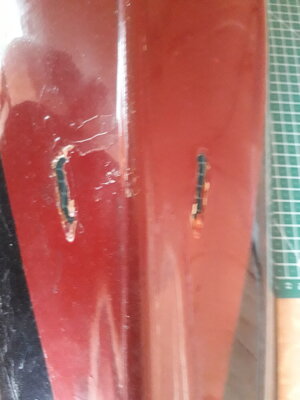
What did you use to fill the holes with?
Hallo Wolle.Hallo Pete.
Eigentlich schreibe ich alles in meinen Übersetzer und kopiere den englischen Text und füge ihn auf Englisch ins Forum ein, er sollte auf Englisch sein. Trotzdem vielen Dank für Ihr Feedback.
Leider ist es der deutsche Text, der ins Forum kopiert wurde. Ich sehe Ihren Text auf Deutsch.
Gut gemacht mit der Schiffsrestaurierung!
Ein anderer Peter
Ja, besser.
- Joined
- Jun 17, 2023
- Messages
- 595
- Points
- 308

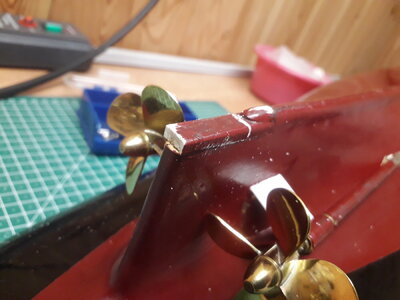
The servo for the rudder linkage is also installed. To get to the rudder later, I cut another hole in the aft deck. The cover is held by 4 magnets. It also needed some new screws, the old red ones didn't work at all. I like it better with 2 brass sheet metal screws.
- Joined
- Jun 17, 2023
- Messages
- 595
- Points
- 308

Hello
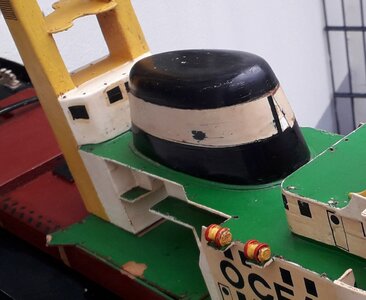
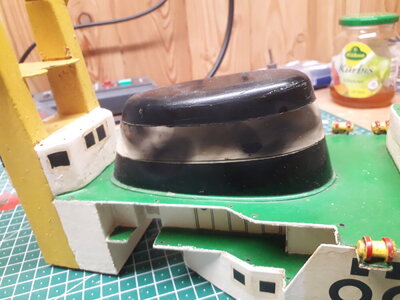
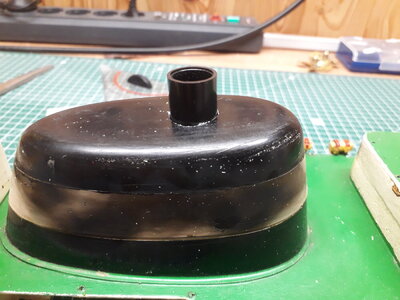
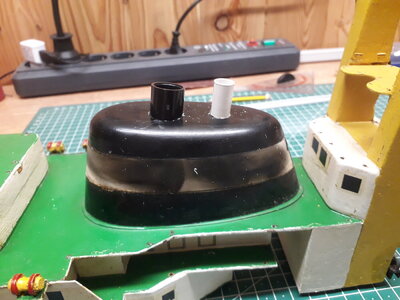
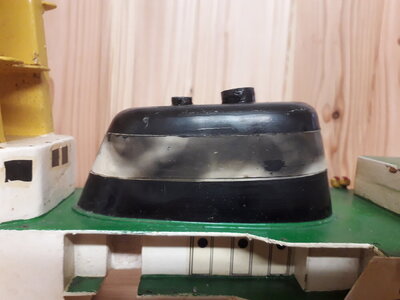
Then it was the chimney's turn, I found it a little too boring. I installed two chimneys. The big one was the interior of a till roll, the small one was a ballpoint pen. It must have looked even more sooty on the outside. Now hold on tight....I lit a candle and held the chimney over the flame until the chimney was sooty. I hope the text is now in English
 .
.
Then it was the chimney's turn, I found it a little too boring. I installed two chimneys. The big one was the interior of a till roll, the small one was a ballpoint pen. It must have looked even more sooty on the outside. Now hold on tight....I lit a candle and held the chimney over the flame until the chimney was sooty. I hope the text is now in English


 .
.
