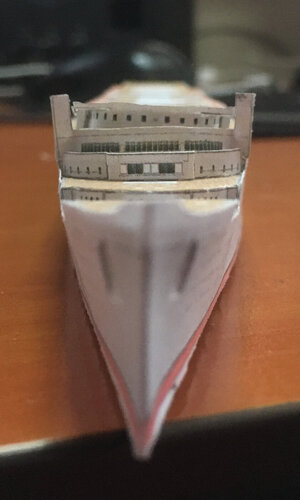
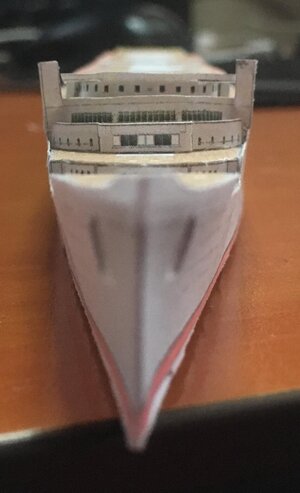
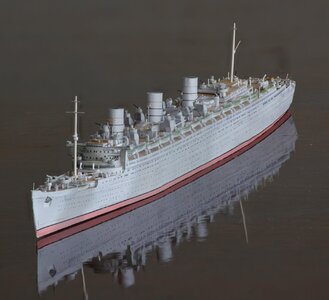
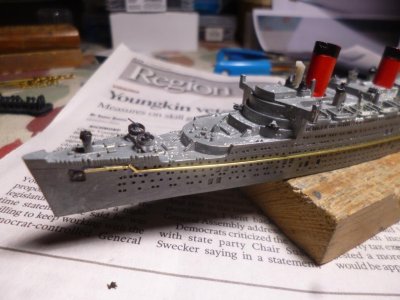
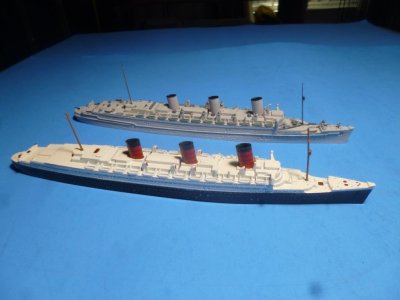
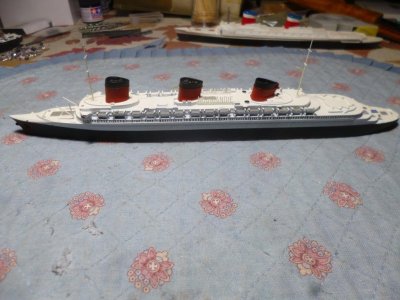
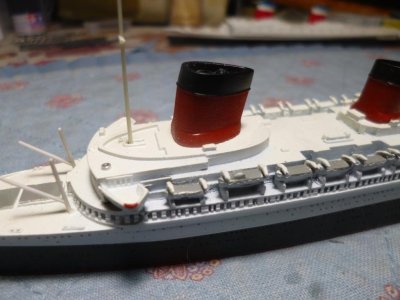
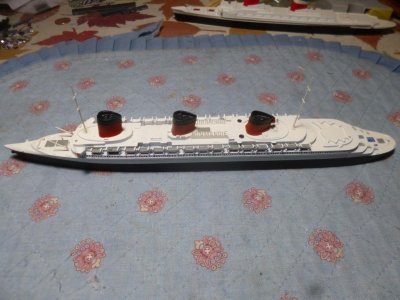
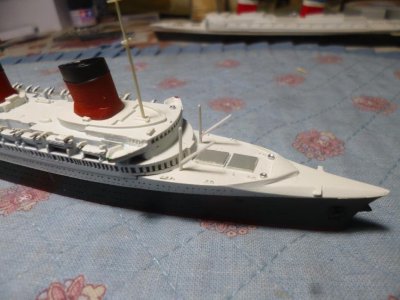
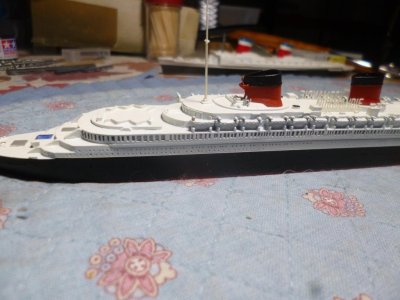
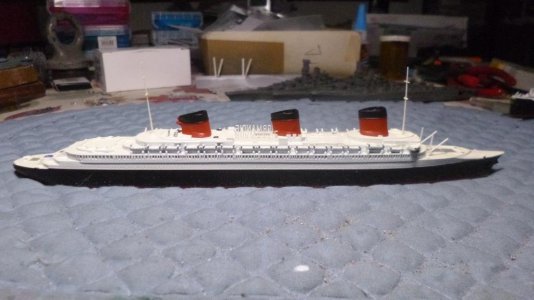
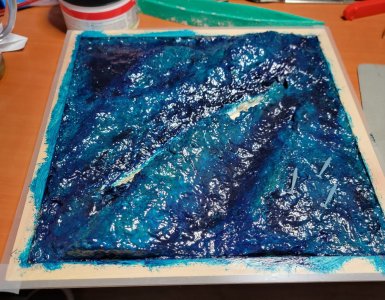
RMS Queen Mary (Scale 1:1250)

Joined
Mar 11, 2021
Messages
29
Points
58

My Vasa is finished, more or less, can't start with the seascape and can't fix my leaky bathroom right now, so I start my next model.

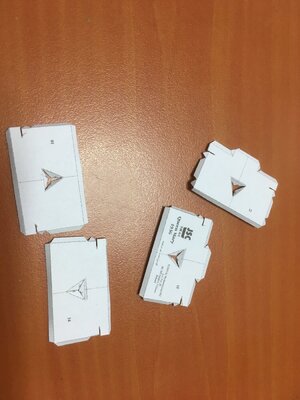
Now, there is this paper model of the Queen Mary but I won't build it though, cause at scale 1:400, it will become a 77 cm monster. Where would I put it? :rolleyes:
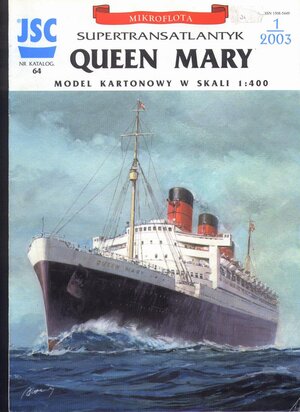
qm0.JPG Rys mont.jpg

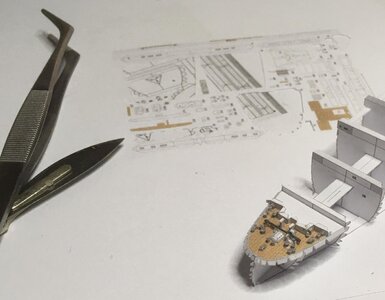
So I copied it down to 30%, meaning scale 1:1250
qm1.JPG
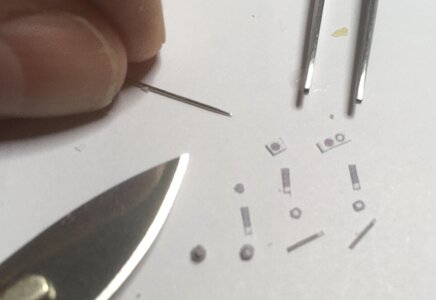
Don't be fooled by the scissors. I don't use it, it would bend my paper. All lancet knife cutting and (with the back) grooving (is that the correct word?).

I have done this once before, so I am confident I will succeed in the end.
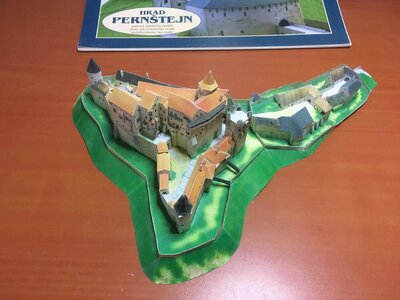
This is Hrad Pernstejn. Original 1:300, but I copied it to 40%, so I made it at 1:750.
Pern1.JPG

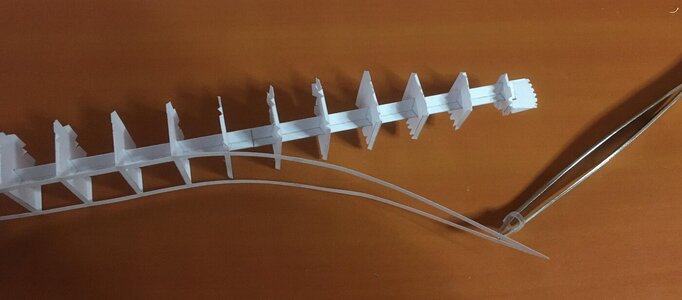
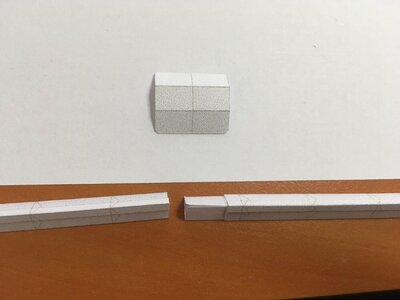
So there I go. First the central triangular tube.
The connectors where too broad and wouldn't go into the tube, so had to remake those a tiny little bit narrower.
qm2.JPG

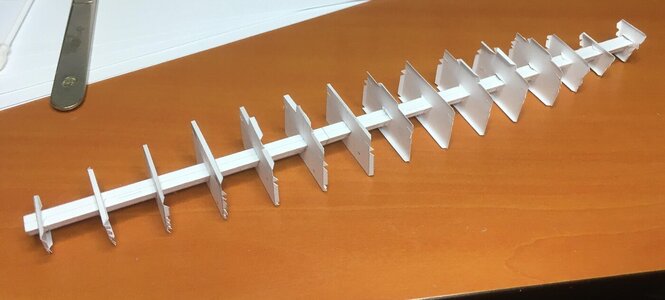
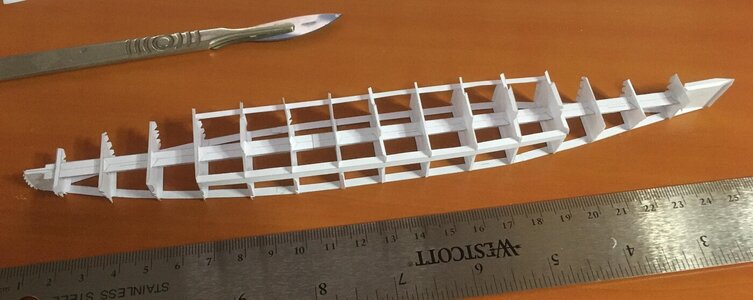
And that is the first part; straight and without torsion:
qm3.JPG

I use acetone based hobby glue btw. No wetting the paper, and I put in some extra acetone to make it thinner.
 
Last edited:
Next stage. I am going much faster than intended. Hmm. Cautious
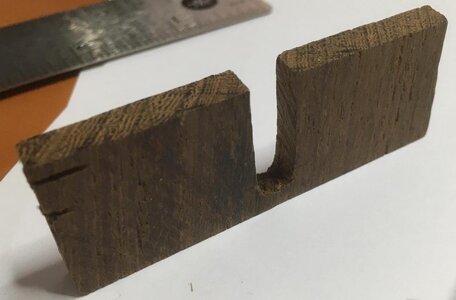
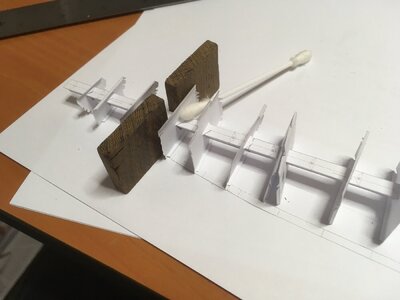
The holes in the frames are just not large enough, so I enlarged them on the top site. Perhaps a little too much, but that doesn't matter.
IMG-1371.JPGIMG-1374.JPGIMG-1373.JPG
Next I glued them to the tube but only to the lower flaps, while applying a little pressure using that nifty tool I made from panga panga wood to keep them perpendicular.
IMG-1375.JPGIMG-1381.JPG
Result: All frames touch the table. Not perfect, but I think good enough.
IMG-1383.JPG Glueing the top flaps to the tube and attaching some more parts, and stage 1 is finished. :)

IMG-1384.JPG
(This might prove to have been the easy part....)
 
Well, I started it, so I go along with it.
Adding walls and decks;
IMG_1396.JPG
Slap the sides against it.
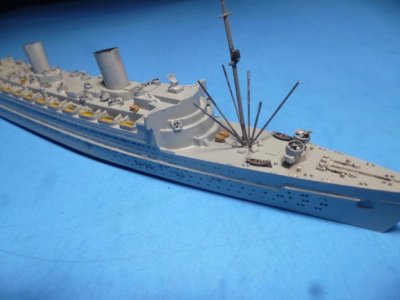
Yep, I turned it gray. I'll make it the WW2 troopship version. A bit too light, but real battleship grey is much too dark for such a tiny model.
IMG_1398.JPG
More walls and decks;IMG_1406.JPG
And more stuff;
IMG_1408.JPG
IMG-1413.JPGIMG-1414.JPG
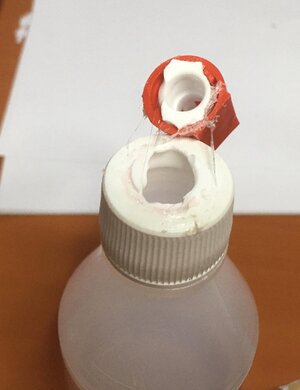
And then the glue bottle broke. :rolleyes: That does it for today.
IMG-1412.JPG
 
An update to keep me motivated.
Most important development; I bought a new bottle of glue.

Now, I think I noticed people think you cannot correct when building in paper, but that is incorrect.
When doing the bridge I wasn't paying attention it seems, for after the glue dried it appeared the bridge was skewed.
Now I forgot to take a picture before, so I edited the picture after the correction to show how it approximately was.
Before (edited): _____________________________ After:
IMG_1420a.jpgIMG_1420.JPG
It is very simple; just apply acetone gently with a brush until things start moving under a little pressure. Keep it there untill the acetone has evaporated.

Now you cán drop your brush into the bottle of acetone. Really, I did, so it can be done.
IMG_1405.JPG
But after careful analysis and making deductions I came to the conclusion that doing so offers no advantages whatsoever.

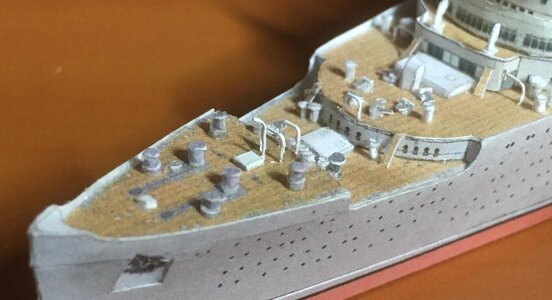
Now there are a lot of tiny fiddly things to add to the ship.
Here is one, a little bit of deck with a stair:
IMG_1419.JPG
IMG_1422.JPGIMG_1426.JPG
It can't be called building, or even crafting. It is just only nudging everything in place!

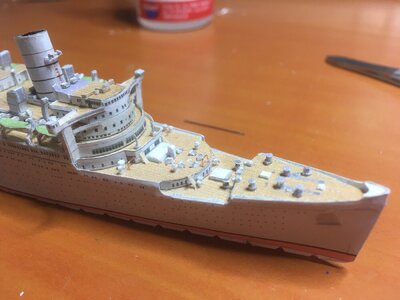
But, I soldier on! This is what I have now. It looks like I have made progress, however, I am now only exactly halfway down the instructions..... :oops:
IMG_1432.JPG
 
Last edited:
I can't say I am procrastinating. :)
Put on the davits. That's a lot of work. Even after redesigning them so that they consist of 1 part (in 4 layers of paper) instead of 6.
DXNQ2496.JPG

The lifeboats were, quite unexpectedly, not that difficult to do though.
IMG_1448.JPG

Just to show the insanity; I need a needle to shape the parts of the bollards.
IMG_1450.JPGBut they came out nicely :p:
IMG_1461.JPG

The stands and horn hoses are made of copper wire.
IMG_1454.JPG ... and then painted white.
IMG_1457.JPG

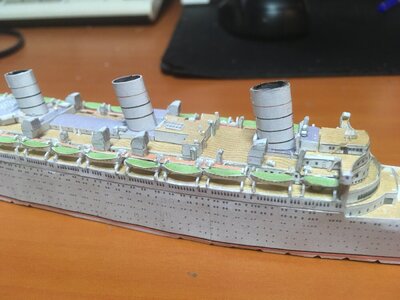
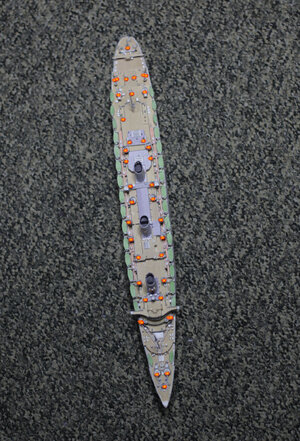
This is her current state:
IMG_1458.JPG

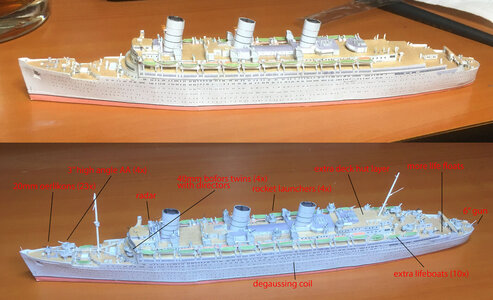
Now next I have to make the changes for the troopship version.
That means creating 40(!) gun (and missile and director) positions with 35 barrels pointing upwards. The QM was better armed than the average air defense cruiser.
Have to design them from scratch first though.
Also 10 extra lifeboats, a radar post, and degaussing coils (against magnetic mines).
I read in one source she even carried torpedo's. :) Can't find a picture of them regrettably. They should rest on a ledge astern, just above the waterline.

After that I will add the masts and some rigging. And then I want to make a seascape of course.
 
Last edited:
My Vasa is finished, more or less, can't start with the seascape and can't fix my leaky bathroom right now, so I start my next model.

Now, there is this paper model of the Queen Mary but I won't build it though, cause at scale 1:400, it will become a 77 cm monster. Where would I put it? :rolleyes:
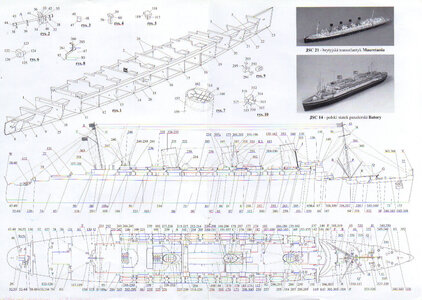
View attachment 227518 View attachment 227523

So I copied it down to 30%, meaning scale 1:1250
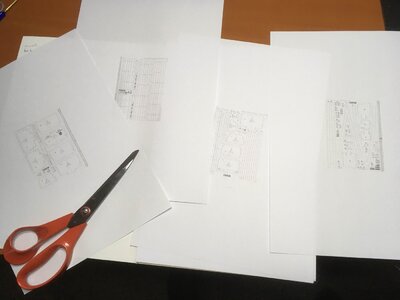
View attachment 227519
Don't be fooled by the scissors. I don't use it, it would bend my paper. All lancet knife cutting and (with the back) grooving (is that the correct word?).

I have done this once before, so I am confident I will succeed in the end.
This is Hrad Pernstejn. Original 1:300, but I copied it to 40%, so I made it at 1:750.
View attachment 227516

So there I go. First the central triangular tube.
The connectors where too broad and wouldn't go into the tube, so had to remake those a tiny little bit narrower.
View attachment 227520

And that is the first part; straight and without torsion:
View attachment 227521

I use acetone based hobby glue btw. No wetting the paper, and I put in some extra acetone to make it thinner.
Hallo @Jhoanor
we wish you all the BEST and a HAPPY BIRTHDAY
Birthday-Cake
 
Wow you are certainly doing an incredible job at that small scale, she looks really good, brings back memories of when I was a steward on her,

Best regards John,
 
Wow you are certainly doing an incredible job at that small scale, she looks really good, brings back memories of when I was a steward on her,

Best regards John,
Really!? Wow! That must have been after the war though. Unless you are really old. :p
Might it be you have collected information about her wartime adventures?
Cause when searching I found this link https://uboat.net/forums/read.php?3,41607
where a certain Joe asks this: (without getting an answer)
Between February and September 1956 I served as Chief Officers Writer on the R.M.S.Queen Mary. One evening, whilst reading the Memoirs of a German U-Boat Captain I found the statement that he had come upon the Queen Mary stopped in the water and well off the normal shipping lane.
He stated he could see troops lining the rails, he was not an ardent Nazi, no else on his boad was aware of what he was looking at (the Queen Mary's engines were stopped), he still had two torpedoes, but he decided not to let anyone know and continued his voyage. He recorded the date, time and position in his personal diary. I realized I could check his story, so I went to the chartroom and pulled the log-book for that date and found the following entry "stopped for repairs" and a position which tallied closely with that given by the U-Boat Captain!

I have been searching all over the net for those Memoirs, but couldn't find one which mentions this happening.
 
It was in 1967 that I was on her as an Officers steward, I was 20 years old at the time, great times and memories, so I am 74 at the present, old but not that old :);):),

I look forward to the rest of your build,

best regards john,
 
Thank you Uwek for your wishes! Bottle

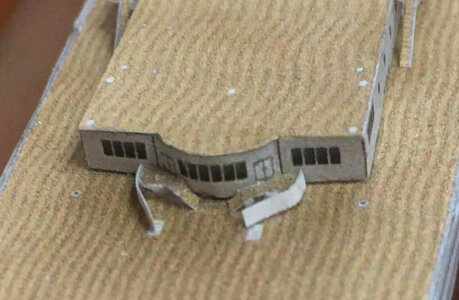
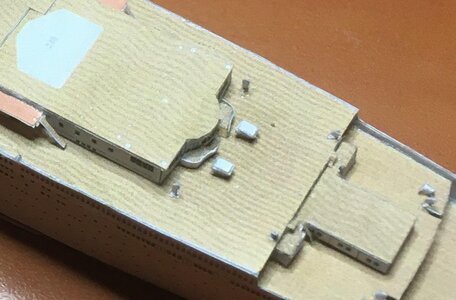
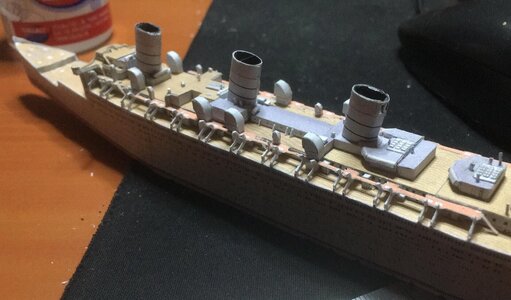
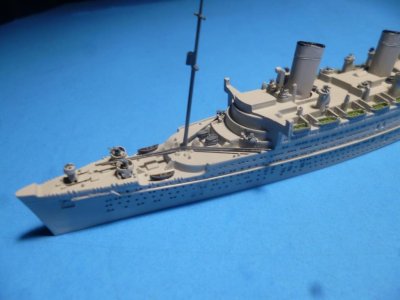
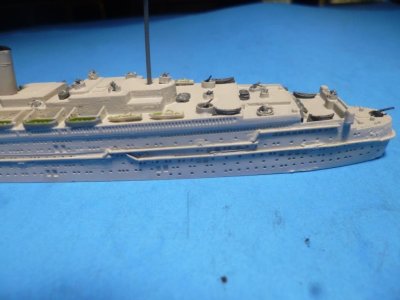
Here are the promised changes for the troopship version. And I did the masts.
f1.jpg
Had to build from scratch an extra deck hut also.
The masts are really parallel to each other. Drat that perspective!

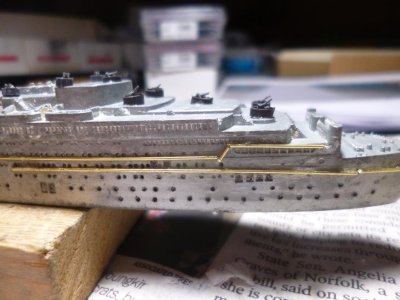
There is a lot of AA on the deck. Image you in a german bomber, and they are all shooting at you: :p
f2.jpg
Well, it never happened. The QM was never bombed, but they did shoot on any plane getting near, whether friend or foe! They won't take risks.

And a HF image (12x) for good measure:
f4.JPG

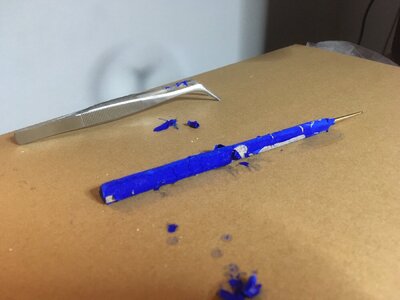
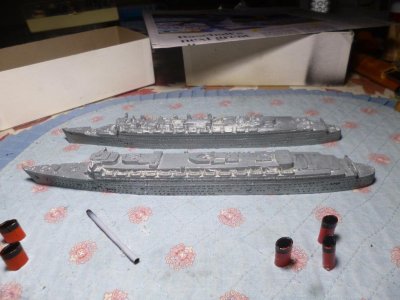
Next would be the rigging. I bought the 0.1mm yarn from Amati, but on arrival it appeared 4 threads next to each other fills a whole mm. Dunno where they buy their calculators, but that wouldn't look good. (Comparison with pictures on their site and deliberation with the seller showed I did get the yarn which is labeled as such)
So I ordered 0.1mm thread from abroad. Will take some time.
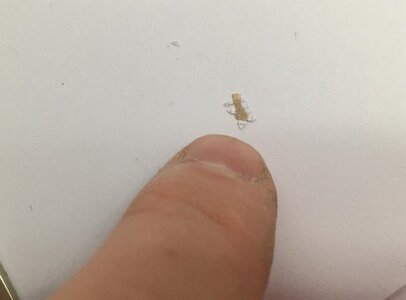
(Oh, the short thread in the middle of the picture is made of glue)

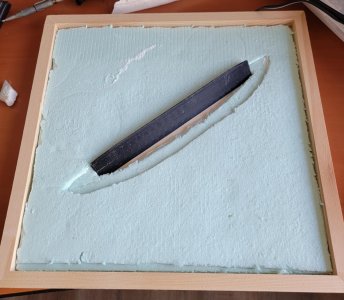
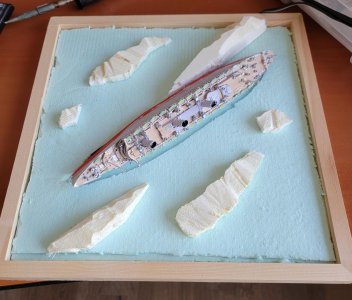
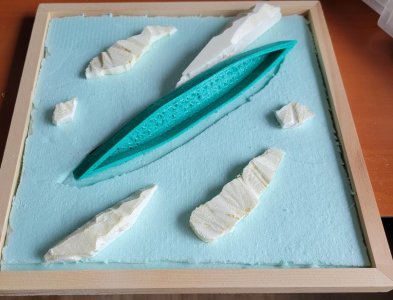
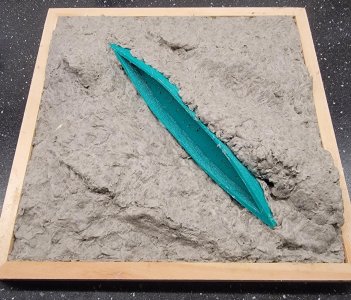
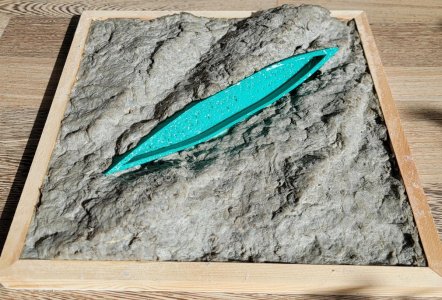
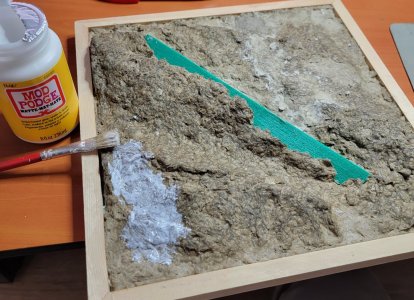
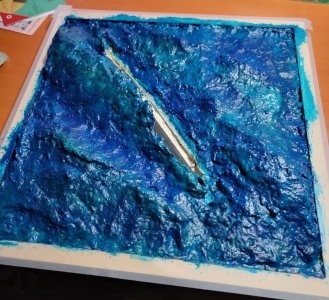
And will do the seascape of course. Never done that before so that will also take some time.
 
Last edited:
My Vasa is finished, more or less, can't start with the seascape and can't fix my leaky bathroom right now, so I start my next model.

Now, there is this paper model of the Queen Mary but I won't build it though, cause at scale 1:400, it will become a 77 cm monster. Where would I put it? :rolleyes:

So I copied it down to 30%, meaning scale 1:1250
Don't be fooled by the scissors. I don't use it, it would bend my paper. All lancet knife cutting and (with the back) grooving (is that the correct word?).

I have done this once before, so I am confident I will succeed in the end.
This is Hrad Pernstejn. Original 1:300, but I copied it to 40%, so I made it at 1:750.

So there I go. First the central triangular tube.
The connectors where too broad and wouldn't go into the tube, so had to remake those a tiny little bit narrower.

And that is the first part; straight and without torsion:

I use acetone based hobby glue btw. No wetting the paper, and I put in some extra acetone to make it thinner.
Hallo @Jhoanor
we wish you all the BEST and a HAPPY BIRTHDAY
Birthday-Cake
 
Sir: Wayne Smith & I (Superior/ALNAVCO) are working on an ex-Mercator mold of the Queen Mary and are trying to create the WW II troopship version of the liner for our customers. Impressed by your paper model of the ship. Do you know where we could find any sources re the number and location of weapons installed on the Queen as illustrated by your model? Any assistance you could provide would be greatly appreciated. Jeff Clarke (jjclarke9@comcast.com, Alexandria, VA USA)
 

Attachments

  • Wayne Request.docx
    14.7 KB · Views: 4
Sir: Wayne Smith & I (Superior/ALNAVCO) are working on an ex-Mercator mold of the Queen Mary and are trying to create the WW II troopship version of the liner for our customers. Impressed by your paper model of the ship. Do you know where we could find any sources re the number and location of weapons installed on the Queen as illustrated by your model? Any assistance you could provide would be greatly appreciated. Jeff Clarke (jjclarke9@comcast.com, Alexandria, VA USA)
seems, that there is a complete set of original drawings existing, which was once offered for sale on an auction

complete set of plans for cruise liner RMS Queen Mary as she prepared to become WWII troop ship​


not helping driectly, but maybe interesting for you

Do you know this one?

 
The gun layout is published in the book:"The Cunard Liner Queen Mary (Anatomy of the Ship)"
I have send Jeffrey a link.
 
Back
Top