Royal Caroline Box wood edition 1/30 scale modified to fit carvings, build by neptune,

Joined
May 25, 2017
Messages
3,440
Points
688

Location
Australia.
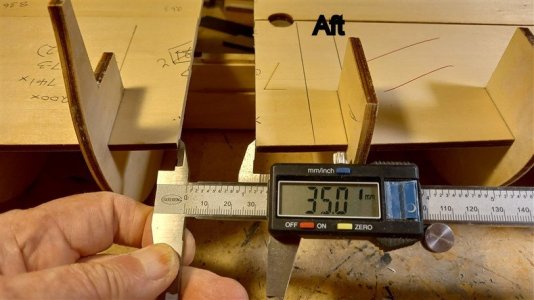
This will be my build log of the Royal Caroline 1/30 scale modified to fit the carvings better along the top sides, the link below explains why I'm modifying her, I have already built the Pear wood version, it was the first on the Forum and I discovered along the way that the Kit was built to a scale of 1/30 but the Wood carvings were done to a slightly larger scale and they had to be cut and trimmed to fit along the sides, so this time I have lengthened the hull by 35mm to ensure they will fit OK,


Last edited:
So here we go,

1.jpg
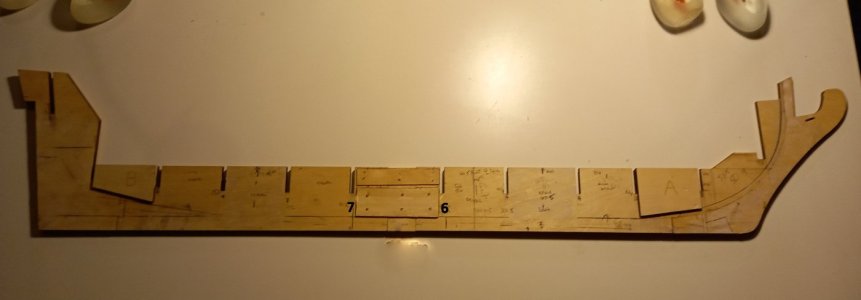
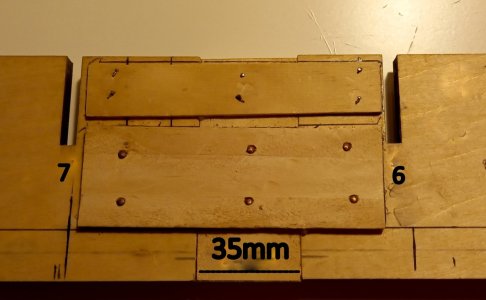
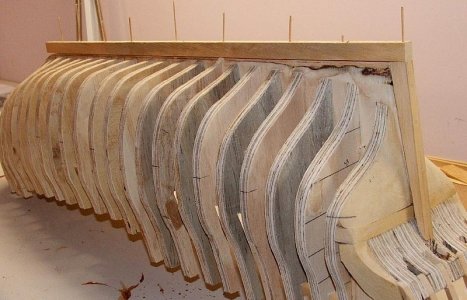
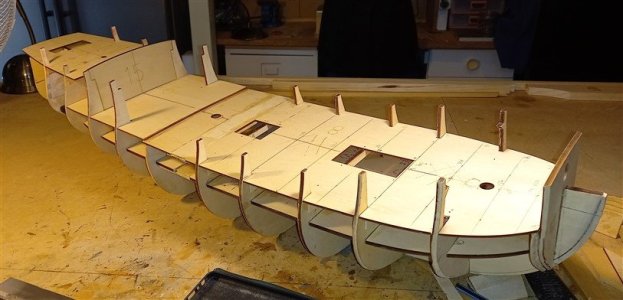
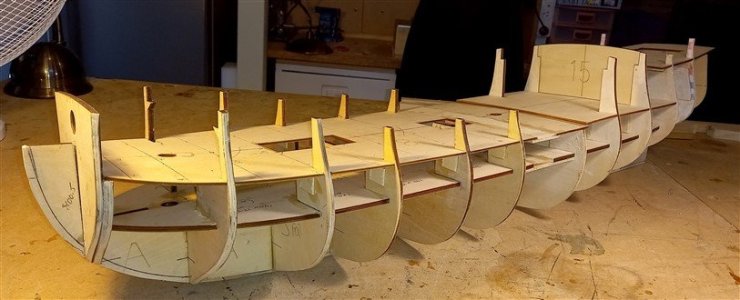
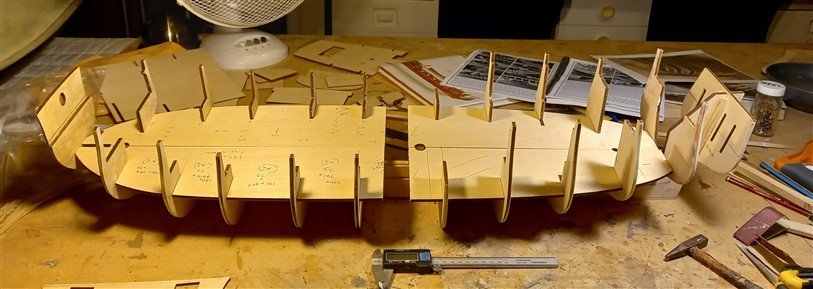
I finally inserted a 35mm extension piece between frames 6 and 7, I had tried smaller pieces but went with the 35mm piece, will see how things go,


2.jpg
close up,


3.jpg
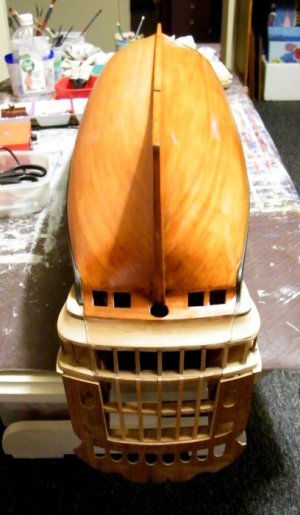
On this RC I wanted to do something different, these ships had a taper from the top of the stem out to where the figure head sat and also another taper going down from the top of the stem to the keel, so i cut the keel off where the lowest part of the frames met it, i will show some pics in the next post explaining how it works,

4.jpg
Then i cut the all the stem away,

5.jpg
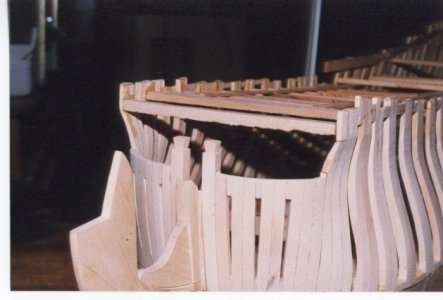
Now right at the stern there is a piece that needs to be cut off because the rudder has to run up through there,


6.jpg
This is the piece, I cannot figure why it was there, maybe an oversight,


7.jpg
next i cut off the rudder post piece,

best regards John,
 
This is a model of HMS Investigator that I scratch built for a gentleman, I am showing these pics because they explain what i am doing with The Royal Caroline,

9.jpg
so this is how the RC will look when all the frames are assembled and the filling blocks added,

10.jpg
Then I will add a rebate strip right down the stem and along the keel,

11.jpg
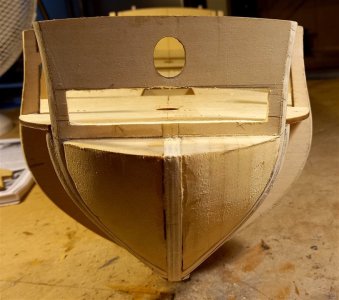
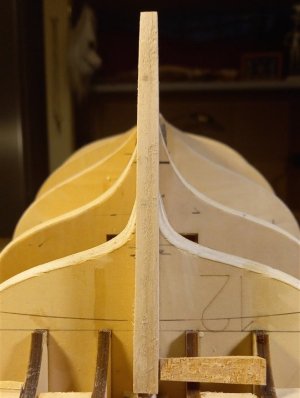
I will then make another stem out of three or four pieces of wood and taper them forward to the figure head and downwards to the keel,

12.jpg
A keel will be added that also tapers from amidships to fore and also aft, also the stern post will be tapered from the top to the keel and the area where the bearding line is will be reduced to take the planks, any questions just ask,

13.jpg
when I was talking about building another Royal Caroline awhile ago, approx five years ago, I mentioned building her fully framed, but after the events of the last year or two I have decided to just build her out of the box with a few modifications, and one of the things I would like to do is insert some false frames as above or very similiar,

hope you enjoy the build,

best regards John,
remember any questions just ask,

.


.
 
14.jpg
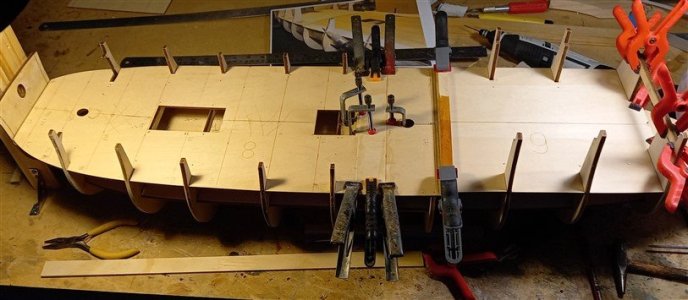
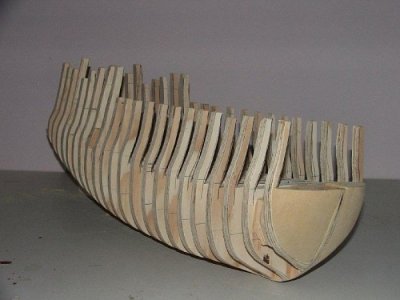
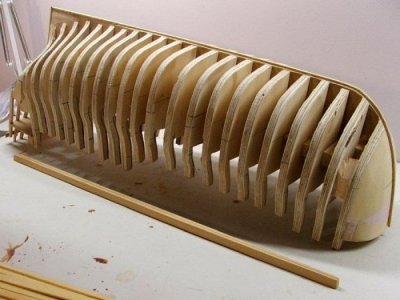
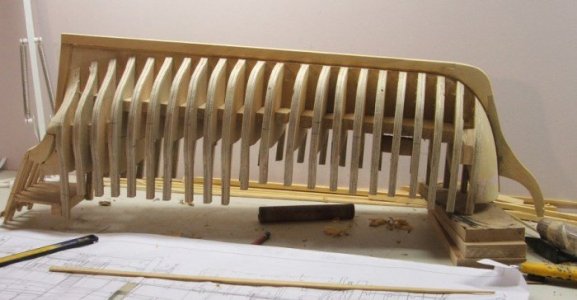
All the frames slid into place OK, some needed a little sanding, I screwed some piece of wood to the work bench between the frames to keep them straight while I glued the frames in place, now the lower deck came in four pieces, so when the decks were glued and pinned in position they left the gap you see which was 35mm, this pic was taken out of the jig after the glue had dried,
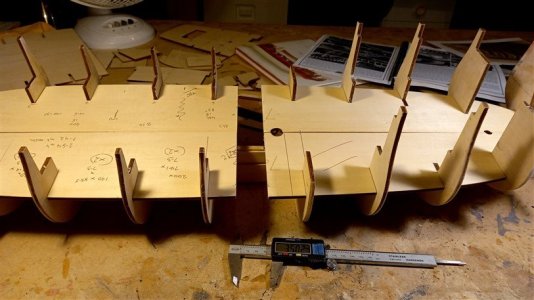

15.jpg
a closer look,

16.jpg
and a real close one, i like to add a few pics so it makes it clear what is happening, there is nothing worse than just seeing the finished thing and wondering how it went together,
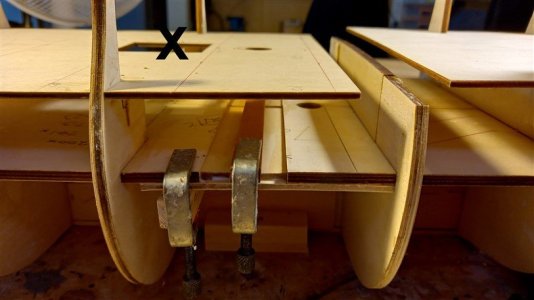
17.jpg
Now the next decks up were a little bit different, they came in two pieces, one piece for the fore deck and the other piece for the cabin floors, on the non extended model the fore piece has the hole for the mast in it and the end of this piece normally sits on and overlaps the bulkhead a little then the after piece the cabin floor sits down on the overlap and is glued in place, see next pic,
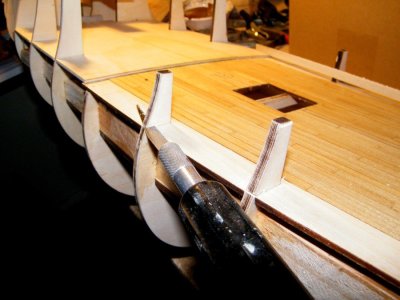
19.jpg
this clearly shows the cabin piece sitting on the fore deck piece, this is a photo from my previous RC,

17.jpg
I am hoping to get away with not having to move the cabin forward, ( I might have to ) so i decide to cut the piece off the fore deck just where that red line is behind the X,
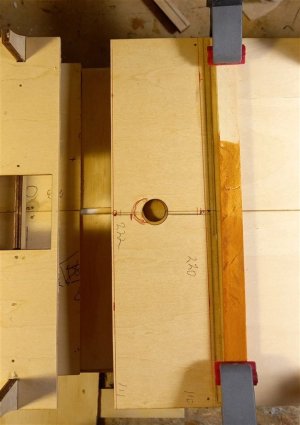
18.jpg
after cutting it off I moved it back to where it would normally have been, making sure to line up the mast holes with a piece of dowell and then glued the piece to the bulkhead with the cabin deck pinned and glued down on top of it, if I am lucky and dont have to move the cabin forward, it will be great if not I will have to drill new holes,
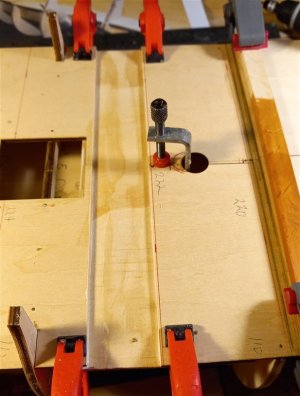
20.jpg
Then I glued a bridging piece under both parts,
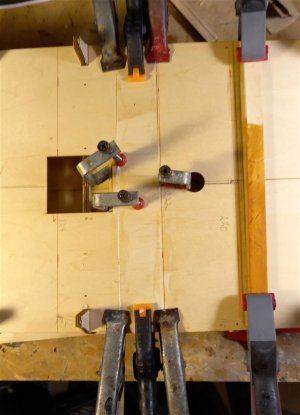

21.jpg
and then glued the infil in place,

22.jpg
and this is where i am up to at the moment,

best regards john,
 
This seems like a lot of work to fix the kit maker's mistake but the RC is a lovely vessel in the end, so I get it. Your perseverance is to be commended.
With the knee of the head still free, will you be tapering it now or waiting? It is a lot easier to do this heavy sanding off the ship if possible. I don't know what the thickness is on your kit piece but at 1:30 it would likely taper from the thickness of the stem (9mm??) to about 3.5 mm at the seat of the figurehead.
Allan
G'day Allan, thank you for your reply and nice comments, yes I will be making up a completely new stem from separate pieces and then attaching it to the hull.

see some pics of my Royal William below which shows how it hopefully will look like,


1.jpg
you can see the taper on the head piece,

84.jpg
and on this pic you can see the taper not only to the front of the head but also down to the keel and along the keel,

85.jpg
and also down the stern post and along the keel,

Thank you for looking in and joining in conversation,

best regards John,
 
Lovely! no longer holding my breath..I did the Faux frame thing with my last scratchbuilt frigate ..will probably do it with the RC and some below deck details. I'm primarily working on some of the subassemblies,deck furniture ,etc.. I cannot take the RC to FL in Jan,I can fly some of the subs, but have to finish Hahn style Hannah given to me by world famous bird carver, Karl Schenk, and also my scratchbuild of WW1 OKESA.. I will ship the finished superstructures to FL.. the hull is in FL..so I will be busy! Hopefully I can get some pics posted..Donnie and Maarten are advising me.. ok..time for bed..having a boiler delivered tomorrow.
 
23.jpg
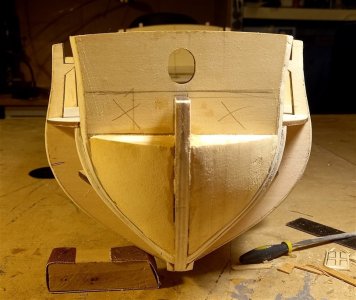
The quarter deck glued in place and also the bulkhead for the rear of the cabin, I will not attach the front bulkhead to the cabin just in case I have to move it forwards a little bit.

24.jpg
and a view from the port side,


25.jpg
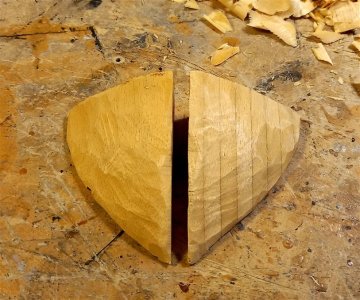
I have some Jelutong wood so I made the bow blocks out of it, one side was a solid piece and the other laminated slices,


26.jpg
blocks glued in place, they still need a bit more of a sanding yet. I have left them lower than the instructions show because the bulkhead behind them is not supposed to be solid, nearly all the kits I have seen have as solid, including my first RC but this time I want to try and show it how it was, but thats for another day,

best regards John.


.
 
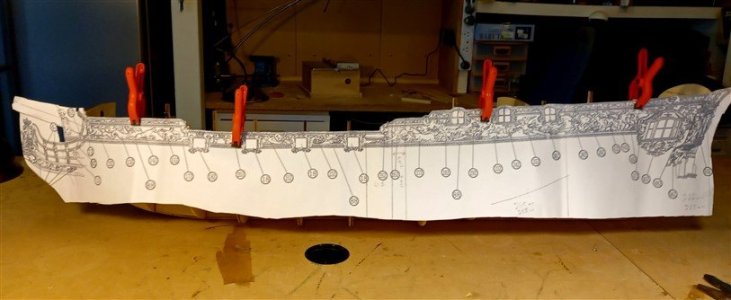
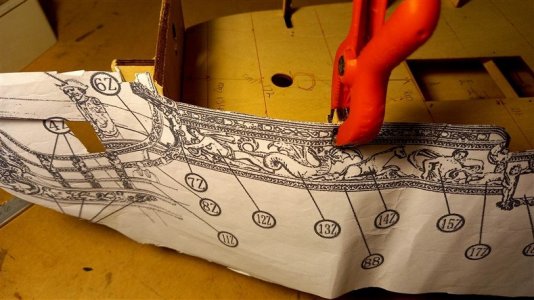
Now to see if the extension has worked out OK,


27.jpg
this is the decorations plan and as you can see it now fits along the hull length OK,

28.jpg
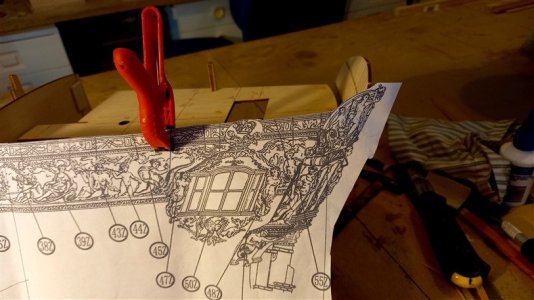
close up of the first bulkhead,


29.jpg
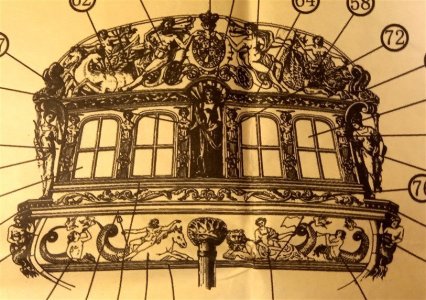
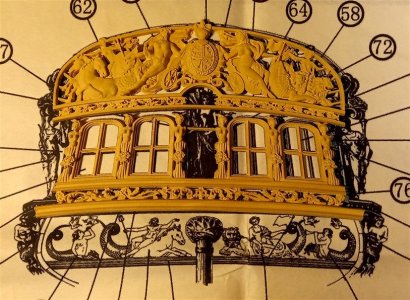
and a close up of the transom, so all the carvings will fit along the topsides without having to cut or trim any of them, I'm hoping the cabin and masts will be OK where they are, I might have to move them forward a wee bit, I will plank the hull first them lay the carvings out and them adjust the cabin and mast if needed,

thank you all for dropping in,

best regards John.
 
Last edited:
Now to see if the extension has worked out OK,


View attachment 487560
this is the decorations plan and as you can see it now fits along the hull length OK,

View attachment 487561
close up of the first bulkhead,


View attachment 487562
and a close up of the transom, so all the carvings will fit along the topsides without having to cut or trim any of them, I'm hoping the cabin and masts will be OK where they are, I might have to move them forward a wee bit, I will plank the hull first them lay the carvings out and them adjust the cabin and mast if needed,

thank you all for dropping in,

best regards John.
Good morning John. Im looking forward to this one. Cheers Grant
 
32.jpg
I have started cutting away the lower part of the first bulkhead, I may have to cut it a bit higher yet, on the draught it shows the bowsprit coming down through part of the deck and the bulkhead, I will leave it where it is for now see what happens has I proceed,

33.jpg
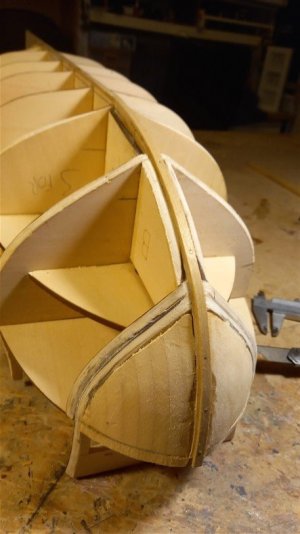
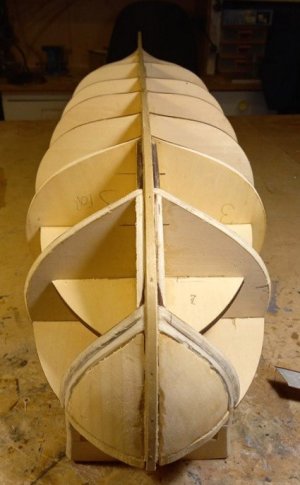
This is the strip that forms the rebate, the keel which is a bit wider sits on top and completes the rebate, any questions just ask,

34.jpg
and a view looking along the keel,

35.jpg
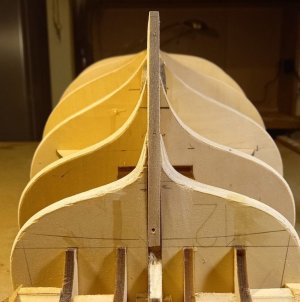
and at the stern I have shaped the plywood keel part to be narrower at the bottom, once the stern post and the keel are attached I will then take more wood from the plywood keel to allow the planks to sit in properly,

36.jpg
and the stern post attached,

best regards John,
.
 
37.jpg
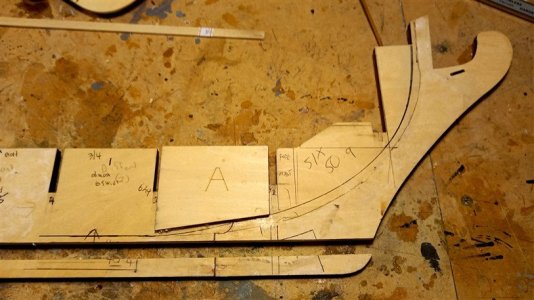
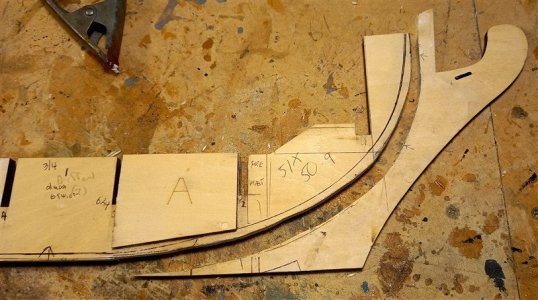
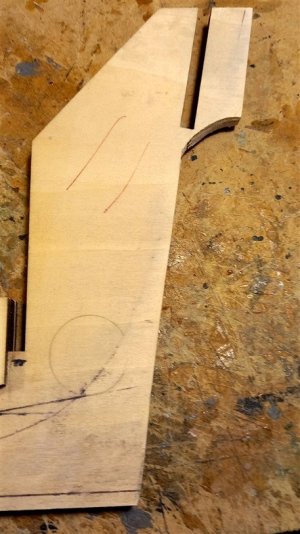
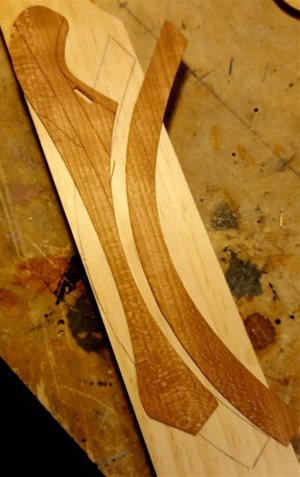
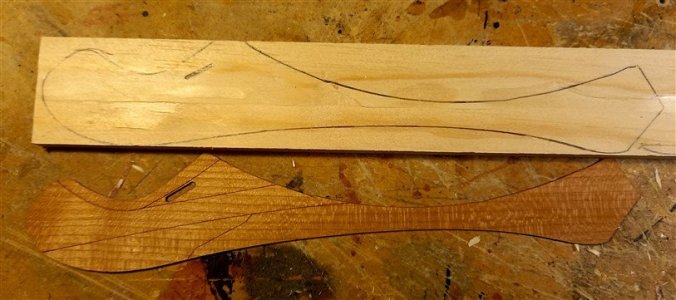
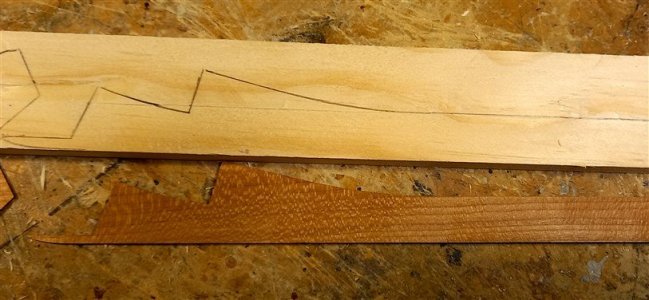
In the kit they give you veneers to go over the plywood stem, keel and stern post, so I have used these to mark out the wood for new tapered stem etc,


38.jpg
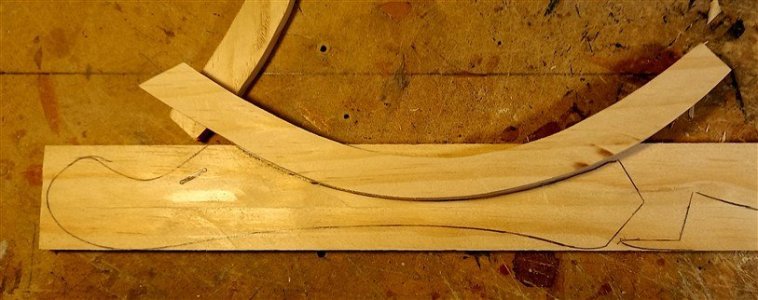
This shows the part of the stem cut out that is the nearest to false plywood keel,


39.jpg
and the other part of the stem marked out, Allan was right on the mark when he said the top of the stem would be 9mm,

40.jpg
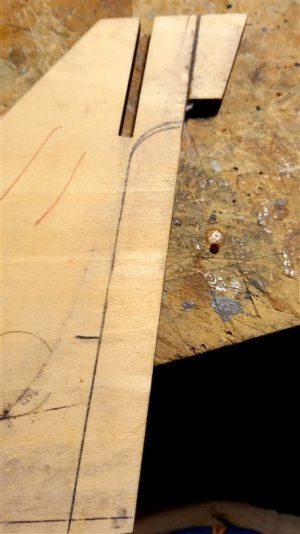
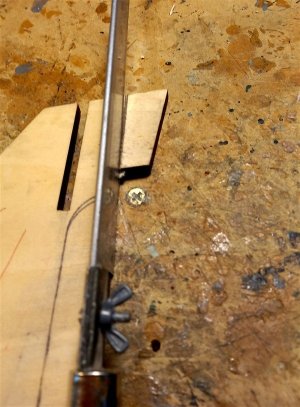
and the, I think its called a boxing scarf, once all these parts have been cut out I will glue up the two main parts that make up the stem and then taper them in the directions needed, if they come out OK then fine, but if not I can always thin them a little more and add the veneers over the parts, fingers crossed,

thanks for looking in,

best regards John.

.
 
Back
Top