-

Win a Free Custom Engraved Brass Coin!!!
As a way to introduce our brass coins to the community, we will raffle off a free coin during the month of August. Follow link ABOVE for instructions for entering.
-

PRE-ORDER SHIPS IN SCALE TODAY!
The beloved Ships in Scale Magazine is back and charting a new course for 2026!
Discover new skills, new techniques, and new inspirations in every issue.
NOTE THAT OUR FIRST ISSUE WILL BE JAN/FEB 2026
You are using an out of date browser. It may not display this or other websites correctly.
You should upgrade or use an alternative browser.
You should upgrade or use an alternative browser.
Royal Caroline Box wood edition 1/30 scale modified to fit carvings, build by neptune,
- Thread starter neptune
- Start date
- Watchers 19
-
- Tags
- royal caroline
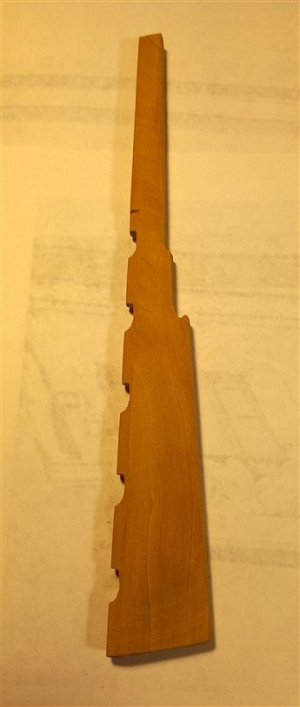
still a little bit of sanding still to do,
Very nice to see you taper the knee of the head. This can be a tricky thing to do. I use a belt sander for the majority then finish with sanding blocks but curious to know how you go about getting the taper? I would love to find a clear and easier way to do this and hope you or someone here has one.
Allan
G'day Allan, I do it exactly the same as you,
best regards John,
Funny you should say that Allan, lol ,Thanks John, I was hoping you had a new magic to try.I was thinking about using a plane, but with the assembled knee of the head having the grain of the individual pieces in different directions it might turn into a disaster.
Allan
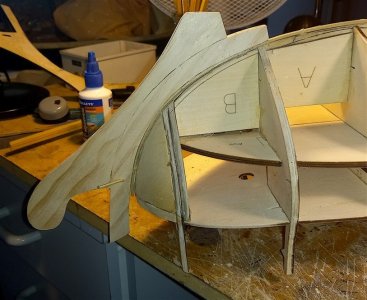
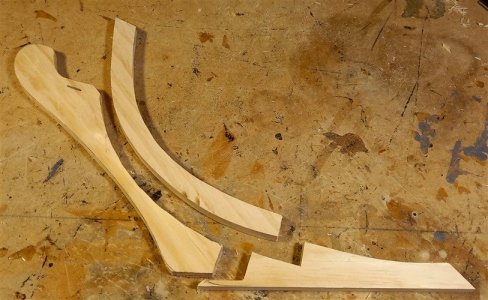
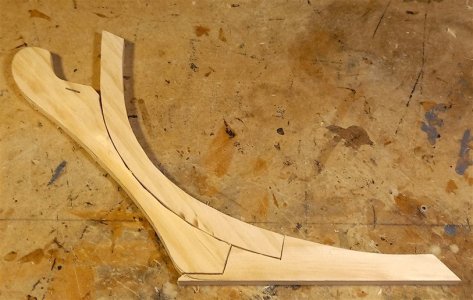
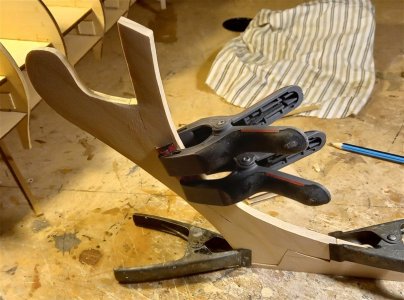
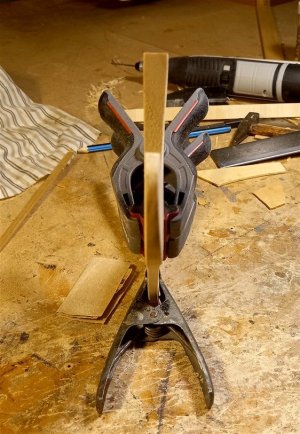
I've now attached the knee of the head, I used trunnels at various points ,
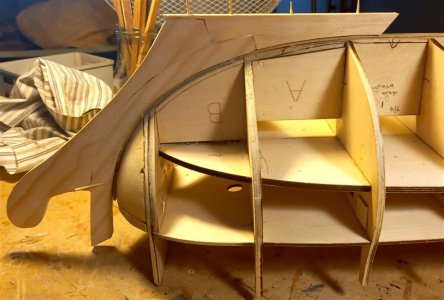
and also the boxing scarph,
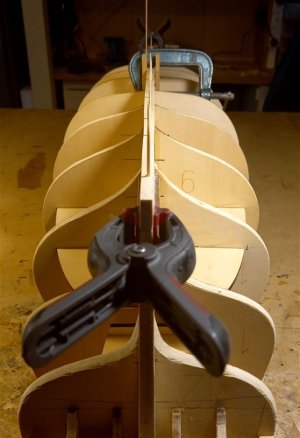
view along the keel from the stern post after attaching the keel,
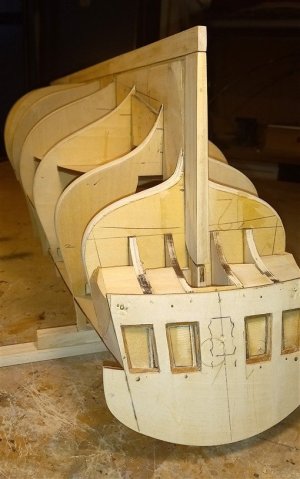
and a wider angle view, once the glue is dry I will cut down the plywood inner keel to accept the planking,
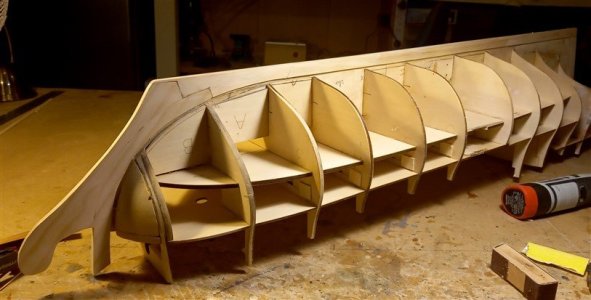
side on view,
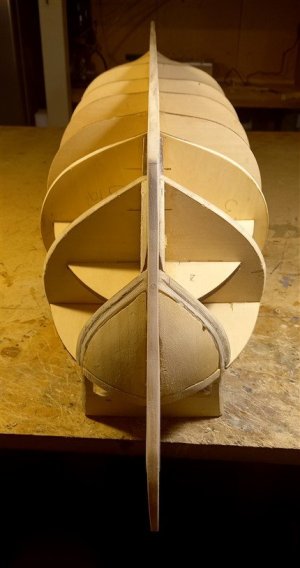
View along the keel from the stem,
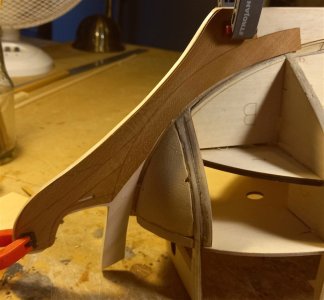
and finally if needed i can add the veneers provided in the kit,
best regards john.
.
What do you mean by this? You won't leave it in plywood, will you?and finally if needed i can add the veneers provided in the kit,
G'day Paul, I've cut the kit plywood stem and keel away and replaced them with Pine wood, what I meant was that if things did'nt work out with the Pine wood I could always use the kit veneer to cover over the Pine wood, hope this makes sense,What do you mean by this? You won't leave it in plywood, will you?
best regards John.
Got it. I can now see the replacement. Thanks for taking the time to catch me up...
Nice job John.. Is your second RC a scratch build? I ended up with the 35mm extension on my RC, I laid up and squared the bulkheads,,tack glued the lower deck..I made a few frames out of cherry . I am using the the dead flat section to build/fit out two cutaway compartments on the stbd side. I'll refer to the AOS book for fitting out the compartments. Thanks to Maarten Alex, Shipbuilder and you for your build logs..pretty much using them for my build.. sorry if I missed anyone.. planning out my wiring,drilling a few holes.. in advance ..to avoid working on cannons, I built some ladders and the Queen's furniture...
Opps..answered my own question,,Your second is a kit you're bashing? Staying one step behind you in my build!
Hi John,I've cut the kit plywood stem and keel away and replaced them with Pine wood,
You are to be truly respected for doing the extra work on this. The knee of the head and stern post are heavily tapered and plywood would show layers when sanding the tapers. Even the keel tapers from about 12.5" midships to about 7.5" at the rabbet of the post and to about 10" at the bow.
Allan
Thank you Allan,Hi John,
You are to be truly respected for doing the extra work on this. The knee of the head and stern post are heavily tapered and plywood would show layers when sanding the tapers. Even the keel tapers from about 12.5" midships to about 7.5" at the rabbet of the post and to about 10" at the bow.
Allan
Best regards John,
Nice progress John.
Thank you Maarten, I'm going to try and follow your build and get the right spacing for the carvings along the topsides, your model looks great,Nice progress John.
Best regards John,
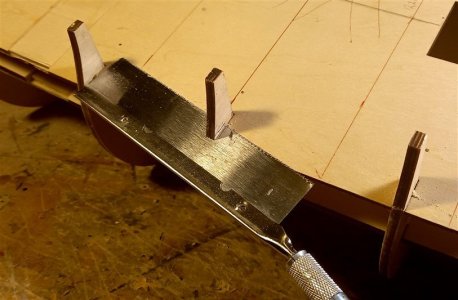
Onto the planking now, but first a small job, the three bulkhead extensions in the waist area have to come out after the planking, so I cut approx just over half way through them from the planking side so that when you come to take them off it is easier just to cut from the inside to release them,
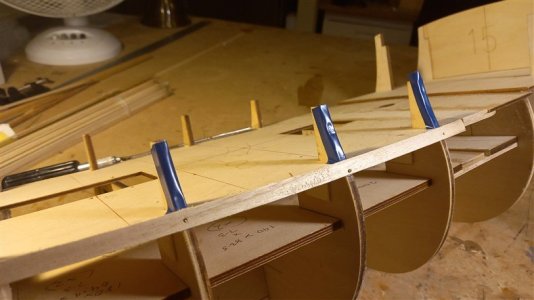
then cover them with some electrical tape to stop any glue contact between the planks and the bulkhead extensions,
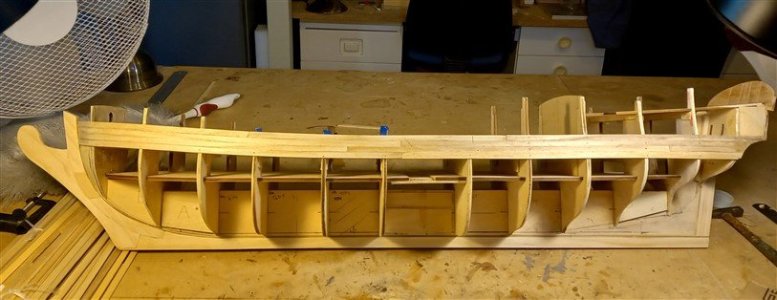
first run of planks in place, at this time I have not put the cabin front in place as I may need to bring it forward because of extending the length of the hull,
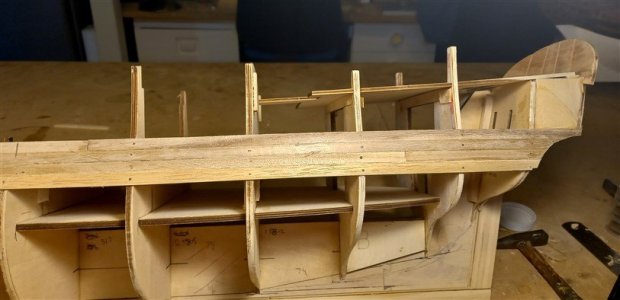
close up view,
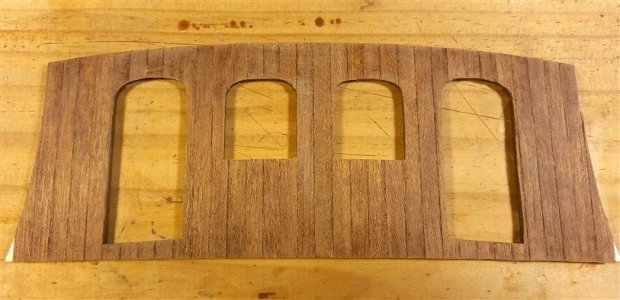
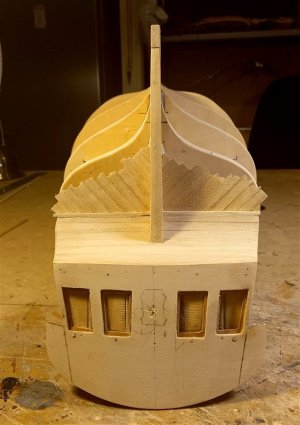
While I was waiting for the glued planks to dry I planked the front of the cabin bulkhead,
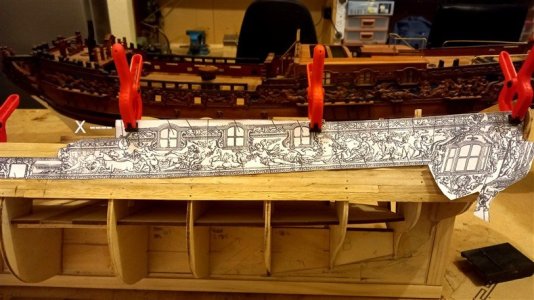
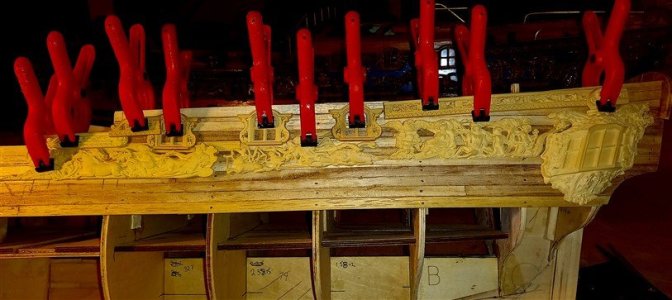
with this many planks in place I decided to check the carvings drawing against the hull, so far everything looks OK, I may have to move the front bulkhead of the cabin forward by approx 7mm where the red clip is behind the X,
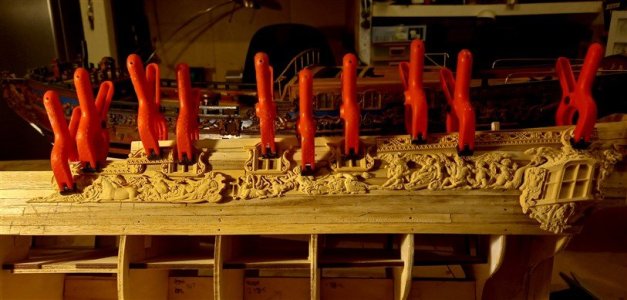
and the carvings clipped in place, all seems to be fitting OK, so it will be on with the rest of the hull planking,
Thanks for looking in and remember any questions just ask,
best regards John,
.
Very nice, John. I appreciate your careful/thoughtful approach. Your experience is obvious to those watching you.
Brilliant stuff John
Hi Neptune ... I want to run four strakes as per your photo showing the taped bulkheads extensions..It appears that the first (uppermost) strake is flush with the deck and just followed the sheer? Just want to be sure..building this puppy from log pics


