-

Win a Free Custom Engraved Brass Coin!!!
As a way to introduce our brass coins to the community, we will raffle off a free coin during the month of August. Follow link ABOVE for instructions for entering.
-

PRE-ORDER SHIPS IN SCALE TODAY!
The beloved Ships in Scale Magazine is back and charting a new course for 2026!
Discover new skills, new techniques, and new inspirations in every issue.
NOTE THAT OUR FIRST ISSUE WILL BE JAN/FEB 2026
You are using an out of date browser. It may not display this or other websites correctly.
You should upgrade or use an alternative browser.
You should upgrade or use an alternative browser.
Royal William Euromodel 1:72 by Vince P. -- FINISHED
- Thread starter Vpirozzi
- Start date
- Watchers 23
-
- Tags
- euromodel royal william
- Joined
- Nov 26, 2018
- Messages
- 546
- Points
- 343

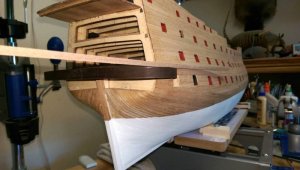
Painting the hull bottom white.
There are models with 3 different options as to what color the hull bottom should be.
1. Leave it a natural wood color.
2. Paint it white with the paint line following the run of the bottom wales.
3. Paint it white with the paint line following the waterline.
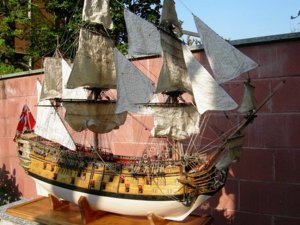
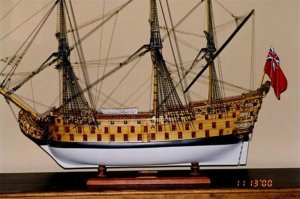
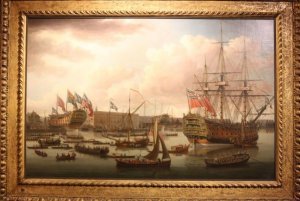
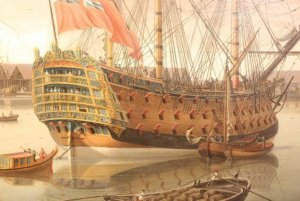
According to the plans, the waterline does not follow the flow of the wales and falls below the lower wale at both the bow and stern. It is following the waterline. In looking at several completed models, I see that they have painted the white to flow with the wales or the waterline. It would be easier to follow the wales since the seam will be under the lower wale and the stern will be painted right up to the bottom of the transom. However in reviewing paintings of the actual ship and others like it, it appears following the waterline was the way it was done. I have decided to do it this way as well.
Attached are photos of 5 ships, 3 completed models from the Euro website and 2 paintings of actual ships. The first two follow the wales, the third follows the waterline, and the last 2 the paintings which show the line following the waterline.
Vince P.


Last edited:
- Joined
- Nov 26, 2018
- Messages
- 546
- Points
- 343

Now to construct and place the gunport frames. There are no precut or cast frames. They must be made from scratch.
I solved the problem of how to hold the little pieces of wood in place for the gun port linings. Since the linings have to be made from 4 individual pieces each and placed into the ports, it is challenging to hold the pieces without dropping them in the ship.
I created a little tool from some scrap plywood that holds the pieces. I then put some CA glue on the piece, slip in the port hole and while holding it in place, give a little squirt of instant bonder. The piece stays in place and I just slip the little tool off and remove it. It works perfectly. Now I just have to place about 400 of these little pieces.
Vince P.
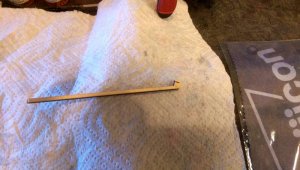
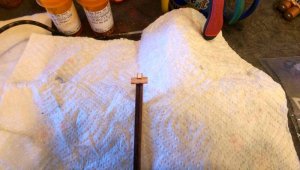
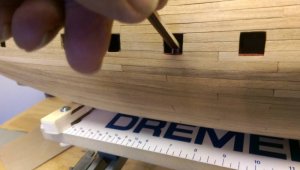
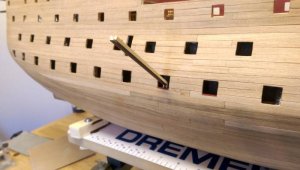
I solved the problem of how to hold the little pieces of wood in place for the gun port linings. Since the linings have to be made from 4 individual pieces each and placed into the ports, it is challenging to hold the pieces without dropping them in the ship.
I created a little tool from some scrap plywood that holds the pieces. I then put some CA glue on the piece, slip in the port hole and while holding it in place, give a little squirt of instant bonder. The piece stays in place and I just slip the little tool off and remove it. It works perfectly.
Vince P.


- Joined
- Nov 26, 2018
- Messages
- 546
- Points
- 343

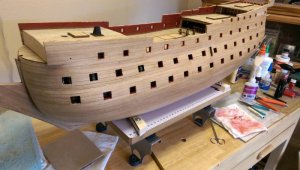
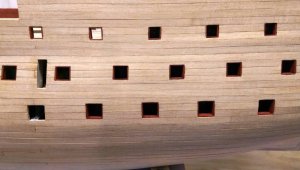
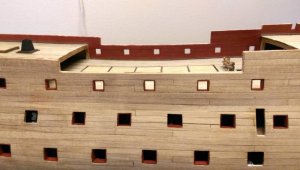
I have finished framing the gunports. It was a tedious job, but not as bad as I thought it would be. I got spoiled from other kits I have built where the gunports are located by templates and the frames come already made. 
You will notice a few ports do not have frames. These are the ones that will be closed because the bulkheads are in the way.
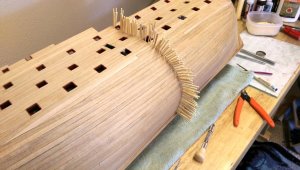
Next up is another tedious task. Trenailing the hull planks. I am going to try something I got from another experienced builder. Using round toothpicks. They are already round and tapered at each end, so you can make 2 trenails per toothpick. Just drill a small hole in the plank, put a dab of PVA on the end of the toothpick and push it into the hole. Trim it off and sand it. I will give it a try on some spare wood and if it looks good, I will do it this way. It beats having to taper down small dowels. Wish me luck!
Vince P.


- Joined
- Nov 26, 2018
- Messages
- 546
- Points
- 343

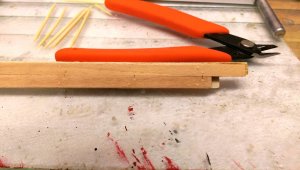
Ok, I tried the toothpick idea for treenails. First I made up a scrap planking board using the exact wood strips as on the ship, so I did not screw up the hull if it did not turn out well.  Then I proceeded to drill the boards and place the toothpick ends. Once dry, I cut them off and lightly sanded.
I think it looks perfect!! I will now go buy about 4000 toothpicks and start trenailing away. This should take a few months.

I don't remember who I got this idea from, but it was someone on this forum. Many thanks mate!, who ever you are.
Vince P.
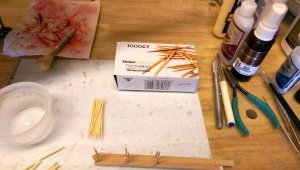
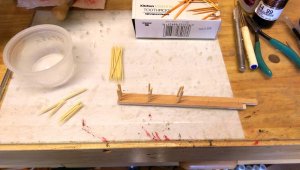
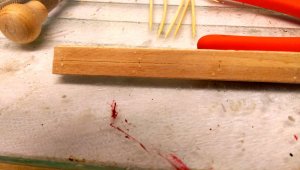
I think it looks perfect!! I will now go buy about 4000 toothpicks and start trenailing away. This should take a few months.
I don't remember who I got this idea from, but it was someone on this forum. Many thanks mate!, who ever you are.
Vince P.


- Joined
- Nov 26, 2018
- Messages
- 546
- Points
- 343

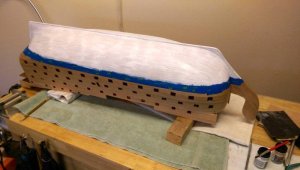
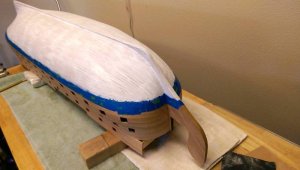
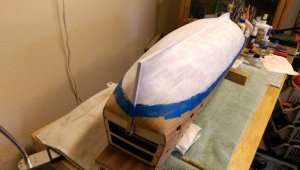
After thinking about many of the areas where the trennels will be hidden, I decided to stop that process and mark off the hull first. Thanks, KeithW.
The waterline is marked off and the first coat of white primer is on. I will put 2 coats of primer and then spray on white enamel. I did this on the scrap piece with the trennels in place and they are all but invisible. There is no need to place the trennels below the water line. That should save about 2000 trennels and part of my sanity.
Vince P.


- Joined
- Nov 26, 2018
- Messages
- 546
- Points
- 343

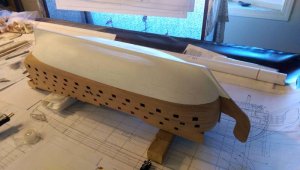
The white below the waterline is completed.
Next is the most dreaded part of this build. Making the transom. I had read all of the horror stories, studied the plans for hours, reviewed Julier's notes, read Pete's notes 10 times, and gone over other build logs here. At this point, I still don't have a clue as to how to do this, or where to start. This is where the plans fail big time. The transom support pieces that have to be carved in every direction. I don't even have a clear photo or drawing of how they are even supposed to look.
I suppose I will give it a try, but I am not very enthusiastic about this at all.

Vince P.
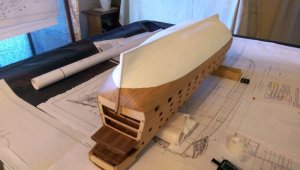
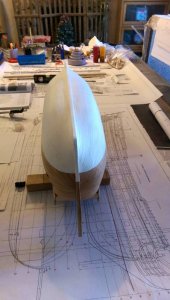
Next is the most dreaded part of this build. Making the transom. I had read all of the horror stories, studied the plans for hours, reviewed Julier's notes, read Pete's notes 10 times, and gone over other build logs here. At this point, I still don't have a clue as to how to do this, or where to start. This is where the plans fail big time. The transom support pieces that have to be carved in every direction. I don't even have a clear photo or drawing of how they are even supposed to look.
I suppose I will give it a try, but I am not very enthusiastic about this at all.
Vince P.


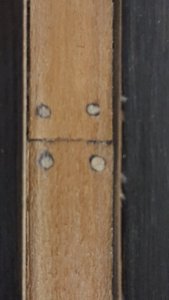
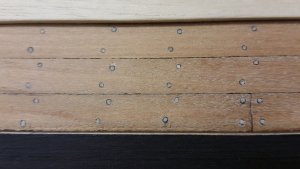
Hi vince,Ok, I tried the toothpick idea for treenails. First I made up a scrap planking board using the exact wood strips as on the ship, so I did not screw up the hull if it did not turn out well.Then I proceeded to drill the boards and place the toothpick ends. Once dry, I cut them off and lightly sanded.
I think it looks perfect!! I will now go buy about 4000 toothpicks and start trenailing away. This should take a few months.
I don't remember who I got this idea from, but it was someone on this forum. Many thanks mate!, who ever you are.
Vince P.
View attachment 66431View attachment 66432View attachment 66433View attachment 66434
I used this on my royal caroline model also and am very satisfied with the results. I also blackened the other edges of the toothpick to create a caulking for the treenail.
Love your build.
And do not cut the toothpicks to close to the plank. Due to the pressure of the pliers it could destroy a little bit the visible surface of the treenail and you can see this. Leave 1 or 2mm of meat which you sand down.
I think painting following the waterline is the correct one - this way was done in reality
I think painting following the waterline is the correct one - this way was done in reality
- Joined
- Nov 26, 2018
- Messages
- 546
- Points
- 343

I have started to tackle what I believe will be the most challenging and difficult part of this build. That is construction of the transom and stern galleries.
There are 2 ways to build these. One is using the plan drawings from scratch and the other is using the carved metal trim pieces included with the kit and using the plans for measurement references where necessary. Pete's notes in the Euromodel references cover both and Keith Julier's article deals only with the first choice.
I have decided to use Pete's notes and the second method. There are 3 wood pieces that make up the transom base and they will require a considerable amount of carving in every plane. The parts are #56 which is a thin plywood piece, parts #55 and #54 which are thick walnut pieces. Since I am using the metal carved trim pieces, Part #56 will not be needed on the ship, but must be used to mark the edge of the bottom of piece #55 for carving.
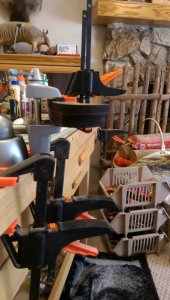
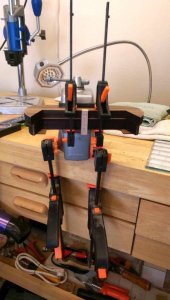
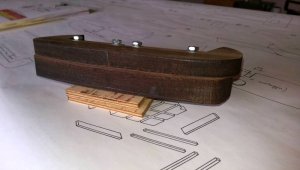
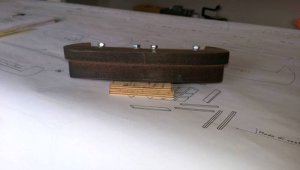
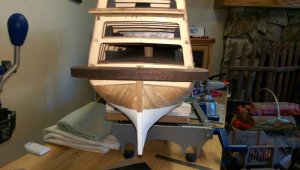
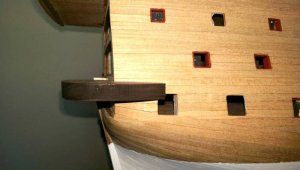
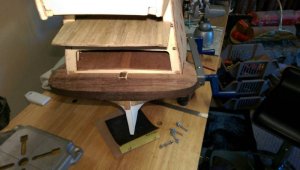
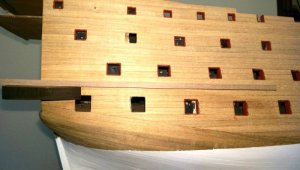
The first thing to do is temporarily join all 3 pieces together with either bolts or dowels so the edges can be marked for trimming. Part #56 on bottom, #55 in middle, and #54 on top. Line up the sternpost slots with a piece of 10mm wood and the forward edges of all the pieces. The first 4 photos show this.
Next up is to separate the pieces and work on #54 by shaving the top and bottom to form the correct camber. The piece is reduced in thickness from 13.0mm to 10.5mm.
Once that is done, place the piece on the stern and mark where it will be heightwise. The distance from the top of the upper quarterdeck to the top center of #54 should be 98.0mm. The piece should also be slanted downward slightly. There are differences of opinion on what the declining angle should be, but I agree with Pete and the line of the lower gun deck should be in line with the top of #54.
In order to get #54 to butt up against the last bulkhead, a considerable amount of wood has to be cut away on the insides of both ends to match the curve of the hull planks, and the slot for the sternpost has to be deepened as well.
The lower edge of the outside surface has to be carved back using the mark made with the edge of #55 to form the inward cant, and the ends have to be trimmed back and beveled to wrap around the last lower gunport. Both Pete's notes and the plans have good drawings to reference this.
Once the piece is sitting correctly on the stern, mark the edges all around with pencil lines and remove it for later.
Vince P.


- Joined
- Nov 26, 2018
- Messages
- 546
- Points
- 343

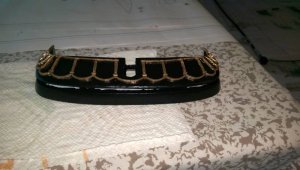
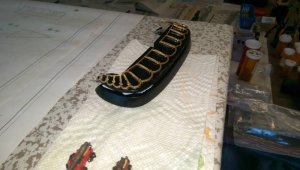
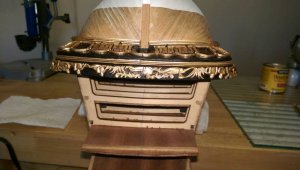
The transom base pieces have been fully carved and the channel cut for the metal trim. A hole has been cut for the rudder post and the whole thing painted black. Two pieces of the decorative metal have been placed. The metal is painted gold and then bent to conform to the wood base. The pieces have to be carefully trimmed of extra metal. The metal is very fragile and has to be bent ever so carefully to prevent breakage.
Vince P.
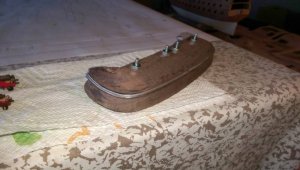
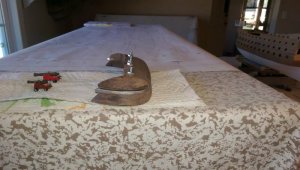
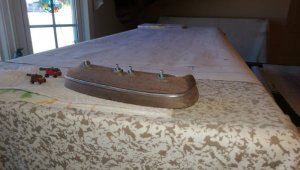
Vince P.


- Joined
- Nov 26, 2018
- Messages
- 546
- Points
- 343

I am still working on the transom base.
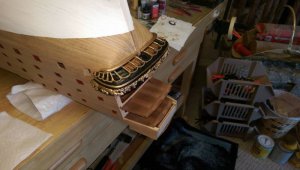
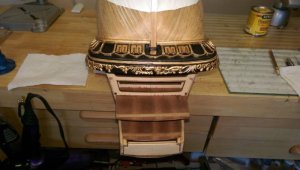
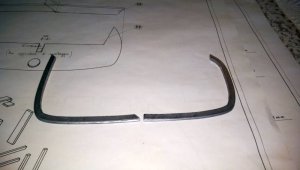
The base has been mounted on the hull with all of the decorative pieces except for the top rail. It will be placed once I flip the hull over. The last photo shows how much the metal trim has to be shaped. The piece on the left is before and on the right is after. The metal is hard to bend without breaking and requires a little heating to make it softer. I used a plastic hammer and an anvil to make the bends.
There are 4 gunports in the transom base. The lids had to be made from scratch and were placed along with the hinges and pull ropes.
Vince P.


- Joined
- Nov 26, 2018
- Messages
- 546
- Points
- 343

Just learned another lesson the hard way.  As you know, I cut out the tiny window panes in the metal gallery castings and filled them in with a liquid window glaze. They came out very nice and look like real glass. I then glued the castings in place using very little CA glue. It seems the fumes from the glue turned most all of the nice panes white. It took about a day for the white to show up.

 . I had to remove the castings and scrape out the windows and do it again. Now I have to figure out what glue to use that won't fog up the windows and still be strong enough. I don't think PVA glue will hold metal very well.
Vince P.
Vince P.

- Joined
- Nov 26, 2018
- Messages
- 546
- Points
- 343

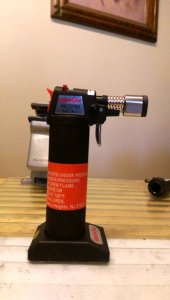
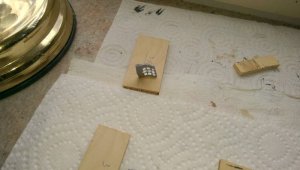
I am bending many of the metal castings and some require severe curving. To prevent breakage, I use a butane torch. I heat the metal to just hot enough that you can't touch it, so it doesn't melt. Then use an anvil and tiny hammer to gently tap the metal. It bends easily and does not break.
Vince P.
Vince P.


