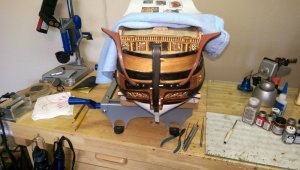
Royal William Euromodel 1:72 by Vince P. -- FINISHED

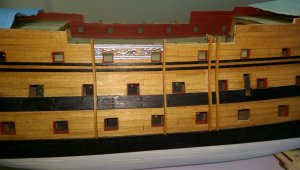
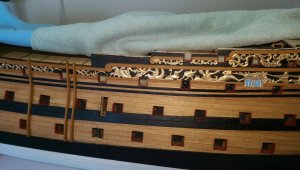
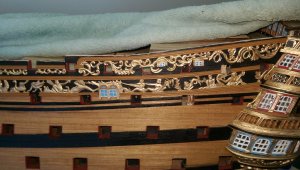
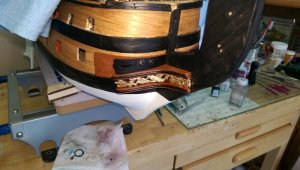
I have finished the fenders on both sides. Next up is to tackle the many metal pieces of ornamentation along both sides of the hull. Since the fenders are placed, starting with the pieces that butt up against the fenders makes sense. Then work out towards the bow and stern. One thing I have noticed right away is that the instructions are mismarked as to the numbers of the pieces. This is primarily so for the duplicate pieces of port and starboard. Anyone building this model needs to be aware of this and carefully match the correct pieces. Each piece has a number stamped on it. Looking at the plan drawing sheet #2, you can clearly see the design patterns for all of the pieces on the starboard side. Use this sheet to select the pieces for placement and not the numbered diagram in the little instruction booklet. Each piece has to be cleaned, trimmed and sized to fit. Also parts have to be cut away where they overlay the gunport openings. All of the pieces need to be placed and temporarily stuck to the hull so a line can be drawn on the bottom edge all along the hull. Then they are all removed and the space from this line to the top of the bulwarks needs to be painted black. Each of the pieces need to be painted before they are placed permanently. Trim on top and bottom are painted brown to match the hull, and the designs are painted gold. Then the pieces are placed permanently.

Once I get started here, I will post some photos.

Vince P. Ship-1
 
Last edited:
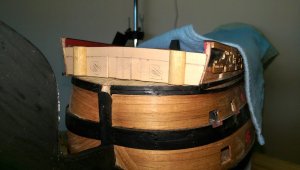
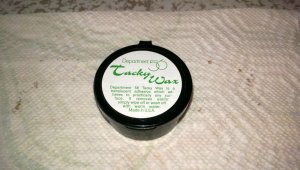
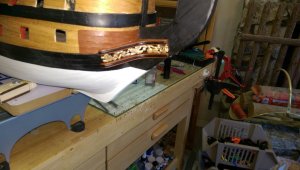
Starting to place the metal ornaments on the port side. This piece has been shortened, trimmed and cut away for the gunports. I said that they needed to be stuck on the hull until I could mark the bottom line and then removed. I found this stuff called "Tacky Wax" in a gift shop in Sacramento. You just spread a little on and it sticks to anything. Afterwards just peel it off and wash it off if necessary. I works great as a temporary glue.

Vince P. Ship-1

pict0360.jpgpict0361.jpg
 
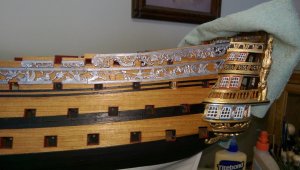
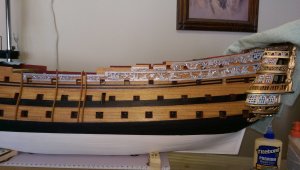
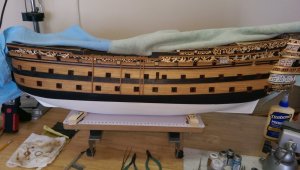
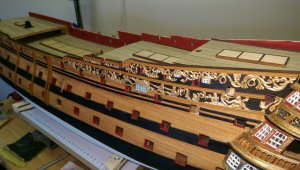
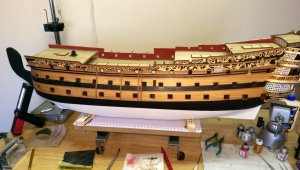
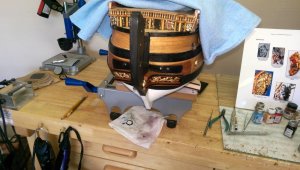
I have completed placing temporarily the port side with metal decorations. The pieces are of high quality, but still require quite a bit of cleaning up. They have to be bent, trimmed, and cut away for the gun ports as well. All in all it took quite a few hours to do this one side.
A note of caution, the actual pieces are larger than the plans show and will not sit exactly as the drawings indicate. Their positions in relation to the wales and the bulwarks tops is quite different. I adjusted them as best I could. Also, once they are all placed, the seams are closed with a little filler which is rubbed on with a finger and then painted over.

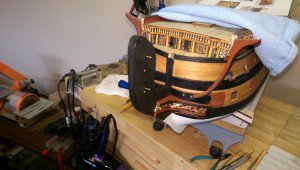
Next up after completing the starboard side is to trim down the excess height of the bulwarks to the contour of the metal pieces and place a wood cap on top, which will be the base for the side railings later on.

Vince P. Ship-1

pict0362.jpgpict0363.jpgpict0364.jpgpict0365.jpg
 
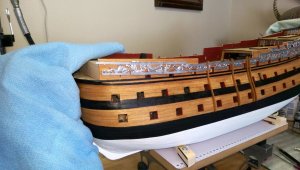
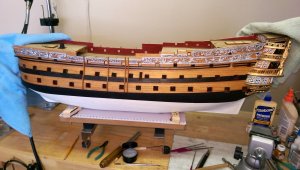
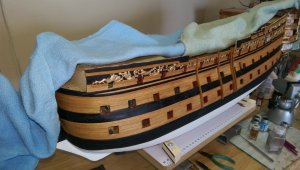
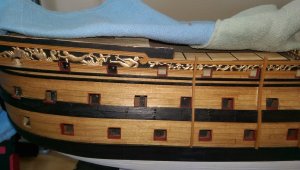
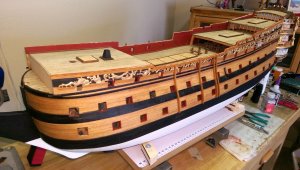
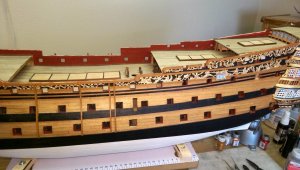
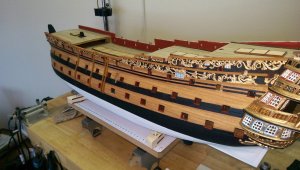
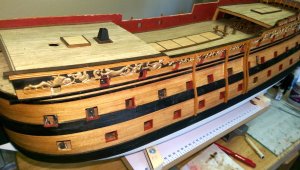
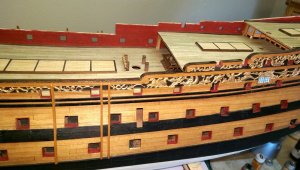
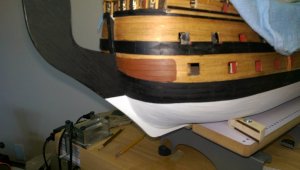
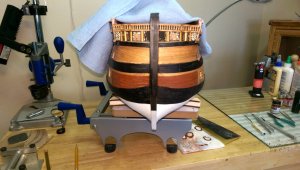
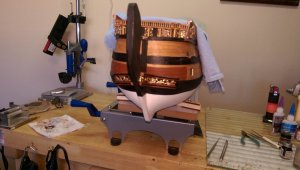
The bulwarks on the port side have been trimmed to match the height and contour of the metal trim edges. I also decided to cut the ends of the fenders to match the trim. It looks neater than bringing them up to the railings. I will do the starboard side next.

Vince P. Ship-1

pict0371.jpgpict0372.jpgpict0373.jpgpict0374.jpg
 
The wood cap has been added to the top of the bulwarks. This took quite a bit of bending on the ends and required letting the wood stock soak for a couple of days to get it soft enough. This cap will serve as the bottom for the side railings to be added later.

Vince P. Ship-1

pict0375.jpgpict0376.jpgpict0377.jpgpict0378.jpg
 
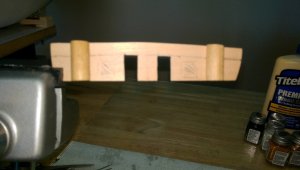
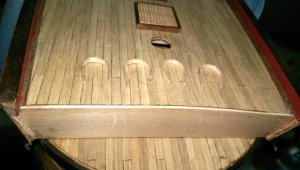
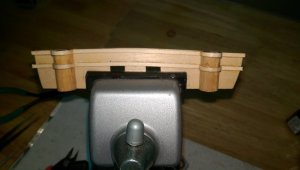
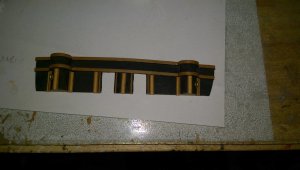
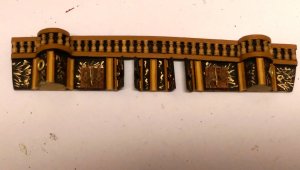
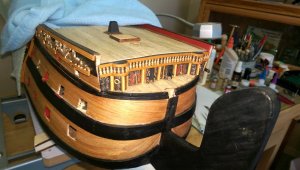
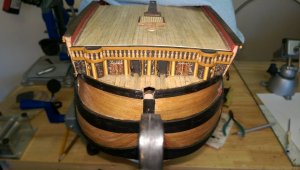
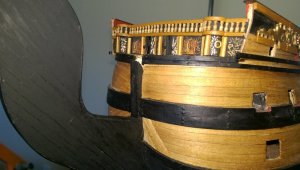
Next up was the forecastle bulkhead. This entire piece is not included in the kit and must be constructed entirely from scratch. The only part included is the balustrade that runs across the upper half. It is a bulky metal casting which could be used if cleaned up considerably. (see 3rd photo) I decided to make the balustrade out of wood and use 6mm stanchions for the face.
There is enough scrap lumber in the kit to make the whole bulkhead with the exception of the stanchions. I bought those.
I had previously made a false bulkhead to hold up the forward end of the forecastle. I then made the decorative bulkhead as a second layer. The frames for the balustrade that curve around the roundhouses required a real intense tight curve. I had to do it in 2 layers of 1x2mm boxwood and boil them to make them real soft for the bend.
The plans only give a black and white view of the features, which is not that good. I used photos from Keith Julier, Pirate Pete, Yankovich, and our own Keith W. All of whom have built fabulous models of the RW. I came up with my own version using this information.

Vince P. Ship-1

pict0379.jpgpict0380.jpgpict0380a.jpgpict0381.jpgpict0382.jpg
 
The finishing touches to the bulkhead and mounting on the ship. There are 2 doors that lead out to the head deck which I constructed and left partially open for effect. The door handles are actually beads left over from some parrels. There are also 2 gunports which have to be made. I left these closed. There are also some little port holes that I made out of some brass eyelets from my stash. The decorative scrolls on the panels were hand painted with gold paint and a pin for a brush. I think the whole thing came out pretty nice, and represents what the actual structure looked like.

Vince P. Ship-1

pict0383.jpgpict0384.jpgpict0385.jpgpict0386.jpgpict0387.jpg
 
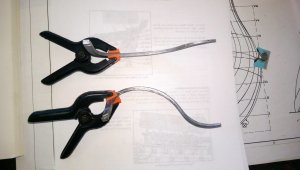
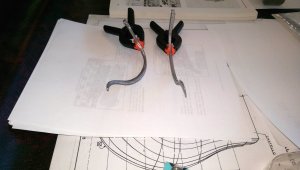
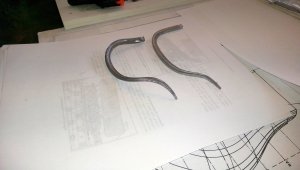
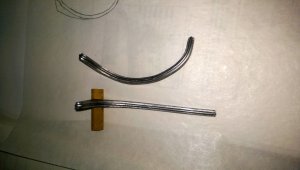
Working on the head rails. The metal pieces have to be bent severely in all directions to fit. Using a torch to heat and bend very slowly little by little is the only way. After each bend, the metal is dipped in water to cool and placed on the ship until it fits properly. It took about an hour just to bend one side of the top rail, which seems to require the most bending.
The photos show the top rail before and after the finished bending.

Vince P. Ship-1

pict0388.jpgpict0389.jpgpict0390.jpg
 
Working on the bow area. Reinforcement plates are needed on the bow planking for the heavy head rails and hawse holes for the anchor ropes. I just used some of the second planking strips to make the inner plates.

Vince P. Ship-1

pict0391.jpgpict0392.jpg
 
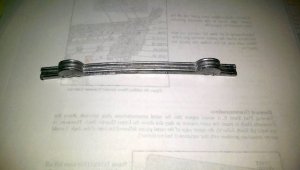
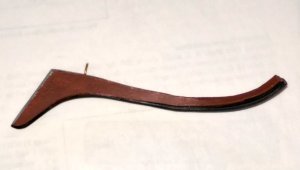
The heavy metal head rails need pins in order to hold them on to the hull. Just gluing, even with CA won't do it. The photo is of one of the lower head rails with the pin installed. A hole will be drilled into the hull to insert the pin and hold the rail in place.

Vince P. Ship-1

pict0396.jpg
 
The outer bow reinforcement plates with the hawse holes drilled. I used some brass portholes (5mm) to line the holes.

You may also notice some big holes drilled into the stem. These are for the heavy metal pins that will hold the figurehead later on.

Vince P. Ship-1

PICT0397.jpgPICT0398.jpg
 
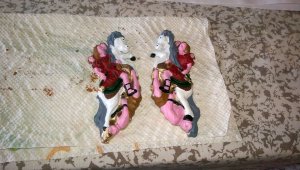
I painted the heavy metal figurehead panels that will be placed on both sides of the stem. I have seen some models with the figureheads painted solid gold, and they are stunning. I have also seen some with the figureheads painted in multi colors to match the actual figures. I have decided to go this way.

This is another reminder that considerable research is needed to build this model. While the plans are terrific, they are in black and white. All of the color schemes I used for the ship and its decorations came from photos and paintings of models and actual ships.

Vince P. Ship-1

PICT0399.jpg
 
The metal figurehead panels are very heavy and will require some thick pins to keep them in place. I used 1.5mm brass rods.
Also, part of the lower head rails have been placed. The figurehead panels will have to go on before the rest of the lower head rail can be measured, as well as the rest of the head rails and timbers.

Vince P. Ship-1

PICT0400.jpgPICT0401.jpg
 
Back
Top