- Joined
- Dec 16, 2016
- Messages
- 1,180
- Points
- 493

Hello all. And thanks again for following. You’ll notice that some of my build descriptions and photos are a bit out of sync, you’ll have to cut me some slack about this, as it’s a retro log and not a real time build I’m just trying to piece the build sequence together from notes as best as I can and match them to the photos that I took at the time.
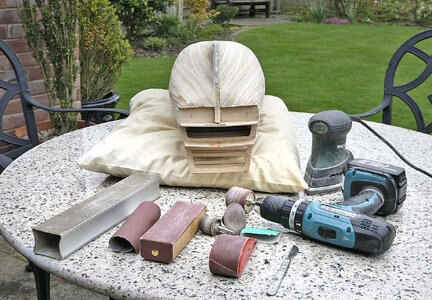
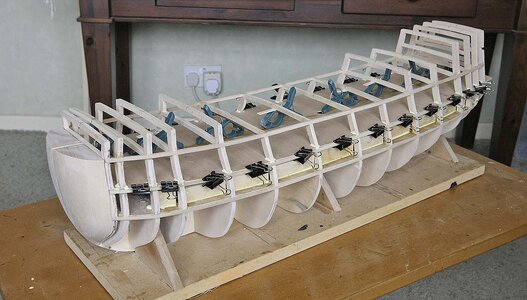
Continuing, I had cut out the two blocks that were to form the bow and started to shape them according to the plan templates. I used my small Davids plane, a chisel and sanding blocks, I hadn't realized just how much effort this would take and how much dust and wood shavings it would create. I ended up after being strongly advised by my wife to finish the job outside in the garden, but she did make me a cup of tea. When they were near enough to shape I glued them in place. I then glued the four quarters of the gun deck into place. I was pleasantly surprised just how well they fitted, better than I’d expected. After liberally gluing I nailed along the middle and held the outer edge with clips. I made up and attached the fore and main mast steps in the keel then went for a game of bowls.
When I returned the glue for the bow blocks had cured so I sanded it further into shape, I’d finish it off when I sanded and fair the hull ready for planking. I was very pleased with the way the build was coming together so far.
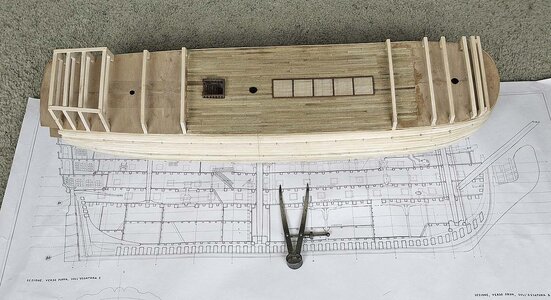
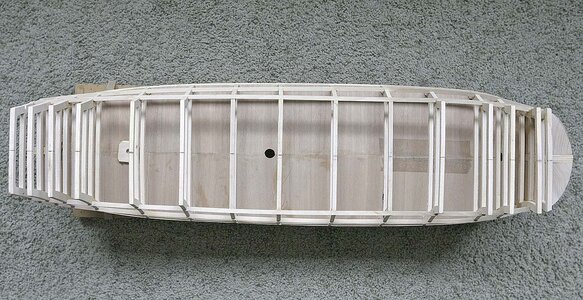
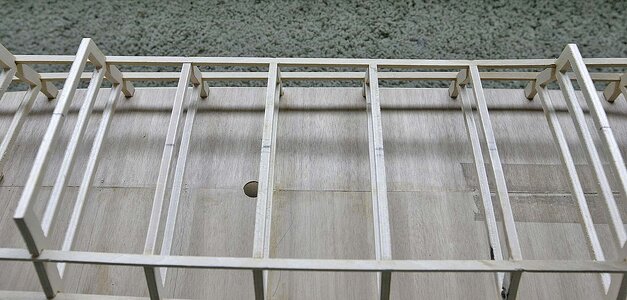
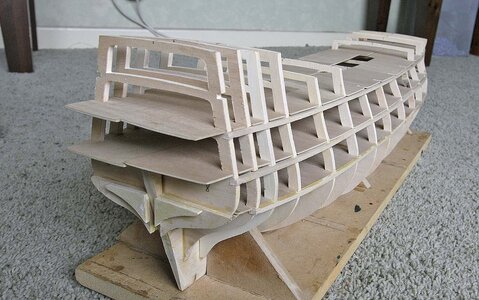
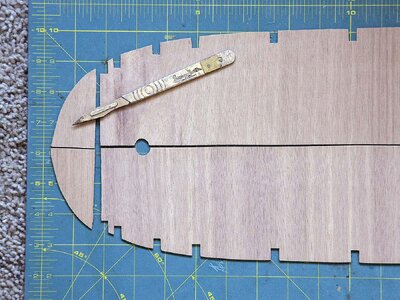
I dry fitted the upper decks to get the correct placement for the mizzen mast support which fixes onto the lower deck. The middle deck supplied needed the front cut off to fit as it was shaped to go right through to the bow but it should terminate at the first bulkhead. Other than that both decks which were in halves fitted very well with only some slots needing to be opened a little, the depth of all slots on both decks needed to be about 2mm deeper so that the deck halves didn't overlap in the middle.
I'd heard that this kit was criticised for not being accurate and being difficult to get right, I'll add my bit. I felt that I was competent but not a very experienced builder, I was probably in the honeymoon period of building it and I thought that opinion might later change but up to now the basic structure for the hull had gone very smoothly without any issues, everything lined up and fit well and the quality of the materials had been excellent, it gave me confidence for the rest of the build.
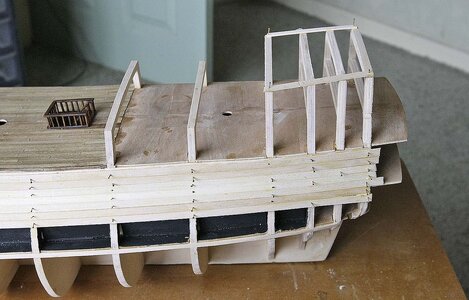
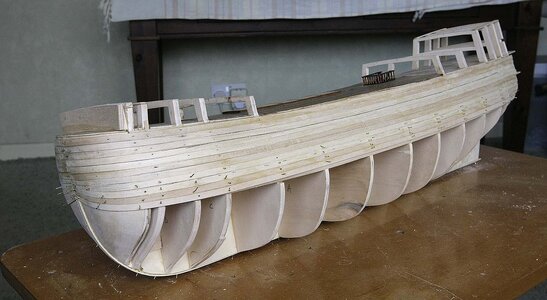
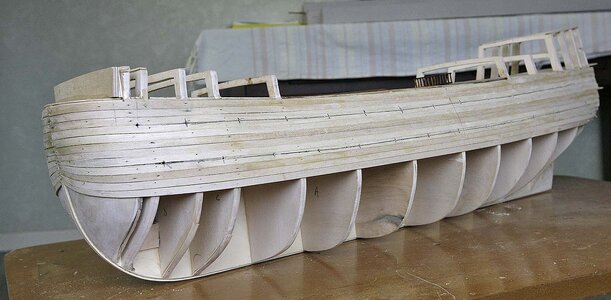
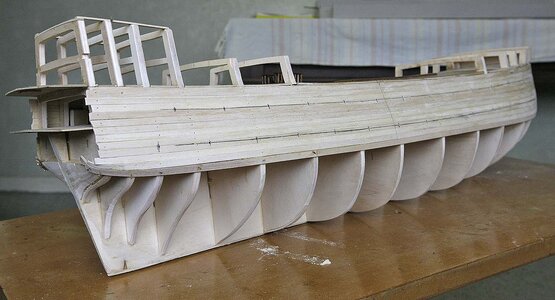
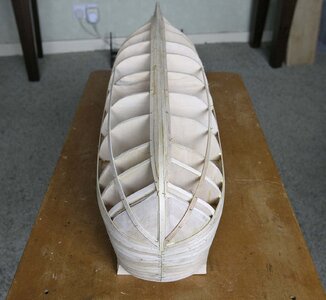
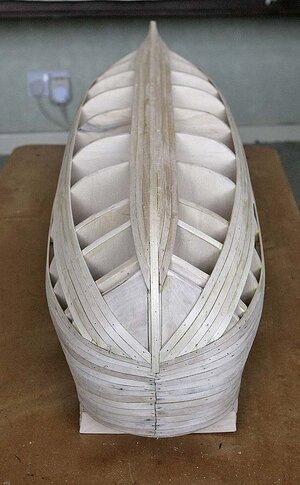
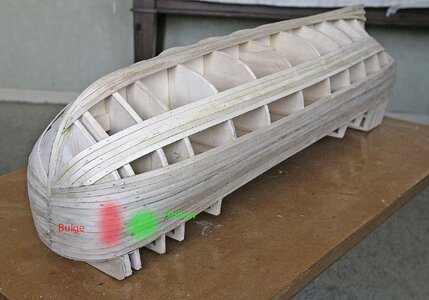
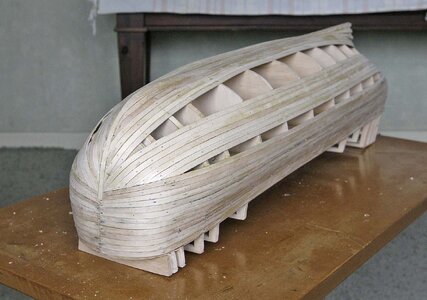
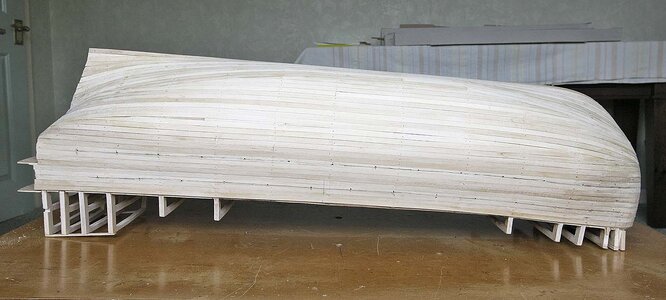
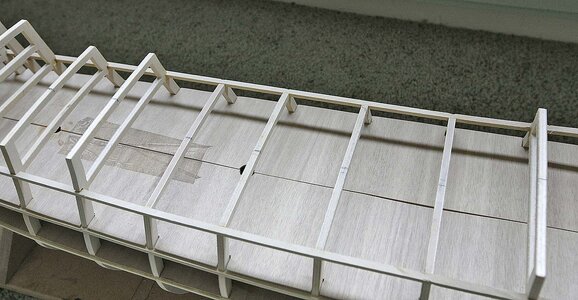
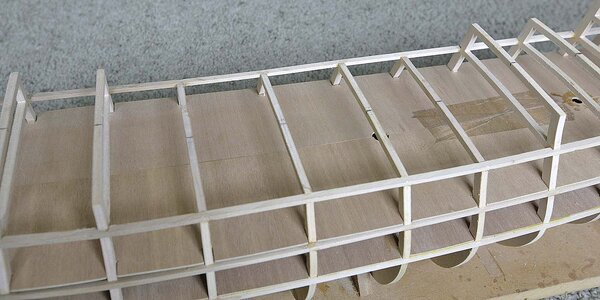
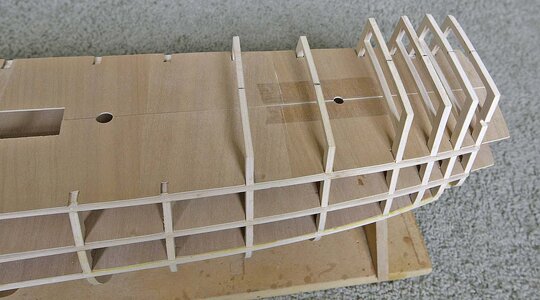
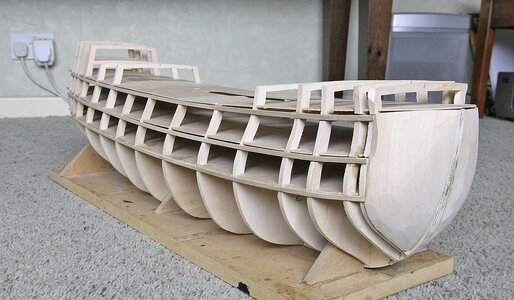
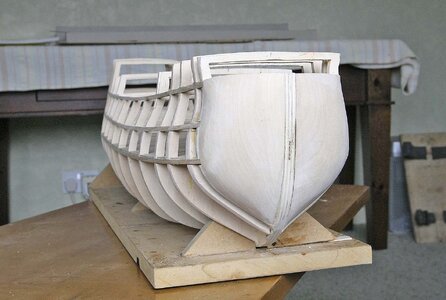
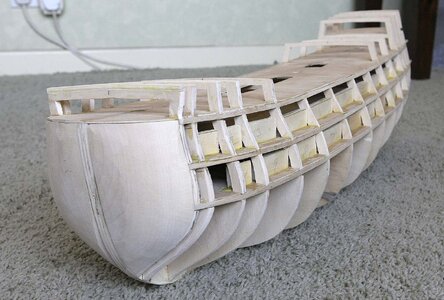
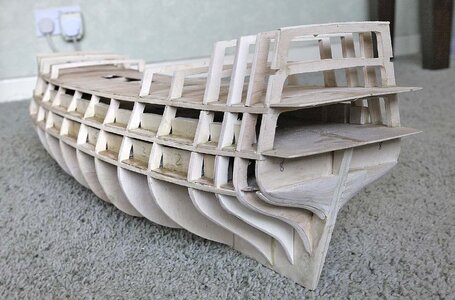
I am showing quite a few pictures so that you can see for yourselves the fit of the parts, the lower deck is glued, the middle and upper are just dry fitted.
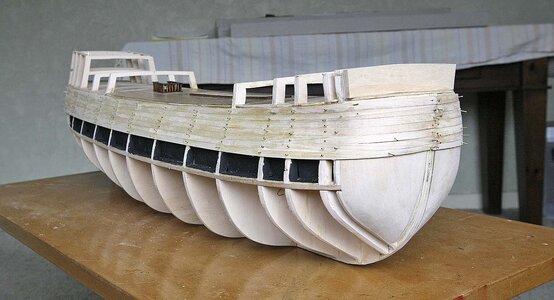
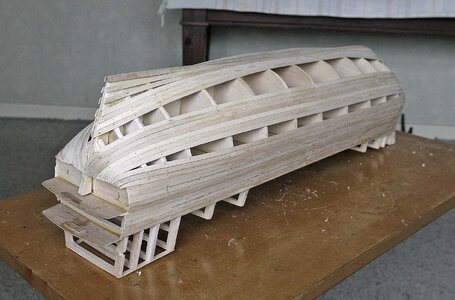
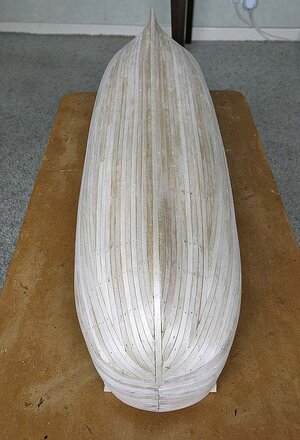
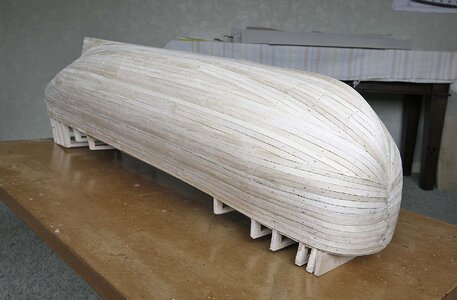
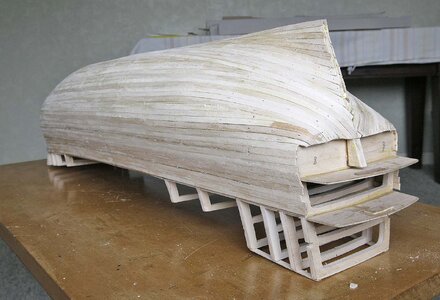
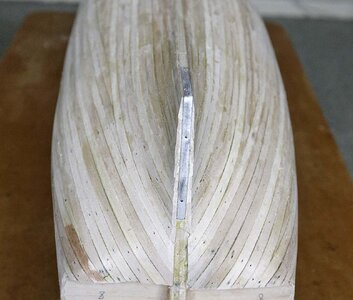
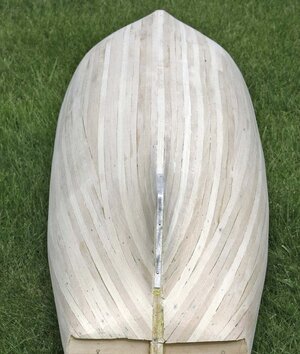
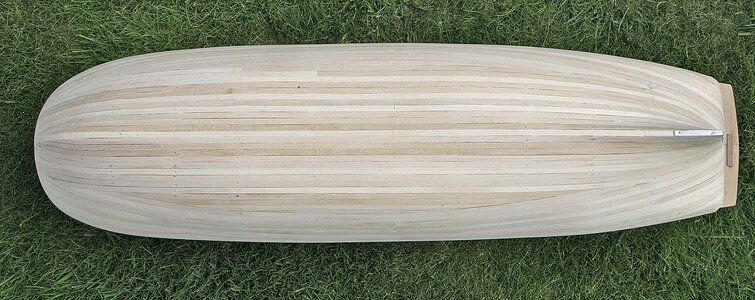
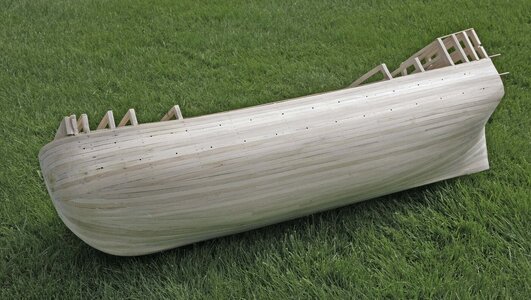
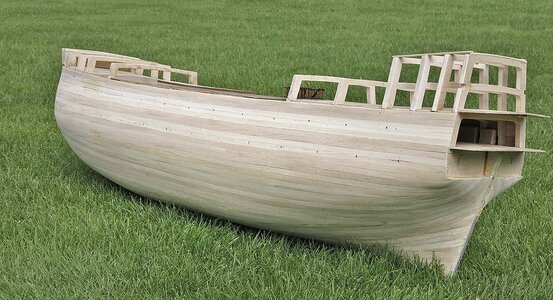
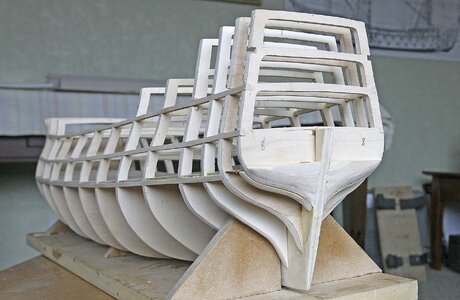
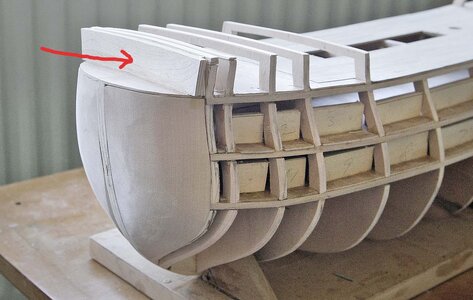
I did a final shaping of the bow and stern then faired the hull. Again this took quite a bit of time and effort to get it close to satisfactory, I thought that any slight imperfections could be addressed with the first planking.
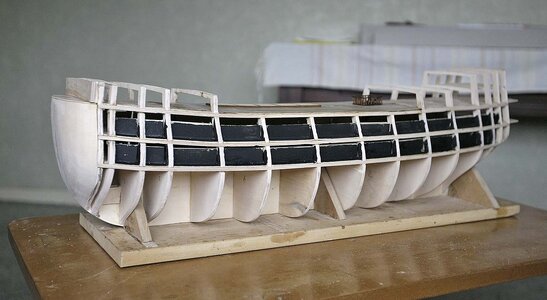
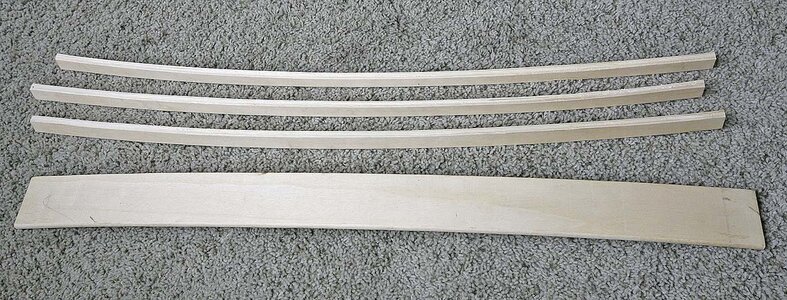
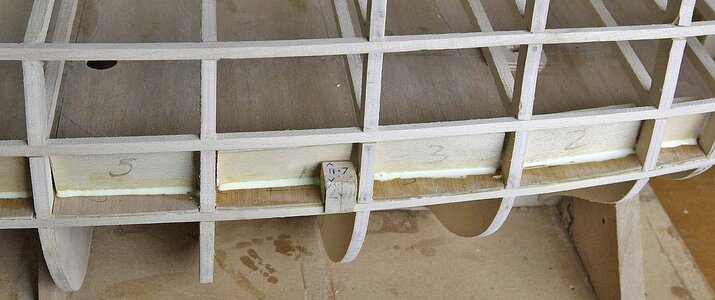
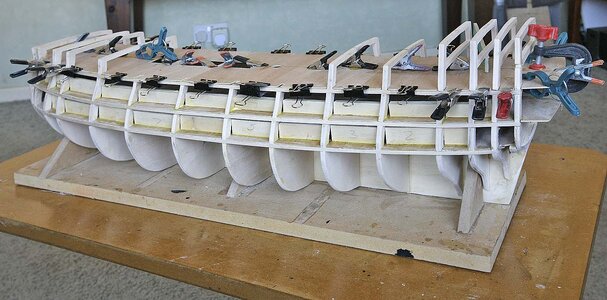
With regards to the dummy gun carriages on the lower gun deck I decided not to use small single blocks but to use strips in between the ribs with plenty of height so that the barrels would find a home no matter how I messed up my port measurements, it probably wasn't necessary but this is what I am used to and I feel happier this way. I had an old chair that was ready for the tip, I realized that the lathes at the back were of a good quality ply and had a curve that matched that of the hull almost perfectly. I cut these into suitable sized strips, angled the base to allow for the curve of the deck and cut them to length . I used Pete's measurements for fitting them, I made a small gauge to keep them at a consistent depth then using plenty of glue fixed them into place.
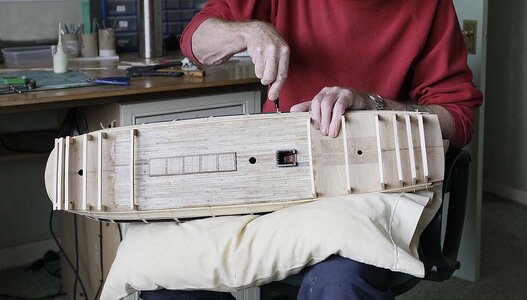
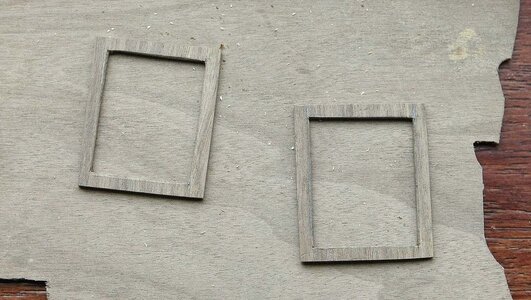
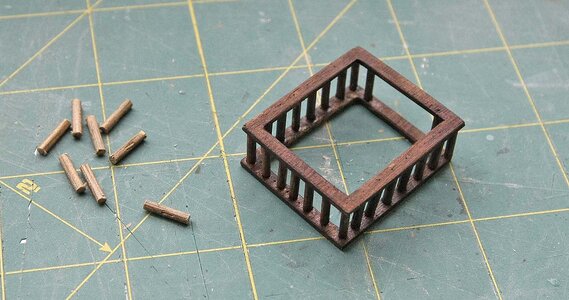
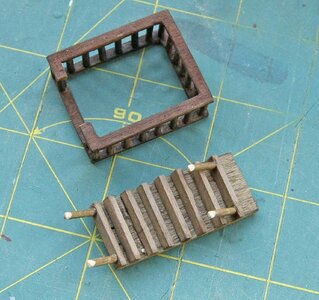
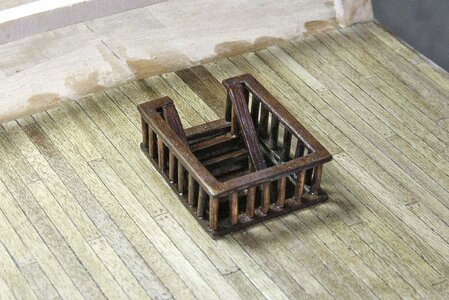
The second gun deck was fitted and glued, again no problems were encountered. I cut to size the dummy gun carriages and fitted them as I had previously done. I wasn't going to get involved with detailing too much but just in case I decided to do a bit more than intended I cut out the opening for the ships staircase which I might tackle, I then fitted and glued the main deck. It was then that I noticed a slight error. When I fitted the bulkheads I mentioned that the second one was too high to form an even base for the forecastle deck so I lowered it by 2mm, with the main deck in place I saw that it had been the first bulkhead that was too low not the second being too high. Looking at the plans I saw that there is a marked sweep upwards at the front which I hadn't taken into account, I'm really glad that I noticed it in time. I added strips to bring these beams to their correct position, the front needed raising by 4mm. I really must learn how to look and properly interpret the plans, I gave the whole structure a final sanding to shape and was ready for the next stage of the build.


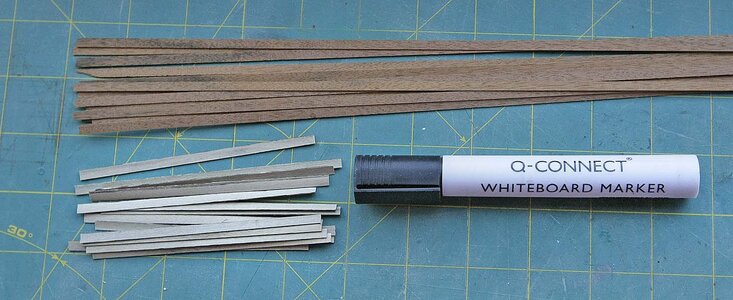

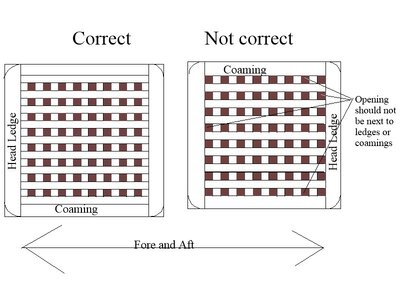
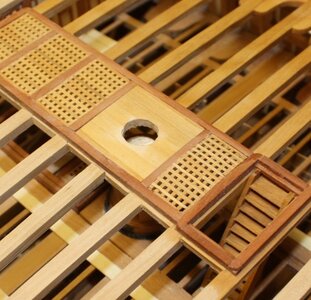
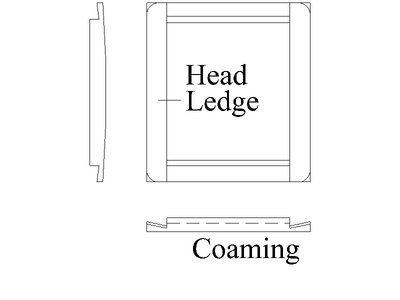

 . I have started a deck redo with Maple, but the bleached effect looks so cool. Never stop learning on this forum. Cheers Grant