Royal Yacht HMY Fubbs (1682-1781) – 1:24 Scale Stern Section by DocBlake
This will be my build log for a 1:24 scale stern section of the HMY Fubbs. Fubbs was one of many Royal Yachts commissioned by King Charles II of England during the Stuart Restoration. The name derives from a nickname Charles had for his mistress, the Duchess of Portsmouth. Details of her history and drawings of the kit plans and contents can be found elsewhere. The reader is directed to build logs by Mike41: https://shipsofscale.com/sosforums/...s-1-24-stern-section.12274/page-3#post-319673 ) and Dematosdg: https://shipsofscale.com/sosforums/threads/1682-hmy-fubbs-1-24-stern-section.12274/
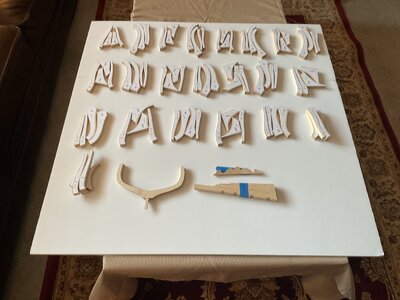
The model will be built as a limited edition kit produced by Weasel Works. In all there were 10 kits and Mike Shanks' prototype produced. There are over 900 parts in each kit, with some options for personalizing the builds (such as choice of timber for framing, etc.) Even with all the frame parts removed from their billets to save shipping costs, my kit weighed in at 13 pounds!
Weasel Works a group of modelers with different interests and skills We are not a business at all. We are exploring what modern technology can bring to the table in model ship building.
There are ten kits produced, as well as Mike Shank's prototype. We have no plans to sell or produce any more.
Our goal is to produce an attractive model that's fun to build. We are not historians nor naval architects, and accordingly, have allowed ourselves some artistic license. Although based on the 1682 version of Fubbs, details from other points in her history have been incorporated into the model, and her framing is not historically accurate, but does reflect well her hull's shape. Although the Great Cabin's floor cover was most probably painted canvas, we felt the parquet floor was a nice addition to the model, so we kept it in. The transom design was from later in her career.
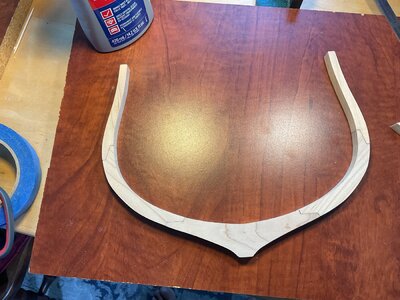
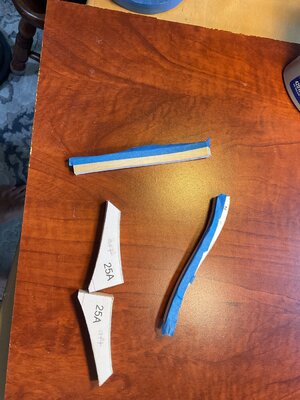
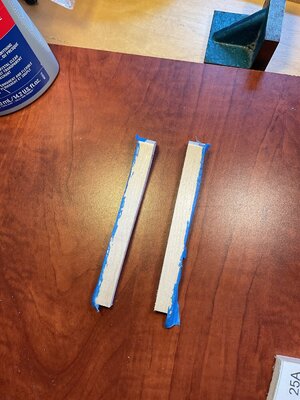
My frames are hard maple, cut out by CNC. Advantage: No laser char. Disadvantage: bevel lines not etched for the bevel, so each piece requires a template to be carefully cut out and rubber cemented to the frame piece, then bevelled then cleaned of residual paper and cement. Mind numbing. There are over 100 frame parts.

Last edited:


