-

Win a Free Custom Engraved Brass Coin!!!
As a way to introduce our brass coins to the community, we will raffle off a free coin during the month of August. Follow link ABOVE for instructions for entering.
-

PRE-ORDER SHIPS IN SCALE TODAY!
The beloved Ships in Scale Magazine is back and charting a new course for 2026!
Discover new skills, new techniques, and new inspirations in every issue.
NOTE THAT OUR FIRST ISSUE WILL BE JAN/FEB 2026
You are using an out of date browser. It may not display this or other websites correctly.
You should upgrade or use an alternative browser.
You should upgrade or use an alternative browser.
Hello friends
here a view aside towards my tabletop buildings in 28mm or 1/56 to show where time is also invested for modelbuilding:
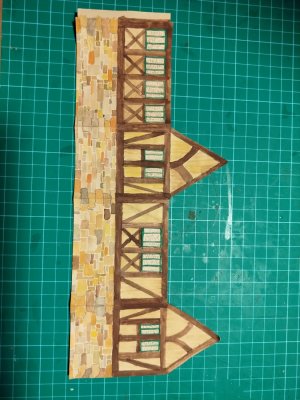
Light Brown aquarellic paper with impressed lines and a repeated light touch of high quality water colour. This is my testbed for colouring the models keeping the colour in placed.
here a view aside towards my tabletop buildings in 28mm or 1/56 to show where time is also invested for modelbuilding:

Light Brown aquarellic paper with impressed lines and a repeated light touch of high quality water colour. This is my testbed for colouring the models keeping the colour in placed.
Last edited:
The Combination of the copied parts eats up a lot of time and so I will reconstruct only one side copying it to the mirrowed side.
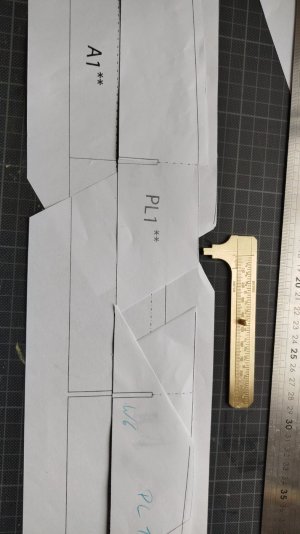
If this sentence does make any sense at all.
I decided to enlarged the drawings by 312% to get my 1/64 parts in one piece, the errors are piling Up to inaceptable numbers! :-/

If this sentence does make any sense at all.
I decided to enlarged the drawings by 312% to get my 1/64 parts in one piece, the errors are piling Up to inaceptable numbers! :-/
Last edited:
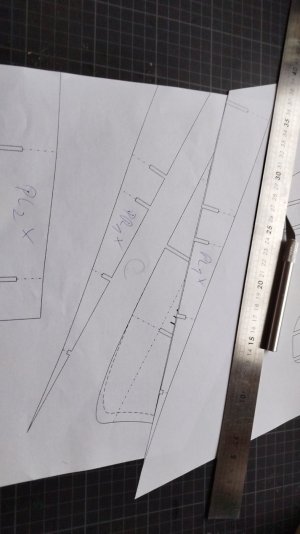
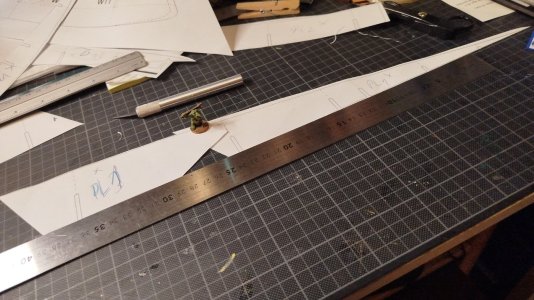
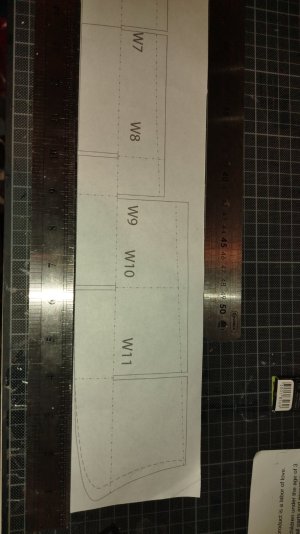
Back from the Copy Shop and invested into ink drawings:
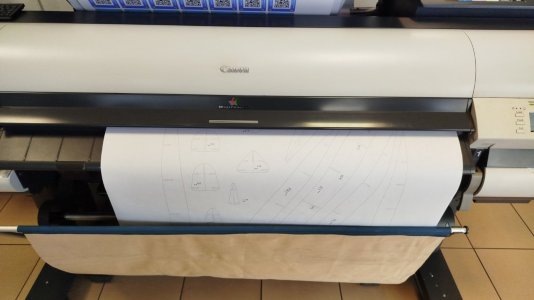
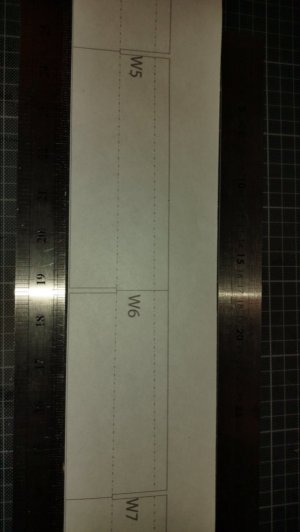
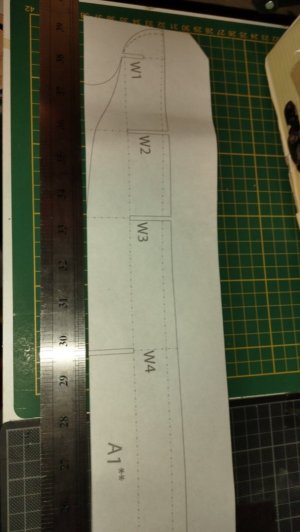
so the lines do stay straight (as a laser xerox does warm the paper and it is wrapping in all directions when cooling) and I cut the DIN A0 sheet into manageable sections on an "under light table" with a wheel cutter:
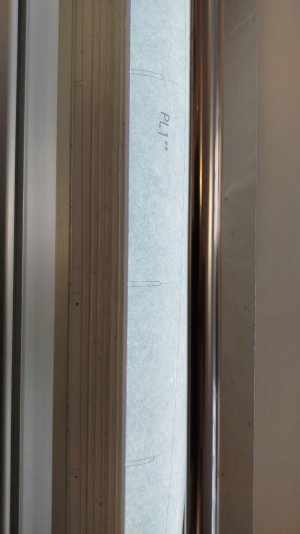
So now we can restart the boat of the safe side...
So up she goes - and I can trust into this drawings enlarged by 312% from 1:200 into 1/64 scale.

so the lines do stay straight (as a laser xerox does warm the paper and it is wrapping in all directions when cooling) and I cut the DIN A0 sheet into manageable sections on an "under light table" with a wheel cutter:

So now we can restart the boat of the safe side...
So up she goes - and I can trust into this drawings enlarged by 312% from 1:200 into 1/64 scale.
Last edited:
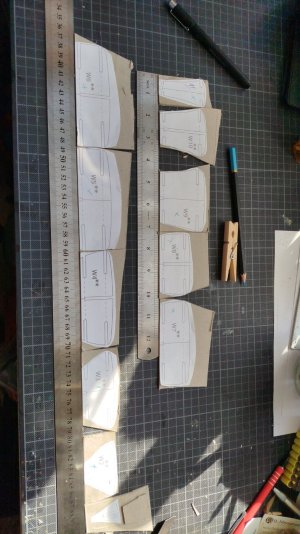
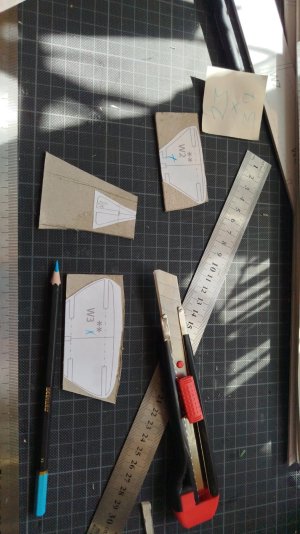
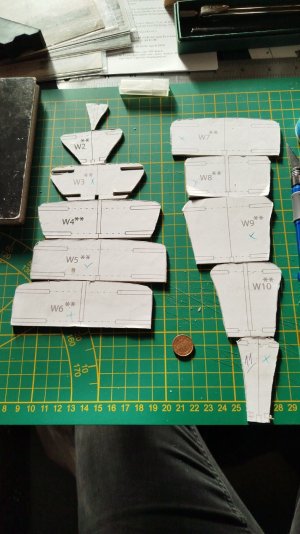
Hello friends, today was a day of a good progress: dealing with the centerboard from 2mms book binder card board was the job. I did use spray canned glue with a good result. I decided to cut it in half for easier handling What you do see is my hole work bench in the very background a cactus terrarium.
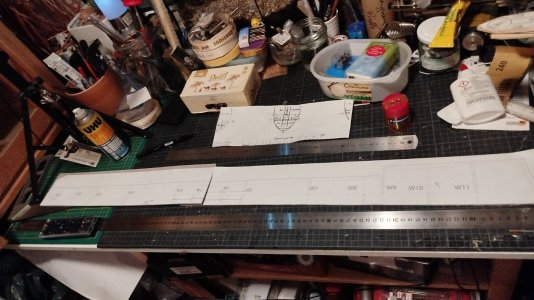

A little bit of progress:
I.
As I failed to glue the tip of the ram with cardboard somehow as the spray clue does bond too quickly!
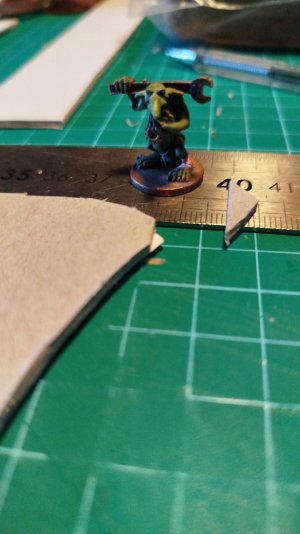 - so I fixed this by additional cardboard:
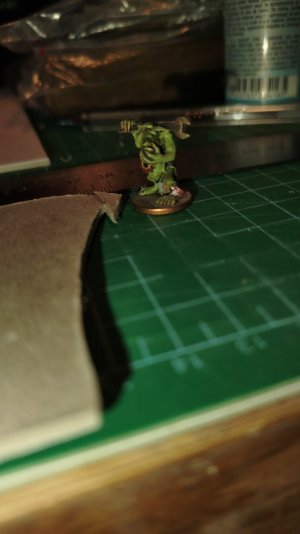
II.
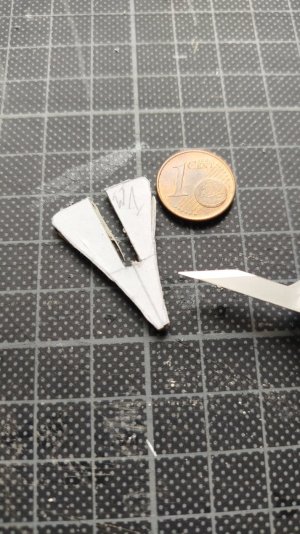
Cutting 20mms from the CWL on the bulkheads to the lines of my baseplate - by this I can deal with clear acrylic for the water later on: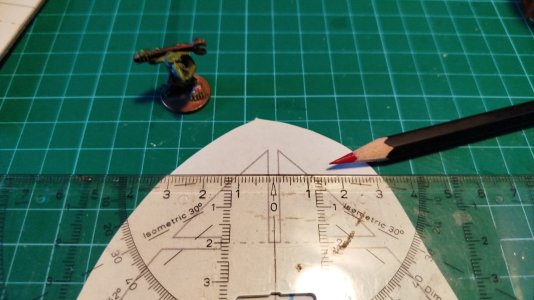
I.
As I failed to glue the tip of the ram with cardboard somehow as the spray clue does bond too quickly!
 - so I fixed this by additional cardboard:
II.
Cutting 20mms from the CWL on the bulkheads to the lines of my baseplate - by this I can deal with clear acrylic for the water later on:

Last edited:
Hello friends,
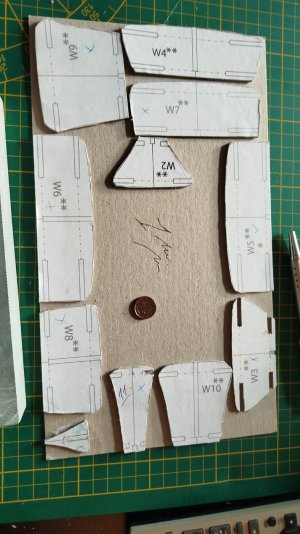
due to the price of transparent acryl I decided to move my cut up towards the CWL and have altered the centerboard and it looks quite right:
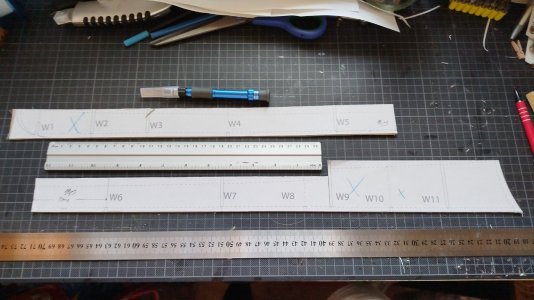
...and orientated the bulkheads glueing them towards the outside mechanical made edge as I learned in here:
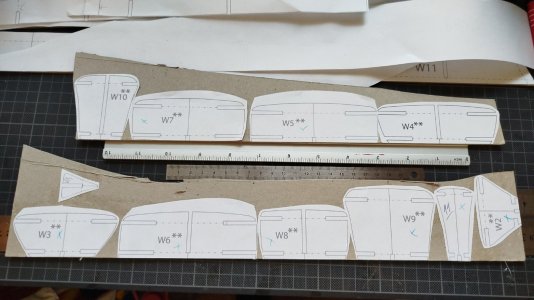
As I wanted to give spray glue from the can a "Go!" I was very happe with it's possibility to arrange the parts for some seconds - but now I have to wait 24hs untill it is completly bond and dry to the touch.
So today was a great day fighting depression!
due to the price of transparent acryl I decided to move my cut up towards the CWL and have altered the centerboard and it looks quite right:

...and orientated the bulkheads glueing them towards the outside mechanical made edge as I learned in here:

As I wanted to give spray glue from the can a "Go!" I was very happe with it's possibility to arrange the parts for some seconds - but now I have to wait 24hs untill it is completly bond and dry to the touch.
So today was a great day fighting depression!


