METOO GOD BLESS STAY SAFE DON
-

Win a Free Custom Engraved Brass Coin!!!
As a way to introduce our brass coins to the community, we will raffle off a free coin during the month of August. Follow link ABOVE for instructions for entering.
-

PRE-ORDER SHIPS IN SCALE TODAY!
The beloved Ships in Scale Magazine is back and charting a new course for 2026!
Discover new skills, new techniques, and new inspirations in every issue.
NOTE THAT OUR FIRST ISSUE WILL BE JAN/FEB 2026
You are using an out of date browser. It may not display this or other websites correctly.
You should upgrade or use an alternative browser.
You should upgrade or use an alternative browser.
S.M.S. Scharnhorst 1/100 [COMPLETED BUILD]
- Thread starter Willbor237
- Start date
- Watchers 25
So much details - amazing, that you also add the motor inside of the tender !!!!
May I ask, which books and documents do you use to find all these information, so you are able to add the details?
May I ask, which books and documents do you use to find all these information, so you are able to add the details?
Hi boris279,
Lovey work, just wondering, going by the unpainted color of your parts, did you 3D print or make a master then cast in resin, the engines and boilers?
Cheers,
Stephen.
Lovey work, just wondering, going by the unpainted color of your parts, did you 3D print or make a master then cast in resin, the engines and boilers?
Cheers,
Stephen.
first everyone thanks for the thumbs up and kind
Update :
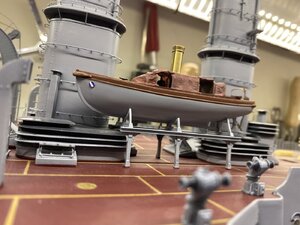
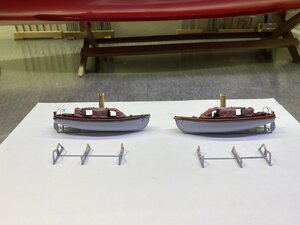
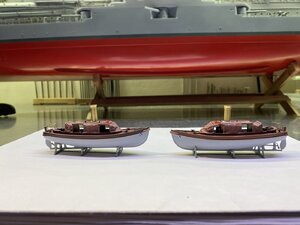
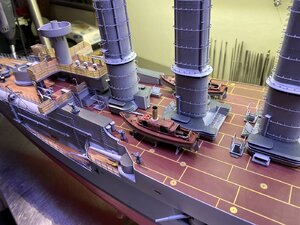
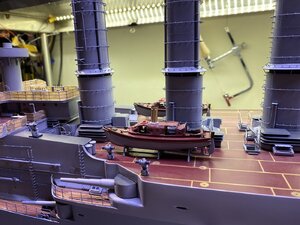
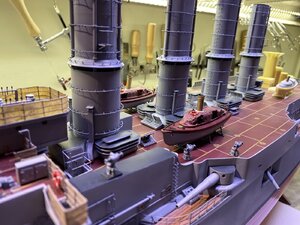
I think that I can close the steam launch chapter, I consider them more or less ready, so small details left but that I will apply on a later moment.
still one motor sloop left but that’s a other chapter on a other time.
The information about the details I take from pictures and drawings, which I collected over the years, and friends from a German forum send me.
the boilers I made from spare parts which I still have after completing the Emden they came extra, but I just use them for the base, the rest I made completely by my self, the material (yellow) is resin.
below a few pictures.


Hi boris279,
All I can say is beautiful, your steam launches are not just "fittings" they are stand alone models in there own right.
Cheers,
Stephen.
All I can say is beautiful, your steam launches are not just "fittings" they are stand alone models in there own right.
Cheers,
Stephen.
Hello Boris. The cranes look great. How did you manage to make rivets?
Hi Boris,
Gee those cranes are incredible and those rivets wow, how did you do it?
Cheers,
Stephen.
Gee those cranes are incredible and those rivets wow, how did you do it?
Cheers,
Stephen.
I can only repeat the words and questions from our friends......
it sounds so easy when your write "I decided to make them new"
Please show us, how you make such improvements - and they are 110% improvement to the "yellow" ones
it sounds so easy when your write "I decided to make them new"
Please show us, how you make such improvements - and they are 110% improvement to the "yellow" ones
Fantastic work Boris, your model just keeps getting better with all your fine detail.
And we're gonna go a little further
Thank you all for the thumbs up and fine words.
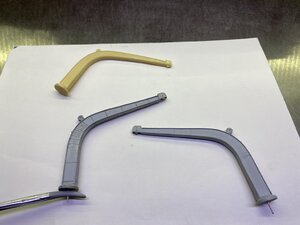
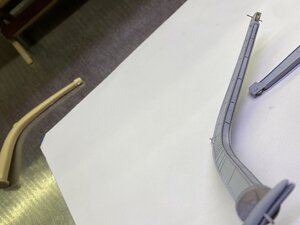
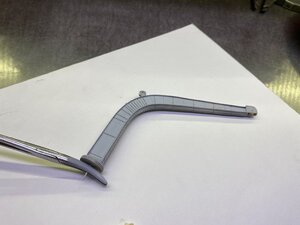
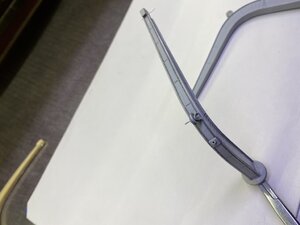
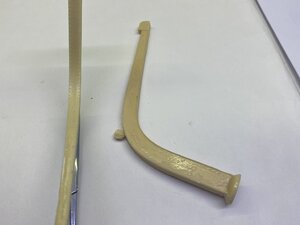
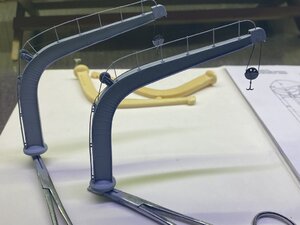
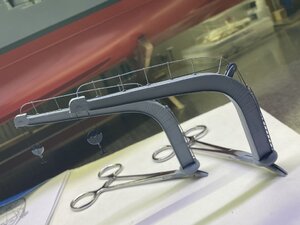
The boat cranes are ready as far as I can see
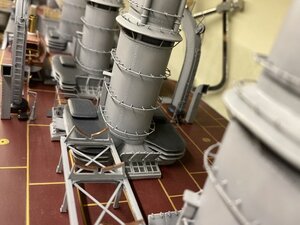
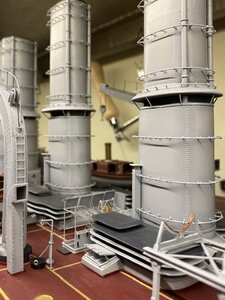
The rivets are a kind of decals I once bought for model trains HO scale 1/87.
this came pretty close to the 1/100 scale I'm building in.
Some pieces come out nicely but also many pieces is the rivet for rivet to place, I fix the rivets with a liquid (solvaset) this makes the decals slightly soft and therefore more beautiful to form.
The "old" ones weren't nice in shape and were distorted,
so I made new ones out of styrene (pvc card).
I copied the old form on paper, glued it on pvc card with wood glue, glued 4 sheets on top of each other, and then sawed out, after they have the right shape they carefully remove from each other and then sawed tapered pieces to glue on the inside, then glue two halves together, finish this on the outside with a thin pvc strip, sand everything in the right shape.
And then you have the crane in basic form, this may all sound very simple.
so it might sound very simple to me. Because I did this for most of the (yellow) resin parts that came with the model so far,
resulting in a box full of parts and components, just as an example.
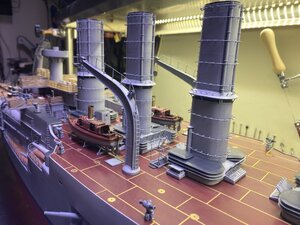
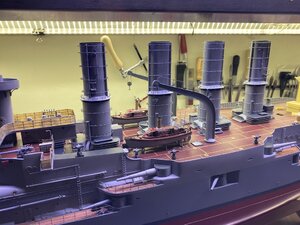
So under some pictures of the boat cranes.
Stay safe and all the best !!
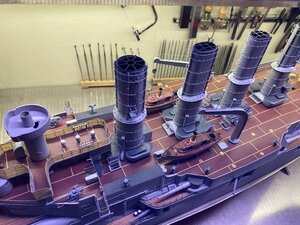


Hi Boris,
Your davits / cranes are many times better than the resin cast offerings, matching the quality of your build, great work.
Cheers,
Stephen.
Your davits / cranes are many times better than the resin cast offerings, matching the quality of your build, great work.
Cheers,
Stephen.
- Joined
- May 26, 2019
- Messages
- 154
- Points
- 113

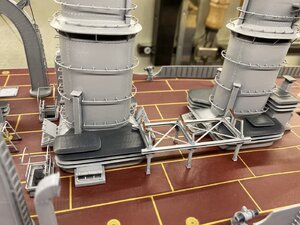
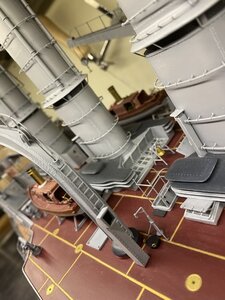
Never tried to build such a ship as this as my skills would not allow it but looking at these photos a master must have built it!!! Wonderful
Paul
Paul
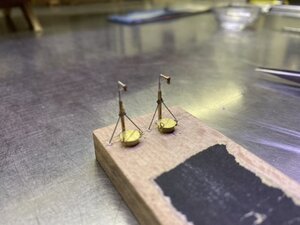
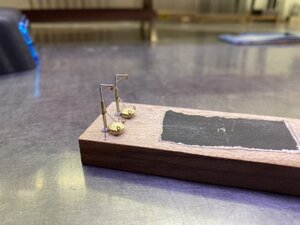
Hi Boris,
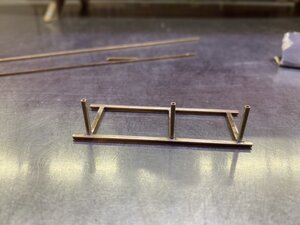
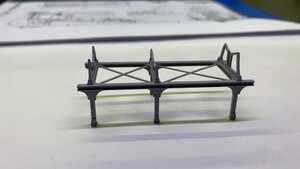
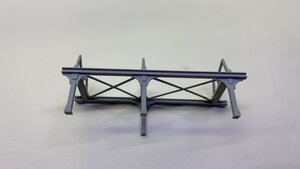
Lovely work with brass section and at 1/100 scale!! Great work.
Cheers,
Stephen.
Lovely work with brass section and at 1/100 scale!! Great work.
Cheers,
Stephen.
Great Great work and details - amazing and so realistic in this relative small scale
Once (or twice) I want to see this model in real life - and study all the details
Once (or twice) I want to see this model in real life - and study all the details
Once again, I love your brass work. So much detail can be made from it.


