• LUCZORAMA SHIPWRECK SCAVENGER HUNT GIVEAWAY. 4 Weeks of Fun • 1 Legendary Prize ((OcCre’s Fram Ship)) • Global Crew Welcome!
    **VIEW THREAD HERE**

San Felipe Panart 1:75 DarkNight Build Log

Joined
Sep 17, 2024
Messages
8
Points
23

Location
Austria
Dear Forum Members,

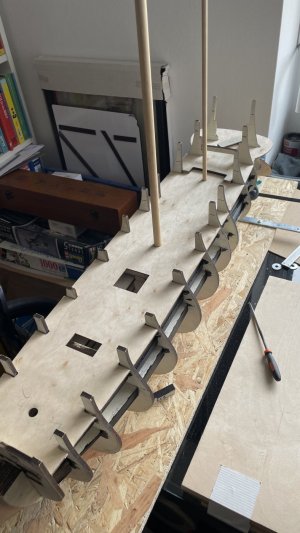
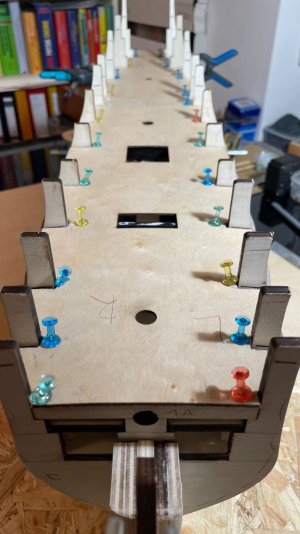
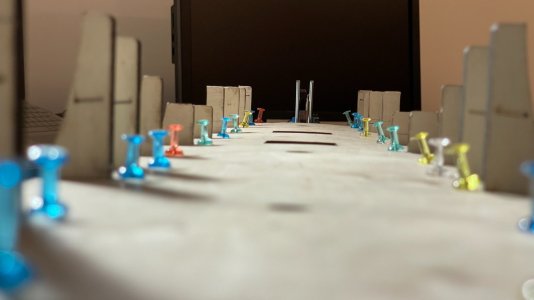
just starting with my first build log ever and second build. Previous to this build I worked on Occre Buccaneer and finished it roughly one year ago. I have chosen the San Felipe because of the nice appearance once finished. Anyway, maybe it is a little bit to difficult for my second build but I like challenges.

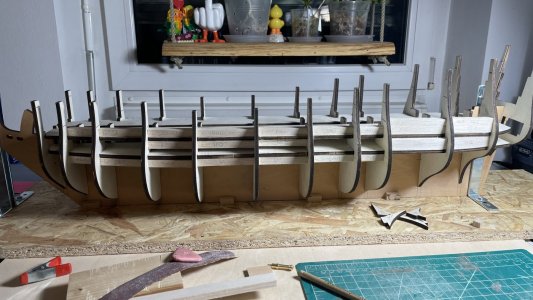
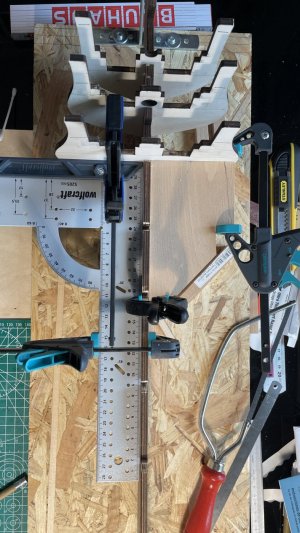
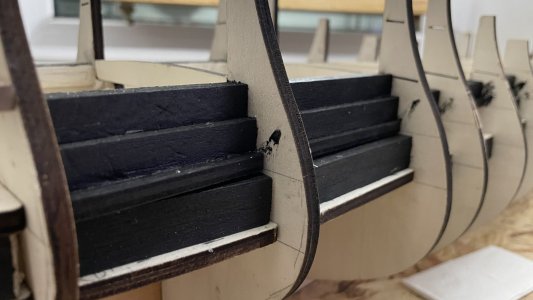
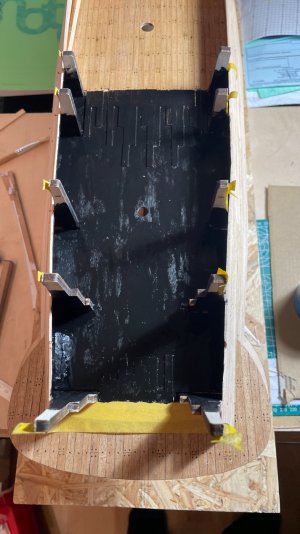
I started already 2 month ago with fitting everything together. Last week the first gluing and coloring the balsa strips black.

Beside that I also checked the build logs in this forum. To mention Donnie's build log from the San Felipe. (Thanks, already checked my balsa strips that they are set in the right position.)

Cheers
Chris


IMG_7976.JPEGIMG_7977.JPEGIMG_8797.JPEGIMG_8854.JPEGIMG_8851.JPEGIMG_8867.JPEG
 
Took a while to continue on the St. Felipe due to vacation :-).

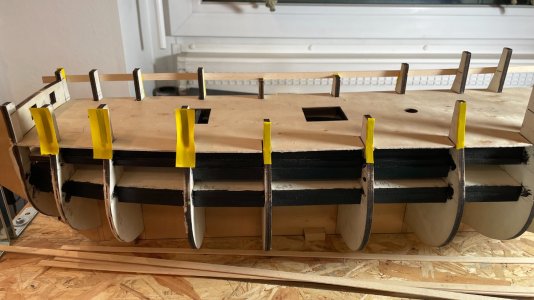
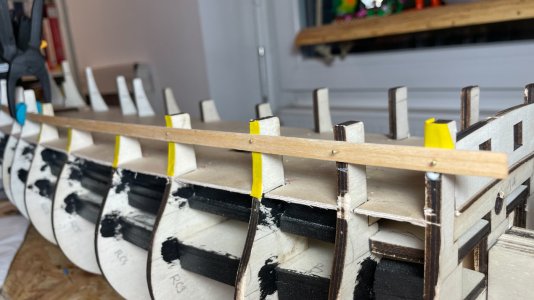
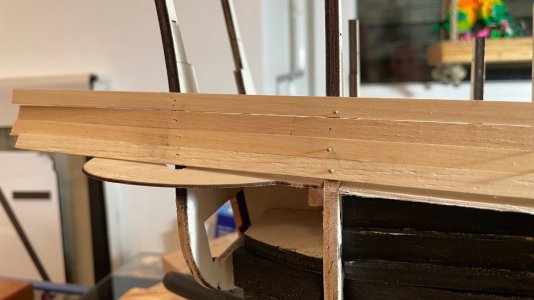
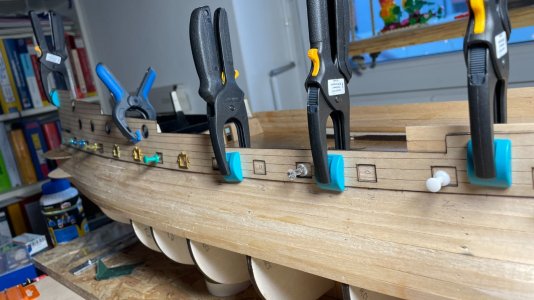
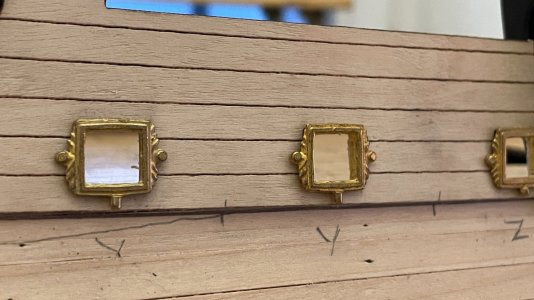
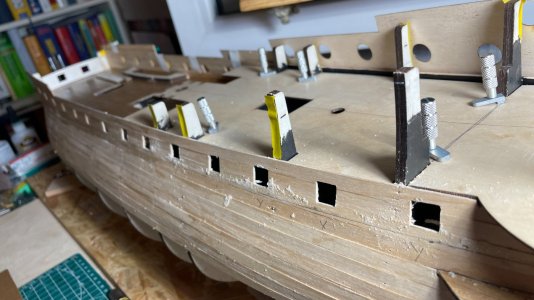
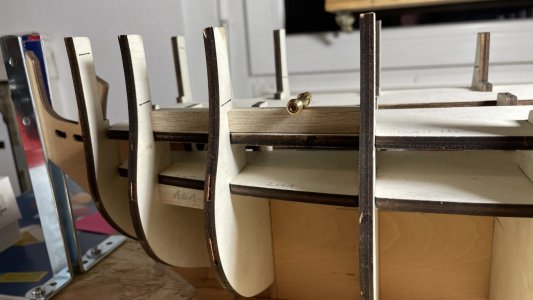
After gluing and coloring the balsa strips I glued in the first false deck. No problems with that. Had to adjust a little bit the fitting but nothing serious. Afterwards I started to glue the first planking of the hull. Started with the "main plank". This one I glued a little bit higher than indicated by the plan. Maybe I need some more extra space for the cannons.

As some of the top bulkheads will be removed and to avoid that the planks would be glued to them I put some tape on the top of the bulkheads so that it is easier to remove them.

So nothing special yet. Going step by step. Pictures below.

Cheers Chris
IMG_8872.jpgIMG_8878.jpgIMG_8882.jpgIMG_9368.jpgIMG_9364.jpgIMG_9356.jpgIMG_9357.jpg
 
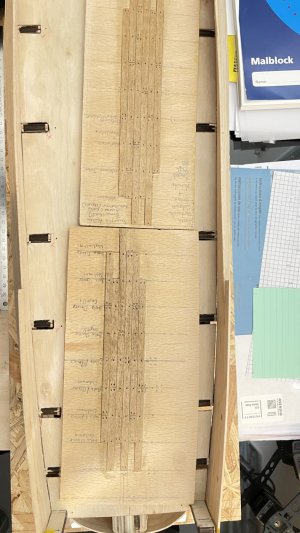
A little update from my side. After planking half of the hull I decided to follow up on the decks. The included deck looks not really satisifying to me and I would not be happy with the look of the deck. Therefore, I investigated how to do the planking of the deck on my own. I decided to use Tanganjica strips. Ordering take some time and now I got them 2 weeks ago.
First step was to do some testing of the planking on some spare plywood. The goal was to get a feeling of the length of the planks and how it would look with different coloring. Furthermore, I also tried out tree nailing.
Both versions you can see in the picture below.

IMG_9498.jpg
 
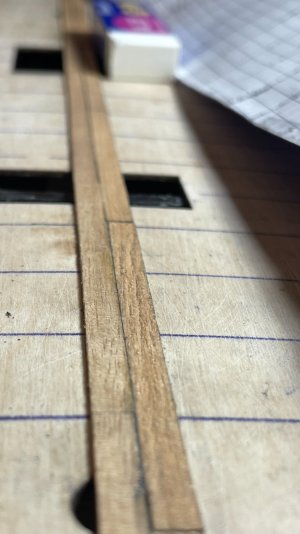
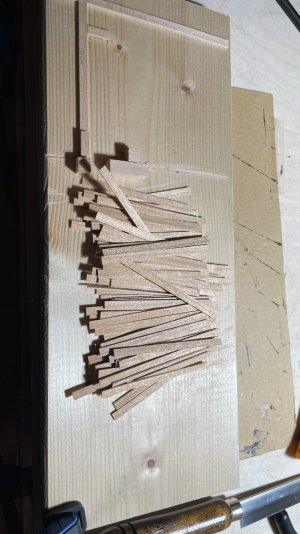
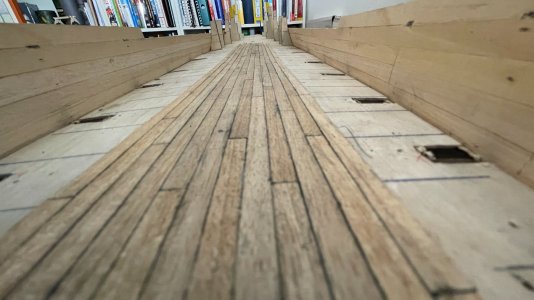
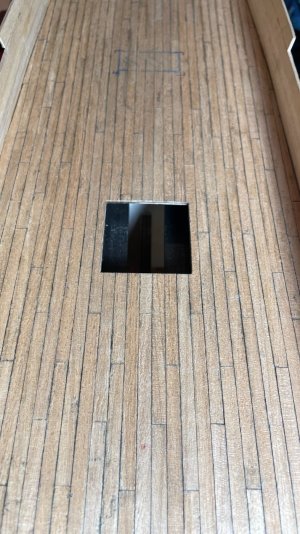
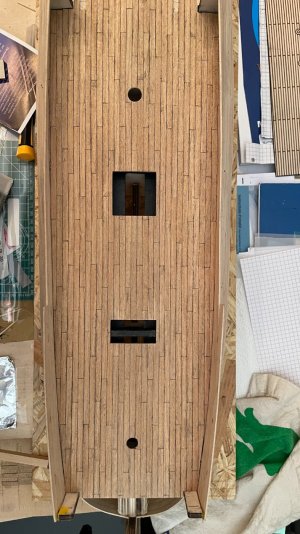
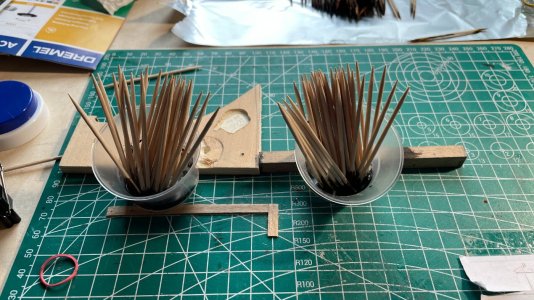
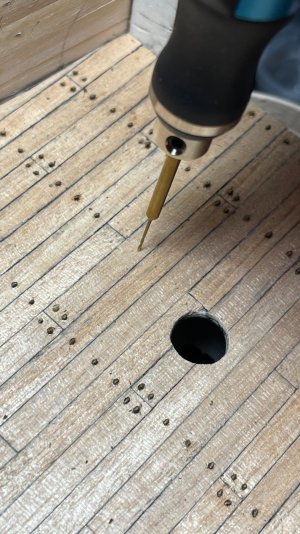
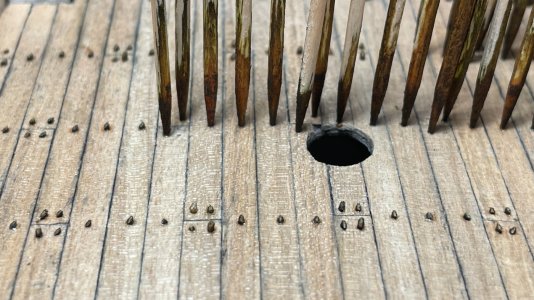
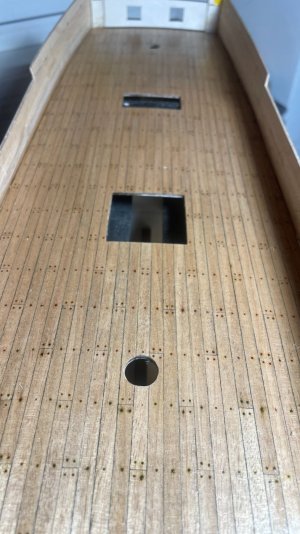
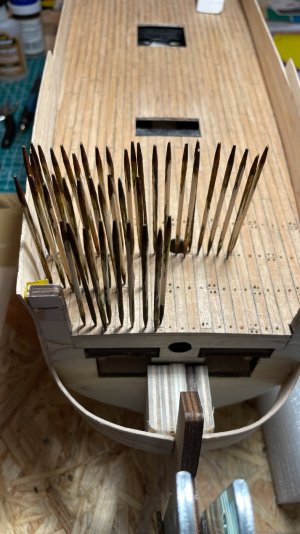
It have been a long time since my last entry. The last couple of weeks I was busy to plank my main deck. I underestimated the time it consumes but now I have planked my first deck and can get rid of the laser cut deck. I also used stained toothpicks as treenails. Here I am a little disappointed because the stain bleeded out once I varnished the deck. Lets see how I can compensate that in the next decks.
Some pictures from my journey of deck planking.

Cheers Christian

IMG_9534.jpgIMG_9574.jpgIMG_9575.jpgIMG_9608.jpgIMG_9616.jpgIMG_9624.jpgIMG_9634.jpgIMG_9637.jpgIMG_9638.jpgIMG_9701.jpg
 
Last edited:
Another step done. I decided, before going on with the upper deck, to install already the cannons. I foresee here a lot of trouble when placing them after the deck has been installed.
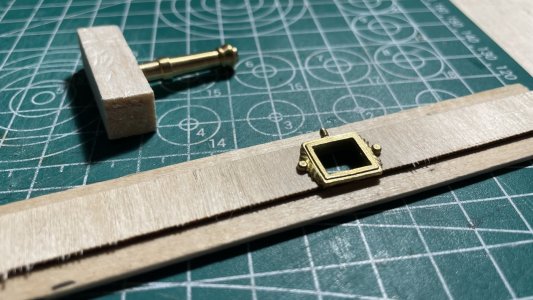
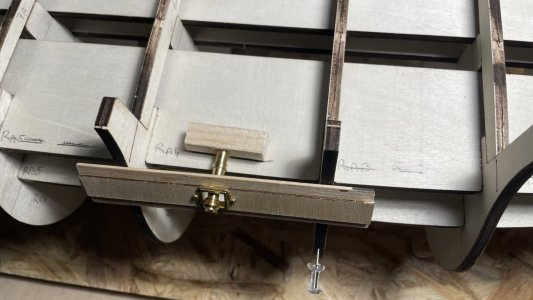
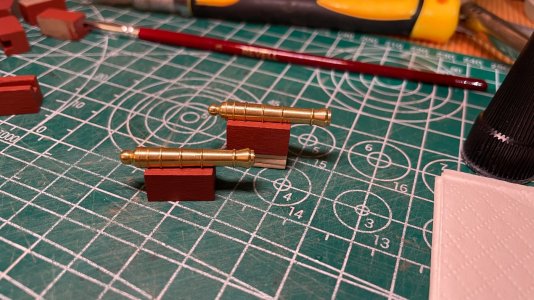
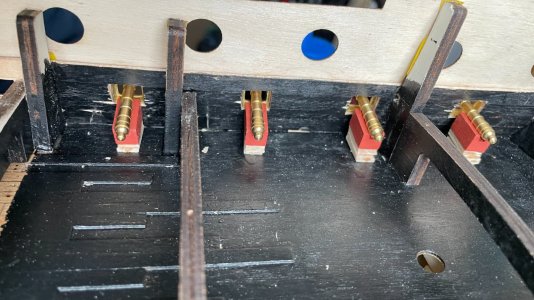
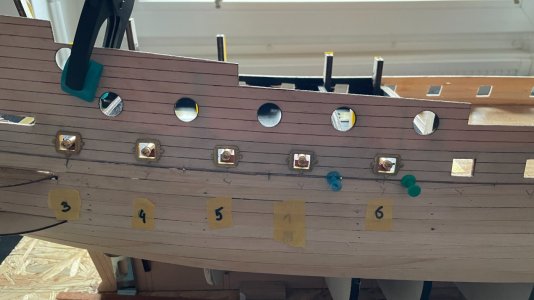
First step was to open the gun ports. (Hopefully at the end everything will fit :-) ). Next step was to paint everything black, assembled the cannons and fitted them to the gun ports.
No bigger issues here. I had to adjust the height of the guns to fit to the gun ports.

Now it is time to fit in the deck and glue it in.


IMG_9706.jpgIMG_9743.jpgIMG_9748.jpgIMG_9750.jpgIMG_9766.jpgIMG_9773.jpgIMG_9774.jpg
 
Back
Top