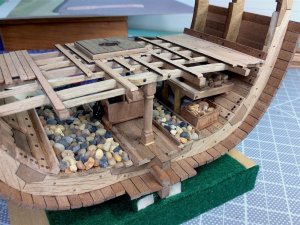
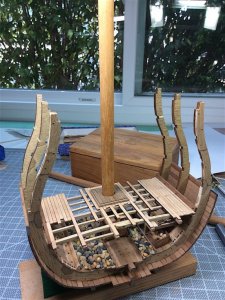
Amazing work
-

Win a Free Custom Engraved Brass Coin!!!
As a way to introduce our brass coins to the community, we will raffle off a free coin during the month of August. Follow link ABOVE for instructions for entering.
-

PRE-ORDER SHIPS IN SCALE TODAY!
The beloved Ships in Scale Magazine is back and charting a new course for 2026!
Discover new skills, new techniques, and new inspirations in every issue.
NOTE THAT OUR FIRST ISSUE WILL BE JAN/FEB 2026
You are using an out of date browser. It may not display this or other websites correctly.
You should upgrade or use an alternative browser.
You should upgrade or use an alternative browser.
Santisima Trinidad cross section Occre - bashed [COMPLETED BUILD]
- Thread starter md1400cs
- Start date
- Watchers 31
-
- Tags
- completed build
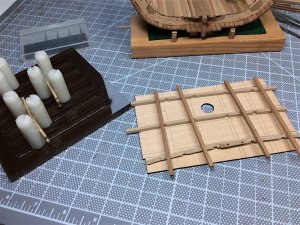
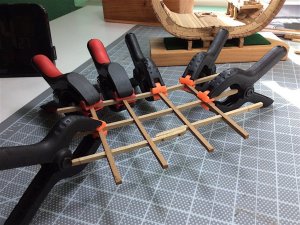
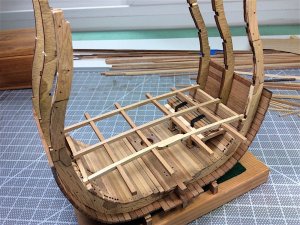
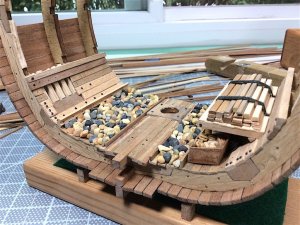
Very good add-ons you prepared for the hold - looking very good 
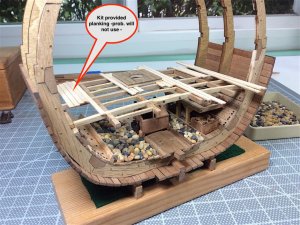
If it is allowed I have a small comment to the area where you left the inside planking open, in order to see the frames of the ship.
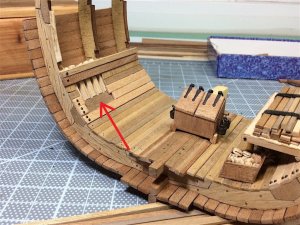
It looks like, that the timber of the chock insert or anchor joint insert is longer than the width of the frame, like a big and long timber over the length of the ship.
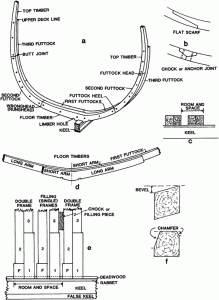
The chock inserts had the same width of the frame and were bolted through the futtocks.....Maybe you can cover them with two new Thick Stuff planks, so that the chock insert is only visible from the face side.....
Very interesting page:
http://ysmc-world.la.coocan.jp/technology/framemodel/part2-4.html

If it is allowed I have a small comment to the area where you left the inside planking open, in order to see the frames of the ship.

It looks like, that the timber of the chock insert or anchor joint insert is longer than the width of the frame, like a big and long timber over the length of the ship.

The chock inserts had the same width of the frame and were bolted through the futtocks.....Maybe you can cover them with two new Thick Stuff planks, so that the chock insert is only visible from the face side.....
Very interesting page:
http://ysmc-world.la.coocan.jp/technology/framemodel/part2-4.html
Hello,
Epicdoom thanks for the kind words.
Uwek - thanks as well for your advice and notations regarding those out-of-scale bits. Being a novice first time cross section builder, it is still a constant learning curve. I am researching as well as I can the new vocabulary, inner building techniques and so on. I appreciate your knowledgeable notations. That said I will live with the errors; errors that were built into this project before I knew any better, - too late, for me, to go back and re-surface the first vertical frame.
As I am continuing with this project I will become more aware of such things. Again I certainly do appreciate your notations.
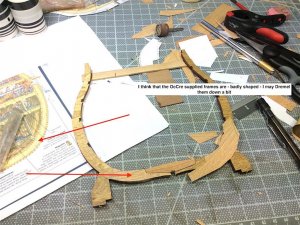
I was relying on examples from a book that included drawings of cross sections. So things got a bit out of scale. Also the notes on the drawing did make me aware of another issue with the kit provided frames.
Regards,

Great work, what an improvement.
Hi mates,
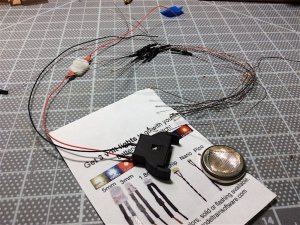
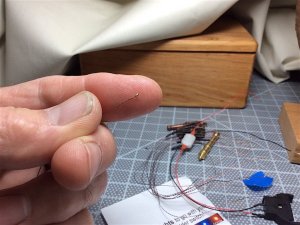
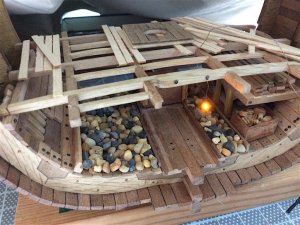
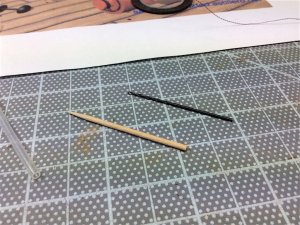
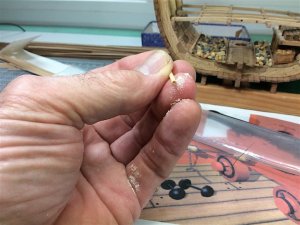
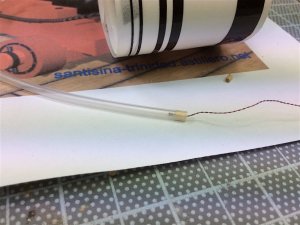
Doing a bit of back-and-forth here. Decided to add lighting -first attempt - So far seems as though it might add a nice bit. The LED's are not the flickering type (those required a chip -so too bulky)
Used pin striping tape from my model car days as well as silicone tubing. I intend to add two lanterns to each of the three gun decks as well as to the orlop deck.
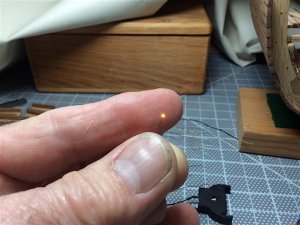
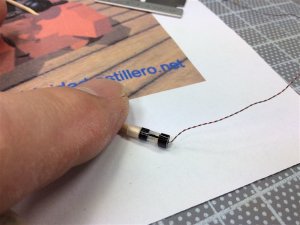
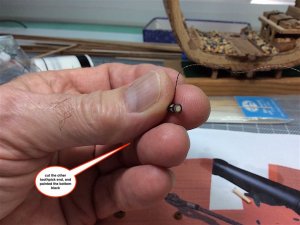
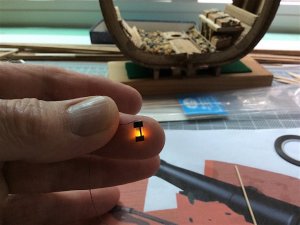
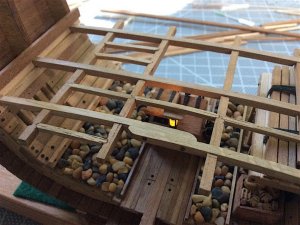
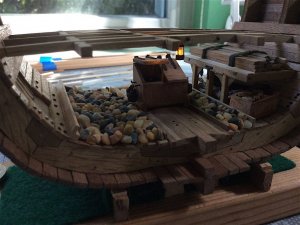
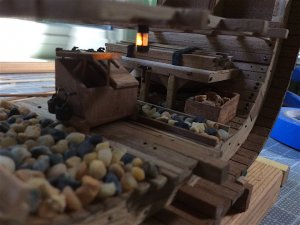
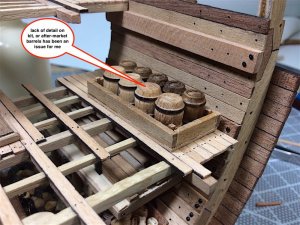
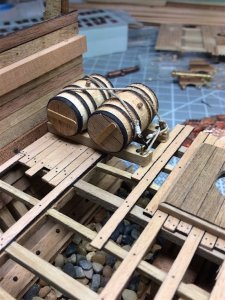


wow......the lamp is looking very realistic 

Great result, what type of LED did you use?
Hi mates,
Thanks for the likes and comments.
Maarten; I sourced the LEDs from this company. Pico size was the best option in this case. Also got the battery holder and the on/off switch.
https://www.modeltrainsoftware.com/
Thanks for the likes and comments.
Maarten; I sourced the LEDs from this company. Pico size was the best option in this case. Also got the battery holder and the on/off switch.
https://www.modeltrainsoftware.com/
Thx, the pico is indeed excellent for this type of modelling.
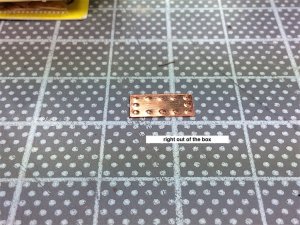
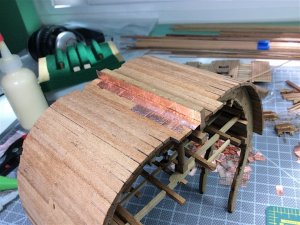
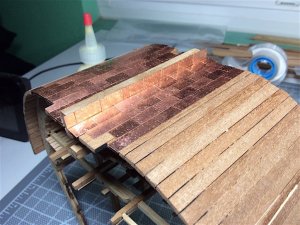
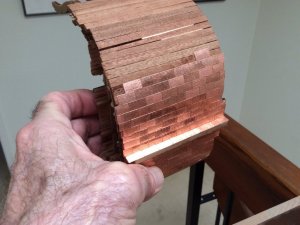
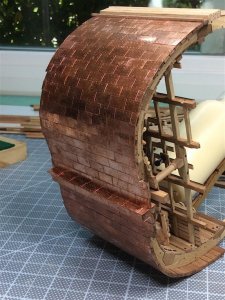
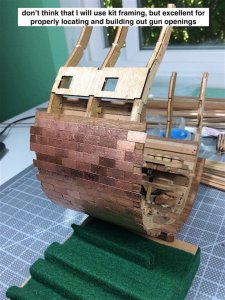
It occurred to me that I prob. should copper the hull before adding more bits and decks. This will be my first effort. I’ve seen and followed some great builds that added plates. Of course this small, easy cross section will be a “walk in the park, compared to coppering full hulls.
That said, I read a very interesting letter in the Spring 2018 Vol. 63 issue of the Nautical Research Journal. Member, Ian Poole, was commenting about how copper plates added to models are sometimes rather inaccurate looking because of the “nails issue”. He stated that available copper plates have overly large simulated copper nail indentations. He went on to state that, of course, copper plates were attached using counter sunk copper nail heads; indeed barely visible.
In any case copper nails should not stand out above the plates. All for obvious reasons – So, It got me thinking about how to “improve” the look of the after-market plates that I intend to add to this build.
My solution.
1) Use the Model Shipways plates that I had pre-purchased.
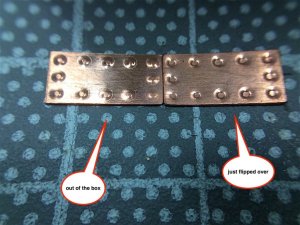
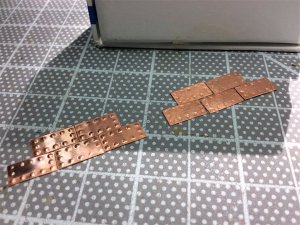
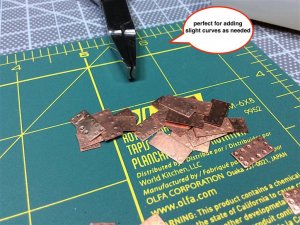
2) Using piers flatten all the nail dimples on each plate
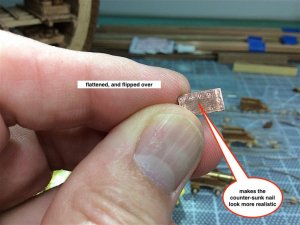
3) Flip the plate over and attach those to the hull with the backside facing up. This look more accurately simulates the look of counter-sunk copper nails.
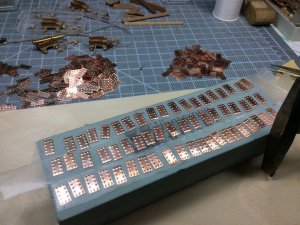
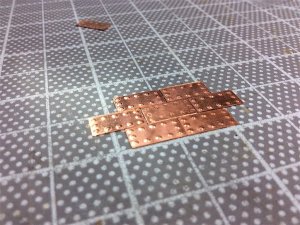
Here are a few photos;
The new plate faces certainly looks more “realistic”.
PS: Yes – lots and lots of extra time will be needed having to re-work each of the 100s of needed plates. Could be overkill??
PS: Plan B; No longer using the pliers, one at a time instead using double sided tape and our knife sharpening stone just taping on the dimples with a hobby hammer. Much better, and faster "factory production" --
Also, since I will reverse side -- attach of the plates –dimples really need to be very flat to properly lay upon hull planks once glue is added. Hammer taps on that stone block does the trick.
Regards
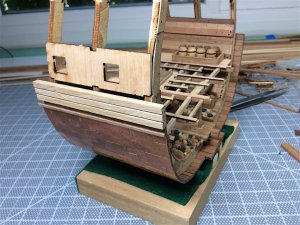
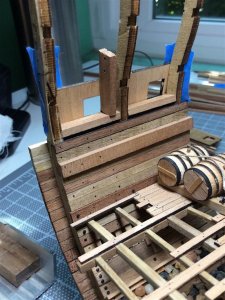
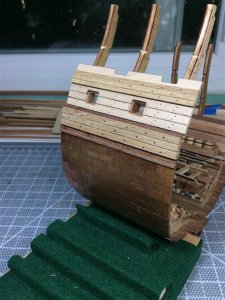


Michael,I really like this cross section ,very nice job you are doing on her!!
Beautiful work again.
Some very attractive work, Michael. 

Excellent work Michael.
this is turning out to be an awesome Build Brother Great work
Hi mates,
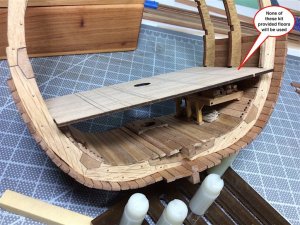
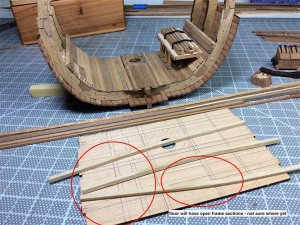
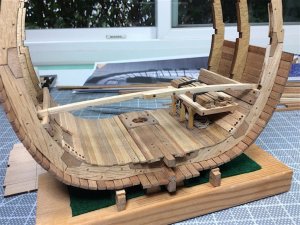
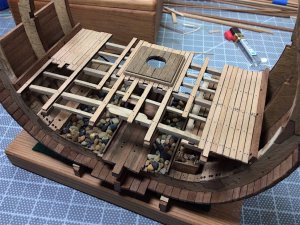
Thanks for the likes, and comments – much appreciated!!. Completed and installed the lower gun deck. Need to finish up some gun door framing then move onto the four guns and carriages for this deck.
Won’t use the kit provided metal one-piece carriages; will however use the provided guns. I do plan on completely rigging the carriages, as well as adding some bits of extra details to the guns themselves. Still thinking these bits through.
Again thanks for the so kind comments.
Cheers,
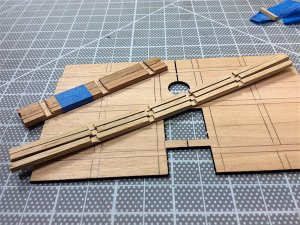
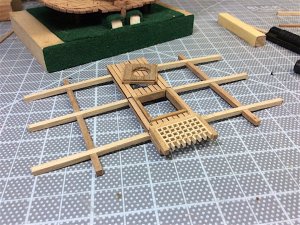
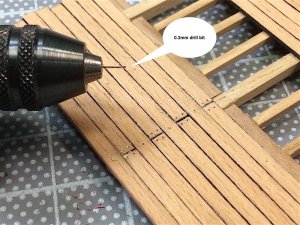
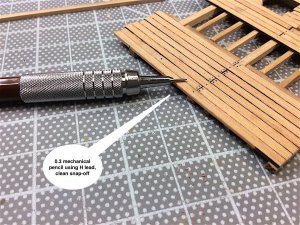
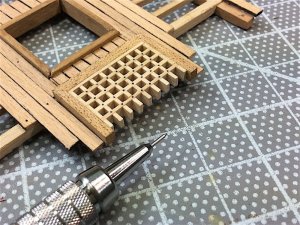
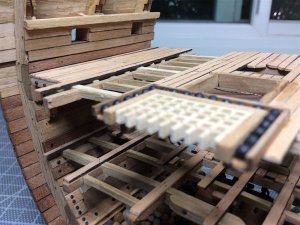
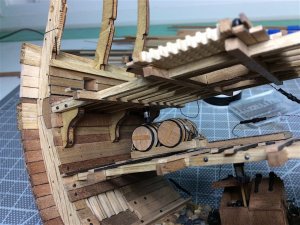
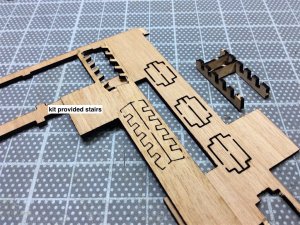
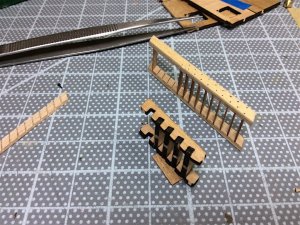
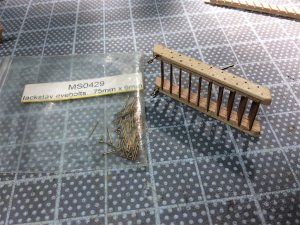
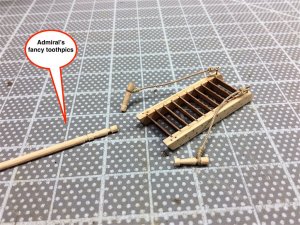
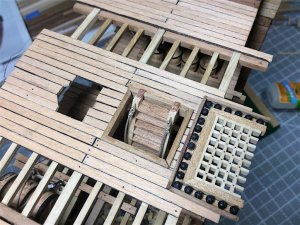
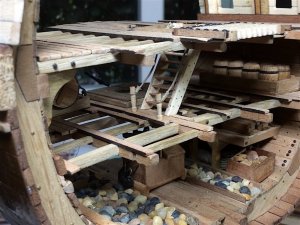
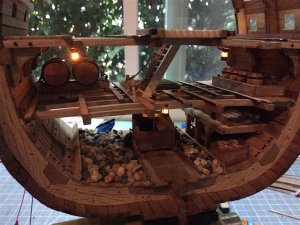


Wonderful work Michael. Your custom built stairs clearly show what can be done by modifying kit parts, in your case, it is a scratch build. And...I really like your 0.30mm trenails imitation, Bravo!
Your section is looking better and better - very good improvement with the ladder - the original from the kit would look terrible


