• Ships of Scale has incorportated an extra level of security when you log In. Please follow on-screen prompts to acknowledge that you are not a robot via a "Check Box" or a "Pictorial Check Box Puzzle". This is needed due to higher level of AI Activity Security.
  • SUBSCRIBE TO SHIPS IN SCALE TODAY!

    The beloved Ships in Scale Magazine is back and charting a new course for 2026!
    Discover new skills, new techniques, and new inspirations in every issue.

    NOTE THAT OUR NEXT ISSUE WILL BE July/August 2026
  • Win a Free Custom Engraved Brass Coin!!!
    As a way to introduce our brass coins to the community, we will raffle off a free coin during the month of August. Follow link ABOVE for instructions for entering.

School for Shipmodel Building School for model ship building

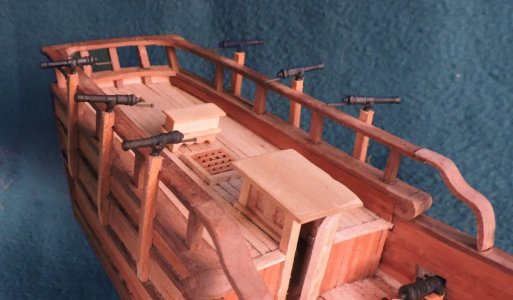
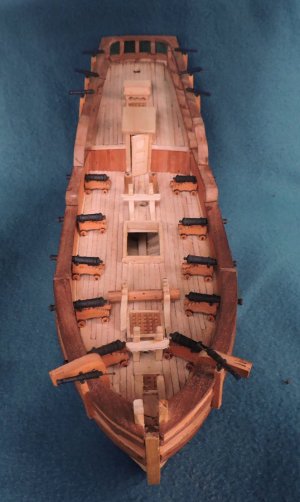
This is the last classroom discussion and workshop on the Sir Edward Hawke the hull structure is finished and the last thing to do is add are the cannons and swivel guns. Before going out in the shop lets discuss making the carriages and guns.

Harold Hahn was my mentor and not only taught me model ship building but also the philosophy associated with it. The build was not just about gluing parts together it was about learning woodworking skills, the historical content of a subject and the full artistry of what your doing. Harold hand made the carriages and guns from scratch with a Unimat and hand tools. His level of skills were off the chart and i am so far from coming close to what he did, intimating? sometimes but most of all inspiring to push myself to new levels.
If you want to dive deeper into Harold's making guns and carriages follow this link


article 6
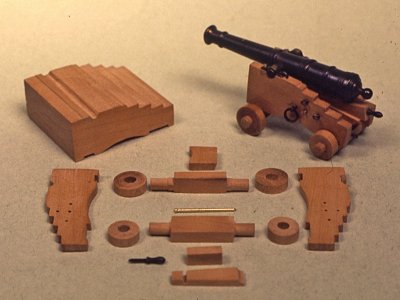


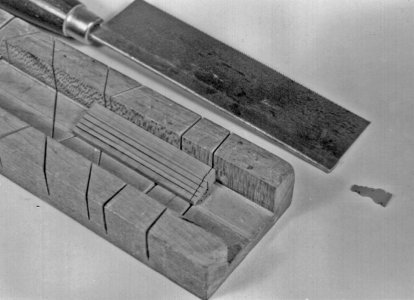
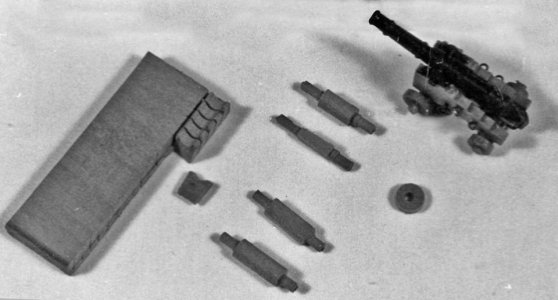
gun1.jpggun2.jpggun3.jpg
 
Our last trip out in the shop building the Sir Edward Hawke
Hahn was a master builder and i could not do, to the degree, of what he did with hand tool. So i used what tools i have in my tool box.

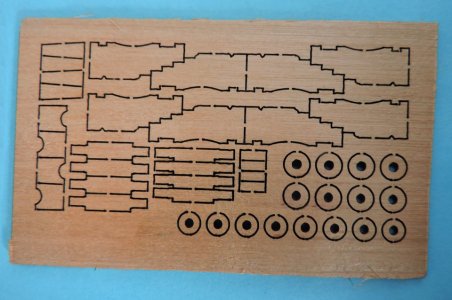
a computer CAD software and a laser cutter.

gun4.jpg

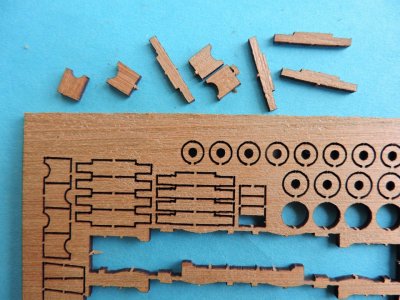
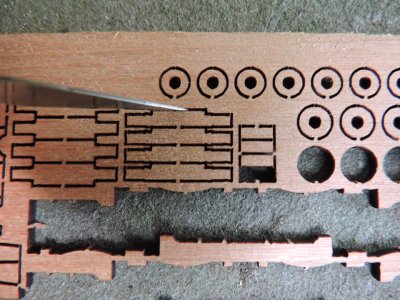
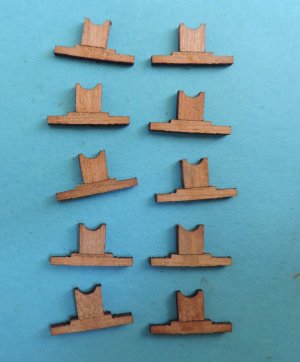
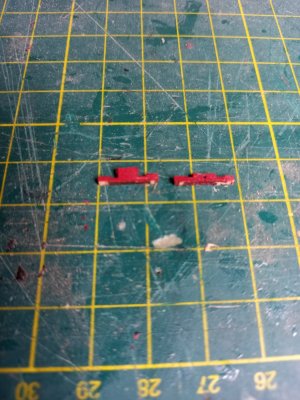
you may be thinking oh this is the old glue the finished pars together a carriage kit. OK! surprise it is not that simple so let's get started first, you have to remove the parts from the sheet. There are tabs that hold the parts in place which will be a bump along the edge.


gun5.jpg

you can use a knife and cut the tabs for a cleaner break

gun6.jpg

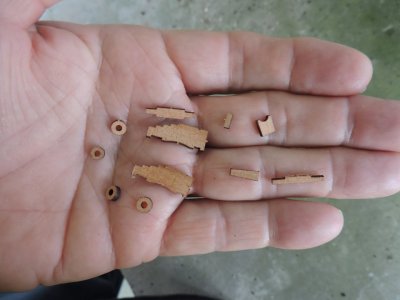
first to think about is these parts are really small so how do you handle them?

gun7.jpg
 
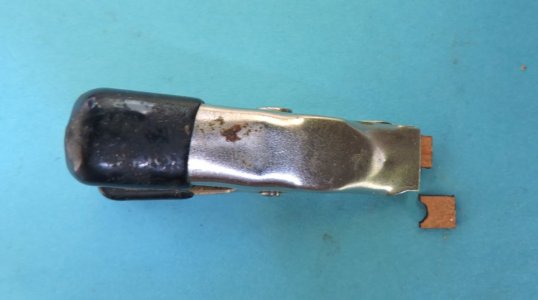
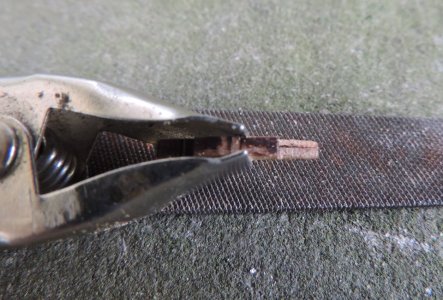
spring clamps are used to handle small parts to clean off the edges

gun8.jpg

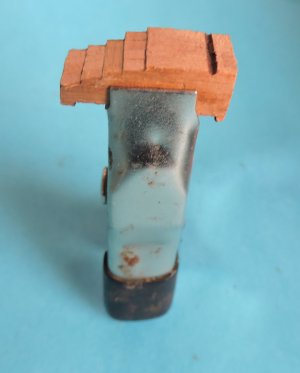
to remove the char i clamped 4 pieces together and used a file to clean off the char. If you do not have needle files gluing a piece of sandpaper to a stick, that works just as well or a nail file an emery board. If the operator knows how to use the machine a laser will not burn into the wood it just leaves a char on the surface which cleans off quite easy.


gun9.jpg
 
Some will argue building kits do not teach the builder how to build a wooden ship model it just a matter of assembling parts. That part is true because commercial kits are not even close to how a real ship is built, but there is more to the story the way i see it, kit building hones your skills and improves your dexterity in handling small parts it also teaches sequence that is the old saying "so you painted yourself in a corner".

Just punching parts out of a laser cut sheet requires a little thinking what is the sequence to building the thing? Well as my dad use to say "read the dam instructions" but what if there are no instructions or you do not understand the instructions because you do not understand what you're building in the first place.

let's break it down

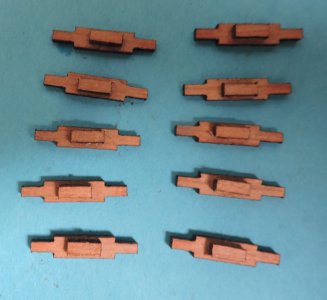
step 1 the base axles and the pieces that sit on them


gun10.jpggun11.jpg
 
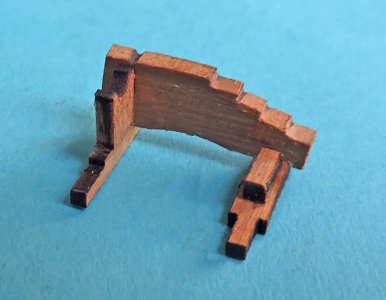
problem at hand the sides of the carriages sit on the axle and against the pieces you glued to the tops of the axles. The problem here is using CA is tricky because it does not give you the time to line up the sides and square up the carriage.

gun12.jpg

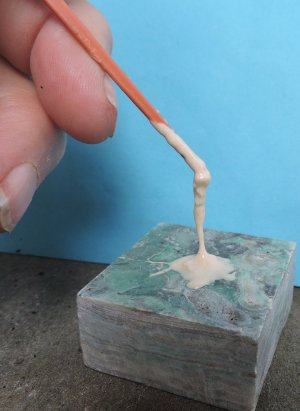
i use Titebond wood glue but the problem is it is to thin and does not grab on contact. As a result, with the parts being so small it is a struggle holding the sides in place and squaring them up, the slightest move and the parts collapse. The answer is to make your own glue, well not actually make glue more like taking Titebond wood glue and pour a little in a small bottle and let it dry out somewhat.
That is not dripping down that is pulling the glue up. Titebond gets thicker as it dries out and very tacky.

gun13.jpg

Now when you apply the glue you can push the parts together and hold for 30 seconds and the glue will grab and stay.


gun14.jpg

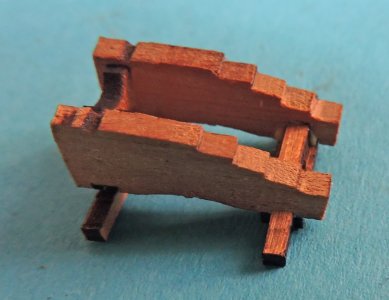
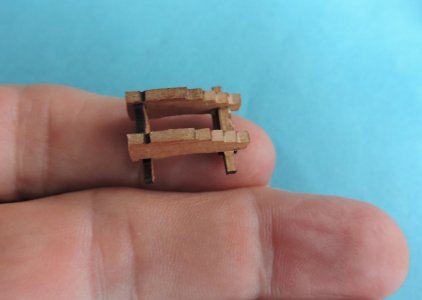
you can see how small the carriage is

gun15.jpg
 
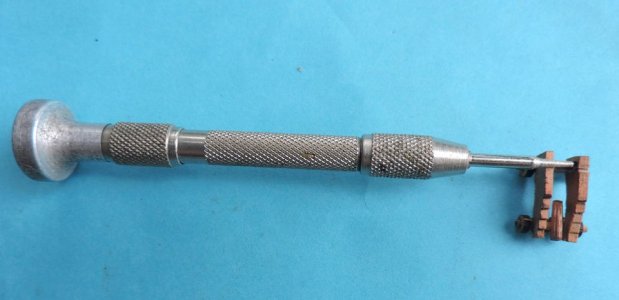
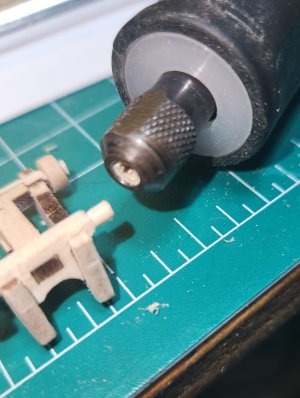
The last step is to use a diamond burr in a pin vice and sand in the grove where the trunnions sit in

gun16.jpg


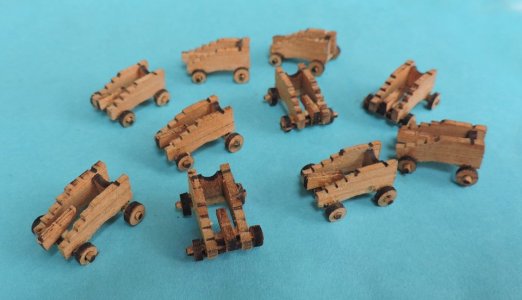
the leveling wedges were added and the carriages are done perhaps not at the level of precision of Hahn's made from scratch but good enough. At this point i am considering painting the carriages or cleaning them up and leaving them natural. It would be more historical correct if they were painted. There is such a thing as scale painting ask any model railroader?

gun17.jpg
 
Last edited:
Now for the guns themselves a hard-core scratch builder would turn the guns on a lathe either out of Ebony or Brass or Delrin®

(Polyoxymethylene, POM) a high-performance acetal homopolymer known for its exceptional strength, stiffness, wear resistance, and chemical stability, making it a preferred metal replacement in precision engineering applications.

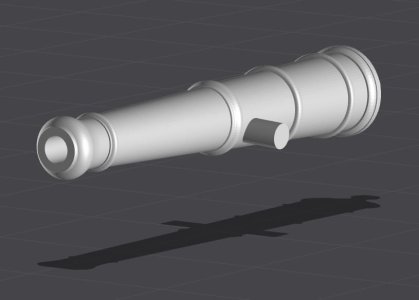
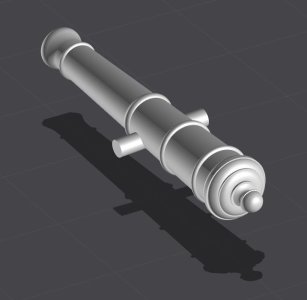
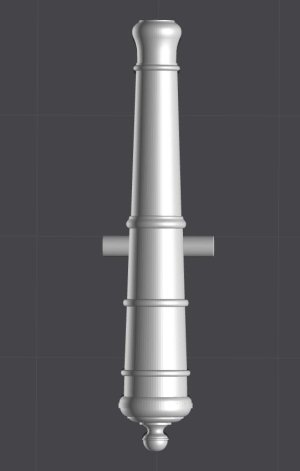
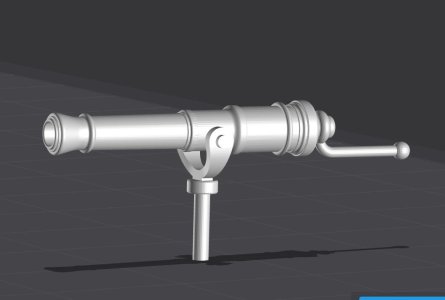
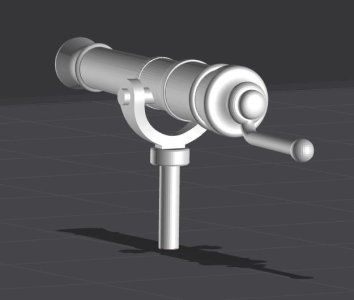
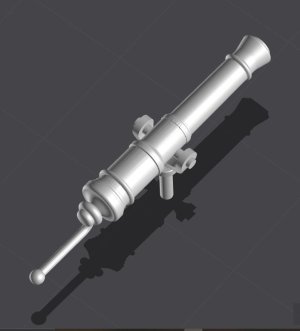
OR what i did was turn to 3D Modeling and using Hahn's specs for the guns. Turning 10 cannons and 8 swivel guns all exactly the same on a lathe and not a CNC lathe a manual one requires skill no argument about that. 3D modeling took out the labor in making the guns but computer and 3D modeling knowledge is still needed.


Capture 4lb1.JPGCapture 4lb2.JPGCapture 4lb3.JPGCapture swivel1.JPGCapture swivel2.JPGCapture swivel3.JPG
 
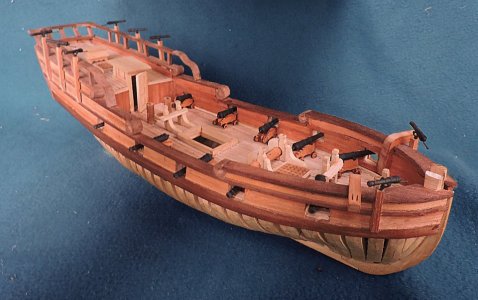
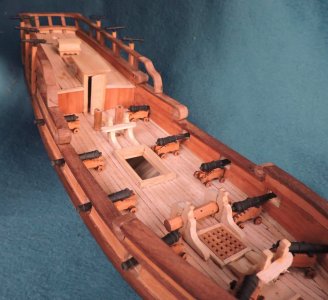
This concludes the building of the Sir Edward Hawke. Next week i will post a final overview of the project and corrections made along the way and i do have questions i will direct to my colleagues here in the school which i still have problems with.

gun18.jpggun20.jpggun21.jpg
gun19.jpg
 
Dave, Great job! But square peg in a round hole. Tell us how you rounded up these tin axles.

Thanks
Roger

forced them with a hammer Cherry was soft enough the corners smashed into the round hole

What Harold did was to turn stock to the largest mid-section then turned the axles. when the piece was done he squared off the center section.

but no i did not smash them into a round hole however i did try that and it split the wheel so second idea
here is what i really did using a knife i shaved the corners so now i have a six sided axel


gun23.jpg

gun22.jpg

then i used a file and rounded out the axel until the char went away


gun24.jpg

and i got close enough to round so the wheel fit. It was delicate and file fit and file and fit.

gun25.jpg

the axles are so small i assembled the carriage first so i could hold the piece while i rounded the axels. If Harold saw what i did, he would shake his head with a sheesh! really? pretty crude but it did work.
Never tell yourself looking at the work of master builders and say "i could never do that" you do what YOU can and not what they did.
 
Thanks! As they say, you’re never too old to learn. Although I don’t need to make gun carriage axles, I picked up two ideas from today’s lesson; sticky Titebond glue, and spring clamp hand vises. Applicable regardless of scale or subject, scratch or kit.

Roger
 
I wonder what he would say about rounding off the axels with a rotary tool?

these axles are so small any power tool was just too much for their delicate nature it requires the hand of man and the feel of tool to wood. I do not think Harold would mind what you use to get the job done. I introduced him the laser cutting way back before it became the standard in kit manufacturing and he thought hum clever. Keep in mind Harold Hahn was an engineer on the cutting edge of the tech in those times so he had nothing against different approaches to solve a problem
 
Dave, Great job! But square peg in a round hole. Tell us how you rounded up these tin axles.

Thanks
Roger
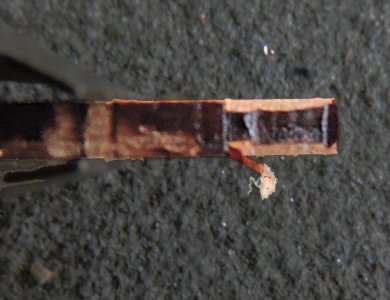
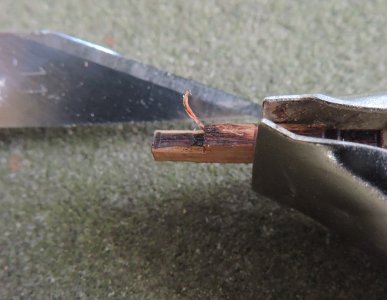
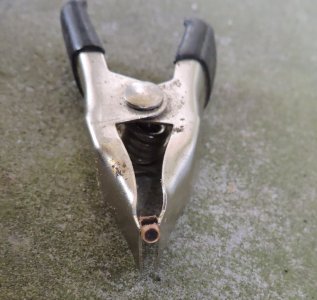
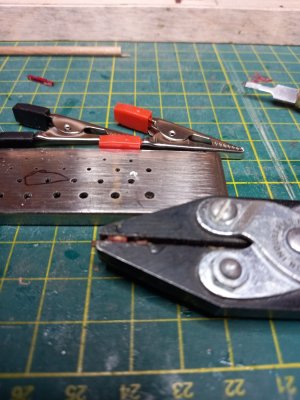
I am having the same problem with cannon axles on HMS Speedy: very fiddly, brittle pieces made even more fragile by the cutaway just behind the axle stub. I grip them in a pair of parallel jaw pliers leaving just the tip exposed. I then twist this into successively smaller holes in a draw plate until they fit the trucks.
For interest, I have included some crocodile clips in the picture. I have just acquired these. Instead of having facilities for attaching a cable they have plastic blocks that are much easier to grip.
axles1.jpg axles2.jpg
 
Back
Top