• Ships of Scale has incorportated an extra level of security when you log In. Please follow on-screen prompts to acknowledge that you are not a robot via a "Check Box" or a "Pictorial Check Box Puzzle". This is needed due to higher level of AI Activity Security.
  • SUBSCRIBE TO SHIPS IN SCALE TODAY!

    The beloved Ships in Scale Magazine is back and charting a new course for 2026!
    Discover new skills, new techniques, and new inspirations in every issue.

    NOTE THAT OUR NEXT ISSUE WILL BE July/August 2026
  • Win a Free Custom Engraved Brass Coin!!!
    As a way to introduce our brass coins to the community, we will raffle off a free coin during the month of August. Follow link ABOVE for instructions for entering.

School for Shipmodel Building School for model ship building

where is classroom 2

 
so i was told one eye at a time i have to totally recover from one eye and go through it again. Next Tuesday i have to go through a 3 hour exam

i woke up yesterday looked out the window and could not see across the street. panic did it get that bad that fast! no it is the smoke from Canada

but yes i noticed my sight getting cloudy right eye not so bad the left eye not so good.
My wife went through this a few years back and said no lie what they put in your eyes during the exam is like squirting lemon juice in your eyes hurts like hell. the actual surgery not bad got to go through with it.
 
Sorry, but we’re sending you some smoke too. 15 fires north of Duluth in the Boundary Waters Canoe Area. By 5pm yesterday they had burned 55,000 acres. They are burning in areas where there a lot of dead spruce trees killed by the Spruce Bud Worm.
 
no school today as i posted eye problems, it was a struggle working on the model and finally got to he point ok i go to do something
 
Last edited:
Class is now in Session

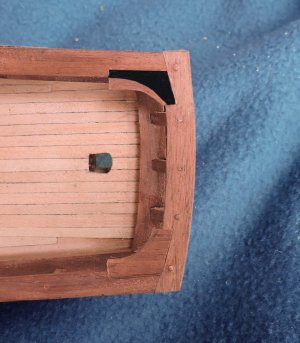
i left off with installing the railings and making a pattern for the knee that ties the side railing to the stern railing.


rail19.jpg


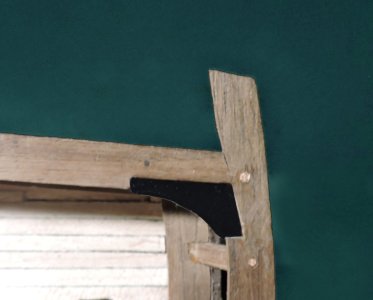
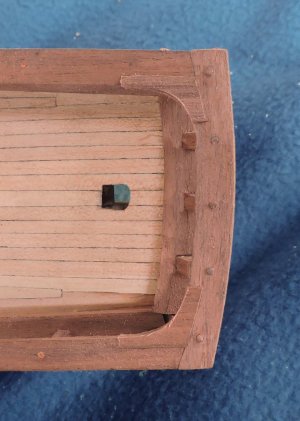
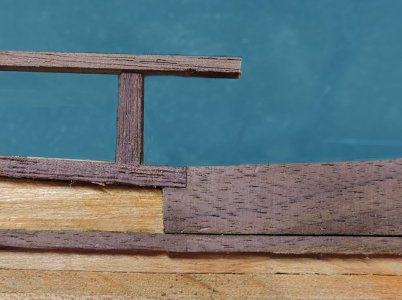
Using that pattern i cut and fit a piece to fit the corner. At this point in the build all the joinery stands out so it is important you make sure the fit is as good as you can possibility get even if it means doing it over and over. You do not want to cut out the knee and try to fit it into the corner, chances are you will end up short so i used a large piece and made the fit first.

rail20.jpg
 
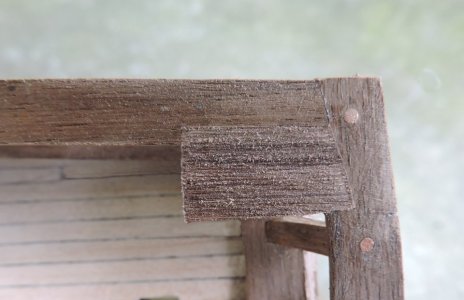
when i am satisfied with the fit i went ahead and rough shaped the knee before i glued it in place. Notice the copper pegs they both blend in and when the light is right they pop out at you.

rail21A.jpg

using the pattern i placed it over the corner piece. There are a few ways to give the knee a final shape one is to use a small sanding drum on a Dremel tool. I would advise slowing the Dremel tool way down so you do not over sand the piece. Another way is to wrap a piece of sandpaper around a dowel or your finger. It does not take much to shape the knee.


rail21.jpg

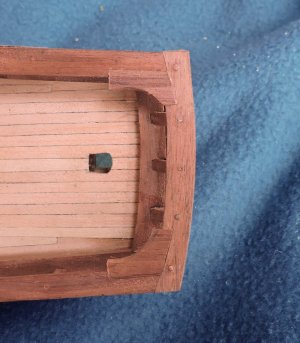
finally the knees are shaped and flow into the railing.

rail22.jpg


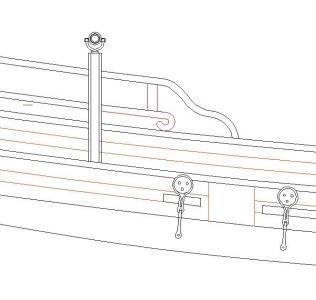
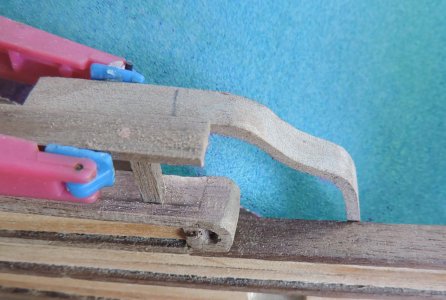
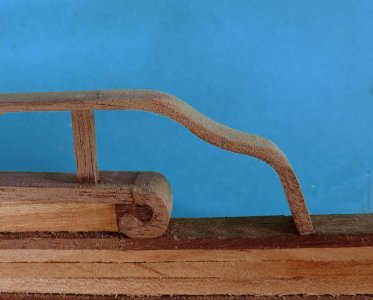
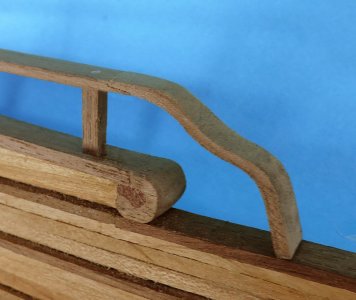
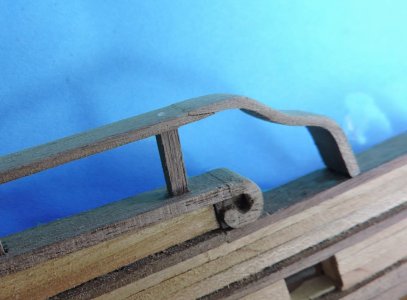
There is one more piece that finished the railings at the ends.
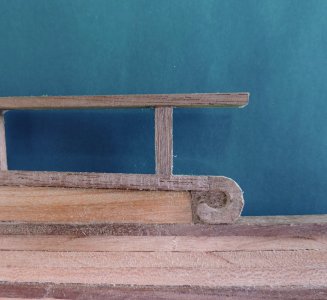
but first as you can see there is a scroll at the end of the cap rail that should go in first.

Capture.JPG
 
Last edited:
A lesson on scrolls

there are all kinds of scroll work from a basic scroll to very fancy. This is part of a build that scares first time scratch builders. It requires "carving" and i heard it many times "i am not good at carving". Well you do not have to be an accomplished carver to do a basic scroll. I have also read in forums you have to use a very fine-grained wood for carving small parts that might be true in some ultra fine carvings but this is a basic scroll and i am using Walnut to match the cap rails. For this build you will be carving 12 scrolls and once you get the process down each one becomes easier.
so lets get started.

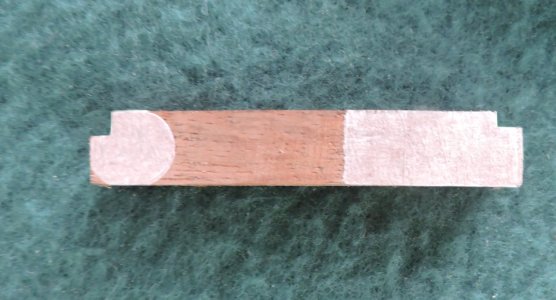
the cap rails extend a short distance beyond the ends of the bulwarks and the scroll fit under and against the ends of the cap rails.

scrol1.jpg

first step is to prep the blanks these are sticks of Walnut sanded to the width and height of the scrolls.

scrol2.jpg

First get a nice tight fit under the cap rail and tight to the end of the bulwark. This is critical because you do not want to remove material once you shape the scroll.


scrol3.jpg
 
Last edited:
i am using masking tape to layout the scroll

scrol4.jpg

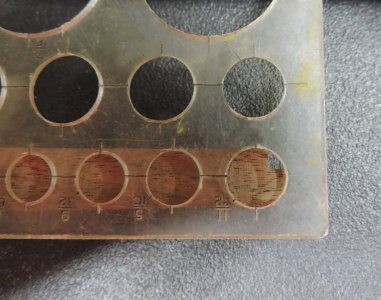
I use a circle template to trace a circle


scrol5.jpg

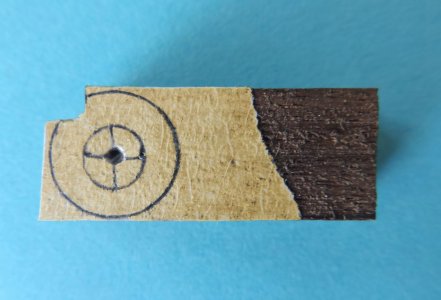
with the outer circle and an inner circle i tapped a starting hole with a small wood screw

scrol6.jpg

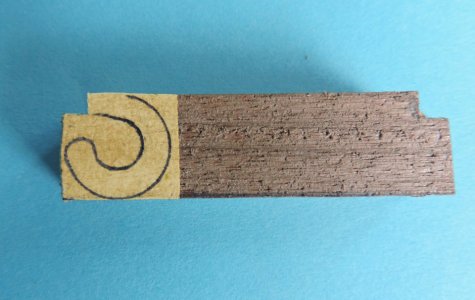
This will be the actual shape of the scroll and once the scroll is marked out i cut the outer shape

scrol7.jpg

This looks bad because the drill ripped the masking tape

scrol22.jpg
Once i peeled off the tape and touched up the edges i got a nice clean cut

scrol23.jpg

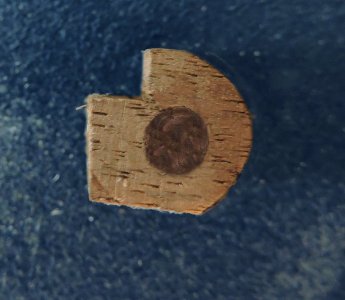
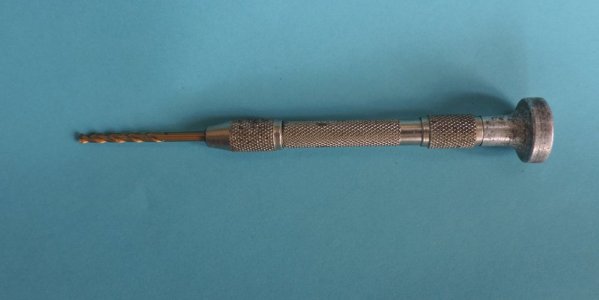
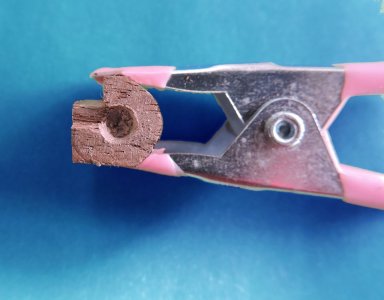
You do not want to drill to deep just a shallow hole is enough so i did not use a power tool i used a pin vice and it only took a few twists to get a hole.

scrol21.jpg

The trick in getting a nice-looking scroll is making sure everything is "round" from the start. The final cut is making the end of the scroll.

scrol9.jpg

There you have it the scroll in place. It is a basic simple scroll that looks good. After you have done 12 of them it gets easier and easier.


scro20.jpg
 
Last edited:
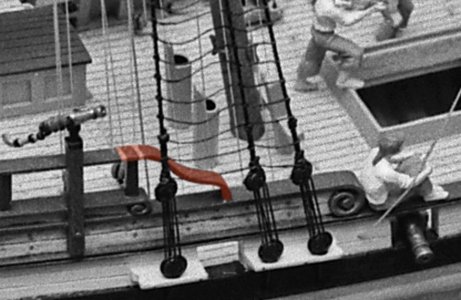
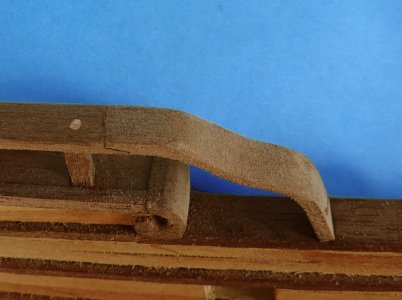
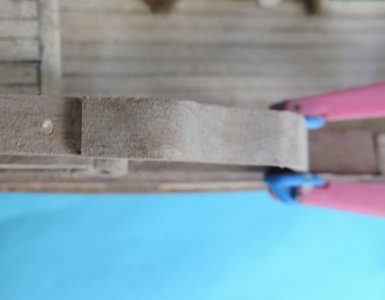
next class will be this piece at the ends of the railing. Take note the scrolls Harold Hahn did are fancy what was done here is a basic scroll because this is meant to be a first-time semi scratch project and not to jump to far ahead. Learning the basics is important. Next project will get a bit more refined.

Note:
This applies to scratch as well as kit building many model builders are tempted by those big projects and jump into the deep end. That is not wise to do, you may very well drown in complex details. Start simple and work your way up to harder and more complex projects. You really have to understand the methods and the how to first. Develop your skills first if you intend on sticking with the hobby or wanting to advance to a finer art. However, if you have God given skills then by all means jump in the deep end but for the rest of us it takes time and practice and understanding the subject material.

b28.jpg
 
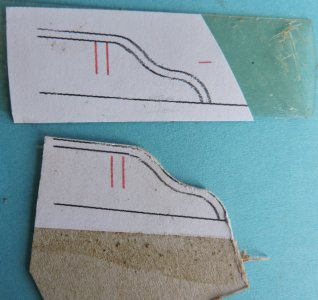
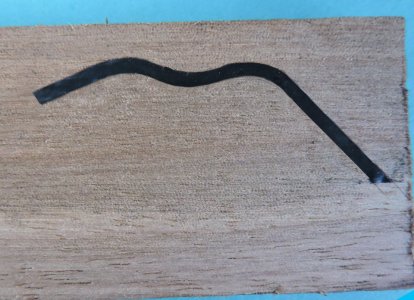
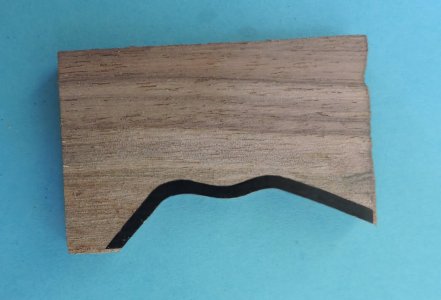
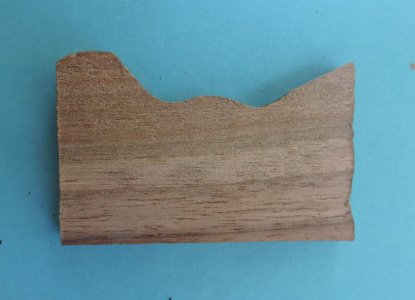
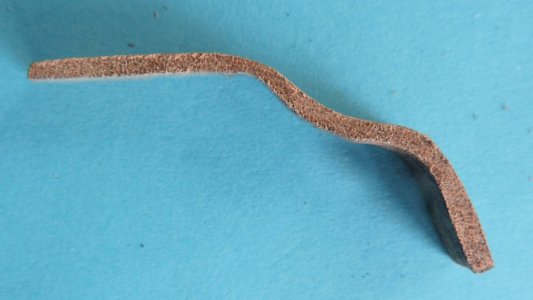
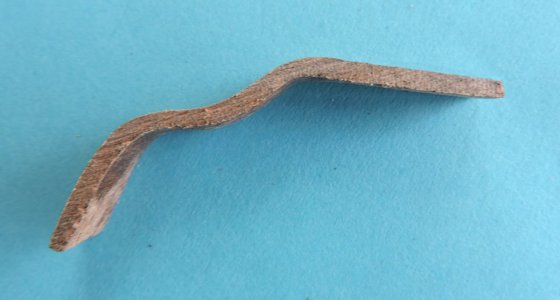
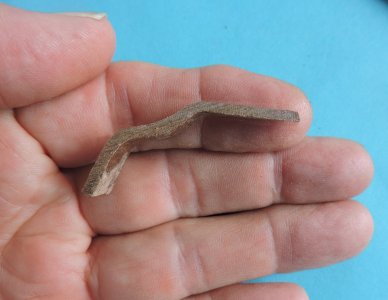
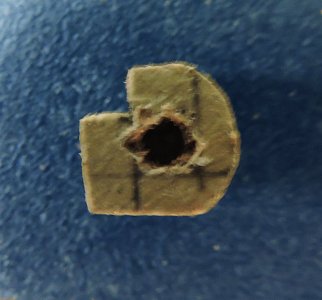
Good morning time for another class in model ship building today we will be making the end piece of the railing shown in the above post. Throughout the build i used cardboard from product packaging to make templates and for larger pieces that works out fine. For small delicate pieces where accuracy is important i switch from cardboard to plastic for making patterns. The plastic i use is from food containers.

rail23.jpg

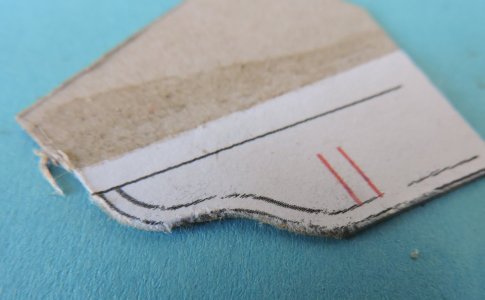
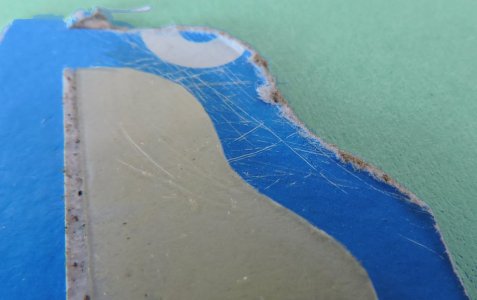
the problem with cardboard is the difficulty of getting a clean edge no matter how sharp the blade is.


rail24.jpg

In comparison using plastic and cardboard as you can see you get a very sharp edge and the plastic is stiffer. you cannot sand cardboard the edge rolls but you can sand plastic.

rail25.jpg
 
Last edited:
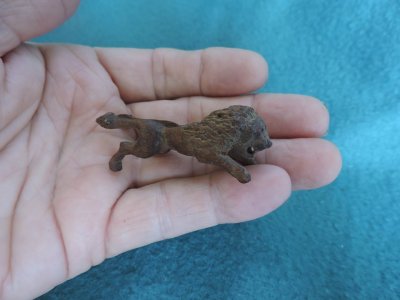
I have read posts where only very close grain wood should be used such as fruit woods Boxwood and other close grain hardwoods. There is some truth to this, but it is not a hard rule, i use Walnut, Cherry, Hard Maple, Hawthorn and others i find locally. Here is a lion figurehead i carver from Walnut.

DSCN8398.jpg

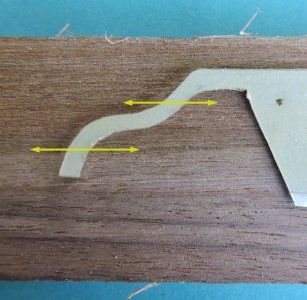
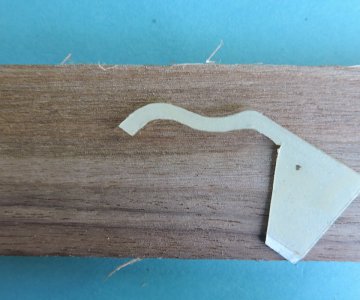
Getting back to the railing piece watch how you place the pattern on the wood. you do not want the grain crossing the piece because your setting yourself up for a break.

rail26.jpg

Try to set the pattern so you get the longest run of the grain.

rail27.jpg
 
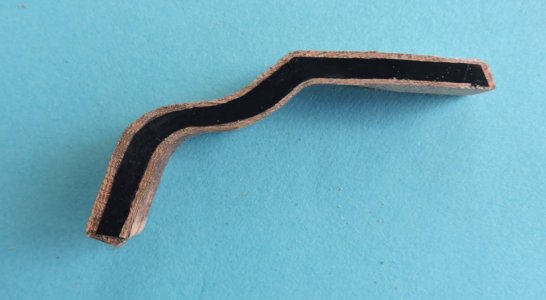
i never trace a pattern with a pencil because it is the inside of the line you cut to so as you approach the final edge the pencil line is getting thinner and thinner. i will use electrical tape or masking tape to trace the shape. I gives me a clear sharp edge to work to.

rail28.jpg

One edge at a time i cut and finished the inside edge flipped the wood over and took a peek at both sides.


rail29.jpgrail30.jpg

Or cut the piece out rough and finish it as one pieces working both edges.

rail31.jpg
 
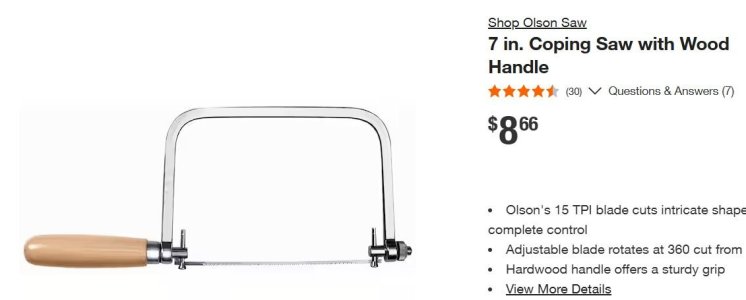
You may say to yourself "but i do not have a scroll saw or small bandsaw so fabricating pieces are beyond my available tools." That is not so! if your just starting out with a limited number of tools to cut this piece out all you need is this. As you grow in the hobby over time you can build up your tool chest.

a saw Capture.JPG
 
Last edited:
what we have here is the 3 different genres of model ship building. first is the hobby kit building for this part you find it in the box and glue it in place done. The semi scratch builder finds a piece of dimensioned wood sized for the part, you have to take the shape from a provided drawing and fabricate the part, a scratch builder has to first draw the part, go in the shop and cut and dimension a pieces of wood and fabricate the part.

model ship building requires you to teach yourself the finer skills of wood working, what is wrong in this picture? The oops! is the upper curve it is to narrow. Yes, it is a mistake and at the very end of the fabrication of the piece. i see it and chances are no one else will notice it when viewing the overall model. but i know it is there so do i start over?


rail33A.jpg

Yes i start again remember the second time around is always better. My long goal is to improve and hone my skills so the next project is better than the one before it.

rail33.jpg

now i am satisfied with the results and moving on to the second one for the other railing. I always consider the first try as a test if it comes out right then great! if not so what it was just a test.

rail34.jpg
 
When adding a piece to the model there are no second chances or if you do mess up the entire railing has to be replaced. That is the thrill of the build the rush of "i did it" so you carefully plan your move take care in every cut, focus on the task at hand knowing a mistake here can be costly in time and redoing.

first mark and cut the piece to fit the model

rail35.jpg

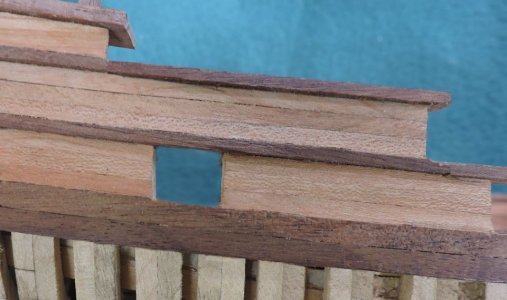
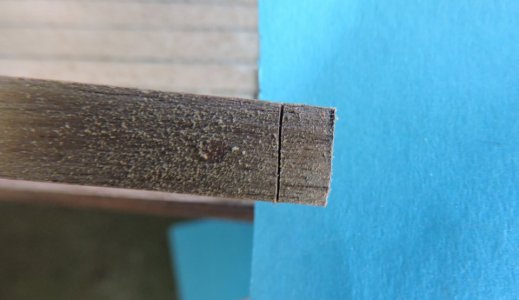
The joinery here will be a lap joint so once you cut the piece to fit scribe a line and deepen it to make a stop cut.


rail36.jpg

rail37.jpg

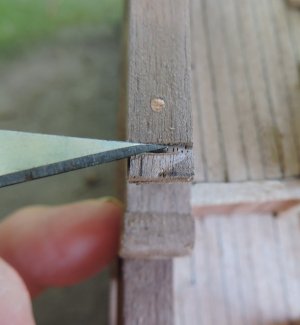
you do not want to slip and chip the railing or cut beyond the stop cut so to insure your joinery cut a V toward the stop cut.

rail38.jpg

now cut outward not inward this way there is no chance of messing up the installed railing

rail39.jpg

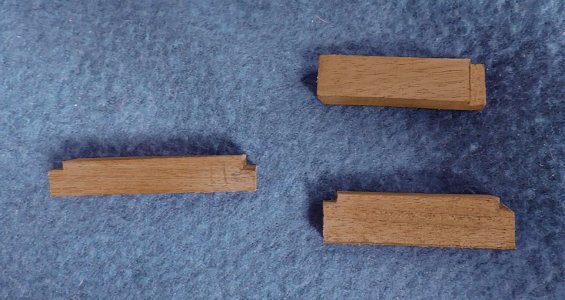
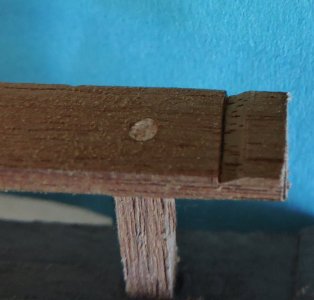
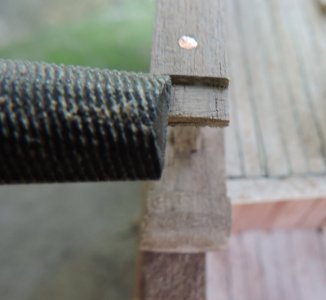
A file will flatten out the joinery surface. You now have half the lap joint. You have to do the same on the end piece.

rail40.jpg
 
Last edited:
Back
Top