Follow along with the video below to see how to install our site as a web app on your home screen.
Note: This feature may not be available in some browsers.
Ships of Scale has incorportated an extra level of security when you log In. Please follow
on-screen prompts to acknowledge that you are not a robot via a "Check Box" or a "Pictorial Check Box Puzzle". This is needed due
to higher level of AI Activity Security.
The beloved Ships in Scale Magazine is back and charting a new course for 2026!
Discover new skills, new techniques, and new inspirations in every issue.
NOTE THAT OUR NEXT ISSUE WILL BE July/August 2026
Win a Free Custom Engraved Brass Coin!!!
As a way to introduce our brass coins to the community, we will raffle off a free coin during the month
of August. Follow link ABOVE for instructions for entering.
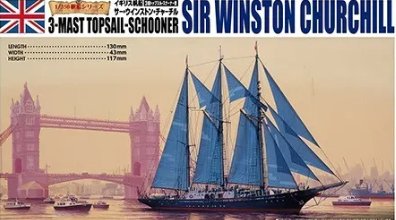
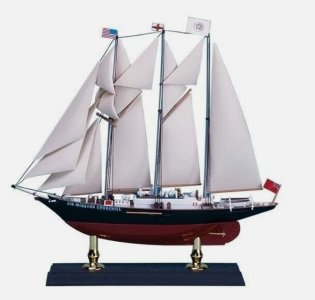
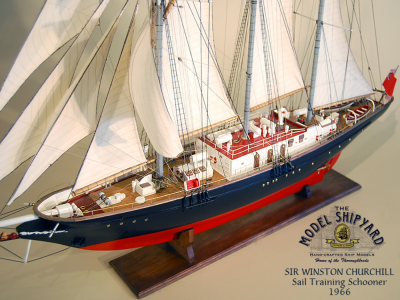
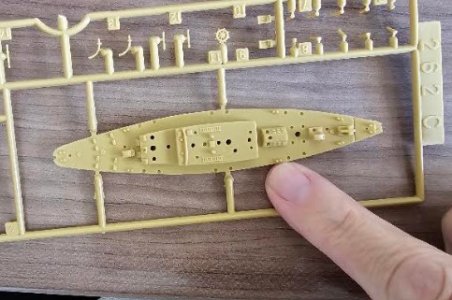
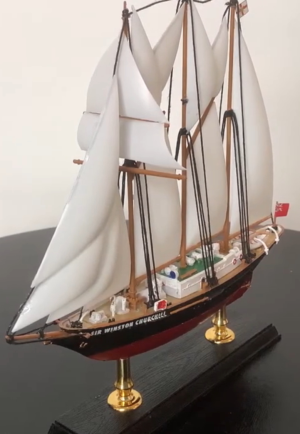
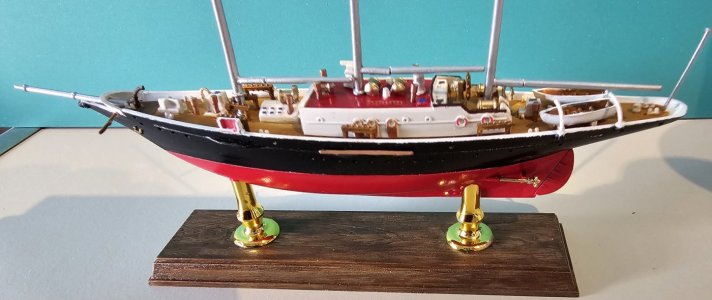
I think I will try to paint this model like the Model Shipyard photos here:
But given the size...some compromises will need to be made
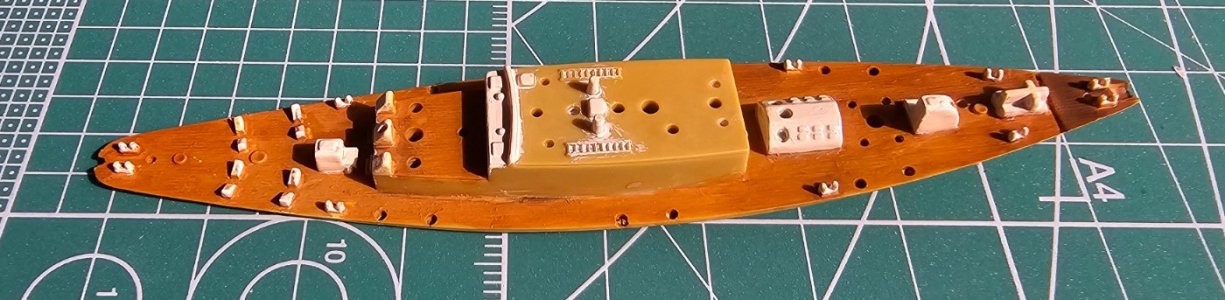
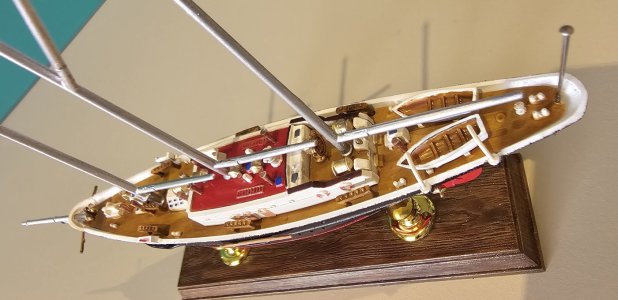
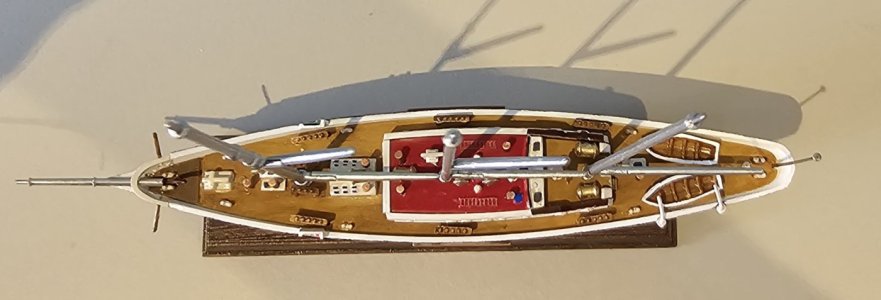
Most of these tiny raised things should be gloss white and the deck is wooden, of course.
I am thinking of a light spray of the entire deck in Tamiya gloss white so that the little pieces are done. Then hand brushing stynylrez on the deck before adding the lifecolor pigments for the wooden effect. There is some planking marked on the deck so thin coats of paint are required.
Although I sprayed the deck in white, to get the little bits, the paint pooled at the bottom where the part joins the deck. So I removed all paint to start again! These pieces are so small that a hairy brush is fine. So I went with painting the deck acoutrements white and will go back and add stynlyrez/Lifecolor afterwards.
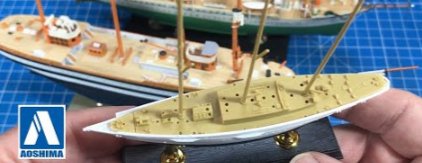
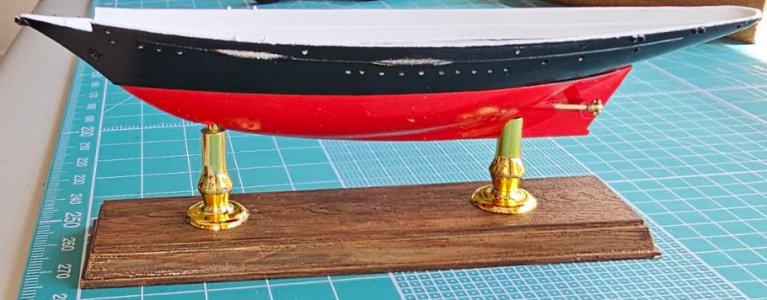
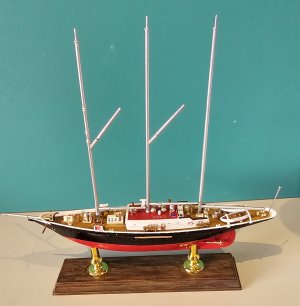
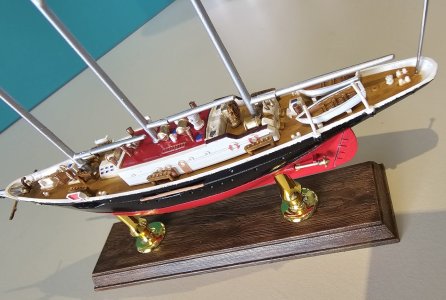
I did spray the hull parts (red and black) and I worked on the black plastic base. It has some wood grain texture and the stynlyrez + lifecolor pigments did its magic! It really looks like a wooden base!
Some touchup required tomorrow.
Also - Harry Houdini has prompted (challenged?) me to try to replace the vacuform sails with material ones. This will be new for me!
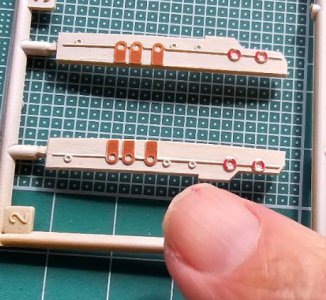
I was a bit concerned about the tiny doors and tine life preservers. But Posca Pens came to the rescue! I was surprised that they, as water-based (?) acrylics, were sticking to the gloss white enamel..but they did! And they gave me enugh control to paint the tiny pieces quite well.
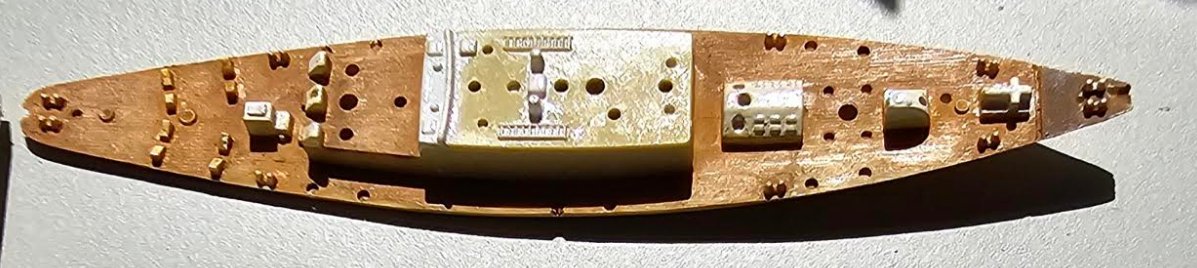
And I have started on the deck. It looks better than this picture, taken in bright sunlight. More work to be done, in any case.
I think the that the vacuformed sails look particularly bad because they are too full of air, too much billowed. Maybe I'll put them on just hanging flat. I think that would look better especially at this scale...
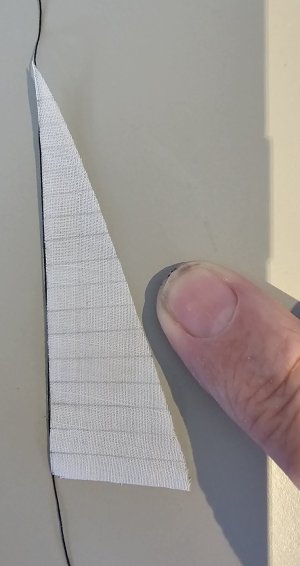
Now I have to make sails. I have an old handkerchief which is soft enough. A trial of the mizzen lateen came out OK....so I will try the rest over the weekend...
Now I have to make sails. I have an old handkerchief which is soft enough. A trial of the mizzen lateen came out OK....so I will try the rest over the weekend...
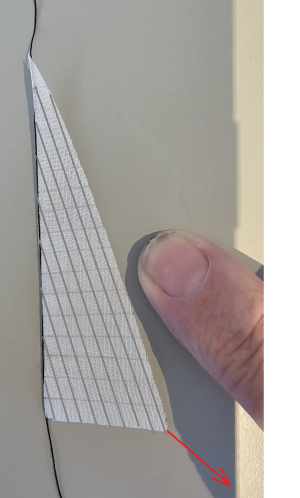
I would say your sail should look like this
.
The red arrow indicates the direction of the sheet - with the original stitching, it will tear your sail apart immediately.
PS
Remember your Junk and her sails...
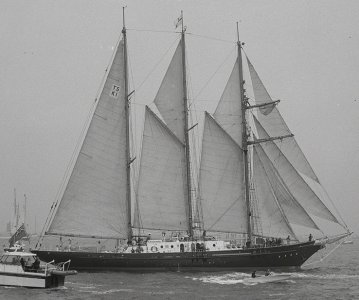
Thanks Boatman. I drew the lines based on phtos of the Sir W C but many people have pointed out that the stitching goes predominantly vertically. Usually. So I will go with that. But there are many pics of the real ship with stitching going at other angles.... strange!
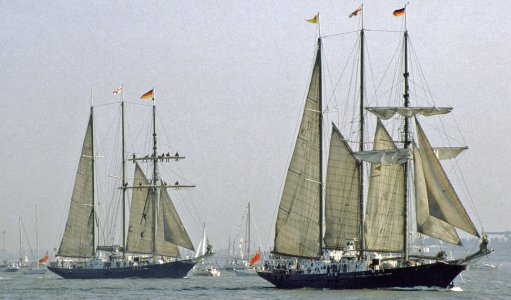
This pic is from Wikipedia. Not sure which ship is SWC - they are almost identical. The caption reads "Sir Winston Churchill and Malcolm Miller 1986 in Bremerhaven".
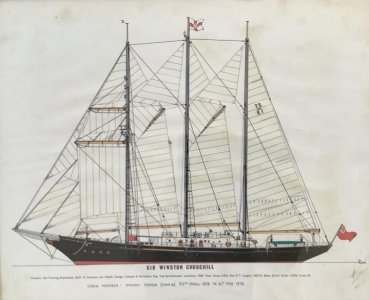
This is from the Royal Greenwich Museum. I will try to find out why the stitiching is more horizontal!
Of course, I had to ask my AI Ship noebook. Here is its answer (which makes sense and explains why builders of old ship models expected vertical seams)...
The difference in seam orientation comes down to a major shift in material science and aerodynamic load alignment between traditional historical sailmaking and 20th-century vessels like the Sir Winston Churchill (launched in 1966). 1. Why Historical Sails Had Vertical Seams
On traditional sailing ships (from 16th-century galleons to 19th-century frigates and clippers), sails were sewn with vertical seams running from head to foot:
Natural Canvas Limitations: Traditional sailcloth was woven from natural flax, hemp, or cotton into long, narrow bolts typically 18 to 28 inches wide. In hand-woven natural fibers, the warp (the long threads running the length of the bolt) was significantly stronger and stretched much less than the crosswise fill threads.
Vertical Load Paths: On square sails and traditional gaff sails, the primary strain caused by the sail's own weight and halyard tension ran vertically from the yard down to the foot.
Preventing "Bagging": Joining narrow vertical panels aligned the strong warp threads directly with this vertical pull, keeping the sail from stretching out of shape or "bagging".
2. Why the Sir Winston Churchill Uses Horizontal & Diagonal Seams
The Sir Winston Churchill was built as a modern sail-training schooner in the mid-1960s, equipped with synthetic sailcloth (such as Dacron/Terylene) and modern fore-and-aft sail design:
Synthetic Sailcloth: Unlike natural flax, synthetic woven materials do not absorb water or stretch unevenly. This gave 20th-century sailmakers the freedom to orient panels purely based on aerodynamic stress lines rather than fabric bolt width.
The Leech Load Line (Cross-Cut / Horizontal Seams): On fore-and-aft sails (like Bermudan mainsails and gaff topsails), the highest wind load does not run top-to-bottom—it runs along the leech (the trailing edge from the top corner down to the rear bottom corner/clew).
By orienting the seams horizontally (cross-cut), the fabric's strongest thread axis is placed perpendicular to the leech, directly resisting the heavy tension pulling along the trailing edge.
The Mitre Cut (Diagonal Seams on Staysails & Jibs): On triangular staysails and headsails, you will notice a seam running diagonally from the clew (bottom-rear corner) to the front edge (luff).
Seams above this diagonal "mitre line" run perpendicular to the rear edge (leech), while seams below run perpendicular to the bottom edge (foot).
This mitre cut radiates the immense pulling force of the sheet line directly along the thread lines from the clew corner, keeping the staysail completely flat and efficient when sailing close to the wind.
Summary for Your Model
Traditional Square-Riggers / Historic Galleons: Vertical seams (driven by flax canvas strength along the vertical hanging load).
Modern Schooners (Sir Winston Churchill): Horizontal / Cross-Cut & Diagonal Mitre-Cut seams (driven by synthetic materials and aligning threads with the heavy load pulling back to the clew).