Soldering techniques

Joined
Dec 26, 2019
Messages
1,526
Points
488

Location
Miami
Hello @Bluebeard. I looked but it seems I did not take a picture. But it's not tricky. I simply wrapped the brass around the pin that I was using as the pintel. I then grabbed the brass strip (still wrapped on the pin) with a tweezers with very thin blades and bent out the brass arms to the left and right. I could then bend those arms to the rudder or the sternpost.

Several thoughts: the masters all solder these hinges but I have not tried that and was concerned I would make a mess of it at this scale. What you see in my log is the result after many failed attempts. What eventually won the day for me was finding/using brass that was thin enough that I could bend it with precision yet thick enough to hold its shape once I had bent it the way I wanted it. I ended up using 0.005 brass shim stock. I could cut it with a utility knife and it met these criteria. Once I started using this material the magic happened: nice tidy hinges with no soldering.

Hope this helps. I could recreate the process and take pictures if that would be better...

Thank You Dockattner for the input.
Today I went out and bought a soldering gun and tried again and just like you said....it was a mess.
So I will give your method a try. I do have the thin brass.
Now I have a light at the end of the tunnel.
Thanks buddy.
FB2F209E-F381-4545-A416-35EAF1012E44.jpeg
 
@Bluebeard I don't pretend to be a guru in soldiering, but if I may, to give some suggestions and general guidelines (rules)
  • The most important rule, IMHO soldering parts, I should say soldering surface, MUST have to be absolutely clean. Brass has a tendency to oxidize, and a simple decrease such as alcohol will not gonna work. You will need to use a sandpaper\emery stick to remove the oxidation layer. After that, you still want to remove the grease.
  • Second, not less important is - the soldering surfaces MUST be as close as possible together, with absolutely no gaps! this is critical, as melted solder will stop flowing if there any gaps.
  • Find a good flux for the solder you will use. They are all different, for different metals and temperatures. I use 'Forney' brand (pink liquid) 38120
  • The main goal is to learn to control the temperature.
Check Olga's video @shipphotographer.com
 
Thank You Jimsky for the info.
Yes, I did all of the steps you mentioned but I couldn’t keep the parts together therefore leaving some gaps I guess.
I will look into the video link you sent and also for the flux you mentioned.
I know with lots if trying and efforts I will get there.
I appreciate your input.
 
Last edited:
@dockattner Sorry Paul for hijacking your thread

One more thing I forgot to add, is the soldering iron. Different thicknesses in the material required different heat but the soldering melting point will be the same. For thicker parts, you will need more preheat, more power. Evenly heat the surface, but more heat has to go only where the solder will go. Here I found the link from one of our member @maywiyj and his metalsmith work (a must-see)!!!


Jimsky and Gennaro:
Thank you for the very instructive video. I followed it to the tee and “walla”, I DID IT, super easy.
You guys are great.
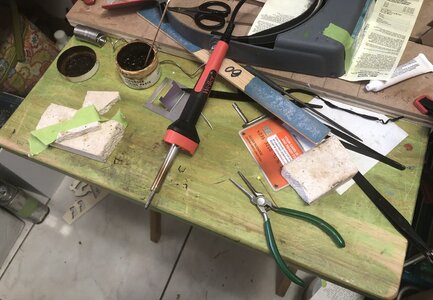
Here is what I used:
D25128D3-3BB1-4C95-9361-EA076BF970F7.jpeg
0278234B-5806-4B24-8856-835298A416B5.jpeg
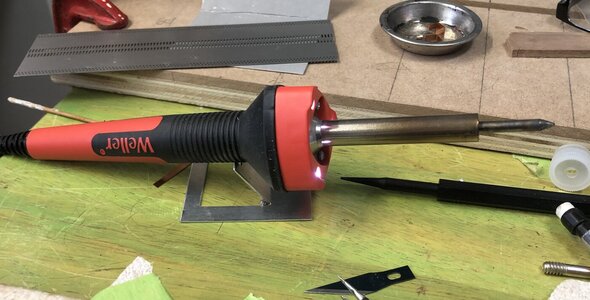
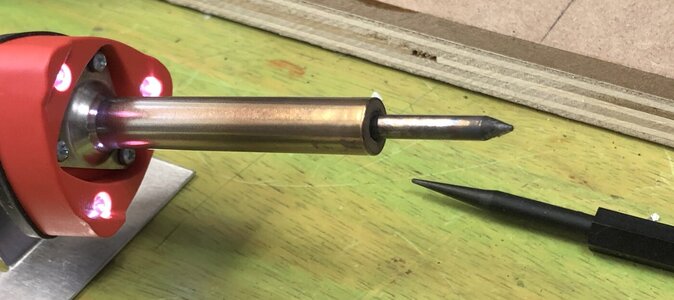
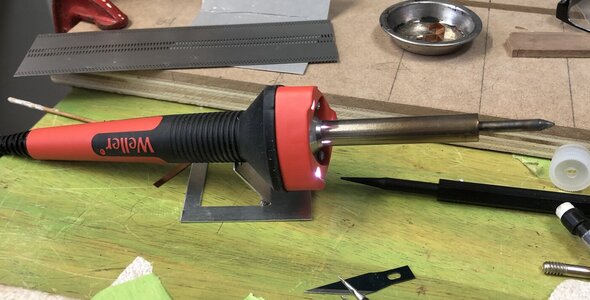
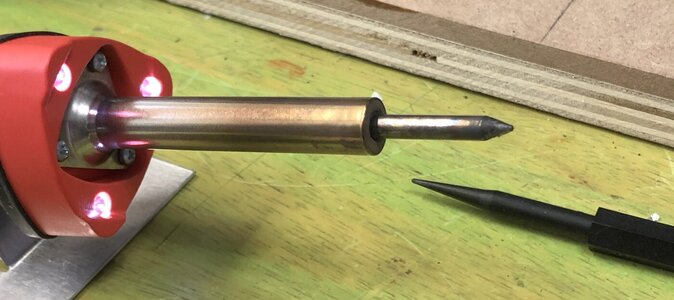
Fine tip soldering gun
C72C709A-1E7A-4CBC-98F5-4F33630DD48F.jpeg
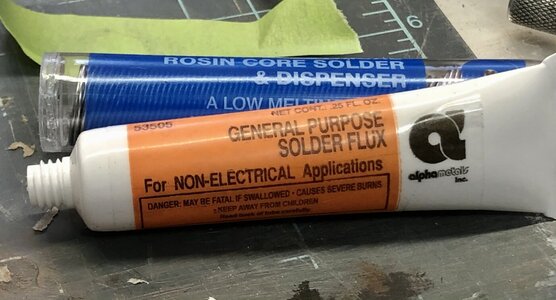
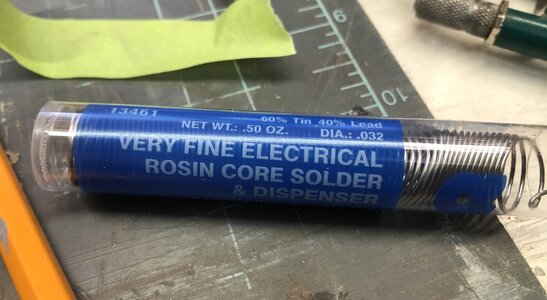
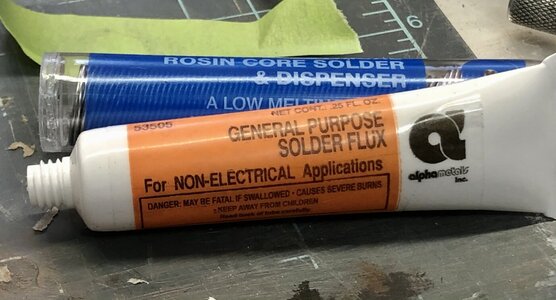
Fine resin core solder and liquid general purpose flux
 
I’m creating a step by step process in case there is another guy like me. Will post it soon.
Should I post it here or should I start a new thread under the title Soldering Small Parts?
 
Perfect I think I already received a link.
I think is a great idea to have a separate thread for soldering only.
I have receive great inputs from the guys.
 
After receiving many suggestions from you guys, I finally learned an easy way to solder my rudder hinges.
To me it was a very frustrating thing to do until I saw the video that Jimsky sent me. I highly recommended to all because that’s how I learned what I’m about to show with all of the steps I took.
So here we go:

1st Step.
You should purchase a “Fine Tip” soldering gun. This one I bought from a True Value Store.
7D718FFA-39BC-4F21-B454-74A6220449B4.jpegA7FF60FA-8061-497D-A164-5F3A870590F3.jpeg
 
Last edited:
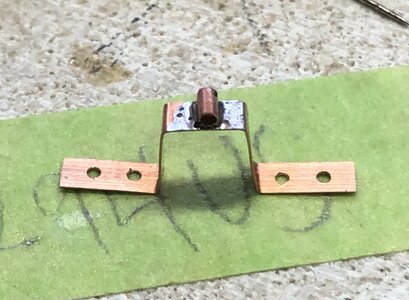
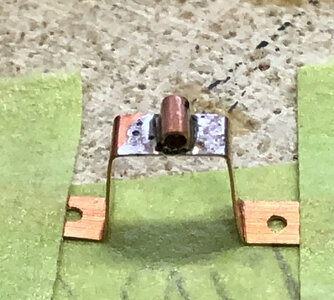
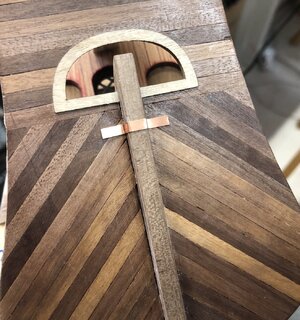
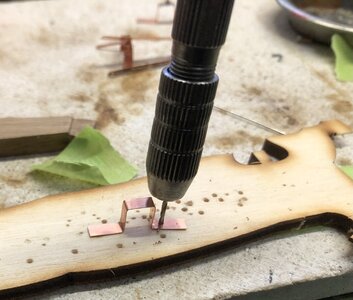
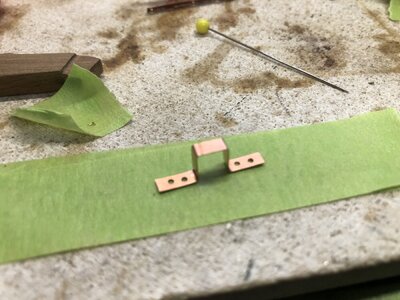
I start shaping my Gudgeons by copying the contour of the keel.
The Gudgeons are the easiest ones and will train you for the Pintles.

9CDC4BF8-658A-4790-A072-147292239C33.jpeg
 
Last edited:
Back
Top