-

Win a Free Custom Engraved Brass Coin!!!
As a way to introduce our brass coins to the community, we will raffle off a free coin during the month of August. Follow link ABOVE for instructions for entering.
-

PRE-ORDER SHIPS IN SCALE TODAY!
The beloved Ships in Scale Magazine is back and charting a new course for 2026!
Discover new skills, new techniques, and new inspirations in every issue.
NOTE THAT OUR FIRST ISSUE WILL BE JAN/FEB 2026
You are using an out of date browser. It may not display this or other websites correctly.
You should upgrade or use an alternative browser.
You should upgrade or use an alternative browser.
Soldering techniques
- Thread starter Bluebeard
- Start date
- Watchers 7
-
- Tags
- soldering techniques
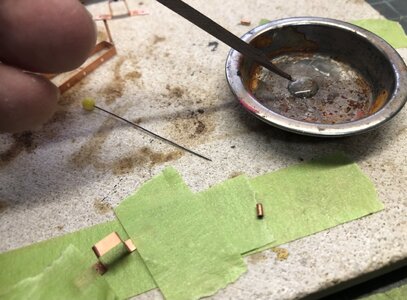
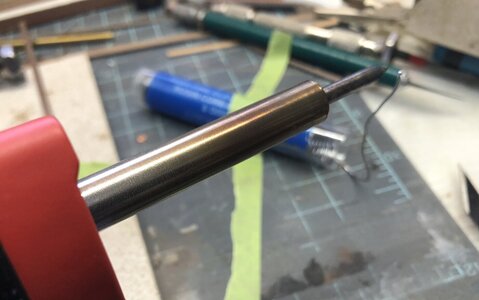
Now that your gun is hot and ready, touch the top of the gun to the flux and rapidly touch your solder.
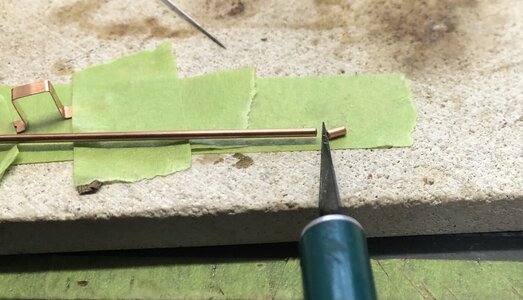
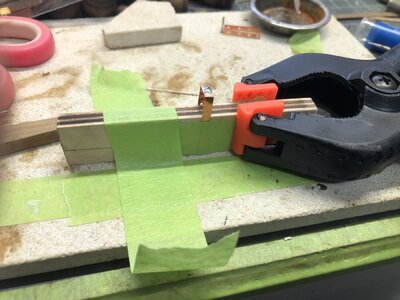
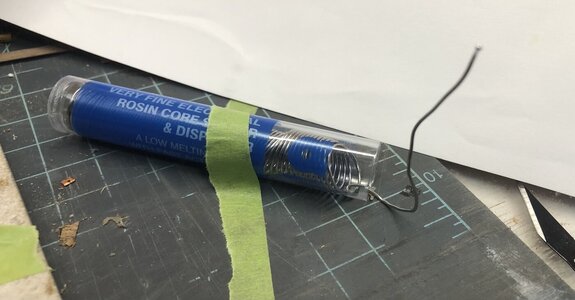
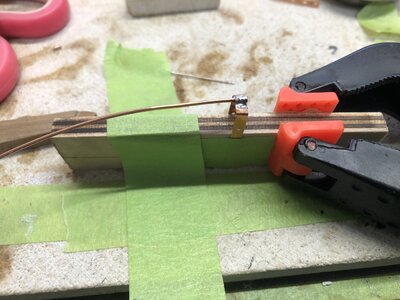
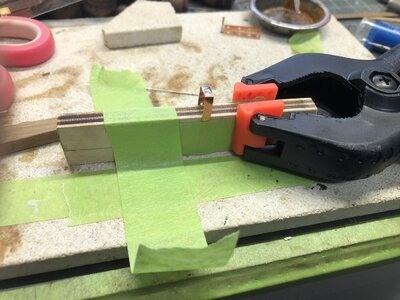
As you can see here I taped the soldering material to the table so it wouldn’t move.
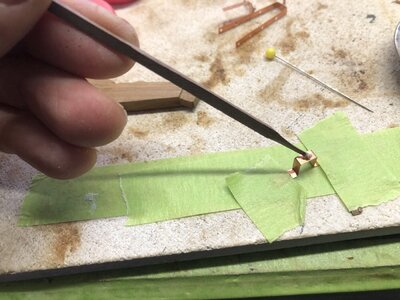
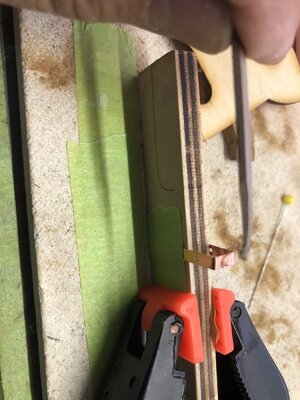
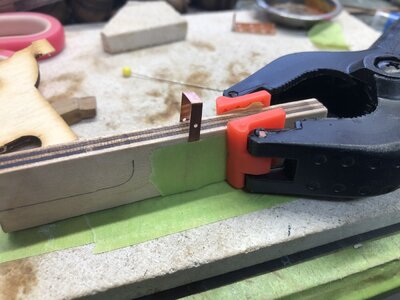
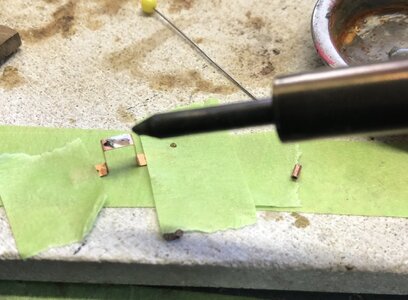
After I got just a bit of solder in the gun I pass it to the already fluxed hinge.
I like to thank PoulD who recommended to keep the tip of the gun always clean with a wet sponge or brass wool.
As you can see here I taped the soldering material to the table so it wouldn’t move.
After I got just a bit of solder in the gun I pass it to the already fluxed hinge.


I like to thank PoulD who recommended to keep the tip of the gun always clean with a wet sponge or brass wool.
Last edited:
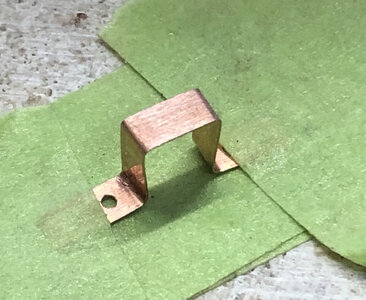
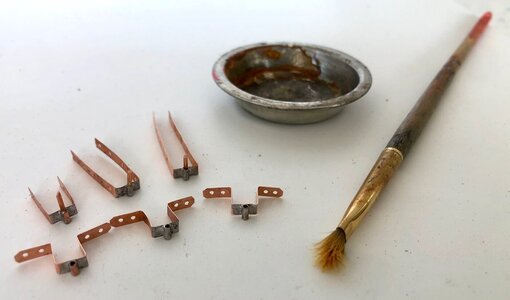
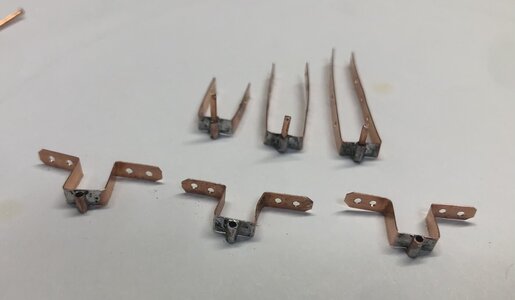
The Pintles are done with the same process.
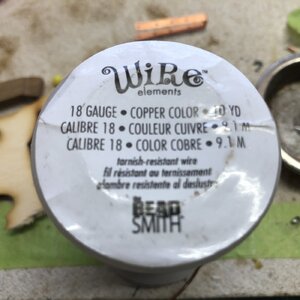
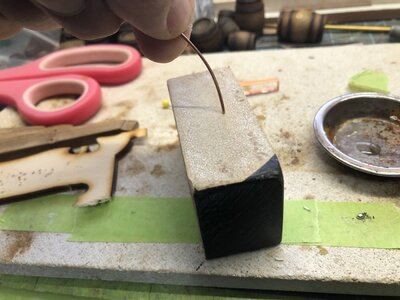
Only difference will be to add a small amount of solder on the wire after is inserted in the tubing.
The solder will flow inside therefore giving the half of the Pintle.
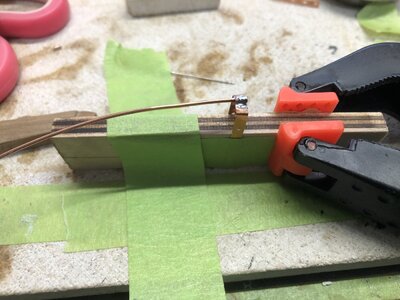
After that, just place the tubbing with the wire on top of the hinge and solder.
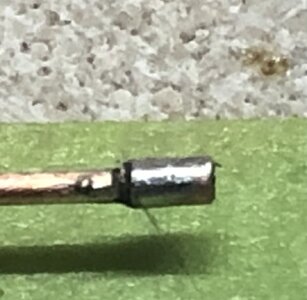
Then I cut the pin just a bit bigger than what is needed. I also cut off the tips of the Gudgeons only. This is something that it looked good to me, but don’t know if it is accurate. I didn’t cut off the tips of the Pintles dough....maybe I should...or someone could correct me on this.


Last edited:
Looks very good, Ken!! Now, once you grasp the basics, time to master it. To avoid solder spread all over the place, next time put solder on the tubing piece and then heat the 'T' bar part. Recall...solder will go where the highest heat is. This is called controlling the solder. Try it next time.
The excess solder you will have to scrape, depending on the blackening solution you will use, may not adhere to the solder. I guess you may need to experiment...
The excess solder you will have to scrape, depending on the blackening solution you will use, may not adhere to the solder. I guess you may need to experiment...
Zoom in a little bit closer. I can't see the atoms.
Ahh..... THERE it is...Darivs:
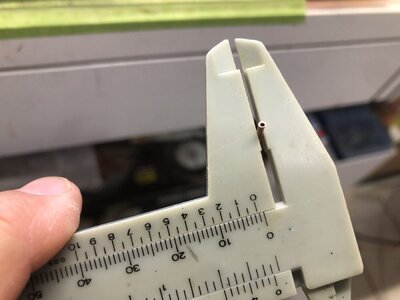
It was kind of hard to look for a microscope and zoom a bit closer but I did.
So here is the atom picture you ask for.
View attachment 219151
A couple of comments on soldering.
There are basically two types solder. Lead free (RoHS) solder requires higher temperatures ~215C and requires that all parts to be soldered are very clean and grease free. Lead based solder requires a lower temperature ~185C and is more forgiving on cleanness. You can also get by with a smaller soldering Iron with lead based solder. As for flux do not use acid based flux most of the paste type fluxes are acid based and needless to say the acid will cause issues with the models wood. Look for water based fluxes. In the photo the heavy coil of solder looks like 50/50 Plummer's solder. Don't even think about using it unless you are soldering copper pipe.
As for Lead free solder there is some evidence that this type of solder will "grow" whiskers over time. There is also evidence that the lead based solders have a much longer life. NASA does not use RoHS solder on anything that goes into space.
Jim
Using the principle that the solder will follow the flux, I use a paste type and apply it with a sharp toothpick end to only where I want solder to flow. Then I cut off a very small piece of the solder and with tweezers place it where I need the solder. Each piece needs to be firmly held in position so I use my small multi-arm device with the alligator clamps and additional clamps as need to grasp the parts and hole them in place without movement. OK . . now the flux followed by the solder piece are put in place and my small pointed soldering iron is applied gently touching the metal either under or beside it. The very small piece of solder quickly melts and goes where the flux was placed with very minimal overflow which makes cleanup very easy. Just my approach which I worked into from sloppy over soldered early attempts to the much smaller and cleaner result which will hopefully improve with more use. You may want to try this and see how it works for you. Good clamping is essential though so that things stay in place. Rich (PT-2)A couple of comments on soldering.
There are basically two types solder. Lead free (RoHS) solder requires higher temperatures ~215C and requires that all parts to be soldered are very clean and grease free. Lead based solder requires a lower temperature ~185C and is more forgiving on cleanness. You can also get by with a smaller soldering Iron with lead based solder. As for flux do not use acid based flux most of the paste type fluxes are acid based and needless to say the acid will cause issues with the models wood. Look for water based fluxes. In the photo the heavy coil of solder looks like 50/50 Plummer's solder. Don't even think about using it unless you are soldering copper pipe.
As for Lead free solder there is some evidence that this type of solder will "grow" whiskers over time. There is also evidence that the lead based solders have a much longer life. NASA does not use RoHS solder on anything that goes into space.
Jim
A couple of comments on soldering.
There are basically two types solder. Lead free (RoHS) solder requires higher temperatures ~215C and requires that all parts to be soldered are very clean and grease free. Lead based solder requires a lower temperature ~185C and is more forgiving on cleanness. You can also get by with a smaller soldering Iron with lead based solder. As for flux do not use acid based flux most of the paste type fluxes are acid based and needless to say the acid will cause issues with the models wood. Look for water based fluxes. In the photo the heavy coil of solder looks like 50/50 Plummer's solder. Don't even think about using it unless you are soldering copper pipe.
As for Lead free solder there is some evidence that this type of solder will "grow" whiskers over time. There is also evidence that the lead based solders have a much longer life. NASA does not use RoHS solder on anything that goes into space.
Jim
Jim
Excellent information.
Wow, there is so much to learn, but with this new info you are providing, the soldering procedure is more understandable.
Now I know the proper solder and flux to be looking for.
Thank You so much.
Julián
Using the principle that the solder will follow the flux, I use a paste type and apply it with a sharp toothpick end to only where I want solder to flow. Then I cut off a very small piece of the solder and with tweezers place it where I need the solder. Each piece needs to be firmly held in position so I use my small multi-arm device with the alligator clamps and additional clamps as need to grasp the parts and hole them in place without movement. OK . . now the flux followed by the solder piece are put in place and my small pointed soldering iron is applied gently touching the metal either under or beside it. The very small piece of solder quickly melts and goes where the flux was placed with very minimal overflow which makes cleanup very easy. Just my approach which I worked into from sloppy over soldered early attempts to the much smaller and cleaner result which will hopefully improve with more use. You may want to try this and see how it works for you. Good clamping is essential though so that things stay in place. Rich (PT-2)
PT-2
You sure know your soldering.
You guys have pour so much information in the subject that pretty soon I will gather all of it and write a book, it will be named...”Soldering for
Model Ship Builders”. LOL
Mmmmm....that’s not a bad idea after all.


