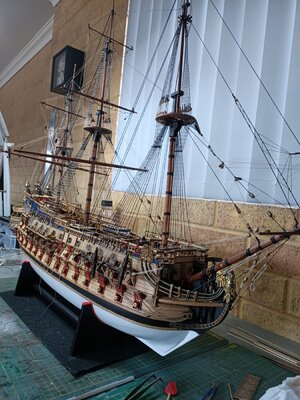
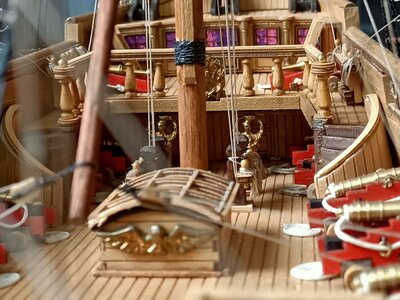
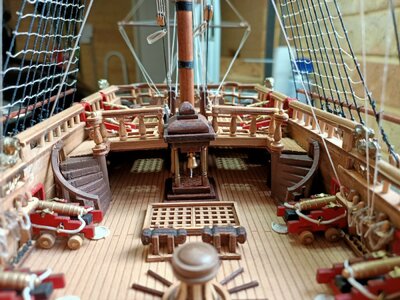
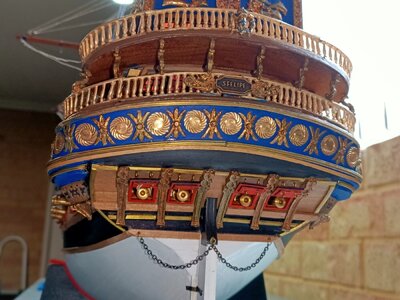
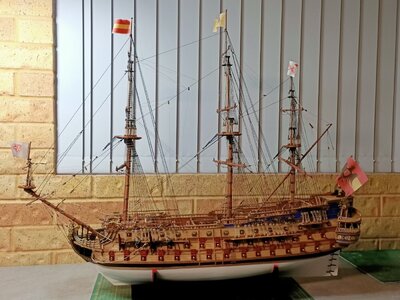
Sovereign of the Seas by Sergal - 1/78 Scale Kit Build.

Joined
May 7, 2023
Messages
56
Points
103

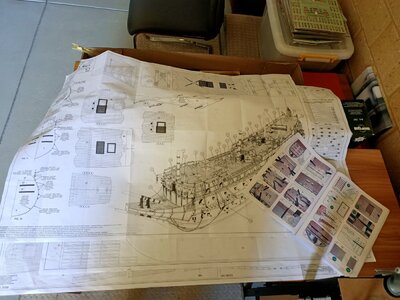
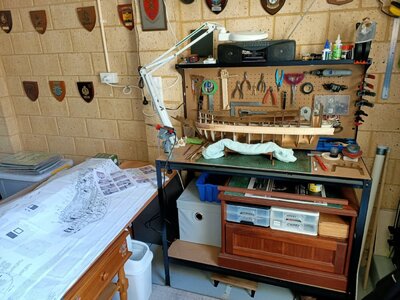
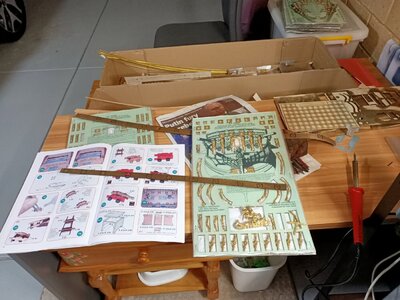
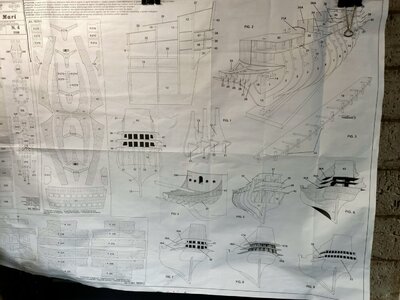
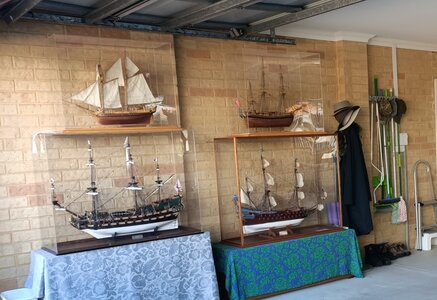
Hi guys. I started this build back in July and have been recording progress for family via smart phone. I have no excuse for not sharing it here with those that are invested in this crazy world of model building. So anyway without further a do I will embark upon this task now with considerable catch up that is required. As preamble I would disclose that I have built a lot of these wonderful models over the years of which many are displayed in other family members homes. Wooden ships are my passion but I have built several plastic WW2 ships as well as numerous Lego cars and star wars pieces. Needless to say there is a room factor creeping in these days and no I have never sold any of my models. I am certainly not an artisan and have never attempted a scratch build and I don't get excited about authenticity or political correctness of various brands of kits. This is the second Sergal kit I have built, the first being the San Felipe which was strictly kit built and turned out very nice. I note from many conversations that various modellers have some difficulty with "instructions" that Sergal supply. Do not follow it page by page, look ahead and cross reference with the plans and drawings. Might I be so bold as to say that the wonderful color mosaic supplied in these kits are exactly that, they are Not a set of sequential instructions. They are very handy but consultation with the plans and drawings are essential in consultation with the photos. My advice to anyone attempting something like this for the first time would be well advised to be thoroughly conversant with the book supplied, most of the questions you might have are indeed hidden in amongst the many detailed photos but definitely not in any particular order. As we all know these ships require a lot of forethought and planning to avoid the many pitfalls waiting to trap the unwary. Anyway, sermon over, here we start with first impressions which will be followed up shortly with the catch to the current state of affairs.
IMG20230627171127.jpg
 
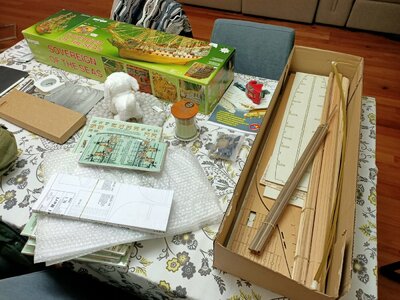
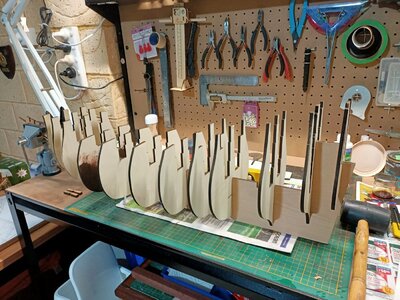
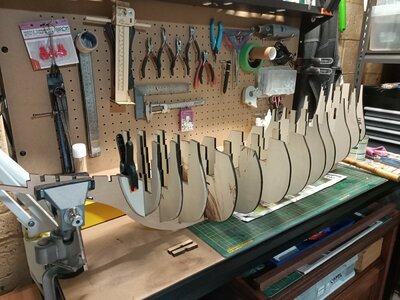
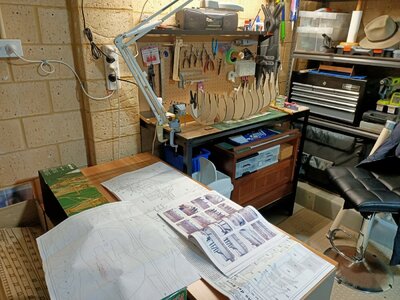
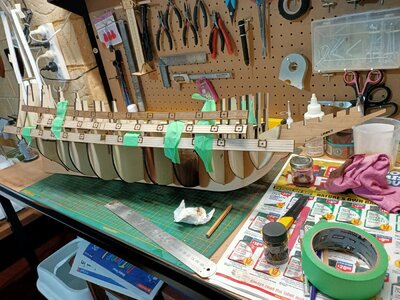
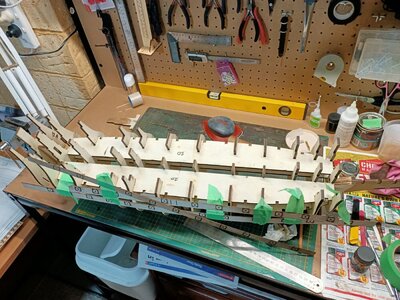
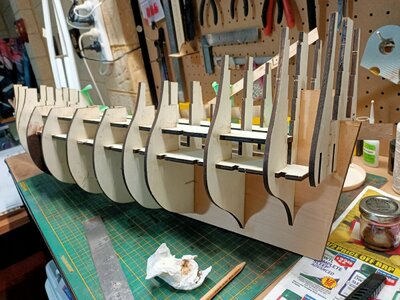
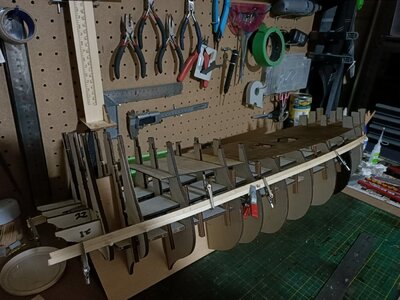
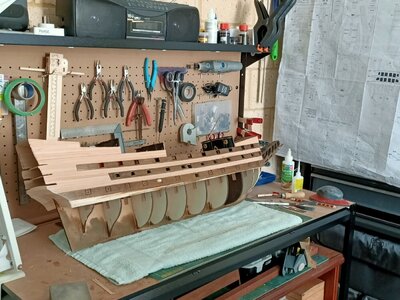
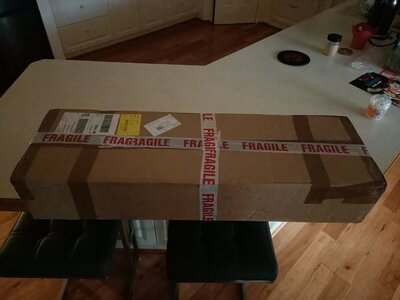
After considerable deliberation about my next project I finally decided on Sovereign of the seas. I did look closely at the various Soleil Royal kits as well but kept coming back to this one. I ordered it from GB and the process complete with Aus import duties was fairly seamless albeit a little hard on the budget. It came well packed and in tact and long anticipated unpack began. The kit is very similar to the San Felipe and has lots of stuff to peek the curiosity. The plans and drawing are nice but are not 1/1 so be ware. The building starts with the usual checking and reading into all the material supplied. The bulkheads and false keel all look as they should and are very tight fitting. Some adjustment was required to prevent any distortion related to forced fitting of joints. Also had close look at the mast steps and bowsprit cut into the false keel to make sure the appropriate size mast actually fits properly.
IMG20230627181955.jpg

IMG20230701164455.jpg

IMG20230701164507.jpg

IMG20230701164514.jpg
 
Last edited:
The false decks are likewise very firm fits. They do tell you to assist them into position with a hammer but care needs to taken not to introduce any twisting from over tight joints. Dry fitting and checking joint integrity and alignment is good practice at this point. Thinking ahead I started checking the alignment of the gun port backing locations that are notched into the decks.

IMG20230704095712.jpg

IMG20230704095721.jpg

IMG20230704095738.jpg
 
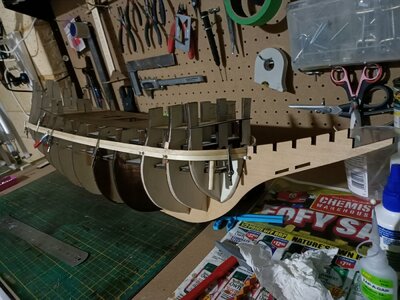
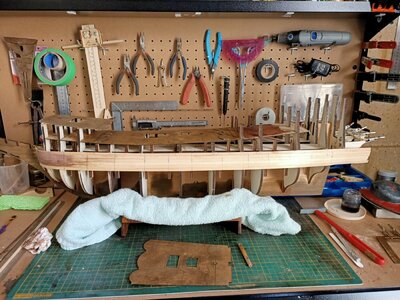
Tapering of bulk head and first planks on each side leaving plenty of room for stern works later, don't skint on extra plank at stern, extra can easily be trimmed but not enough is problematic. Decks dry fitted and some experimentation with the supplied stain. Also fitted the false gun backings provided and marked locations on outer hull planks. Everything otherwise seems satisfactory so far.

IMG20230708162709.jpg

IMG20230708162726.jpg

IMG20230716120934.jpg

IMG20230716120946.jpg

IMG20230716121010.jpg

IMG20230716121127.jpg

IMG20230716121135.jpg
 
Last edited:
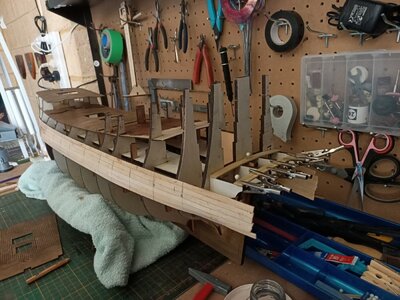
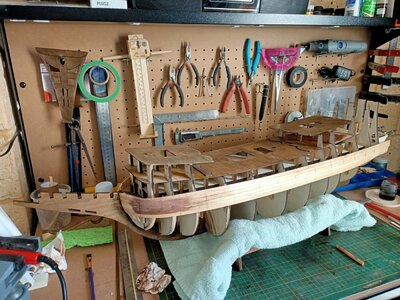
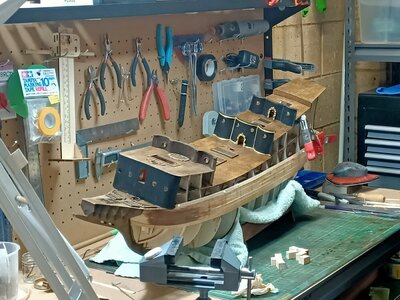
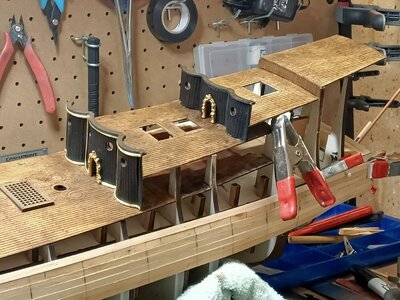
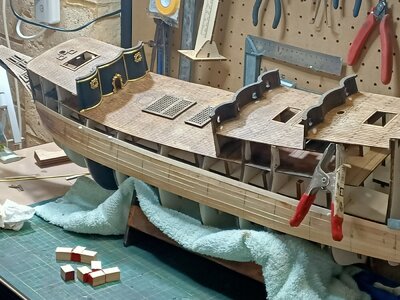
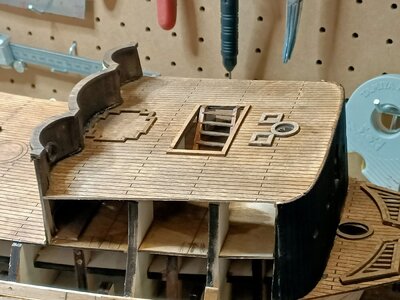
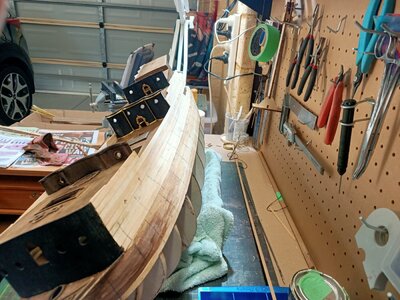
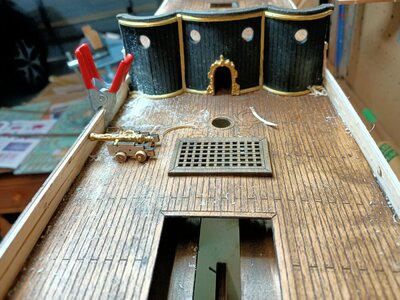
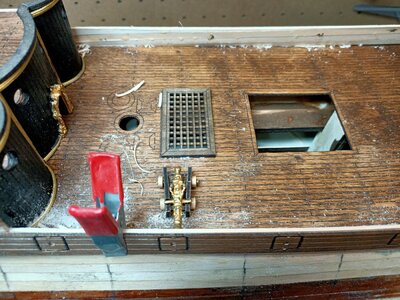
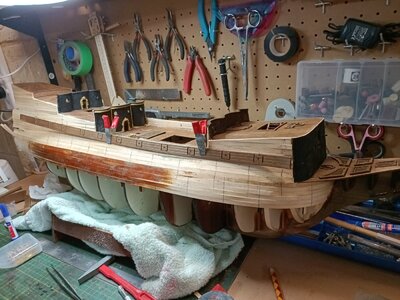
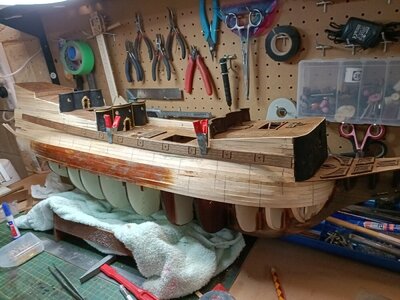
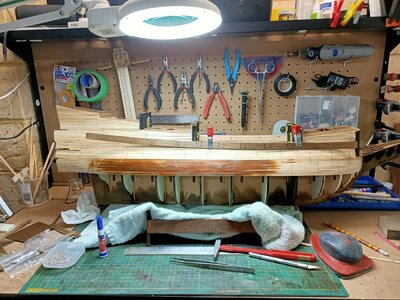
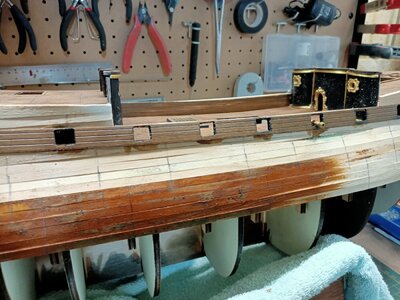
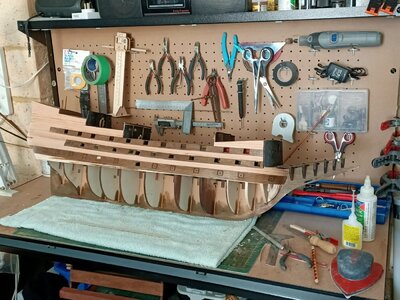
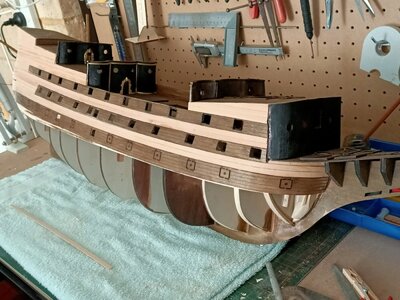
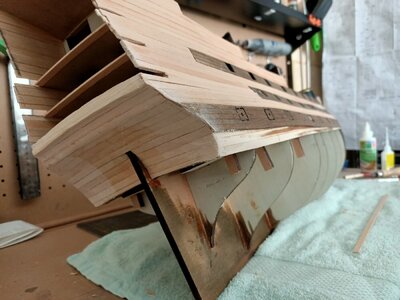
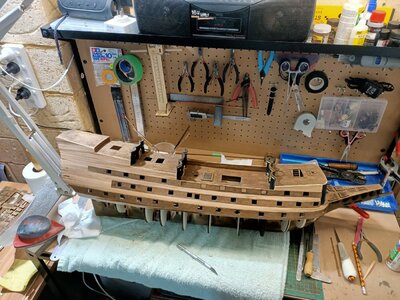
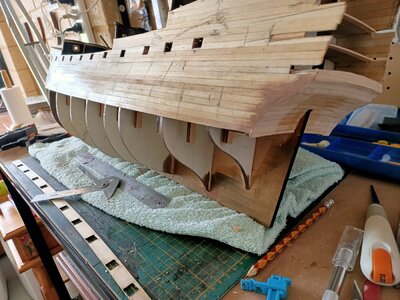
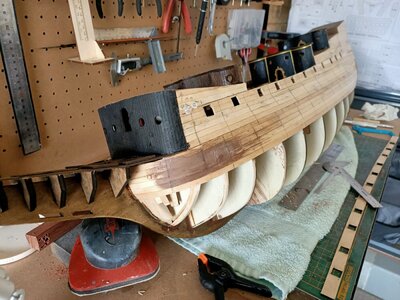
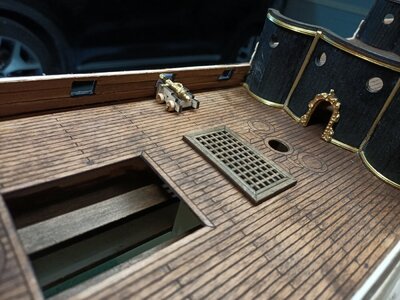
Moving on with catch up. Decks in place as well as the more tedious task of the upper bulk heads. Some decorations and deck works but the rest will wait till the hull is completed. The bending of of various pieces is achieved by simply using the fat shaft of a soldering iron. Car taken not to over cook them of course. Planked up to decks and marked false gun locations.

IMG20230807144857.jpg

IMG20230807144912.jpg

IMG20230807144927.jpg

IMG20230807144956.jpg

IMG20230807145022.jpg

IMG20230813104150.jpg
 
Moving on with catch up. Decks in place as well as the more tedious task of the upper bulk heads. Some decorations and deck works but the rest will wait till the hull is completed. The bending of of various pieces is achieved by simply using the fat shaft of a soldering iron. Car taken not to over cook them of course. Planked up to decks and marked false gun locations.

View attachment 397993

View attachment 397994

View attachment 397995

View attachment 397996

View attachment 397997

View attachment 397998
Good morning Linton. I will pull up a chair and follow your build. Looking very good so far. There are some amazing SOTS builds here in particular I refer your to Johns build (@oldflyer ) for you to use as a reference. Enjoy. Cheers Grant
 
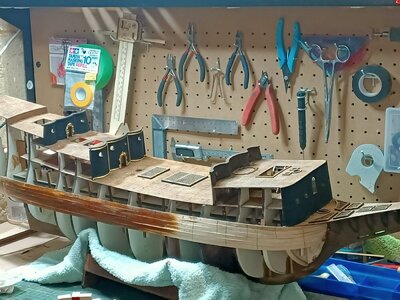
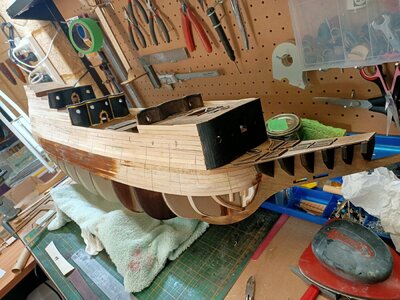
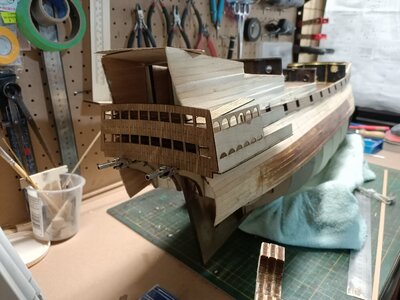
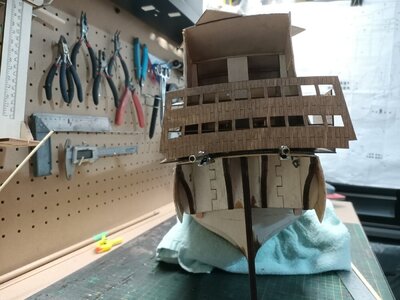
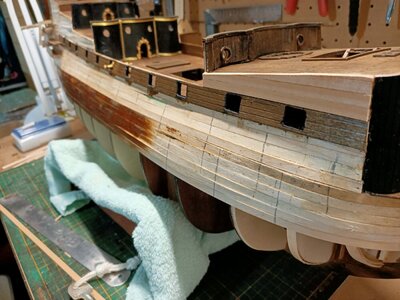
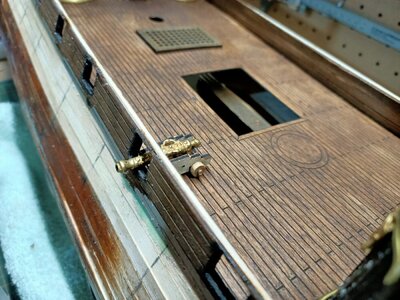
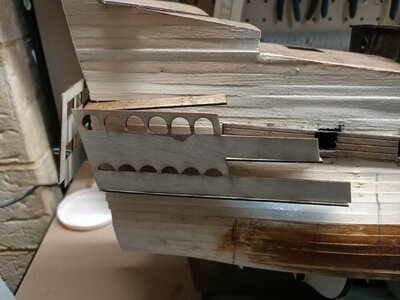
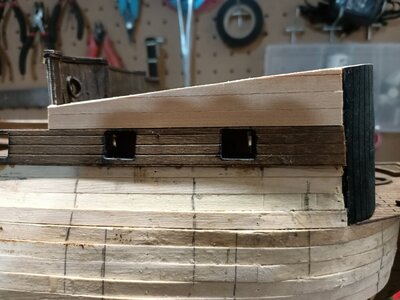
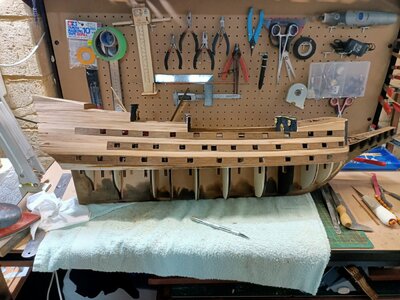
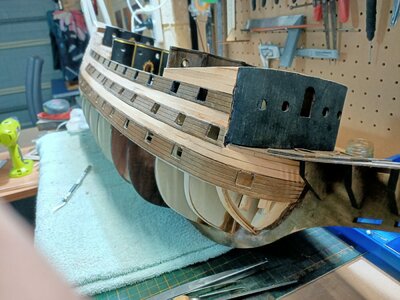
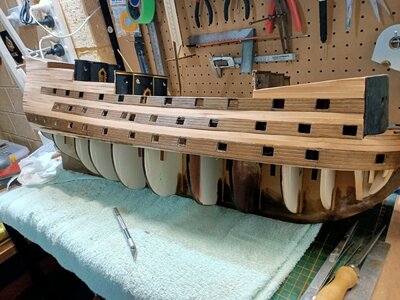
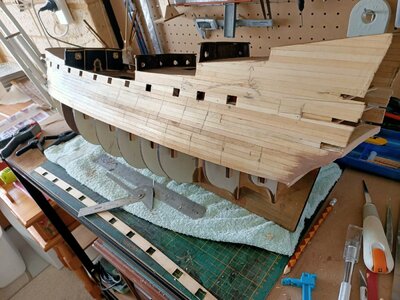
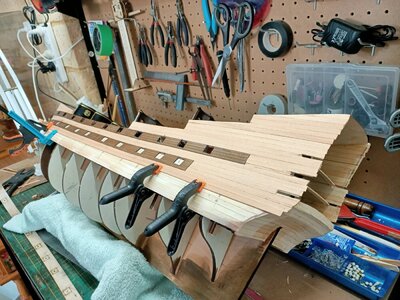
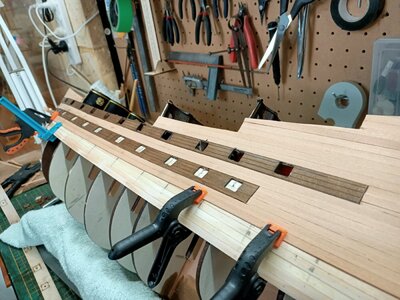
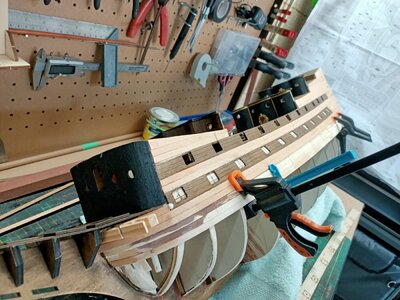
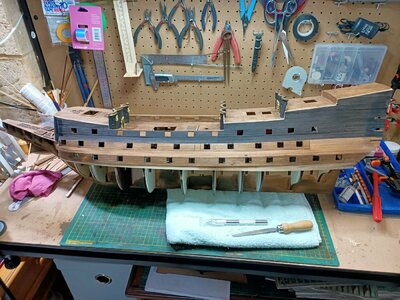
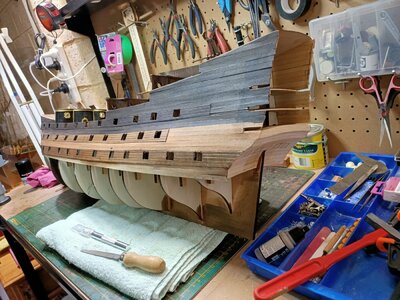
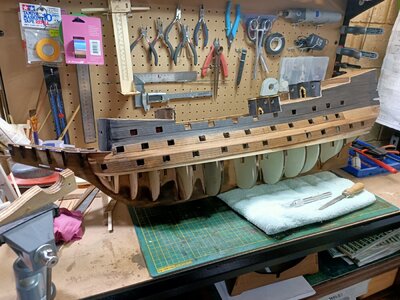
Continued on with the starboard side gun port and second planking. All the ports line up nicely with the backing for dummy guns. Stern planked in. My first oversight here... I discovered later that the I needed a little extra padding where the stern guns are to be placed, so removed a few planks and slid in a couple of pieces of wood to bring the guns out a little. Nothing out the ordinary so far.

IMG20230908114755 - Copy.jpg

IMG20230908114802 - Copy.jpg

IMG20230908114811 - Copy.jpg

IMG20230908115100.jpg
 
Back
Top