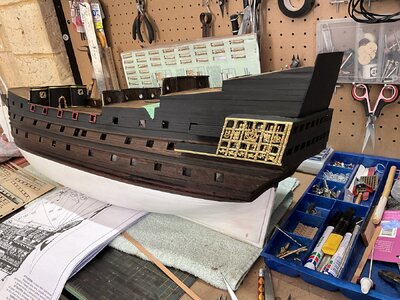
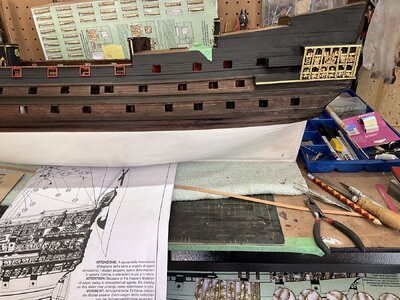
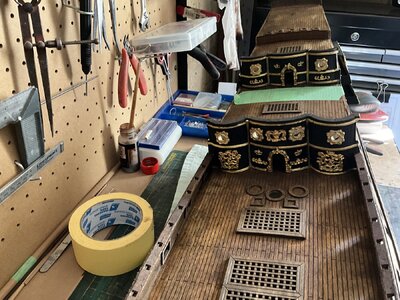
-

Win a Free Custom Engraved Brass Coin!!!
As a way to introduce our brass coins to the community, we will raffle off a free coin during the month of August. Follow link ABOVE for instructions for entering.
-

PRE-ORDER SHIPS IN SCALE TODAY!
The beloved Ships in Scale Magazine is back and charting a new course for 2026!
Discover new skills, new techniques, and new inspirations in every issue.
NOTE THAT OUR FIRST ISSUE WILL BE JAN/FEB 2026
You are using an out of date browser. It may not display this or other websites correctly.
You should upgrade or use an alternative browser.
You should upgrade or use an alternative browser.
Sovereign of the Seas by Sergal - 1/78 Scale Kit Build.
- Joined
- Feb 2, 2018
- Messages
- 126
- Points
- 183

Muy buen trabajo el que estás haciendo, seguiré tus pasos y te copiaré ya que acabo de empezar el mío
Very good job you are doing, I will follow your steps and copy you since I just started mine
Very good job you are doing, I will follow your steps and copy you since I just started mine
Last edited by a moderator:
I like the final colour of the wood very much - it is looking very realistic
- Joined
- May 7, 2023
- Messages
- 87
- Points
- 143

Inspiration was from a large framed picture of the Götheborg that I have at home. The colour and texture of a ship that has been at sea for extended periods.I like the final colour of the wood very much - it is looking very realistic
- Joined
- May 7, 2023
- Messages
- 87
- Points
- 143

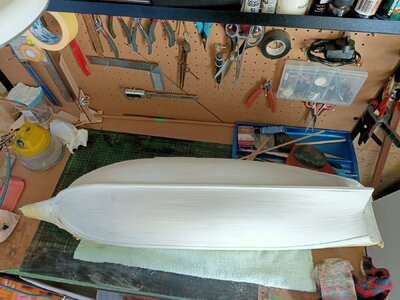
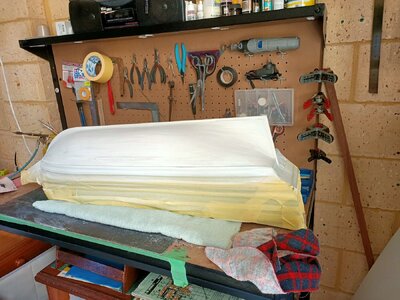
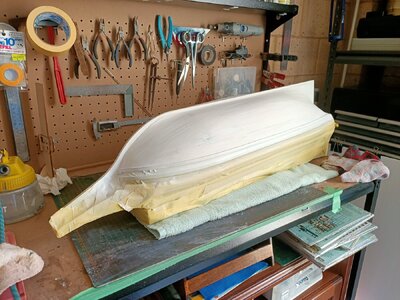
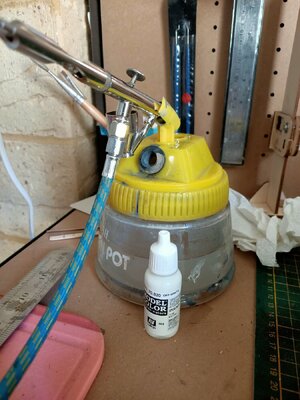
Hull preped for paint. Undercoated and sanded, light coat of filler rubbed over and smothed of with a sponge. Sanded again after it dried well. Tommorrow the airbrush will work its magic with some off white coats to finish hopefully. Using Vellejo model colour acrylic off white diluted down for the airbrush. Some previous models I've used flat white spray paint but in hindsight its much too white for the purpose. This stuff is quite yellowish so should look better.


- Joined
- May 7, 2023
- Messages
- 87
- Points
- 143

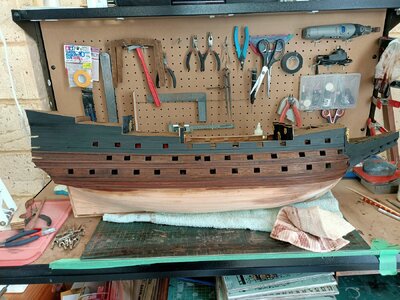
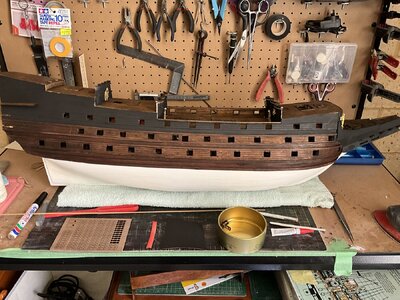
Checking stern pieces fitments, might start them soon, I’ve been avoiding it whilst hull work was still in progress. Starting with waste railings and inner gun port frames but I think I’ll finish decorating the facings before proceeding to avoid any possible damage to rails later on. Pretty happy with the hull in general at this stage, no big issues.
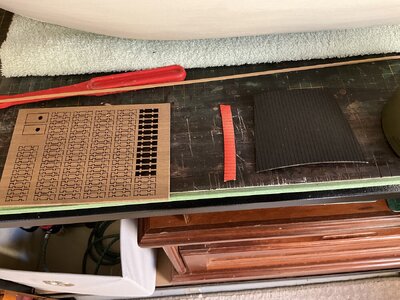
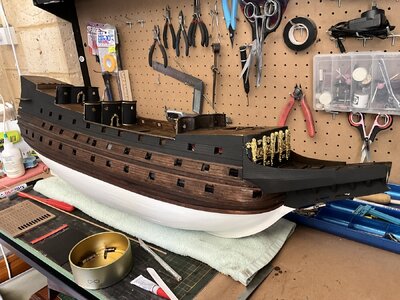
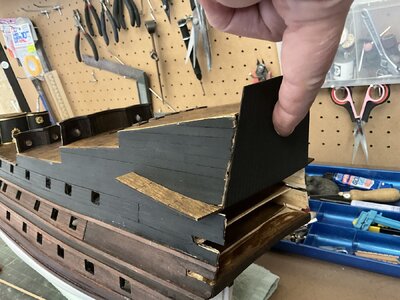


I thought transoms were planked horizontally. Were they planked vertically in some cases? The hull looks great so far, linton.
- Joined
- May 7, 2023
- Messages
- 87
- Points
- 143

The kit is full of technical errors of which I am aware but I just build for fun not necessarily historical accuracy. The upper transom will be pretty much covered in decoration when finished so the pre cut piece with the artificial planking will not be very visible anyway. The whole back end of the ship model does not look anything like the drawing etc in John McKays book. The bow sprit is another area of contention amongst builders. It was actually offset to the starboard side, rather than centred like most its contemporaries. A scratch build would be the only real way to achieve anything close to a realistic ship but that’s way out of my league.I thought transoms were planked horizontally. Were they planked vertically in some cases? The hull looks great so far, linton.
- Joined
- May 7, 2023
- Messages
- 87
- Points
- 143

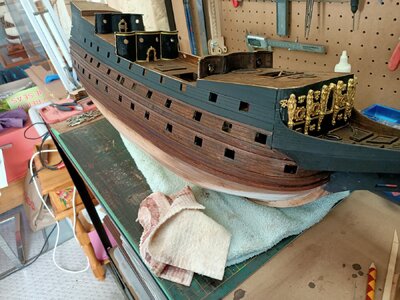
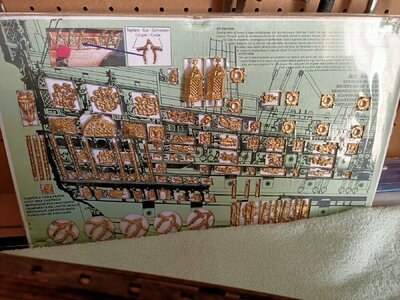
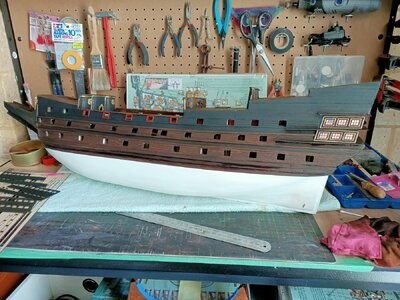
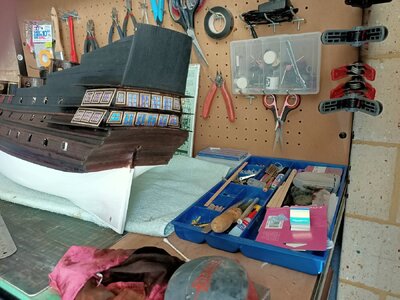
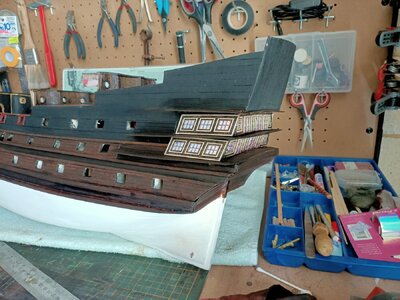
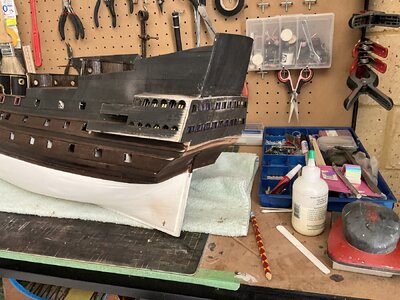
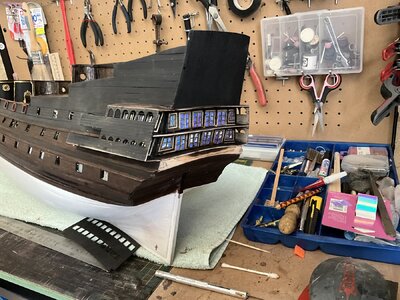
Stern area now taking shape dry fitting and adjusting windows. I used shiny craft tape for the windows. It looks different from each angle you view it from. Quite a good effect. I was toying with the idea of enlarging the lower windows on the side galleries but it becomes problematic with the decorations not fitting so they will stay as is. The only other issue arose with the transom. It didnt match precisely with the hull sides at the stern. Again some minor adjustments solved the issue.


- Joined
- May 7, 2023
- Messages
- 87
- Points
- 143

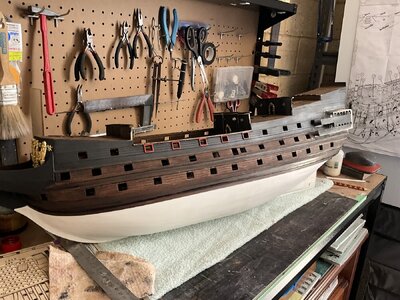
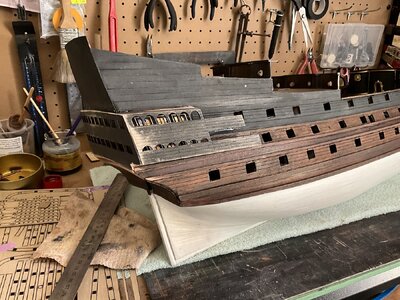
More work on the galleries. Sanded, trimmed and adjusted ready to paint later. Inevitably the pieces never quite fit where you would like and the plans and drawing are a bit vague on many Issues which required a bit of licence to fudge it with. I now notice that a couple of the lover wales don’t quite line up at the stern either, not sure whether I will correct it or leave it as it wont be obvious when completed.
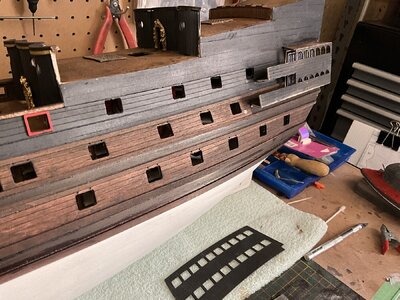
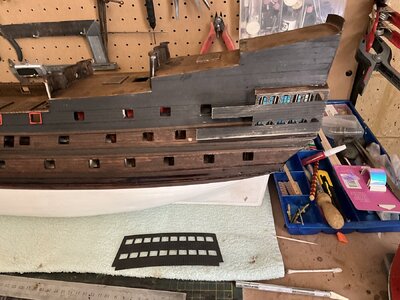


I am following along in disbelief. You are doing a magnificent job!
Bill
Bill
- Joined
- May 7, 2023
- Messages
- 87
- Points
- 143

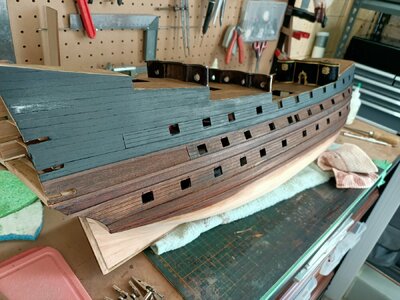
Repainted and tidied up a bit. I will give the lower hull a repaint later on when I’ve finished with he the deck area as the constant handling will just keep marking it at this stage. I am going to crack on with some facing decorations on the decks for now then move on to the railings I think. I will do some future planning as well with deck fitments for the rigging to see if I can head off any potential difficulties with locating and drilling without the risk of busting other stuff along the way.
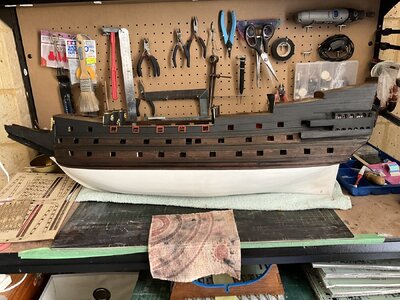
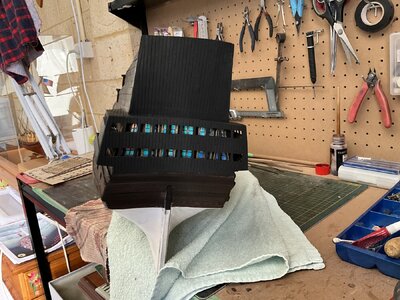
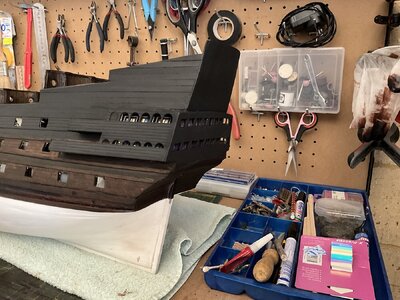


Last edited:
- Joined
- May 7, 2023
- Messages
- 87
- Points
- 143

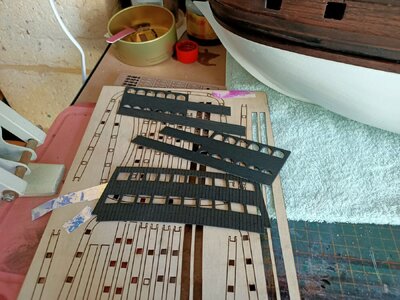
Did some work on the decorations today and started on the railings. Each rail base has pre cut pieces in pairs for some reason. You need both to make up the correct alignment with the exposed bulk heads. I am yet to see if any adjustments are needed to achieve this, a cursory glance shows that it looks pretty close. The man shed has been a bit warm today (36 c) and this week will probably get hotter so I might keep the work to the cooler morning. More decorations tomorrow hopefully.
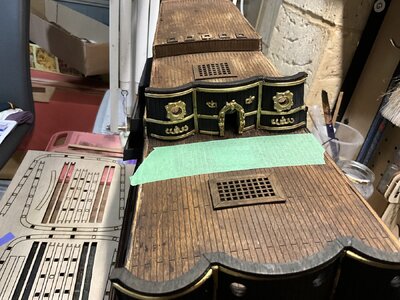
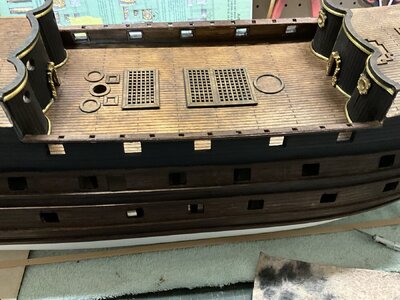
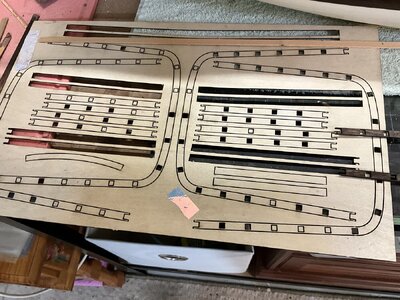
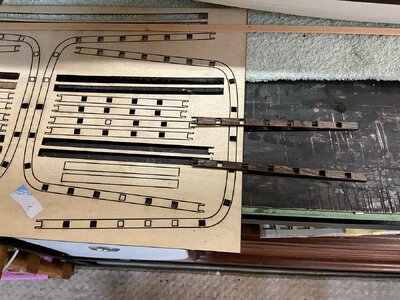


Are you going to adjust the window size and height on the side galleries later?Repainted and tidied up a bit. I will give the lower hull a repaint later on when I’ve finished with he the deck area as the constant handling will just keep marking it at this stage. I am going to crack on with some facing decorations on the decks for now then move on to the railings I think. I will do some future planning as well with deck fitments for the rigging to see if I can head off any potential difficulties with locating and drilling without the risk of busting other stuff along the way.
View attachment 424593
View attachment 424594
View attachment 424595
- Joined
- May 7, 2023
- Messages
- 87
- Points
- 143

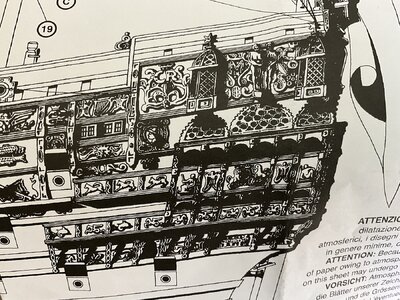
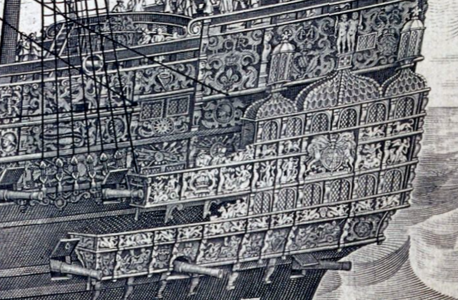
Are you going to adjust the window size and height on the side galleries later?
View attachment 424856
Are you going to adjust the window size and height on the side galleries later?
View attachment 424856
I did give this some thought earlier but dismissed the idea due the size and shape of the supplied decorations. That said, it still bothers me a bit so I am going to revisit with a dry fitting of the decorations to see how it may be achieved. This is roughly the actual size so you can see not much room for change.Are you going to adjust the window size and height on the side galleries later?
View attachment 424856
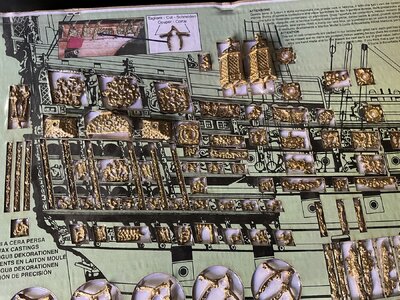
Ah. I see. The decorations definitely restrict what you can do.I did give this some thought earlier but dismissed the idea due the size and shape of the supplied decorations. That said, it still bothers me a bit so I am going to revisit with a dry fitting of the decorations to see how it may be achieved. This is roughly the actual size so you can see not much room for change.
View attachment 424859
- Joined
- Feb 2, 2018
- Messages
- 126
- Points
- 183

I’d call that a very nice improvement on the gallery windows. Certainly worth the effort and I don’t think the decorations have suffered. Well done!Managed to open up the lower windows frames and juggle the bands around a couple of mm here and there to even up the window sizes a bit. Some of decorations needed a little adjustment too but alls well.
View attachment 425043
View attachment 425044
View attachment 425045
View attachment 425058

