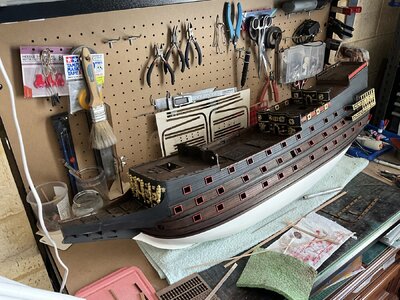
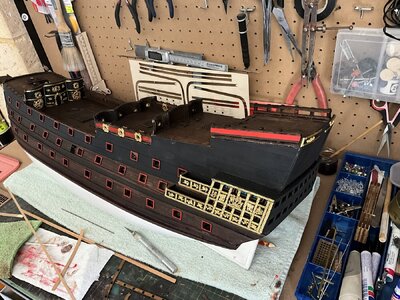
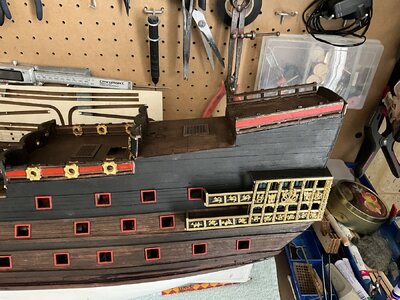
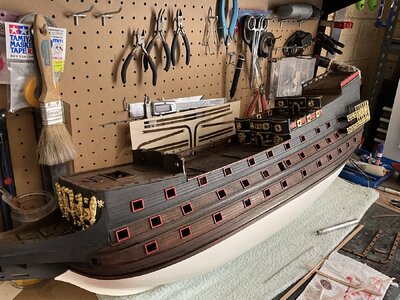
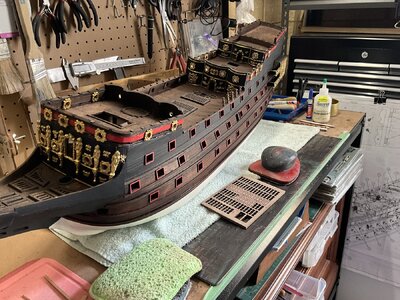
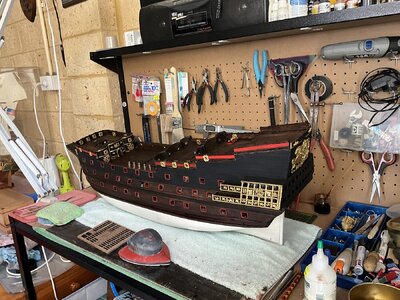
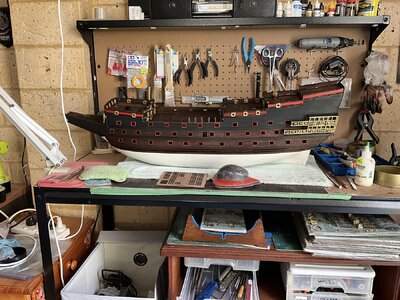
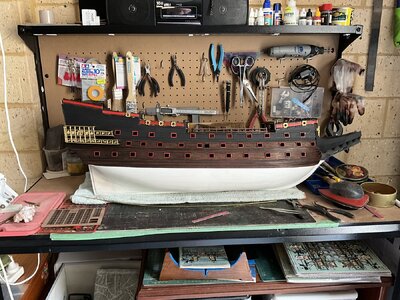
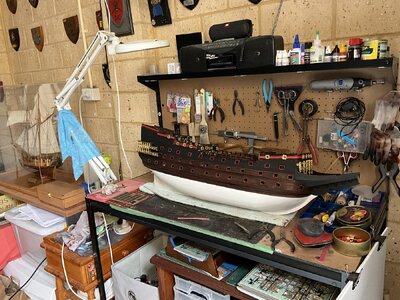
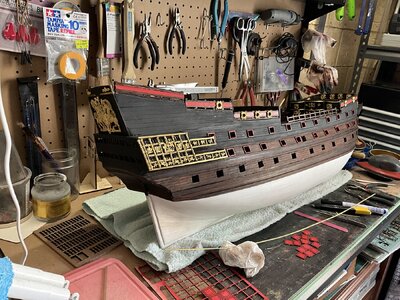
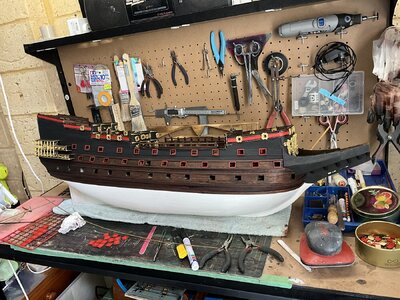
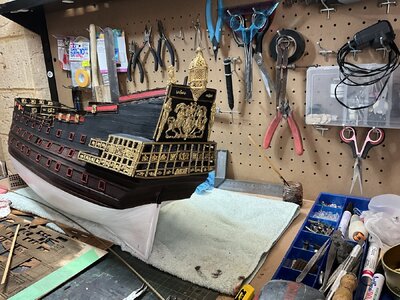
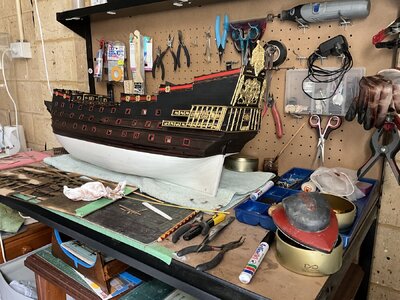
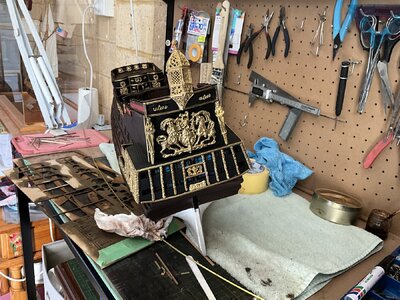
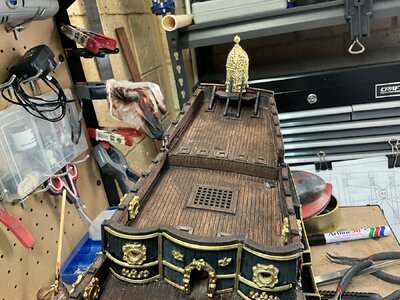
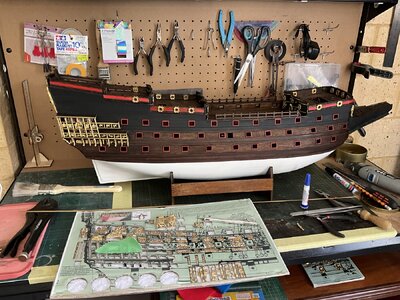
Sovereign of the Seas by Sergal - 1/78 Scale Kit Build.

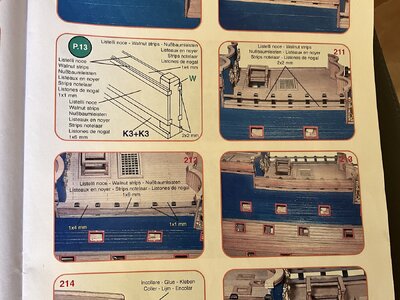
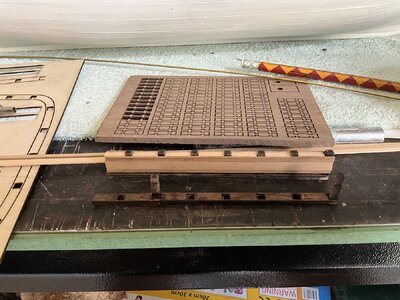
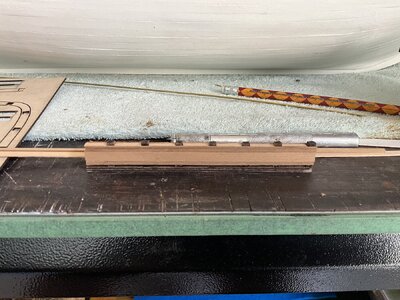
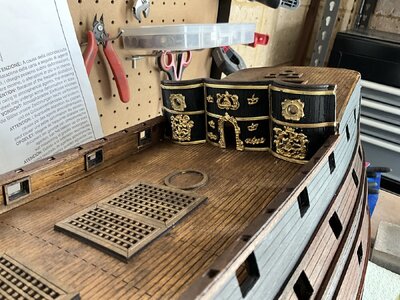
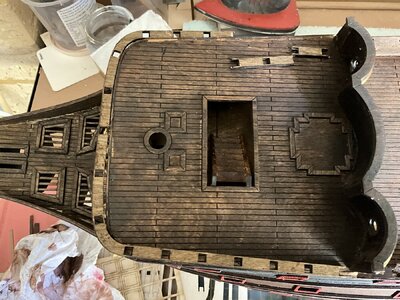
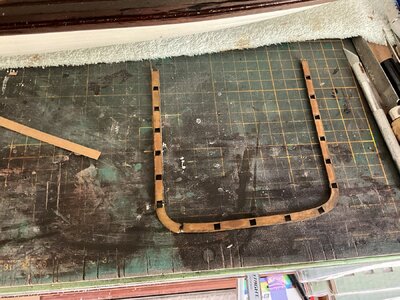
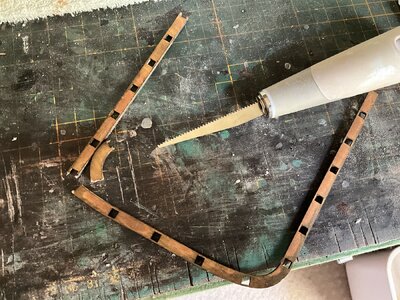
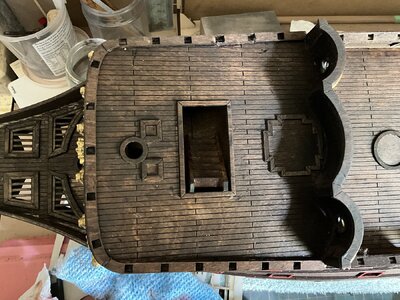
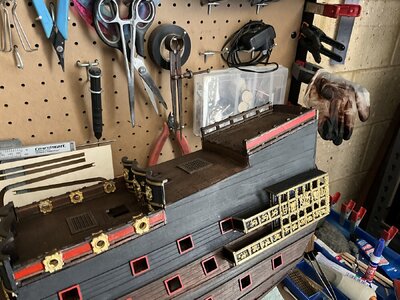
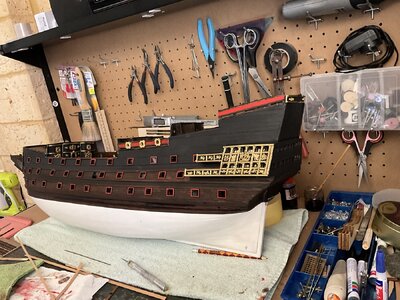
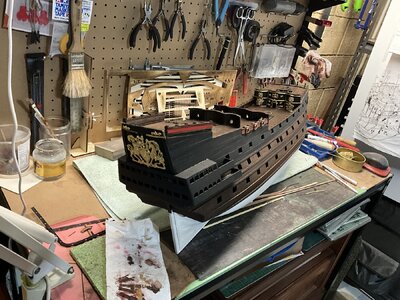
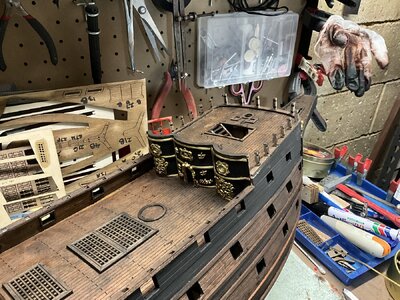
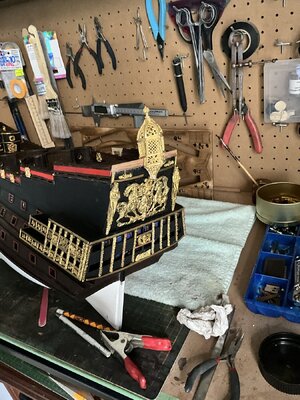
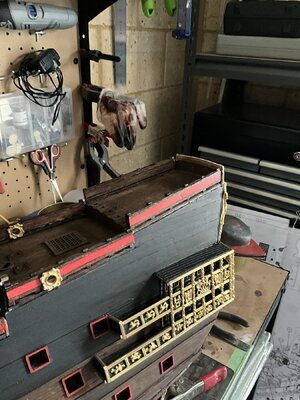
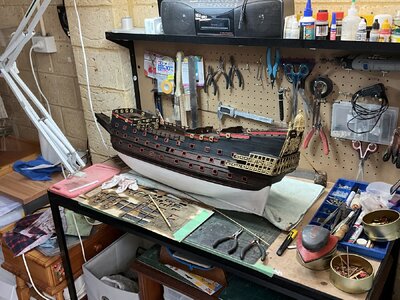
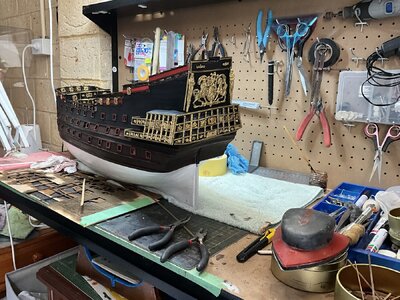
Started on the railings today, an interesting little build as they consist of multiple pieces. I decided to build off ship for ease of access. There are a couple of holes required for deck guns so I figure it would be prudent to do this before installation on the deck. Also did some more decorations on the exposed deck bulkheads.

IMG_0050.jpeg

IMG_0049.jpeg

IMG_0048.jpeg

IMG_0047.jpeg

IMG_0046.jpeg
 
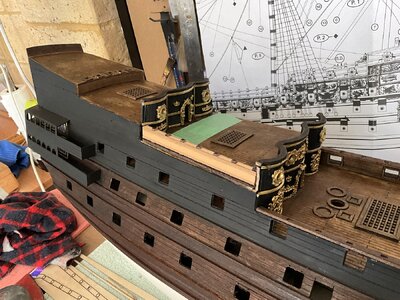
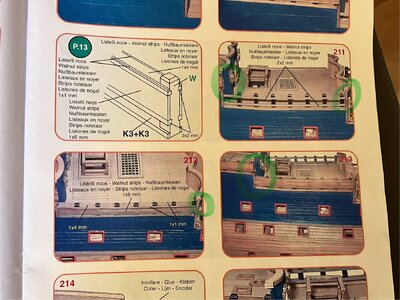
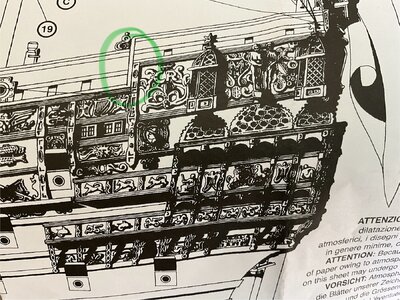
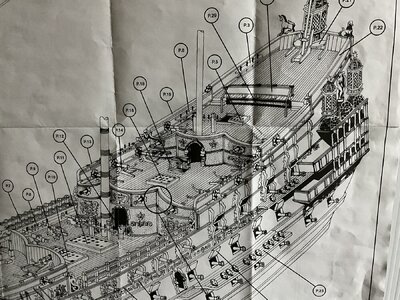
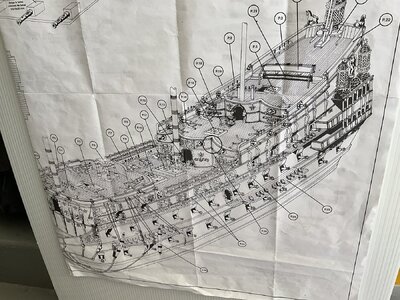
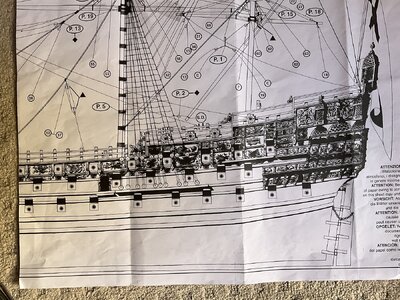
I have been looking at his quandary for a while, another vague reference to the meeting points I have marked up below. The drawing show the rail descending on the side of the bulkheads but the photos in the book show the rail being well below the bulkheads. I will have to lean on my creative spirit and work around this and tidy up the outer edge of the bulkheads to blend in with the rails and the decoration at the meeting points.

IMG_0050.jpeg

IMG_0043.jpeg

IMG_0051.jpeg
 
Last edited:
You know its time to stop when you keep breaking bits..:confused: Did this the other day. The rail pre cut parts do not match the deck shape so some adjustment was required. I ended up taking a couple of mm out of the corners and rejoining them as well as removing the cutaway on the ends for the last post on each side. The posts will still go on but with some adjustment and repositioning of course. The rail configuration varies a lot from the photos in the build manual and the drawings and John Mckays book so I will need to find a happy compromise somewhere I think.

IMG_0065.jpeg

IMG_0064.jpeg

IMG_0071.jpeg

IMG_0070.jpeg
 
Last edited:
Managed to get a couple of hours work done over the last couple of days in between heat waves. The daytime temps have been up around the 40c mark all week. Did some work on the poop deck rails and the stern and have started on the bow rails. The bow rails could a be a bit of a challenge with he curved edges. When the rails are finished I will start working on the port side decorations to catch up with the starboard side. There are some rough looking edges around the decks they will all be covered with either cosmetic disguises or decorations later on. All things seem to be progressing well with the usual array of technical and interpretive issues.

IMG_0081.jpeg

IMG_0080.jpeg

IMG_0079.jpeg

IMG_0078.jpeg

IMG_0077.jpeg

IMG_0076.jpeg

IMG_0082.jpeg

IMG_0083.jpeg
 
Last edited:
More railings on, I will finish of the waist rails over the week end, which should be pretty straight forward. Then on to Port side decorations to catch up with this side. The forward deck was a bit tricky with he curved edges but eventually gained the upper hand. time for a little light refreshment I think.Beer

IMG_0094.jpeg

IMG_0092.jpeg

IMG_0091.jpeg

IMG_0095.jpeg
 
Last edited:
More heat wave days ahead for us here in the SW of Oz. 3 days of 40c will definitely turn the man cave into an oven. Still got some work done today though. Waist rails onto the gunwales. A little bit of adjustment will be required for the ornaments on the rail ends but otherwise all good.

IMG_0103.jpeg

IMG_0102.jpeg
 
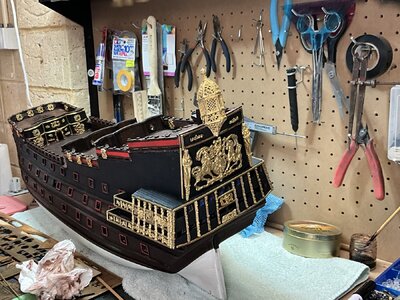
Starboard side now catching up with decorations and gun port frames. Sadly some of decorations leave something to be desired. Very rough and sometimes difficult to define the shapes. It would be nice to see these guys come up with a fix for this but I guess it would add to the cost. Still, looks ok so long as you don’t look too closely.

IMG_0110.jpeg

IMG_0109.jpeg

IMG_0107.jpeg

IMG_0108.jpeg
 
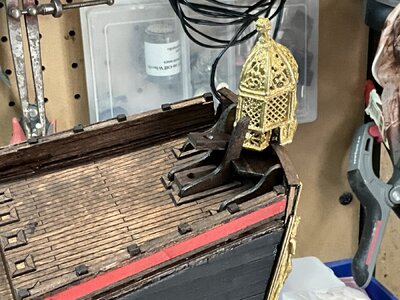
A bit more decoration on the stern. Again some slight modifications required to make things fit. Also the stern piece needed about 10 mm to bring it up the level of the rails and facilitate the fitment of the lantern and other pieced on the rear deck. Nothing critical, but keeping me on my toes. Dry fitting the lantern shows the discrepancy.

IMG_0113.jpeg

IMG_0112.jpeg

IMG_0111.jpeg
 
Sorted the stern rail and flagstaff supports. Added some decorations and dry fitting others. Some of the decorations had come adrift in their packaging so a bit of head scratching ensued but none were awol at any rate. I wont be putting the lantern, or anything else that juts out above the deck line for a while. I still need to turn it over and put the finishing touches to the hull paint, then it will be sitting on some serious padding until the stand is attached later on. All good otherwise, just the usual array of Fiddly challenges that are not well documented in the photos, plans and drawings. A bit of artistic licence is required now and then to achieve the desired results, all part of the fun in building these wonderful old ships.

IMG_0127.jpeg

IMG_0125.jpeg

IMG_0126.jpeg

IMG_0123.jpeg

IMG_0122.jpeg

IMG_0121.jpeg

IMG_0120.jpeg

IMG_0119.jpeg
 
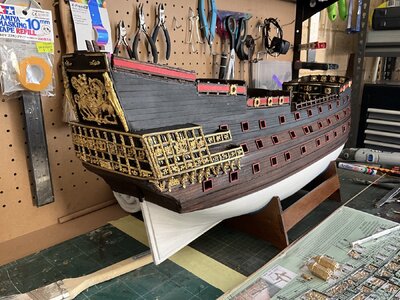
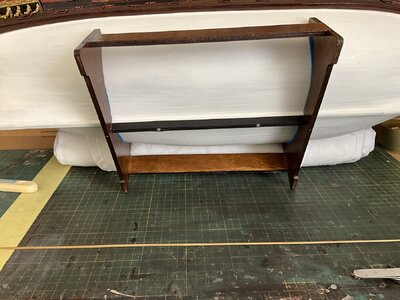
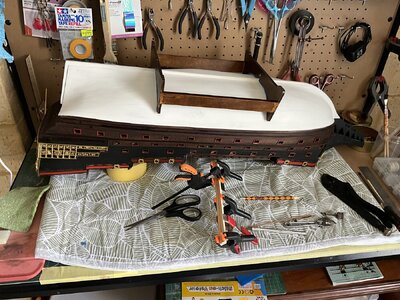
Hull touched up and cradle attached to base. As usual the cradle does not quite match the hull shape and there is gap along the bottom of the keel so I built a reinforcing strip into it which cannot be seen when mounted. The strip also gave me room to attach it securely to the hull with small screws. Cracking on with the decos on the starboard side.

IMG_0145.jpeg

IMG_0144.jpeg

IMG_0143.jpeg


IMG_0146.jpeg

IMG_0147.jpeg

IMG_0142.jpeg
 
Last edited:
Hull touched up and cradle attached to base. As usual the cradle does not quite match the hull shape and there is gap along the bottom of the keel so I built a reinforcing strip into it which cannot be seen when mounted. The strip also gave me room to attach it securely to the hull with small screws. Cracking on with the decos on the starboard side.

View attachment 431573

View attachment 431574

View attachment 431575


View attachment 431577

View attachment 431579

View attachment 431580
Good afternoon Linton. Wonderful. Cheers Grant
 
Back
Top