-

Win a Free Custom Engraved Brass Coin!!!
As a way to introduce our brass coins to the community, we will raffle off a free coin during the month of August. Follow link ABOVE for instructions for entering.
-

PRE-ORDER SHIPS IN SCALE TODAY!
The beloved Ships in Scale Magazine is back and charting a new course for 2026!
Discover new skills, new techniques, and new inspirations in every issue.
NOTE THAT OUR FIRST ISSUE WILL BE JAN/FEB 2026
You are using an out of date browser. It may not display this or other websites correctly.
You should upgrade or use an alternative browser.
You should upgrade or use an alternative browser.
Sovereign of the Seas Mantua 1:78 Greatly Enhanced - Vince P. [COMPLETED BUILD]
- Joined
- Nov 26, 2018
- Messages
- 546
- Points
- 343

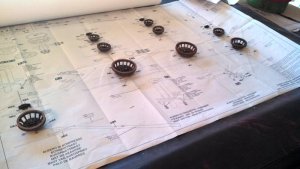
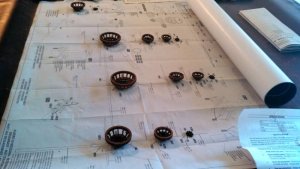
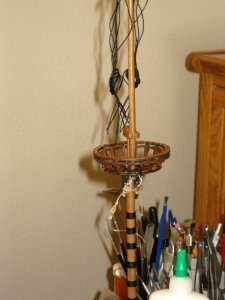
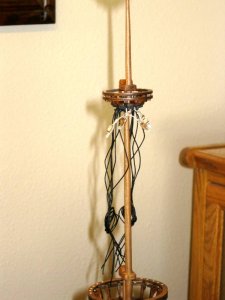
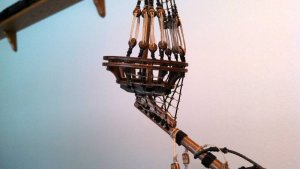
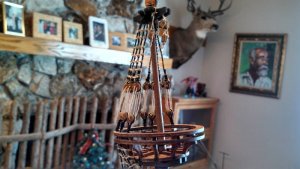
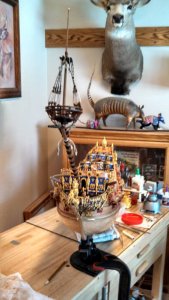
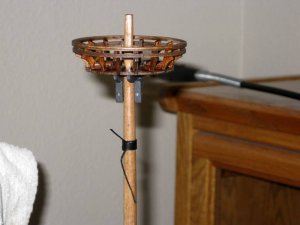
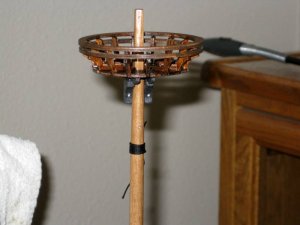
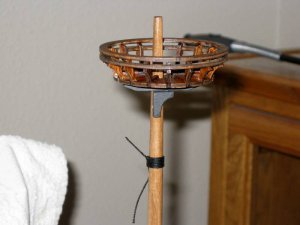
I found an issue with the crowsnests. Except for the fore and main lower tops, all the rest had no openings for the shrouds to be fed down through and lashed to the masts. The square holes in the tops are too small and when the trees are positioned, there is no overlap of the holes on the sides. The first photo shows a bad one and the next a good one. The third shows slots that had to be cut to pass the shroud lines. This is just one of many errors in the plans. Obviously, if the tops were placed on the masts before noticing this, it would be a nightmare to fix.
Vince P.
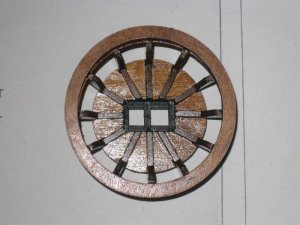
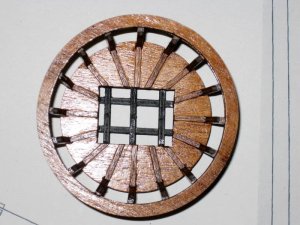
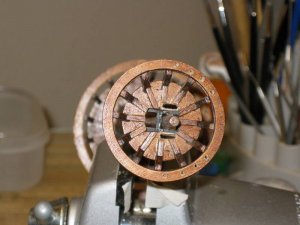
Vince P.


- Joined
- Nov 26, 2018
- Messages
- 546
- Points
- 343

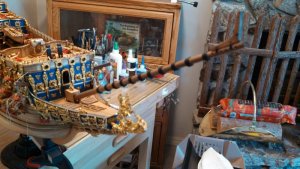
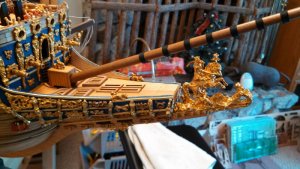
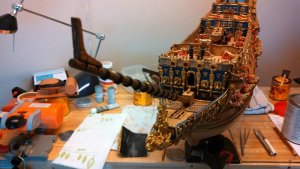
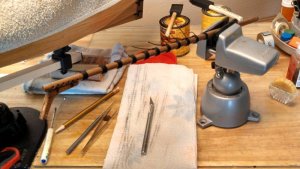
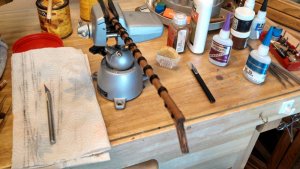
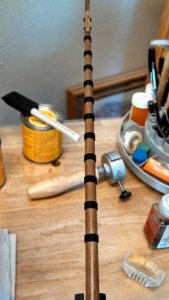
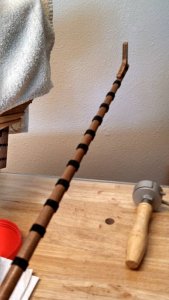
Working on the bowsprit. Tapered it down and finished it with a clear natural stain since the actual walnut color of the wood is perfect as is. I wrapped the wooldings with 1.0mm black cord. I used a self tightening wrap that does not need knots and comes out nice and even. The upright brackets for the spritsail top mast is also lashed in place.
Vince P.
Vince P.


- Joined
- Nov 26, 2018
- Messages
- 546
- Points
- 343

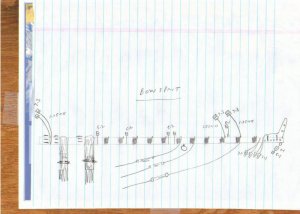
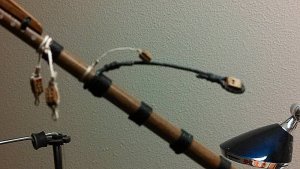
The lashings for the stays and rigging on the bowsprit. The rigging as detailed by the plans is very limited and does not represent the actual rigging that would appear on a ship of this type for the period. I used "The English Treatise of Rigging 1625" to come up with a more realistic rigging plan. From here on in, the rigging shown will represent what the treatise recommends and not the kit plans.
Vince P.
Vince P.


- Joined
- Nov 26, 2018
- Messages
- 546
- Points
- 343

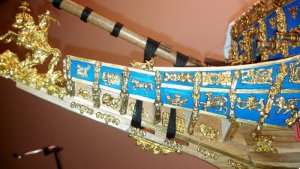
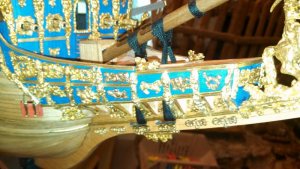
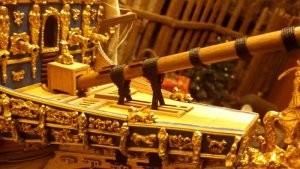
The gammoning for securing the bowsprit. The plans call for using 1.0mm cord for the main wraps, and 0.5mm for the cross wraps. The actual gammoning on ships was done with a single piece of rope. I used a single piece of 1.0mm black cord and wrapped it using the self tightening arrangement illustrated in a rigging book I bought on how to rig ships of this period.
Vince P.
Vince P.


Working on the bowsprit. Tapered it down and finished it with a clear natural stain since the actual walnut color of the wood is perfect as is. I wrapped the wooldings with 1.0mm black cord. I used a self tightening wrap that does not need knots and comes out nice and even. The upright brackets for the spritsail top mast is also lashed in place.
Vince P.
View attachment 70398View attachment 70400View attachment 70401
I am sorry Vince, can you please explain what you mean by a 'self tightening wrap' and how is it done?
And can you let us know the name and author of the book you referred to?
Thanks mate.
Tony
Last edited:
- Joined
- Nov 26, 2018
- Messages
- 546
- Points
- 343

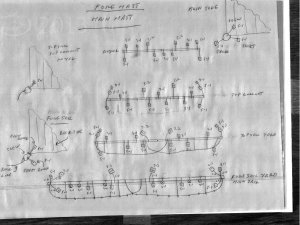
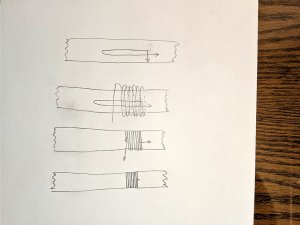
Hi Tony,I am sorry Vince, can you please explain what you mean by a 'self tightening wrap' and how is it done?
And can you let us know the name and author of the book you referred to?
Thanks mate.
Tony
Here is a crude drawing of how to wrap wooldings. I hope you can understand my diagram.
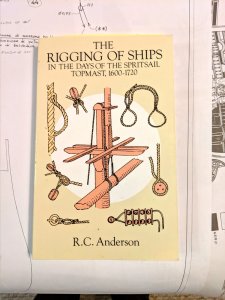
The book is "The Rigging of Ships in the Days of the Spritsail Topmast 1600-1720" by R.C. Anderson. It is the best book I have ever seen for tips on rigging ships. It has explanations and drawings for every part of the rigging and references many of the actual ships, including the SOS. I used it for most all of the rigging since I did not use the rigging plan in the kit. I am still using it for the Royal William. You can buy it on line at Amazon. See page 29
Vince P.

Last edited:
- Joined
- Nov 26, 2018
- Messages
- 546
- Points
- 343

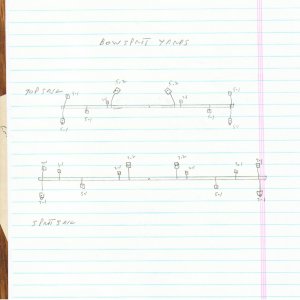
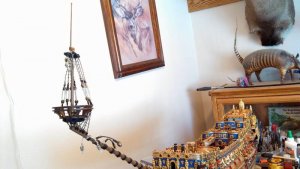
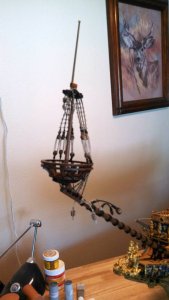
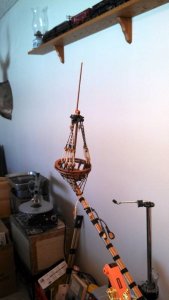
Construction and adding the spritsail top mast to the bowsprit. There are 2 yards to add as well, but I will not add these until the foremast is in place and all of the stays and running rigging related to it are completed first.
One thing to note: The topmast has 2 lashings to the upright support bracket attached to the bowsprit. Only complete the lower lashing before placing the crowsnest because the opening in the tree will not fit over the top lashing. Once the crowsnest is in place and glued down, add the upper lashing. It is somewhat of a pain to do the lashing through the ribs of the crowsnest, but there really is no other way.
Vince P.


- Joined
- Nov 26, 2018
- Messages
- 546
- Points
- 343

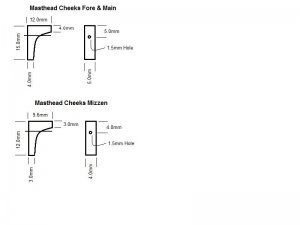
Starting on the foremast construction. As previously mentioned, I added ties and halyards to hoist and lower the lower yards. In order to attach the ties to the lower yards, the lines have to pass through a fair lead someplace just below the mast tops. Ships of the period had "cheeks" attached to the tops of the lower mast section on each side and just below the trees. These were supports for the heavy tops. The ties passed through these cheeks and down to the yards from the front and to the halyards from the rear. I made some cheeks out of some scrap lumber and placed them in position.
Also as you build up the masts with each section, it is time to drill the holes for the pins that will secure the yards. In the photos you can see a hole just below the mast top for the lower yard. Only drill the holes partially through the mast section from the front.
Vince P.

Also as you build up the masts with each section, it is time to drill the holes for the pins that will secure the yards. In the photos you can see a hole just below the mast top for the lower yard. Only drill the holes partially through the mast section from the front.
Vince P.


Wow, that's a wonderful looking model Vince.
Hi Vince,Hi Tony,
Here is a crude drawing of how to wrap wooldings. I hope you can understand my diagram.
The book is "The Rigging of Ships in the Days of the Spritsail Topmast 1600-1720" by R.C. Anderson. It is the best book I have ever seen for tips on rigging ships. It has explanations and drawings for every part of the rigging and references many of the actual ships, including the SOS. I used it for most all of the rigging since I did not use the rigging plan in the kit. I am still using it for the Royal William. You can buy it on line at Amazon. See page 29
Vince P.
View attachment 70535
Thanks for that.
Yes, I can follow your drawing.
Very good it is, in fact.
Will try and find that book.
Thanks again.
Tony
- Joined
- Nov 26, 2018
- Messages
- 546
- Points
- 343

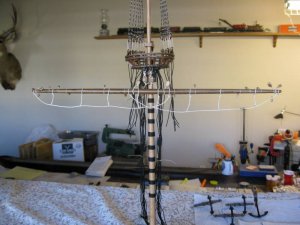
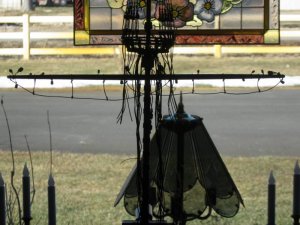
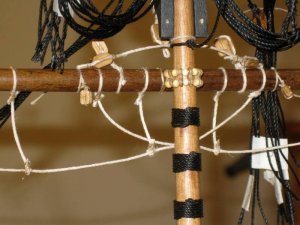
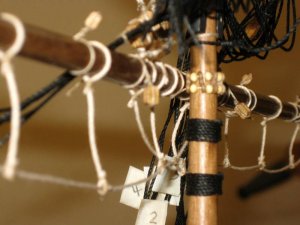
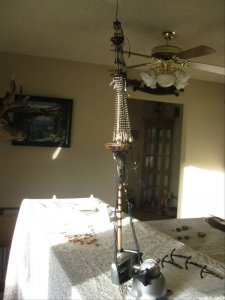
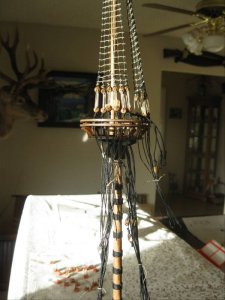
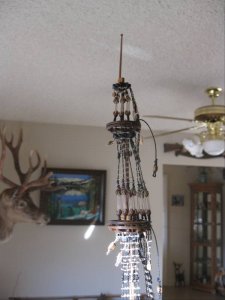
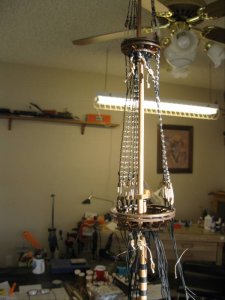
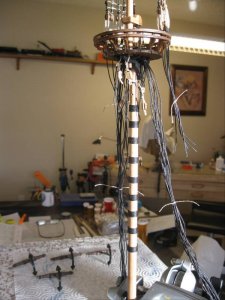
Rigging the upper shrouds, deadeyes and lanyards. You can now see how tall this is. I am going to construct the entire mast and attach all of the yards, sails, and running rigging before stepping the mast to the ship. It is much easier to get around to make all of the attachments and tie all of the knots without having to rotate the whole ship.
NOTE: When placing the shrouds around the mast doublings, there is a specific order on which pair goes where. This applies to all shrouds.
Starting towards the bow from the starboard side, place the first pair. Then go to the port side and place the next pair on top. Back to the starboard and place the next pair on top and to the port side and so on until all of the pairs needed are placed. Also, the shroud toward the bow in each pair should be made slightly longer so it can be identified. Label each pair ( 1S,1P,2S,2P, etc). The purpose here is so that the shrouds don't bunch up and cross each other when you finally rig them.
Vince P.


Your rigging is outstanding Vince.
Outstanding work

