Sovereign of the Seas Mantua 1:78 Greatly Enhanced - Vince P. [COMPLETED BUILD]

Joined
Nov 26, 2018
Messages
546
Points
343

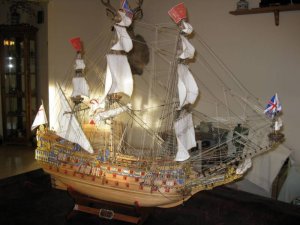
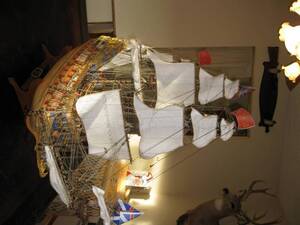
As some of you know, I am relatively new to this forum. I am posting from the beginning, a build log of my Royal William of which I have already over 3 years of building. I also have a complete build log of the Mantua Sovereign of the seas which I completed about 3 years ago. It started as the Mantua kit, but I modified and enhanced it considerably.

If anyone would be interested, I could post it as well, when I am finished posting the Royal William. It consists of many pages of texts and over 400 photos.

Vince P. Ship-1

pict0399.JPGpict0400.JPG
 
OK mates, here is the start of this build log. The ship was completed about 3-1/2 years ago.

Vince P. Ship-1
 
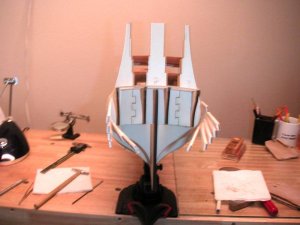
Okay. Since I am reposting this entire build log, I will try and start from the beginning. I do not have photos of placing the bulkheads on the false keel. They were lost during a major computer crash. :mad: This is constructing the hull frame and bulkheads. First off, this kit is not for beginners. I am not by far, an expert, but the first thing you would notice is that the instructions leave a lot to be desired and assume the builder knows a considerable amount about building model ships of this type, and knowledge of real ship construction. If you haven't completed at least a couple of kits in the advanced category, I believe you should pass on this one for now. It will make a dandy model when finished and the quality of the components appears to be top notch. It is one of, if not THE most detailed model kits out there.

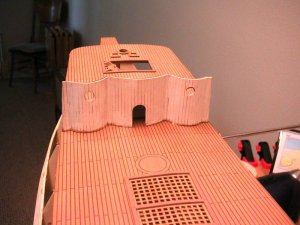
The deck bulkheads or walls on this ship all consist of multiple curves. The pieces are precut plywood that must be bent. The wood is too brittle to just wrap around the curved frames. I tried one and it broke. :rolleyes: Soaking them carefully in a mixture of ammonia and water will make them soft enough to bend around the frames and glue in place. Be careful to not soak them too long, (maybe 30 minutes max. ), or the plywood lamination will come apart. I found this out the hard way also. o_O

Without a doubt the plans and instructions are the weakest part of this kit, as you will see as we go along here. I also did a lot of kit bashing by adding features and details left out, which I believe made a much better model when finished.

This kit has been around since the early 1970's and there have been several revisions over the years. Each revision did make it better for the builder. The latest version is dated 2008. When buying this kit new today, it is possible to get an older version, or even a hybrid. A friend of mine bought his kit the same time as me, but he got a hybrid in that the plans were dated 1978 and the kit contained the parts for a 2008 version. This was a problem of course and since I had the latest plans, I had copies made and sent them to him. The instruction manual was also outdated, but you can go to the Mantua Help Website and download a new instruction manual for free. He completed his build along with me.

Vince P. Ship-1

nPICT0001.jpgPICT0002.JPGPICT0004.JPGPICT0006.JPGPICT0007.JPGPICT0009.JPGPICT0010.JPGPICT0010b.JPG
 
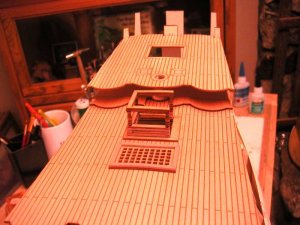
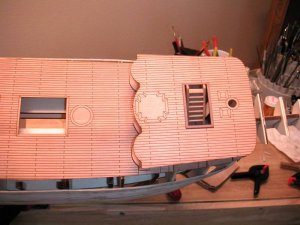
One thing about the decks. They call for painting them with a clear satin finish before placing on the ship. The paint kit which I bought extra has the satin finish, but all of the paints including this are a water based acrylic. Since the decks are plywood, if you paint them first, they will warp big time. I found this out the hard way. It is a good thing I only painted one deck before. I had to iron it out carefully to remove the warps. Install the decks to the ship frames first and then paint them. They do not warp at all.

Vince P. Ship-1
 
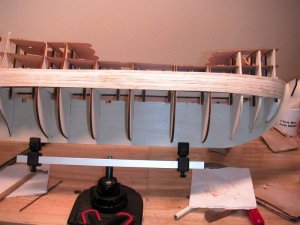
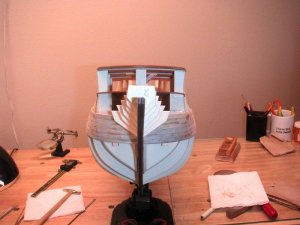
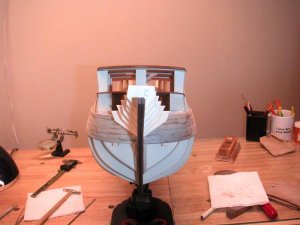
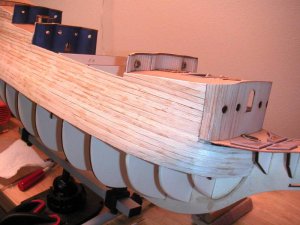
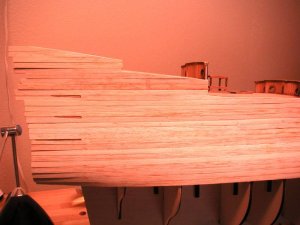
Planking the first layer to the upper hull. The lumber supplied is balsa. While it is easier to bend, it does not hold a natural curve like harder woods. When laying the planks, make sure to watch the curves and adjust if necessary as you attach the plank to each bulkhead.

Vince P. Ship-1

PICT0010.JPGPICT0011.JPGPICT0012.JPG
 
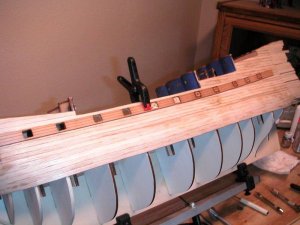
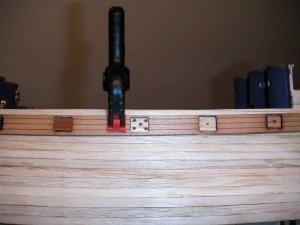
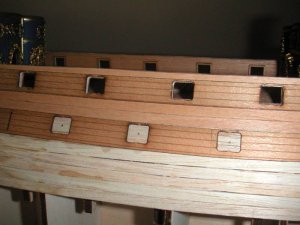
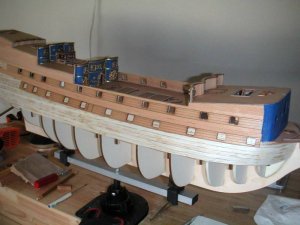
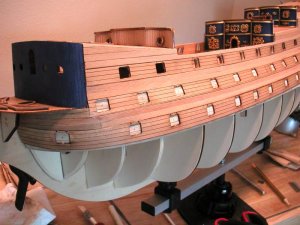
The gun port templates provided make aligning the gun port rows easier. These were an addition to the newer version of the kit. They are actually part of the second planking layer. The instructions call for temporarily taping them in place and drawing out the square port holes on the planking and then removing them and cutting out the port holes. I found it much easier to glue them on permanently and cut out the ports with the template in place. It makes it much easier to square out the holes in the soft balsa planking and prevents the balsa from splitting while cutting.

Vince P. Ship-1

PICT0013.JPGPICT0014.JPG
 
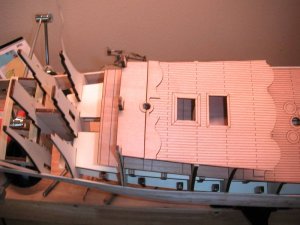
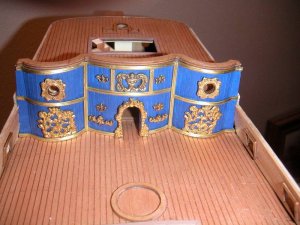
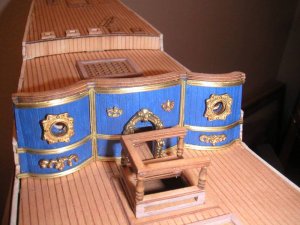
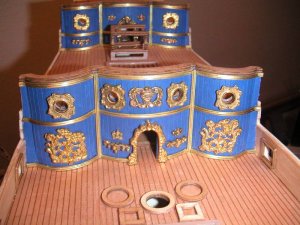
Working on the decorative trim and ornaments on the deck partitions. The instructions call for doing this now before finishing the hull planking. This really makes no sense since it will be necessary to invert the hull in order to finish the planking. I did it anyway because I was on a roll and inverting the hull would not hurt these decorations. According to the instruction manual, they don't call for finishing the planking until way after working on the deck fittings. That of course is silly. I will complete the planking of the entire hull, including the second finishing layer next. All through the build it is necessary to jump around the instructions in order to make everything fit and keep things in proper order. This is one reason why experience is necessary to build this kit correctly.

Vince P. Ship-1

PICT0015.JPGPICT0016.JPGPICT0017.JPG
 
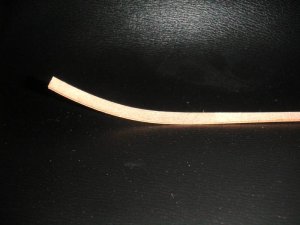
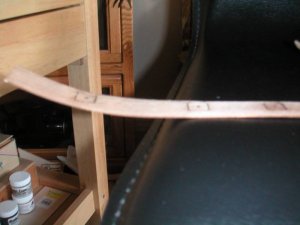
Placing the 2 lower gun port templates and adding the walnut finishing layer of planking to the upper hull. The very lowest gun port template has to wrap around the hull to the bow. Like before, this is made of plywood and will not make the bend without breaking. Soaking it like the deck walls and bending with a hot plank bender works fine. I bent a piece of scrap wood from the same stock as the templates first to see if it would work. (See photo).

Vince P. Ship-1

PICT0018.JPGPICT0019.JPGPICT0020.JPGPICT0021.JPGPICT0022.JPG
 
Back
Top