-

Win a Free Custom Engraved Brass Coin!!!
As a way to introduce our brass coins to the community, we will raffle off a free coin during the month of August. Follow link ABOVE for instructions for entering.
-

PRE-ORDER SHIPS IN SCALE TODAY!
The beloved Ships in Scale Magazine is back and charting a new course for 2026!
Discover new skills, new techniques, and new inspirations in every issue.
NOTE THAT OUR FIRST ISSUE WILL BE JAN/FEB 2026
You are using an out of date browser. It may not display this or other websites correctly.
You should upgrade or use an alternative browser.
You should upgrade or use an alternative browser.
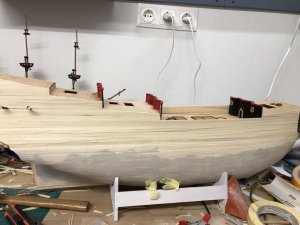
Finally some small progress again. There was a lot of work in the garden to do and also the job kept me busy.
At the moment I try to figure out how to place LEDs in the 4 lanterns on the roof of the balconies. My problem is that the LEDs are bigger than the opening of the lanterns in the bottom. Probably I will make a cut out there. And of course I also have to isolate the wiring to prevent a short circuit.
I will keep you updated.
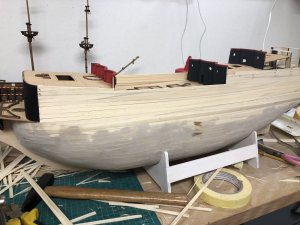

here another SOS member who will follow your work with a lot of interest
Greetings
dj56 (willy)
Greetings
dj56 (willy)
Finally some small progress again. There was a lot of work in the garden to do and also the job kept me busy.
At the moment I try to figure out how to place LEDs in the 4 lanterns on the roof of the balconies. My problem is that the LEDs are bigger than the opening of the lanterns in the bottom. Probably I will make a cut out there. And of course I also have to isolate the wiring to prevent a short circuit.
I will keep you updated.
Although the additional work you made a good progress with your hull, which is looking good......unfortunately I did personally never LEDs in a model, so I cross the fingers, that you will solve the problem and find a way......but there are some specialists here in the forum......
Finally some small progress again. There was a lot of work in the garden to do and also the job kept me busy.
At the moment I try to figure out how to place LEDs in the 4 lanterns on the roof of the balconies. My problem is that the LEDs are bigger than the opening of the lanterns in the bottom. Probably I will make a cut out there. And of course I also have to isolate the wiring to prevent a short circuit.
I will keep you updated.
G'day Nj0rdr
I think I might have a solution for you.
I bought on Ebay a set of 20 micro ORANGE LEDs for about Au$3.
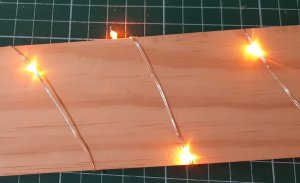
It's hard to tell the exact size by this photo, but it is slightly bigger than a pin head.

The very thin wires are coated with varnish so they are insulated from each other. These wires should be small enough to go through a 0.6 mm hole.
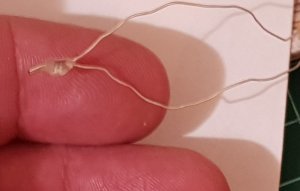
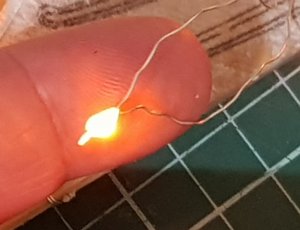
But be very careful not to scratch the varnish.
It's very important to add 1 transistors at the positive side of each LED that you are using. If you are doing the lights in a series than you will only need one transistor.
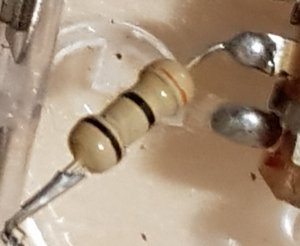
This transistor can run up to 20 LEDs lights with the power supply.
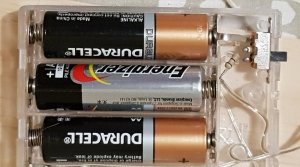
It will be ok if you run 3 or 4 LEDs from this same power supply, but to be safe, do a test with the spare LEDs and run the test for a few days. I don't believe there will be any problems, but I also say, it best to be safe and be shaw, than sorry.
After you connect the lanterns with the LEDs inside, and if by any chance they don't work, swap the poles on the LED around until they all work. This is a trial and error because you will have to cut the LEDs of the series chain to do your lanterns.
Hope that you can understand what I'm trying to convey to you.
Happymodeling
Greg
Hello all,
I would need an advice from you guys. It is regarding the gunport frames.
According to the instruction you have a frame part which you add on the outer planking. So there will be no smooth outer hull.
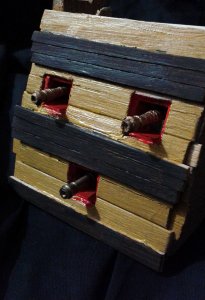
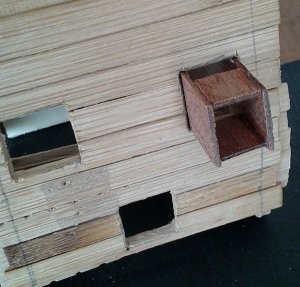
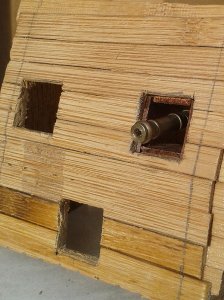
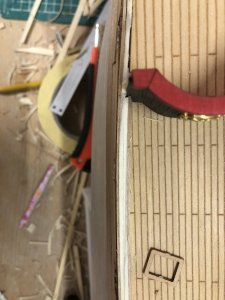
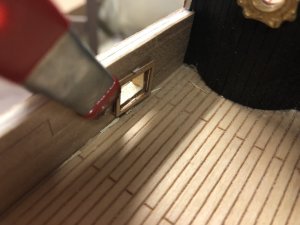
As far as I know the gunport frames are a little bit recessed into the hull. I have tried to do something like that with the leftover wood from the first planking. How far should the frame be seen on the inner side? See attached pictures.
What is the correct way of the gunport frames?
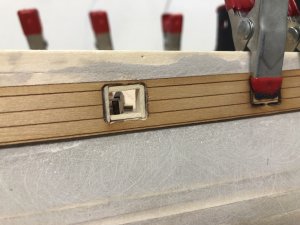
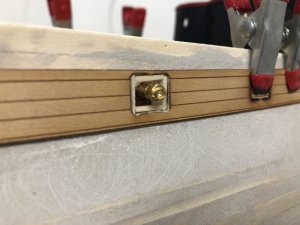
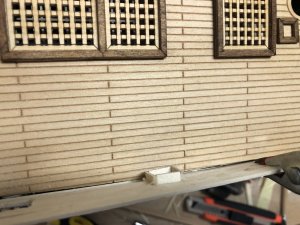


I don't know what I did but you can see what I did on page 2 & 3 of my model.
I was searching for the log of Gary and a post where you can see the gunports closer. Take a look f.e. here:I don't know what I did but you can see what I did on page 2 & 3 of my model.
https://www.shipsofscale.com/sosfor...rgals-sovereign-of-seas.704/page-3#post-12712
I hope it is helping.
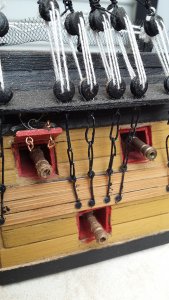
......and I recognized, that the gunports at Gary´s model have bigger openings, if we take the width of the planks on Gary´s and your model the same and also the diameter of the guns......
I borrowed a photo from Gary

Here the gunport has a height of 2,5 or even 3 plank widths, and at your model it is appr. 2 plank widths
and also the gun has no real space inside the gunport for moving or rebound of the gun
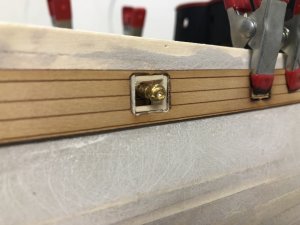
Thank you all for the great input.
The size of the gunport is obviously to small. At the moment the frame is made out of 2mm planks (just had some scrap lying around on the table). I will do another test with 1mm thick wood and I also have pieces with 0,5mm. Hopefully I can manage to try that today.
I will keep you updated.
The size of the gunport is obviously to small. At the moment the frame is made out of 2mm planks (just had some scrap lying around on the table). I will do another test with 1mm thick wood and I also have pieces with 0,5mm. Hopefully I can manage to try that today.
I will keep you updated.
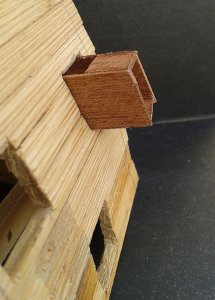
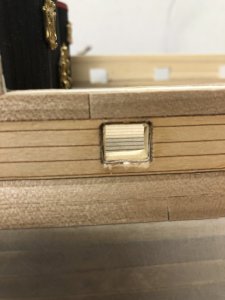
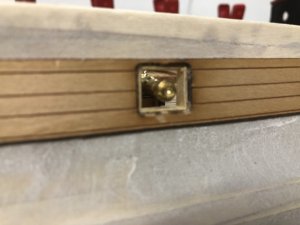
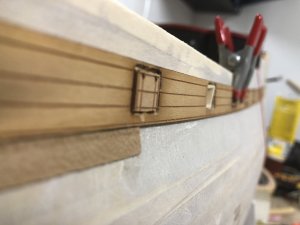
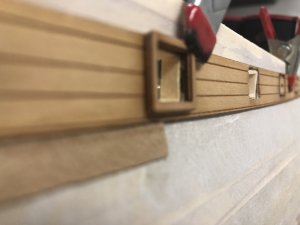
Quick update:
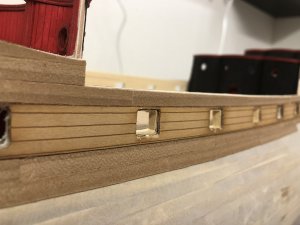
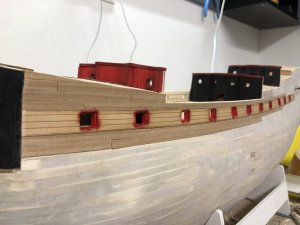
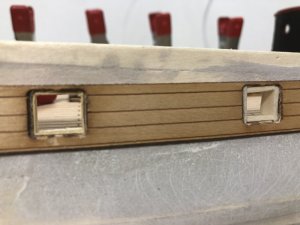
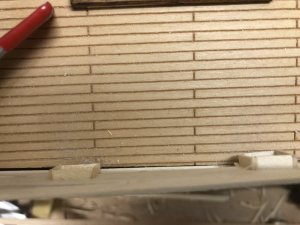
I used left over parts from the deck planking of my previous build to make the gunport frame and I like the look of it.
On the pictures you also see the other version with the 2mm wood, whcih is too thick.
The picture from the top shows that the thickness of the wall is only 2mm. So I think I will add an additional layer of 2mm planks and finish with a 1mm walnut. This means an overall thickness of 6mm which is fine for me.
I also added a picture with the lid closed to show what I meant with smooth transition from lid to the outer planking. In comparison I also added the fram for better comparison and I like the version with the scratch frame much more.
What are your opinions?


Last edited:
My compliment for your improvement and your way to make the model technically more accurate. Therefore I have to say, that your scratch version is much better!Quick update:
I used left over parts from the deck planking of my previous build to make the gunport frame and I like the look of it.
On the pictures you also see the other version with the 2mm wood, whcih is too thick.
The picture from the top shows that the thickness of the wall is only 2mm. So I think I will add an additional layer of 2mm planks and finish with a 1mm walnut. This means an overall thickness of 6mm which is fine for me.
I also added a picture with the lid closed to show what I meant with smooth transition from lid to the outer planking. In comparison I also added the fram for better comparison and I like the version with the scratch frame much more.
What are your opinions?
This is one example, which shows the additional benefit to have friends with whom you can share your work.....Great


