Spanish Galleon San Juan Nepomuceno

Joined
Jul 14, 2020
Messages
8
Points
53

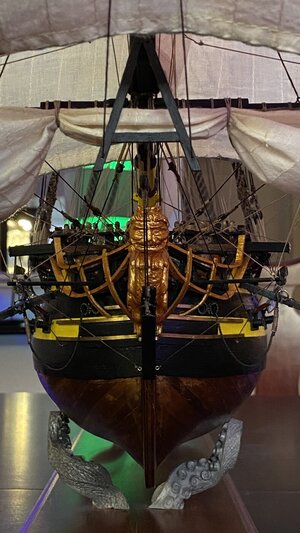
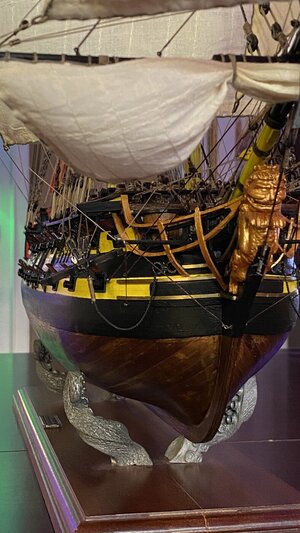
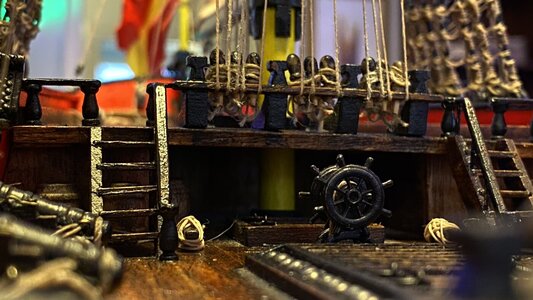
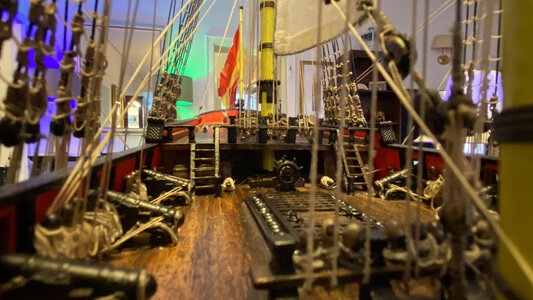
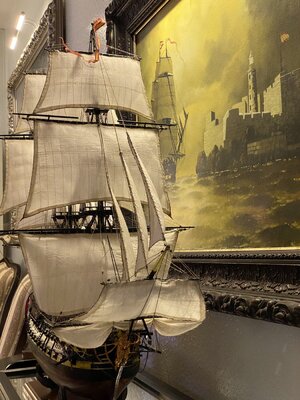
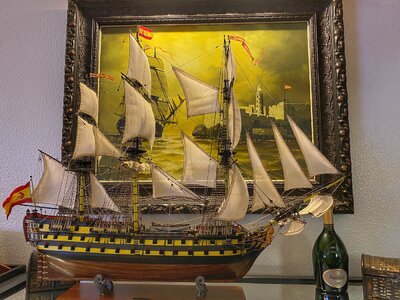
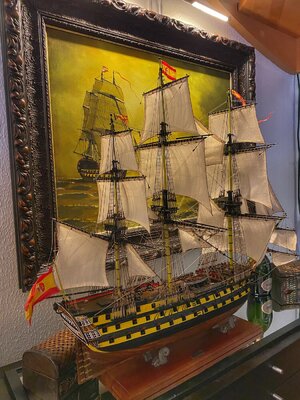
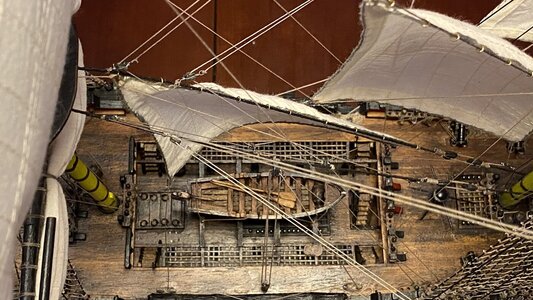
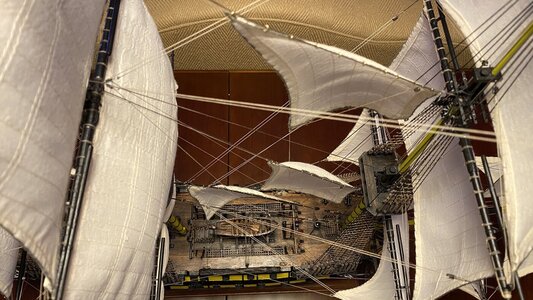
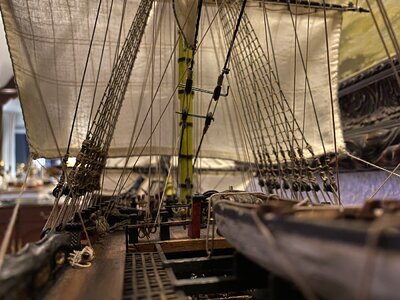
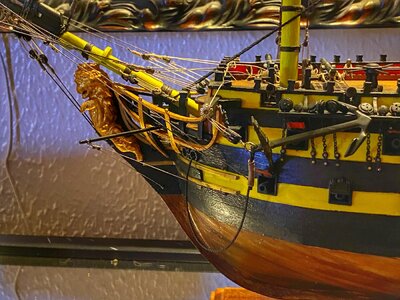
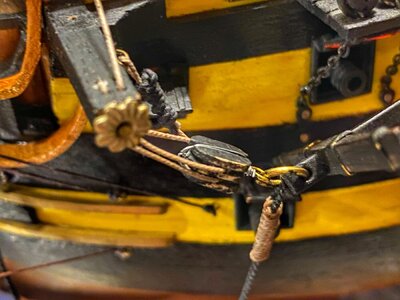
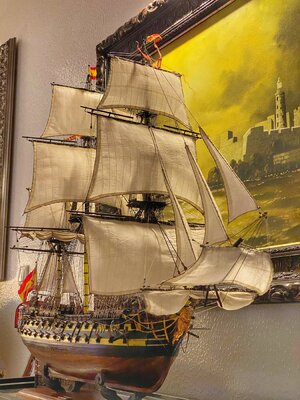
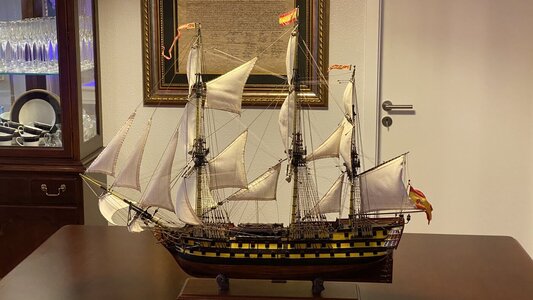
In November of this year I celebrated the completion of a 6 year and 3 month attempt at building a wooden Spanish galleon... the San Juan Nepomucemo. This is my first ever wooden ship build ever. Yes, there are plenty of barrels of bourbon on the manifest. Needless to say, lots of blood, tears, mistakes, bourbon, and countless curse words went into this thing. There’s a mistake for every knot I tied (several thousand), but I did this my way. The kit was 50% material, 25% instructions that were more like riddles, 15% research, and 10% personal touches and concepts influenced by life experiences along the journey of building this gunship (Galleon).

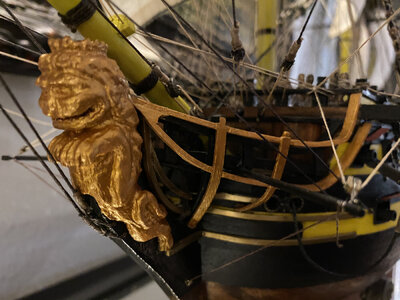
If anyone has seen the movie Shawshank Redemption and recalls the oak tree at the end of the film, the gold lion figurehead, and a few other pieces on board, I hand carved out of oak from the very tree. A huge storm in Paris took down a London Prime tree on our street in Paris this past summer... using a piece of that trees fate, I carved blocks for the anchors. Lots of other eater eggs like this are throughout the ship. This was an incredible journey for me, including a four-year doldrum of creativity in which the hull sat completed without any masts or sails, but there were other “ships” I was building in life at that time.

I’d be happy to share photos I’ve taken throughout this journey and share any tips/tricks I came up with myself.

Cheers .

”Don't spend your entire life building a ship, without ever tasting the salt of the ocean.”
-Alexander Den Heijer
386EBDC2-122E-41B7-A798-19C94BB9F3B8.jpegEF940CFA-BA68-4F39-BFD5-7FB80F904EF2.jpeg080CA82C-71EB-42F5-ABF8-CA746174BE66.jpegF39B2E76-1B19-43A1-A2EE-12EE53B1C14F.jpeg9BA8C246-CAD1-4EEC-B1EF-0FF531B5A583.jpegFE398F38-B95B-47B4-8F49-EACFFC3AAE2D.jpeg160BDECF-914F-4A42-AADF-C7A32B07E01A.jpeg21D98029-97B7-494E-BE83-B962FDA732AE.jpegA8ED8F48-1241-41FF-B6E4-93203DD4D8E4.jpeg693E2C0D-BE37-4695-96CF-E8BFD8D87ED5.jpegF4ED75DA-C5D5-42CD-9D19-7D573D3A9931.jpeg773B16AB-A2DF-4353-945E-8F2DAE1D1A2A.jpeg56CFDB47-C8CF-461C-BBF1-6381DD897B4B.jpeg87CFD991-C715-4947-9FEF-C81D5DAD9083.jpeg1AF2252E-9F5A-4776-A8CE-063DDB6775E3.jpeg86140D74-B781-4F06-A516-5437EF95F11B.jpeg5BC40FB6-98BA-4945-8679-93538DE8E50B.jpeg
 
For the first-timer in wood modeling, you have great success! She looks awesome! Lots of details and the figurehead carvings is very nice. :)
 
Mike,
what I see is a beautiful model worthy to display and be proud of. I can tell you that all of us can point out our own mistakes and failures. I can tell you from my own experience in building the first full-blown large model that I had many questions and mistakes. The next one might be a little less, but each model is going to bring with it some questions as I have found out.
I have to give you a lot of thumbs up for this one - I think you did a splendid job and wish to add this to the Gallery Showcase.
 
Hallo Mike,
very good model - and my congratulations for finishing her First Place Metal

We would be happy, if you would show us in a building log the different works and methods - would be great to see
 
Mike, what I see is a beautiful model worthy to display and be proud of. I can tell you that all of us can point out our own mistakes and failures. I can tell you from my own experience in building the first full-blown large model that I had many questions and mistakes. The next one might be a little less, but each model is going to bring with it some questions as I have found out.
I have to give you a lot of thumbs up for this one - I think you did a splendid job and wish to add this to the Gallery Showcase
Feel free to share indeed. Thank you. I've decided on my next project to build an 8th century Viking ship from scratch. Just give me a few years.
 
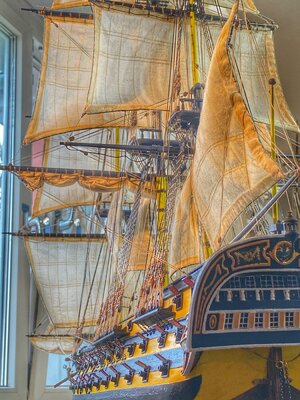
This week the sunset was beaming through the window on the sails and it inspired me to capture the glowing essence with a backdrop of sailing rough waters… so I went to work photographing my ship. I placed it on the floor, placed a black object behind it, a satin sheet on the floor, and took some shots zoomed in from about 15 feet away with my iPhone. The results were captivating. The backdrop is a photo of a superstorm cell taken in Perryton, Texas by AdamKyleJackson. I added a cutout of a rough ocean in the foregound and thew in enhanced sunlight and rain. I have more versions, but just sharing two concepts below with and without photoshop in the background.

This truly brought my ship to life.

43AD1C53-83D4-4AED-A7B3-41DCE071A4AA.jpeg2C98E9AB-2F7D-4247-B000-B4E1974599D9.jpeg
 
Dear Mike,
She looks beautiful !!!
And in the interior of your house she looks just at right place ! :)
By the way,
Couldn't You try to use light dissolved artists bitumen varnish?
it could be applied by brush over all your carvings, rigging lines and even hull and hull elements... it will add some notes of ancient, vintage effect to your model and enhance relief of your carvings making it more effect... entire model will looks a little bit different, close to old museum models...
but if You never use it, first check in youtube how to work with it, and try on some small "test" object before to work with model...
there is link as example how model looks when threated with this bitum stuff
 
Last edited:
Dear Mike,
She looks beautiful !!!
And in the interior of your house she looks just at right place ! :)
By the way,
Couldn't You try to use light dissolved artists bitumen varnish?
it could be applied by brush over all your carvings, rigging lines and even hull and hull elements... it will add some notes of ancient, vintage effect to your model and enhance relief of your carvings making it more effect... entire model will looks a little bit different, close to old museum models...
but if You never use it, first check in youtube how to work with it, and try on some small "test" object before to work with model...
there is link as example how model looks when threated with this bitum staff
Good tip Kirill - do you have experience with a special producer or supplier of such a varnish?
 
Good day Uwe,
I used some "NO NAME" brand... despite of low price compare to other famous brands :) it works quite good... I used it for staining on my sails and gildings...I think You could find this staff with different names in any artists shop...:rolleyes:
the link to D.Shevelev model - just as an example ,how it works ... :)
bitum patina... just fast search in internet

use this stuff for finish touch in gilding, I could say , need to be considered as mandatory.. :)))
 
Last edited:
In November of this year I celebrated the completion of a 6 year and 3 month attempt at building a wooden Spanish galleon... the San Juan Nepomucemo. This is my first ever wooden ship build ever. Yes, there are plenty of barrels of bourbon on the manifest. Needless to say, lots of blood, tears, mistakes, bourbon, and countless curse words went into this thing. There’s a mistake for every knot I tied (several thousand), but I did this my way. The kit was 50% material, 25% instructions that were more like riddles, 15% research, and 10% personal touches and concepts influenced by life experiences along the journey of building this gunship (Galleon).

If anyone has seen the movie Shawshank Redemption and recalls the oak tree at the end of the film, the gold lion figurehead, and a few other pieces on board, I hand carved out of oak from the very tree. A huge storm in Paris took down a London Prime tree on our street in Paris this past summer... using a piece of that trees fate, I carved blocks for the anchors. Lots of other eater eggs like this are throughout the ship. This was an incredible journey for me, including a four-year doldrum of creativity in which the hull sat completed without any masts or sails, but there were other “ships” I was building in life at that time.

I’d be happy to share photos I’ve taken throughout this journey and share any tips/tricks I came up with myself.

Cheers .

”Don't spend your entire life building a ship, without ever tasting the salt of the ocean.”
-Alexander Den
Hallo @Mike Arrr
we wish you all the BEST and a HAPPY BIRTHDAY
Birthday-Cake
 
Back
Top