Spirit of Brisbane [COMPLETED BUILD]

Joined
Jun 20, 2024
Messages
172
Points
133

Location
La Porte Texas
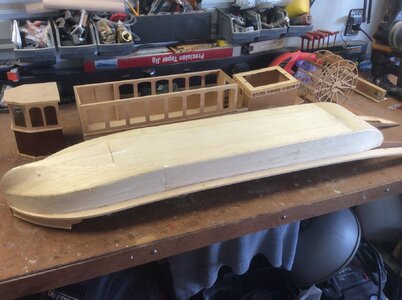
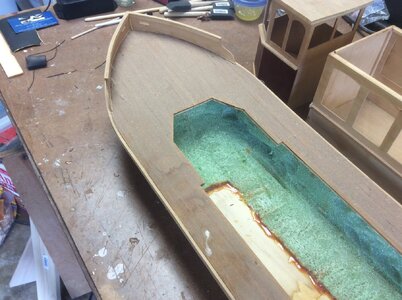
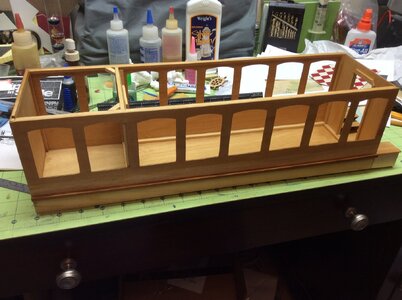
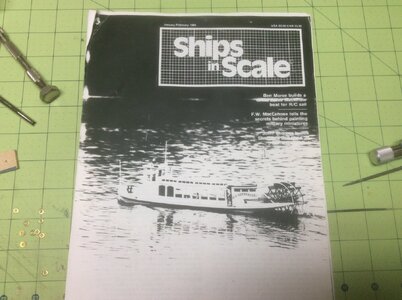
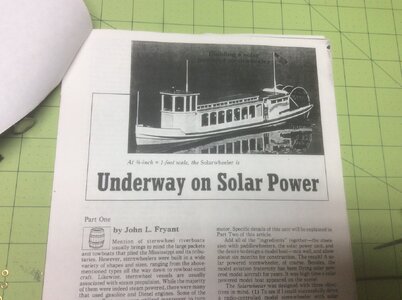
In 1984 John Fryant published a build article in Ships in Scale for a solar powered stern wheel paddle boat. The scale was 1/16. I think it turns out to be 3/4=1ft. I immediately sent off for the plans and started building. The hull was a block of foam that was easy to carve and shape. As luck would have it a model builder from Brisbane came to stay with us that summer. One day we decided to work on the hull using some epoxy resin. Thing is we used a bit too much and melted the foam. There was some discussion at the time about just who was at fault. To repair the hull I covered it with balsa wood. I built the cabins and wheel according to the plans.
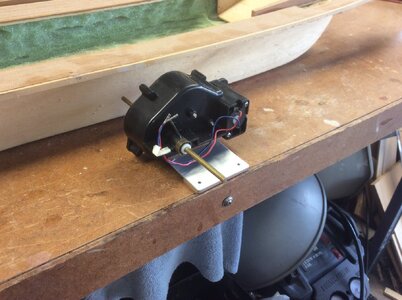
I got some solar cells to do some testing. My Australian friend sent me a gear box to use in the model.

Due to a number of issues the model was never finished. It was put into storage and when I cleared the storage unit I almost threw it away. I just could not see a way to solve its problems but at the last moment I decided to bring it home again. The years rolled on by as they do and in 2018 I decided to see if I could get it sailing.

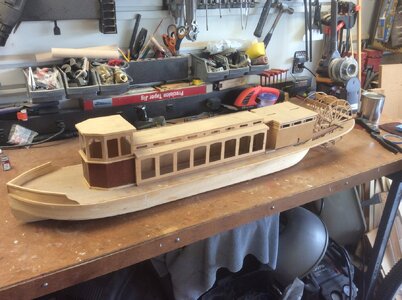
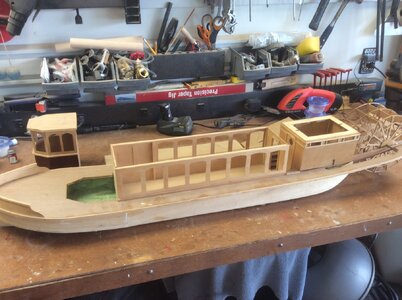
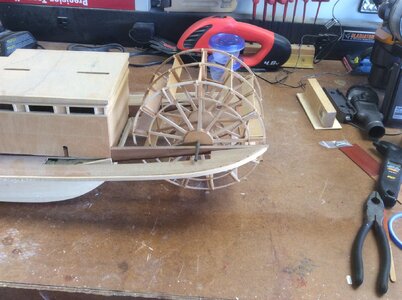
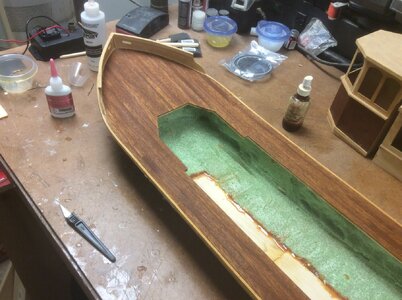
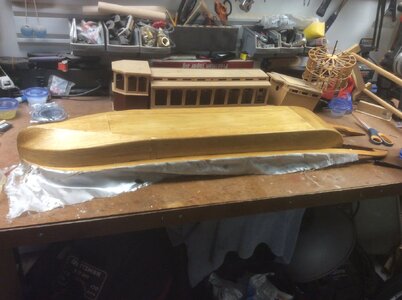
The photos show the model as it looked before I started working on it. The thing to remember is that this is a fantasy model. It does not represent any real world prototype. This allowed me to create something different.

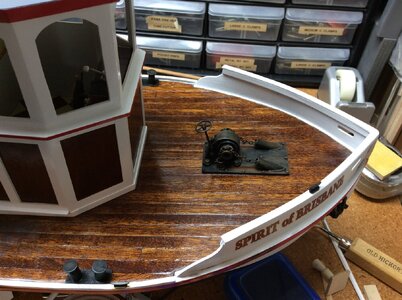
In the photos you can see how much patina the wood had. The deck is planked with teak. Also you can see the melted foam in the hull from the epoxy.
IMG_8254.jpeg

IMG_8255.jpeg

IMG_8227.jpeg

IMG_8232.jpeg

IMG_8231.jpeg

IMG_8229.jpeg

IMG_8228.jpeg
 
Last edited:
The first thing I did was to clean the decades of dust off the main deck. I knew there was teak under there.
The second thing was to cover the balsa with epoxy and cloth. It was easy to do and it added strength to the hull.

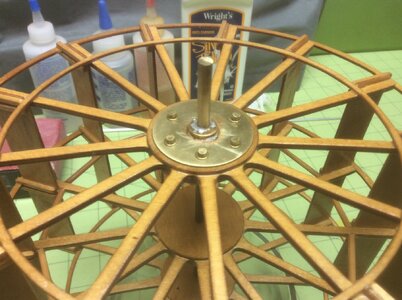
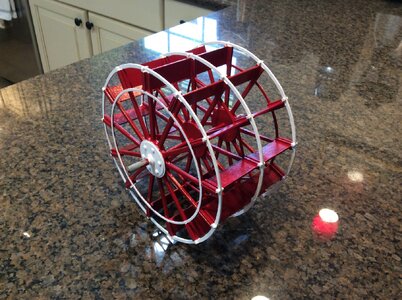
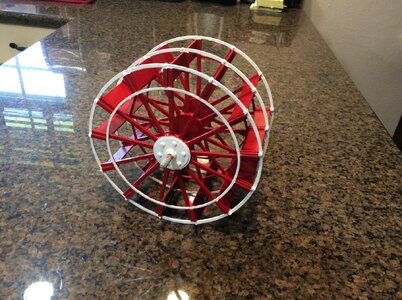
When I built the wheel I used 3/16 brass rod for the shaft. At the time I just used CA to glue the wheel to the shaft. I knew at the time that this was not a good solution for an operating model. The wheel was structurally sound even after all the years of waiting. I decided to strengthen all the joints just in case. I took the wheel outside with a nice breeze and soaked the entire thing in thin CA. I made a flange out of brass and soldered a brass collar to it. I used some small brass lag bolts to fasten the flange to the wheel. I soldered the flange to the shaft. The center wheel was left as it was with the CA glue.

IMG_8242.jpeg

IMG_8241.jpeg

IMG_8259.jpeg
 
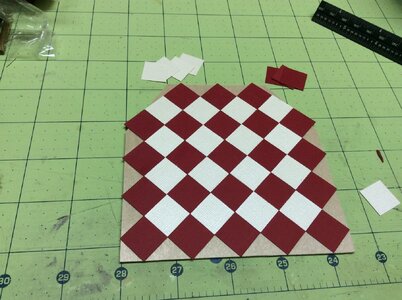
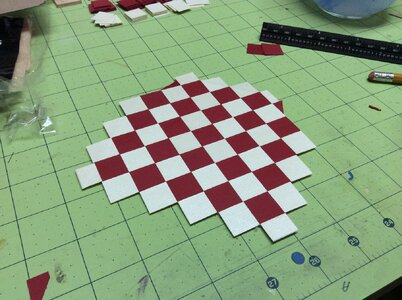
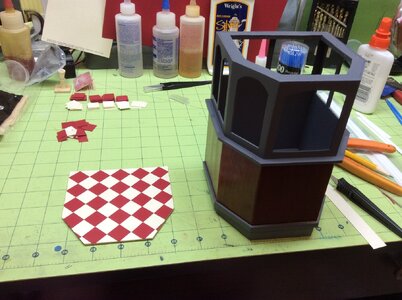
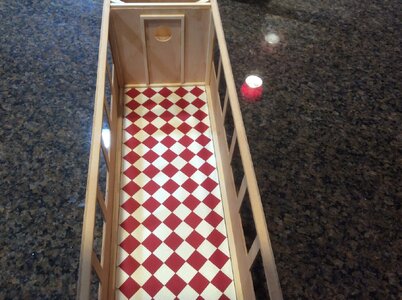
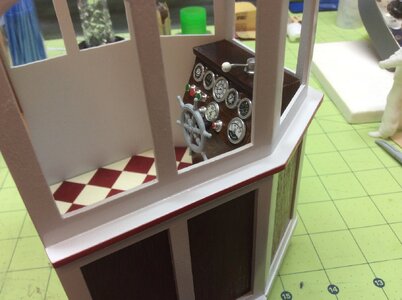
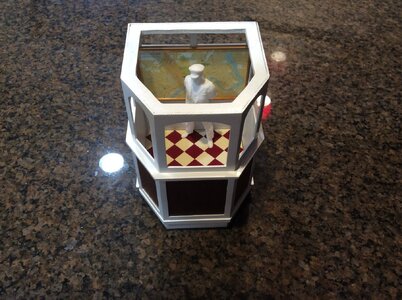
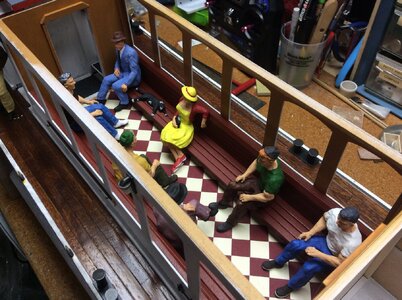
I wanted to replicate an old linoleum pattern for the floor in the pilot house and main cabin. I went to Hobby Lobby and found some textured paper that I thought would make a good pattern. I cut dozens of little squares and glued them to the floor. I wish I could remember how I got them to be identical.

IMG_8278.jpeg

IMG_8279.jpeg

IMG_8280.jpeg

IMG_8315.jpeg

IMG_8305.jpeg
 
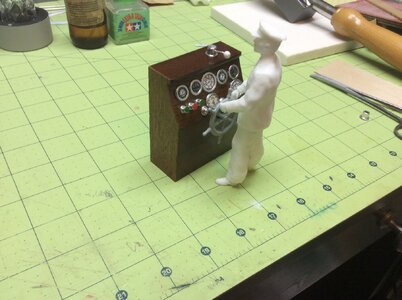
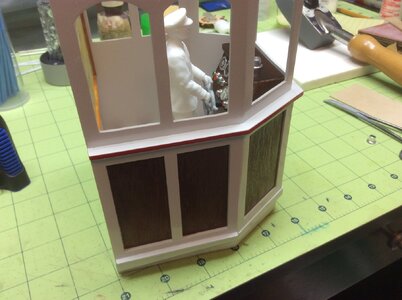
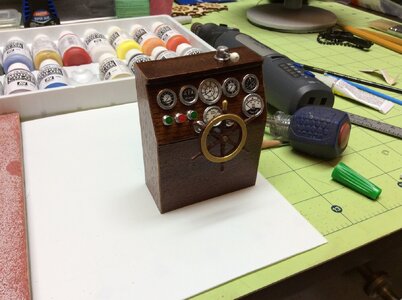
I had some crew figures from Shapeways that were the correct scale. I also found an instrument panel from another project that I thought would work. Being a fantasy model I had options. I added a ships wheel so the helmsman had control.

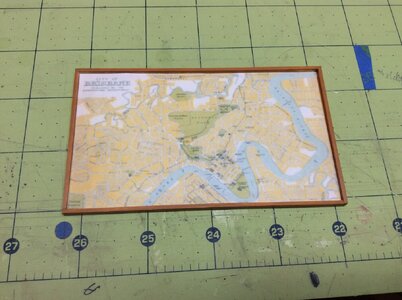
I decided to add a map of the Brisbane River to the pilot house wall. You gotta know where you are going right?

IMG_8342.jpeg

IMG_8344.jpeg

IMG_8313.jpeg

IMG_8345.jpeg

IMG_8336.jpeg

IMG_8378.jpeg
 
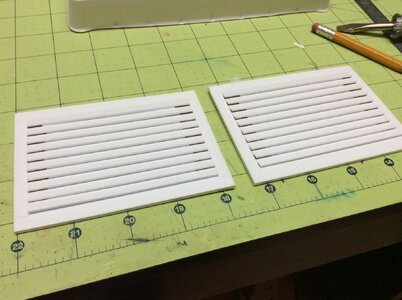
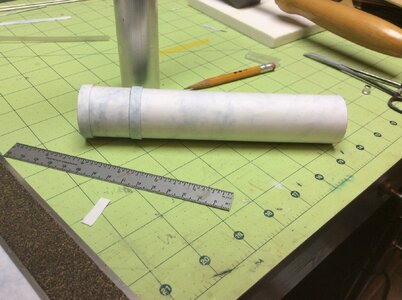
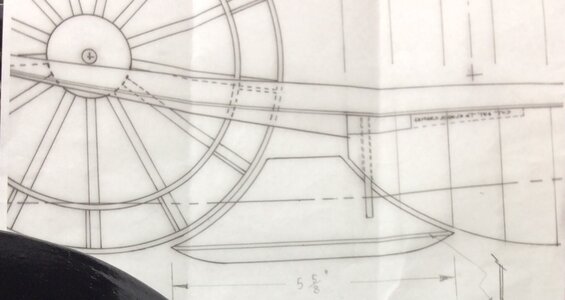
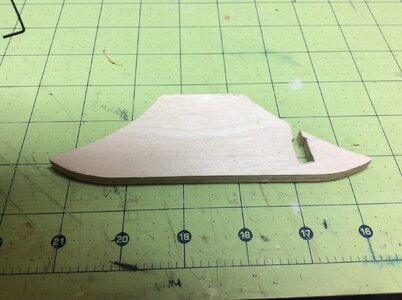
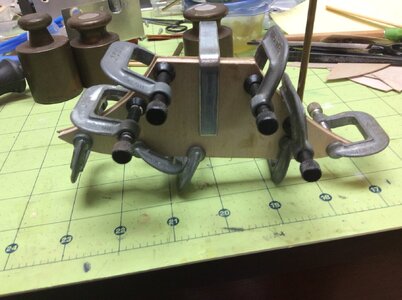
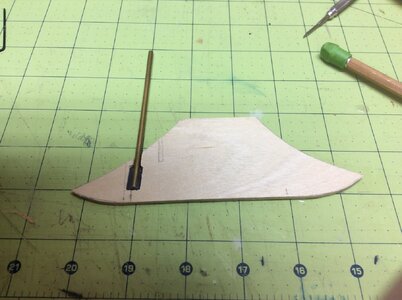
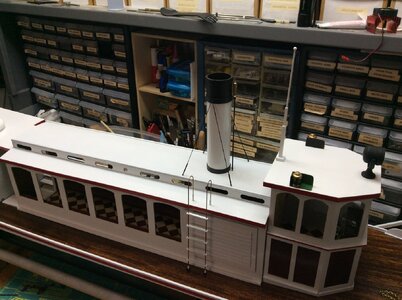
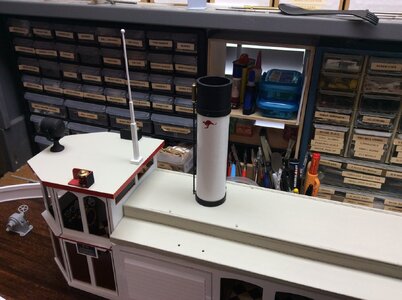
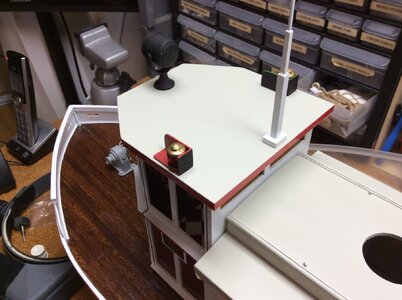
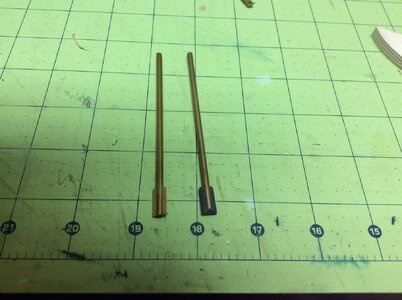
I wanted to add a smoke stack with a smoker unit. I got a model rocket tube and wrapped it in paper. I closed off the front of the main cabin with some louvres so that I had a boiler room. I needed to make the rudders for the boat but the plans were long gone so I contacted John Fryant to ask if he could help. He sent me a copy of the rudder drawing. I made a couple of rudder posts and made a sandwich to lock them in place.

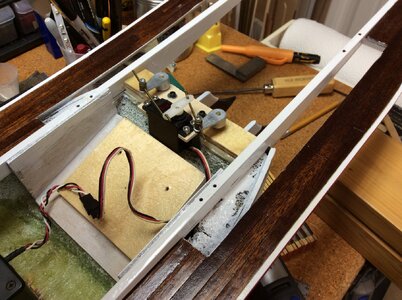
I set up the rudder linkage and I had to laugh at the mistake I made. Check it and you can see I completely got it wrong.

IMG_8379.jpeg

IMG_8347.jpeg

IMG_8467.jpeg

IMG_8460.jpeg

IMG_8461.jpeg

IMG_8464.jpeg

IMG_8462.jpeg

IMG_8493.jpeg
 
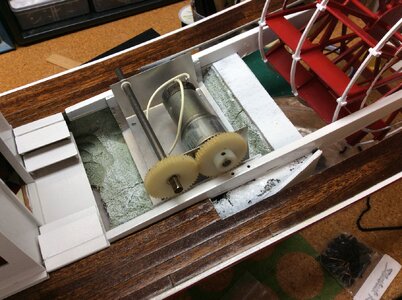
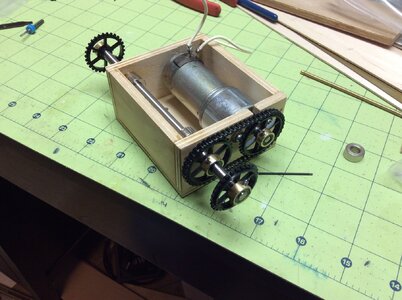
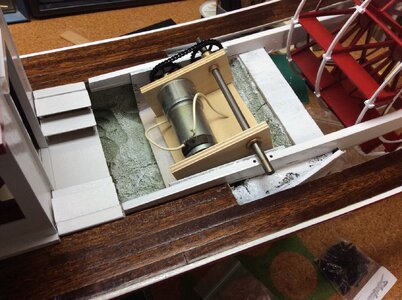
Got the wheel painted and it was time to figure out how I was going to power it. My friend sent me a gear box but it was too loud. I had a drive unit from another model but it did not fit into the hull. It did give me an idea of what I needed. This drive motor was geared down and Dumas used it in the paddle wheel kits they sell.

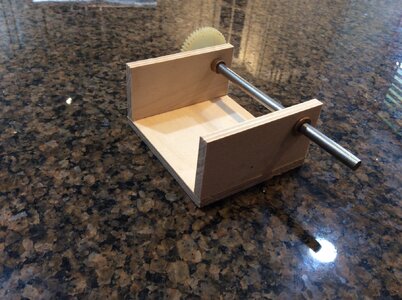
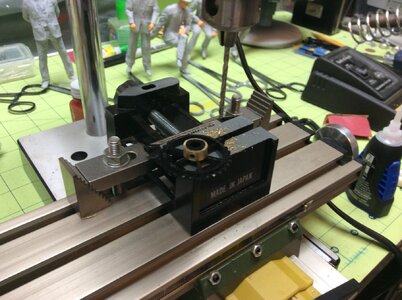
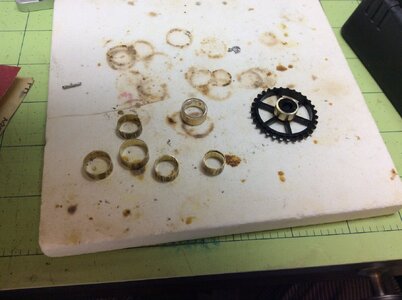
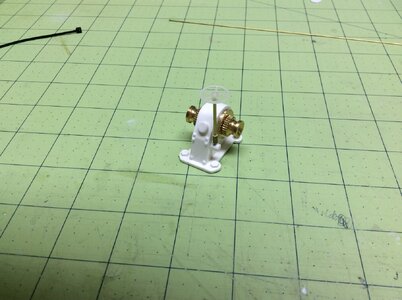
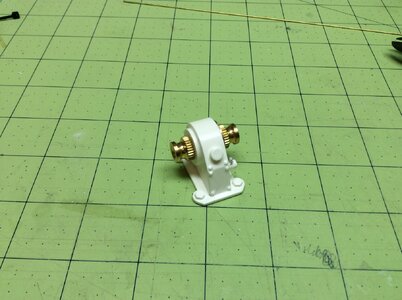
I made a custom mount and added bearings. I decided to use a chain drive for the model. Never used one before. I got the cog wheels and added a brass sleeve so I could use a set screw.

IMG_8233.jpeg

IMG_8413.jpeg

IMG_8416.jpeg

IMG_8408.jpeg

IMG_8406.jpeg

IMG_8445.jpeg

IMG_8425.jpeg

IMG_8410.jpeg

IMG_8409.jpeg
 
Very good work on the wheel house, the paddle wheel - very good and accurate work
Many Thanks for showing
 
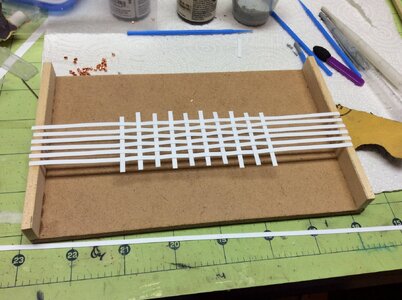
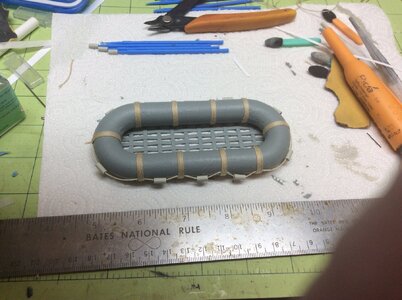
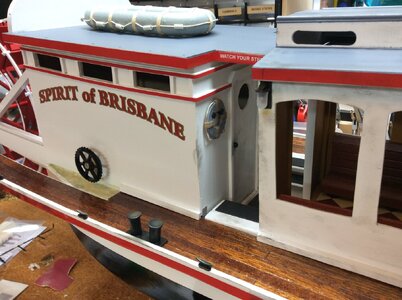
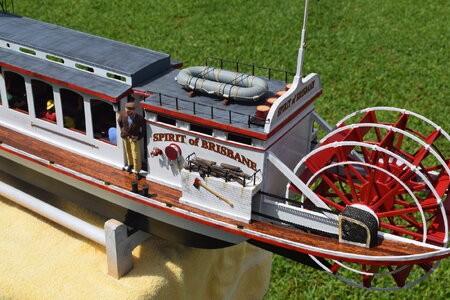
The raft core came from Shapeways. I wrapped it with strips of tissue to simulate canvas. The floats are styrene tubes. It came out pretty well.
 
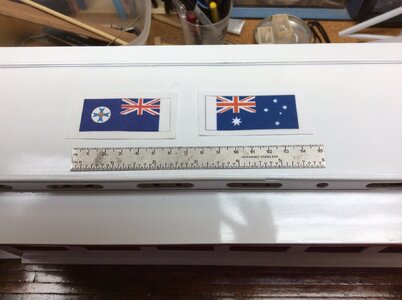
I got hold of a couple of flags for the two flag poles. The national flag of Australia and the city flag for Brisbane. Rod came up with the name Spirit of Brisbane.

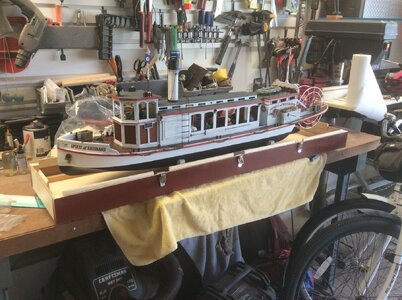
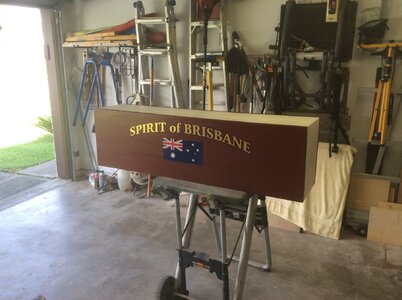
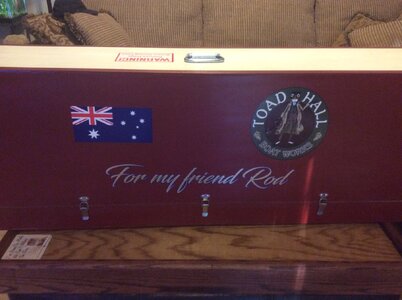
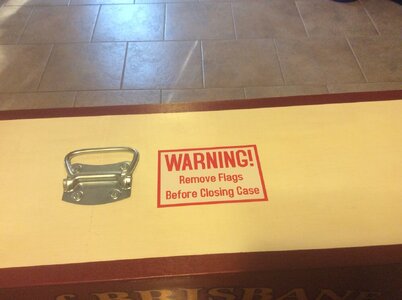
I build transport/storage boxes for each of my models. Keeps them safe and dust free.

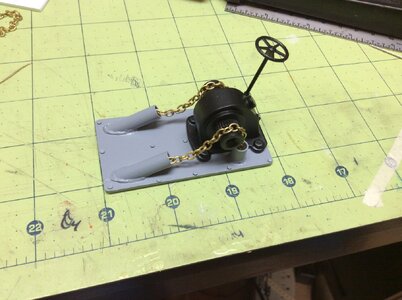
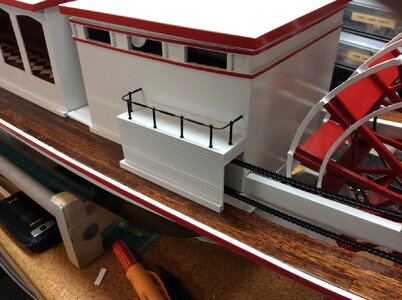
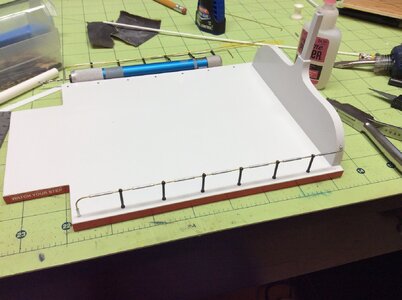
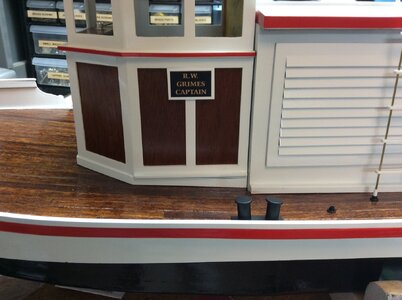
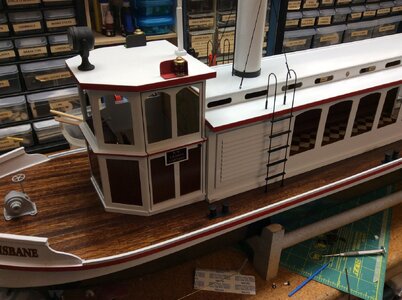
I added various small details.

IMG_8582.jpeg

IMG_8671.jpeg

IMG_8568.jpeg

IMG_8570.jpeg

IMG_8572.jpeg

IMG_8587.jpeg

IMG_8627.jpeg

IMG_8852.jpeg

IMG_8850.jpeg

IMG_8857.jpeg

IMG_8858.jpeg

DSC_0004.jpeg

IMG_8781.jpeg

IMG_8626.jpeg
 
Great Build - congratulations for this highly interesting RC-model
 
Back
Top