Texas War of Independence Topsail Schooner Lindberg 1:79th scale

Joined
Aug 23, 2017
Messages
168
Points
113

Location
central Florida
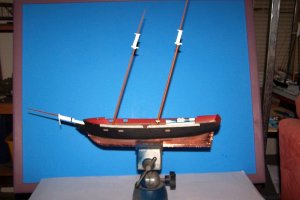
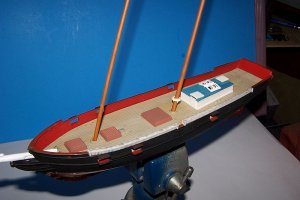
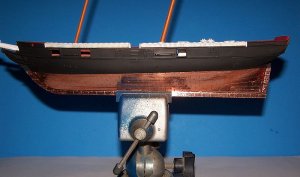
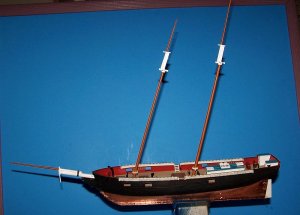
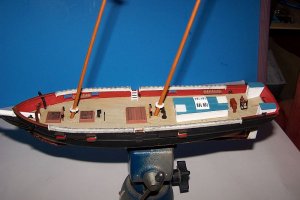
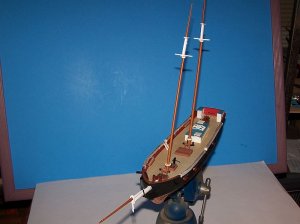
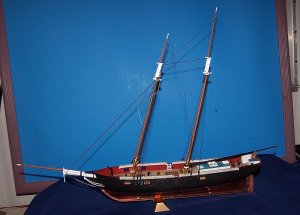
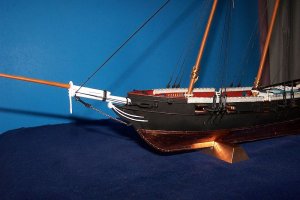
This is an oldie but a goodie that originated as a Pyro kit that was subsequently acquired by Lindberg, I'm sure I built it as a teenager but I don't really recall how it came out. In many ways, for a plastic sailing ship model, it is pretty good. It's main drawback as far as popularity goes is the lack of detail with the hull and deck. Similar to the situation with the Lindberg clipper ship Sea Witch. For the hull I decided to use copper tape to copper the bottom of the hull in a similar fashion to the way I coppered the bottom of the Model Shipways NY pilot boat Phantom. The most difficult task was marking the waterline and getting it symmetrical on both sides. I masked off the lower hull and painted the upper portion black using Floquil engine black. Once I was satisfied with the waterline location I ran a strip of 1/8" copper tape along the edge of the black portion of the hull from bow to stern. Then I started from the keel using 1/4" wide strips overlapping them about 1/16" much the same way you would plank the hull. After that was done I took a length of masking tape that I had reduced the stickiness of and marked it like a ruler at 3/8" intervals. Then I laid it over the first strip of copper tape and marked with a mechanical fine pointed pencil the 3/8" intervals the copper. Then I moved the masking tape to the next section staggering the marking line and continued. After finishing with the masking tape I went back and made sure each copper plate was marked from top to bottom. If I get a pounce wheel I'll add rivet detail. Coppering the bottom instead of just painting it copper went a long way toward making the model more attractive.
The deck only has raised lines indicating planks so I used a technique suggested by Revell for painting the decks of their big sailing ship models. I airbrushed a thin coat of black paint before airbrushing the deck with Tamiya desert yellow. Then I went back with some very fine sandpaper to highlight the raised detail such as it is. The rest of the model should be fairly straight forward except I won't be using the Lindberg rigging plan. I have a couple of wood topsail schooner kits and will be using their rigging instructions. I will be installing eyes on the Lindberg blocks and using them. Here are a couple of images of my current progress.

Lindberg Topsail Schooner 001.jpgLindberg Topsail Schooner 002.jpgLindberg Topsail Schooner 003.jpg
 
It is really interesting in the fact that you really seem to have mastered the art of this medium as it really looks like wood and the real thing. Great workmanship.

Donnie
 
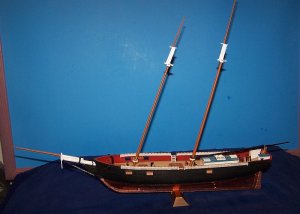
I've made some more progress on this schooner. She'll be ready to start rigging in a day or two. I've decided to paint the yards, gaffs and boom black. Not necessarily correct but I think I'll like the contrast.

armed topsail schooner Texas Navy 001.jpgarmed topsail schooner Texas Navy 002.jpgarmed topsail schooner Texas Navy 003.jpg
 
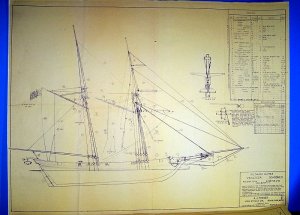
I have a set of plans for the A.J. Fisher topsail schooner Lark whose layout closely resembles that of the Lindberg schooner I'm building so I will be following the rigging plan of the Lark. While looking over the plans for the Lark I discovered that my model is missing a capstan so I will rummage through my loose parts and see if I can find one.

rigging plan 001.jpg
 
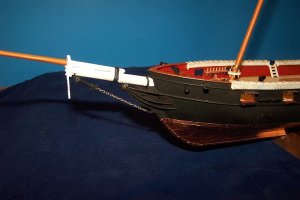
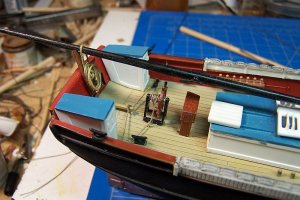
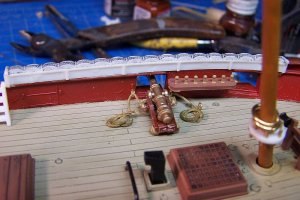
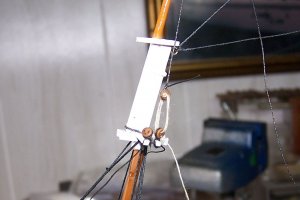
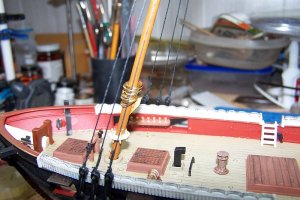
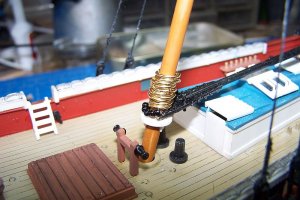
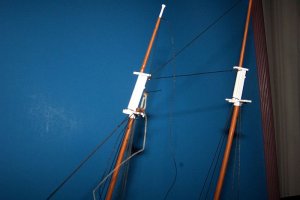
Made some progress on Tuesday. I made a boom crutch from a piece of wood from another kit. Will be adding mast hoops and rigged one of the two big guns. It's not exactly prototypical but to me it looks better than just sticking a cannon to the deck. I have started the standing rigging and discovered that the channels for rigging the shrouds and backstays are not deep enough. Even at this late date it should be easy enough to make new ones and install them.

Independence schooner progress 004.jpgIndependence schooner progress 005.jpgIndependence schooner progress 006.jpgIndependence schooner progress 007.jpg
 
Very nice details.

Donnie
 
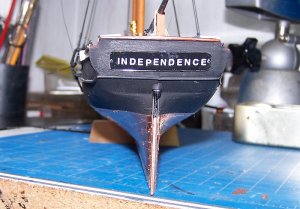
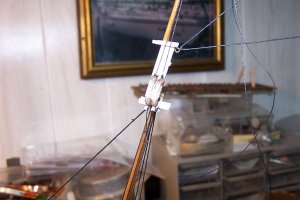
The rigging is progressing....slowly. I rigged the lower shrouds using the kit deadeyes and chainplates but the upper shrouds had none so I have taken the smallest deadeyes I could find in my spares bin and I have rigged lanyards to my first set of deadeyes. Fortunately, as this is a small vessel, I only have seven more to go. I thought about not making any but the rigging plan I am following had them and they will be giving me much needed practice for upcoming ship rigging projects. I also decided the ship needed a nameplate on the stern. I found some white gothic dry transfer letters and made a nameplate. I have ordered some Woodland Scenics dry transfer letters in a different font and in yellow, white and gold. I think the new font is more appropriate for the time period so I will probably remove this nameplate and make a new one.

Independence progress 001.jpgIndependence progress 002.jpgIndependence progress 003.jpgIndependence progress 005.jpgIndependence progress 006.jpgIndependence progress 007.jpgnameplate 001.jpg
 
John Tilley used to say that it is possible to make a good model ship out of a beef bone or sow's ear, which is what I believe Bob is doing. I am looking forward to its completion!

Bill
 
Thanks for the kind words. Progress on this build has been a little slow the last few weeks. I'm trying to teach myself how to make coils of rope to lie on the deck next to the cannons. I waited a little too long and got too far into the rigging before deciding to rig the cannons. It would have been dumb to do all the other extra work on the ship and then just glue the cannons on the deck. I will post more images as soon as I have made significant additional progress on the build.
 
Thanks for the kind words. Progress on this build has been a little slow the last few weeks. I'm trying to teach myself how to make coils of rope to lie on the deck next to the cannons. I waited a little too long and got too far into the rigging before deciding to rig the cannons. It would have been dumb to do all the other extra work on the ship and then just glue the cannons on the deck. I will post more images as soon as I have made significant additional progress on the build.
Were you able to finish this kit? I do hope your work goes well.
 
Back
Top