-

Win a Free Custom Engraved Brass Coin!!!
As a way to introduce our brass coins to the community, we will raffle off a free coin during the month of August. Follow link ABOVE for instructions for entering.
- Home
- Forums
- Ships of Scale Build Logs
- Super Detailing Static Models / Other Genres
- Dioramas and tools you might need
You are using an out of date browser. It may not display this or other websites correctly.
You should upgrade or use an alternative browser.
You should upgrade or use an alternative browser.
The 4 Railroads Project. (4-Bahnen Projekt)
- Thread starter pianoforte
- Start date
- Watchers 23
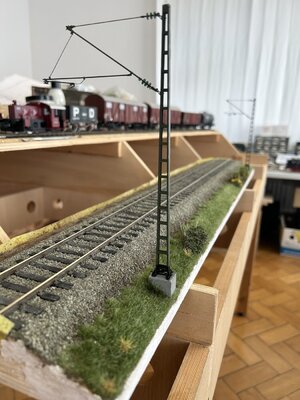
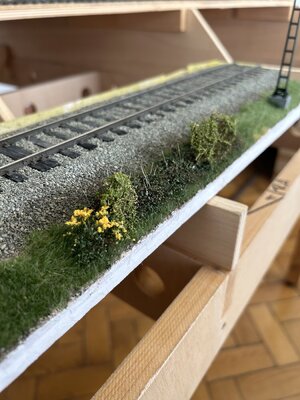
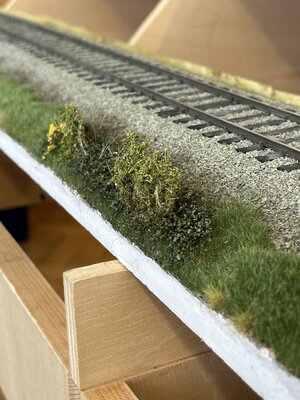
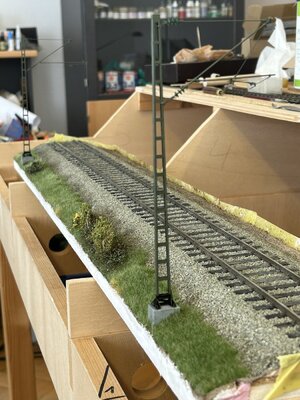
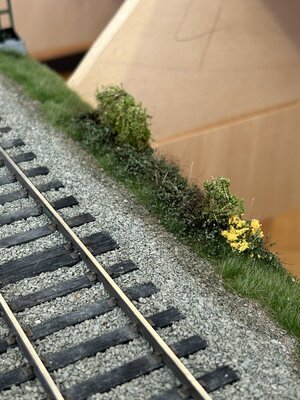
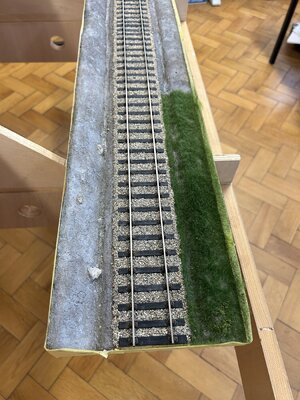
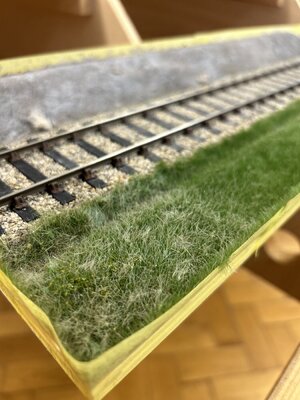
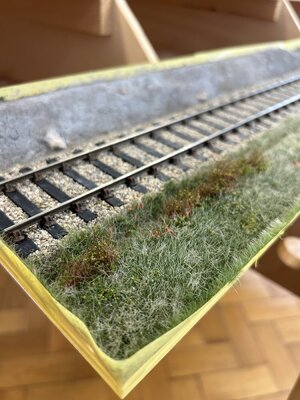
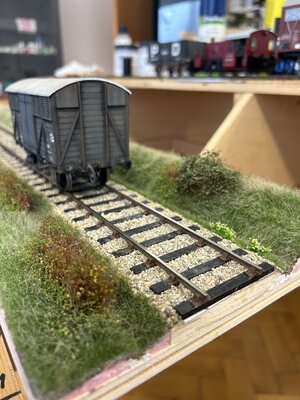
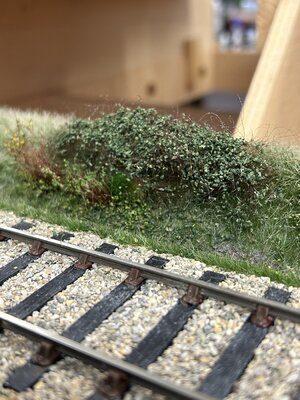
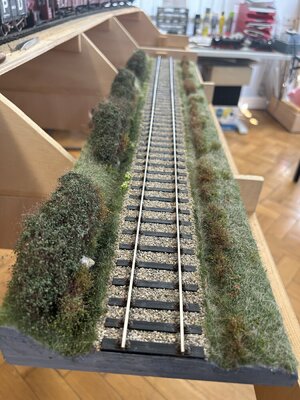
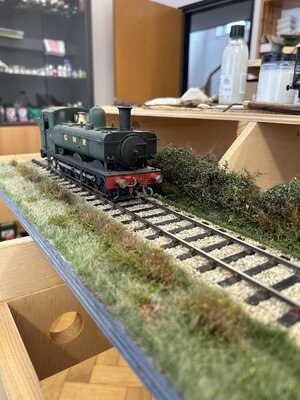
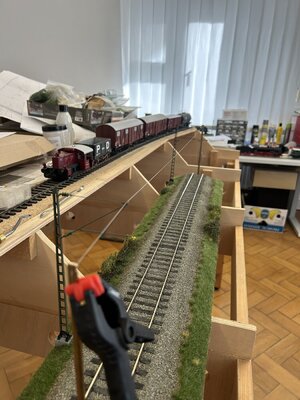
Amazing detail in the scenery even without a train on the tracks.
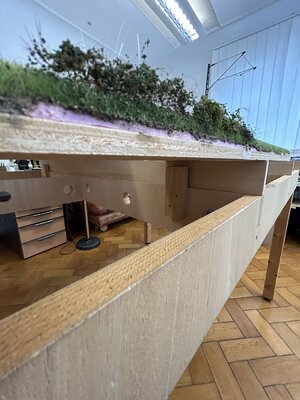
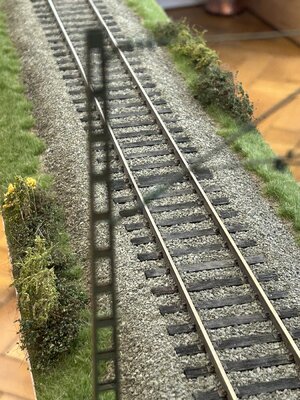
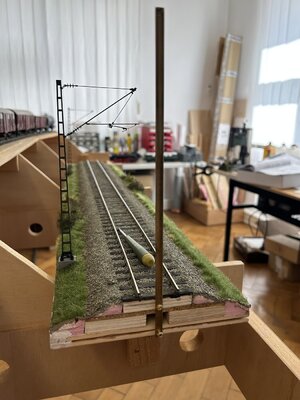
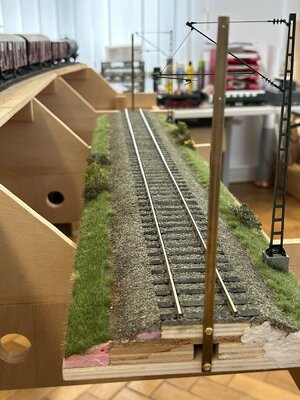
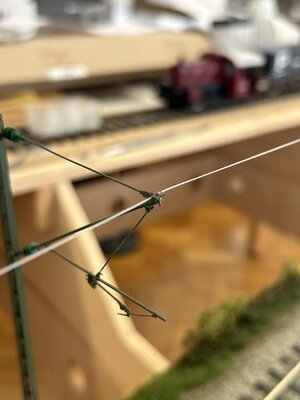
Thanks for all likes and comments I reveived, very encouraging. The greenery is now ready. It is necessary to consider how the final fixing of the catenary. I decided to use 2 brass flat bars to hold the catenary end. One side fixed, the other sprung. The suspension rope is teporarly retracted.
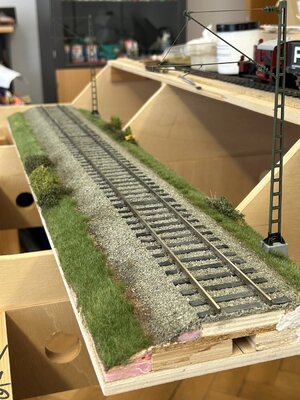

to be continued.


to be continued.
Last edited:
Great work Adi! 
Schaut guuuuut aus !!!
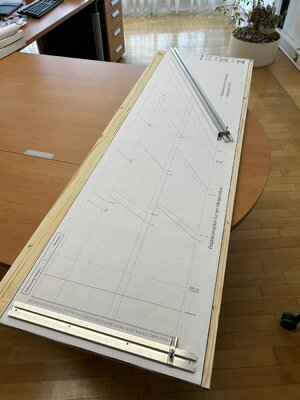
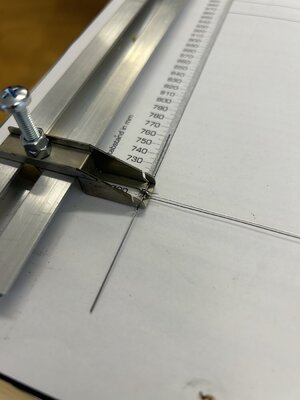
To all interested, thank you for your likes and comments. The installation of the catenary itself is a really complex process. To do this, you first need to build a mounting device. The catenary wire length is determined ( 700 mm). The ends are fitted with receptacles and then clamped in the mounting fixture. Now the position of the hangers can be determined. These are prepared and the soldered in place. The finished catenary is then attached to the supporting cables and is then attached to the poles. Then the ends are mounted front and rear and the whole catenary is tensioned.
Of course, the complete setup is tested for funktion with a matching electric locomotive.
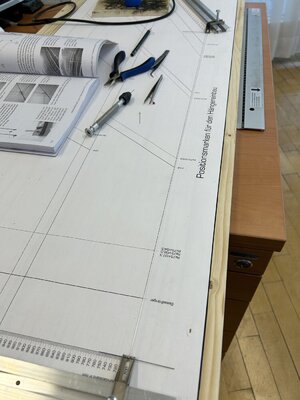
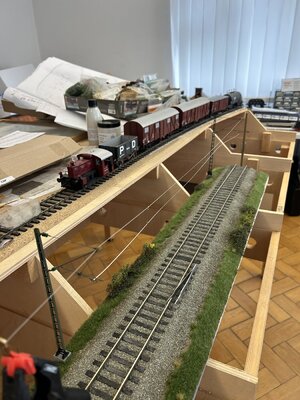
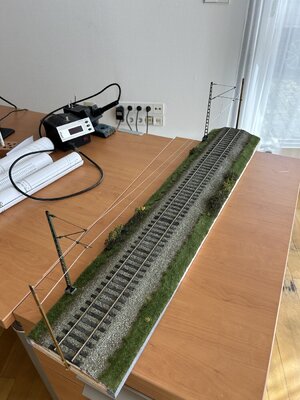

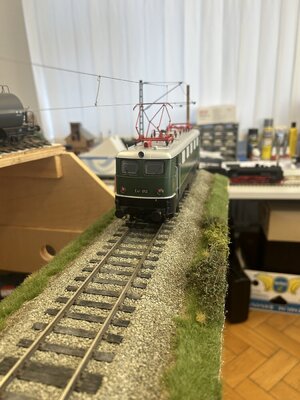
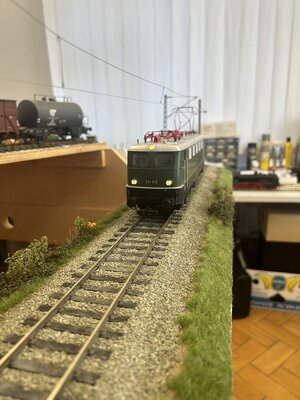
to be continued.
Of course, the complete setup is tested for funktion with a matching electric locomotive.


to be continued.
NICE!
Bravissimo!!! Applaud!
- Joined
- Apr 20, 2020
- Messages
- 6,178
- Points
- 738

great progress, looks beautifulTo all interested, thank you for your likes and comments. The installation of the catenary itself is a really complex process. To do this, you first need to build a mounting device. The catenary wire length is determined ( 700 mm). The ends are fitted with receptacles and then clamped in the mounting fixture. Now the position of the hangers can be determined. These are prepared and the soldered in place. The finished catenary is then attached to the supporting cables and is then attached to the poles. Then the ends are mounted front and rear and the whole catenary is tensioned.
Of course, the complete setup is tested for funktion with a matching electric locomotive.
View attachment 367318
View attachment 367319
View attachment 367320
View attachment 367321
View attachment 367322
View attachment 367323
View attachment 367324
View attachment 367325
to be co
ntinued.
I would love to collect and build scale train sets, but with building RC ships and aircraft there just isn't any more time to add another hobby. I really enjoy seeing the other hobbies SOS member share on this site as well as the beautiful ship models.
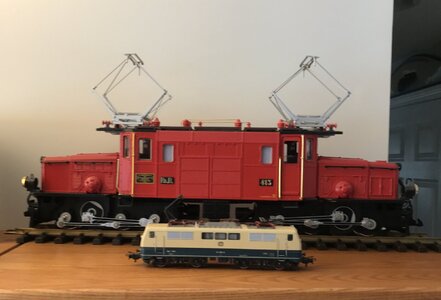
The Deutsche Bundesbahn board for the top shelf is finished and has been placed in its final position. Two locomotives adorn the display piece at the moment. A class 65 steam locomotive, 18 of which were bult for the DB from 1951 to 1956. An electric locomotive class E18, of which there a total of 63 copies for express train service.
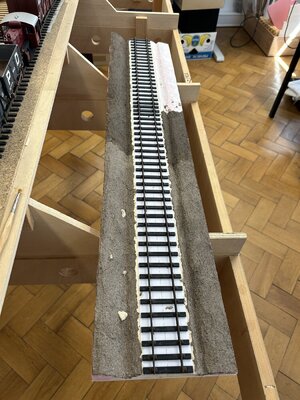
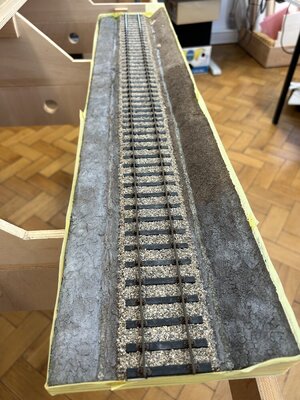
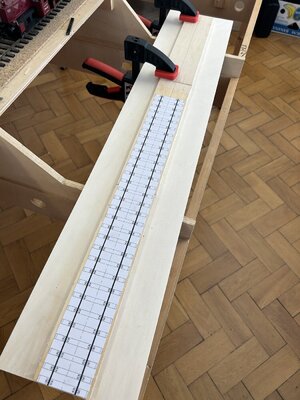
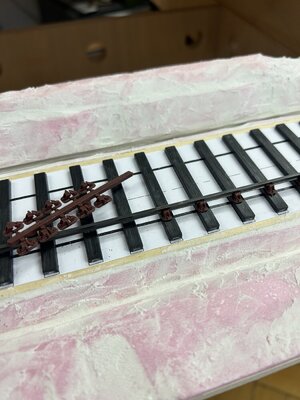
Now comes the 2nd part of the 4 railroads project, the preparations fpr the track construction of the English Great Western Railway.

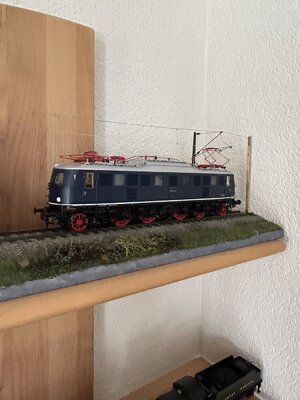
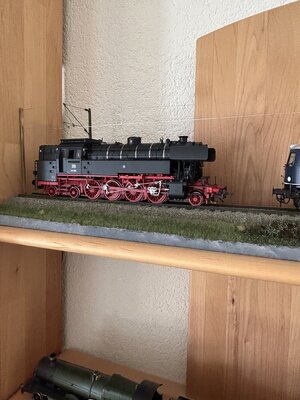
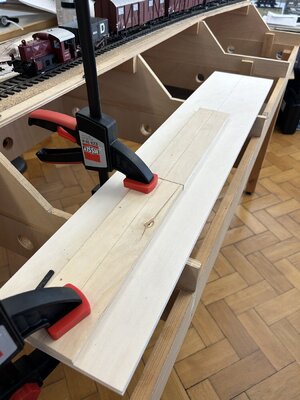
to be continued.
Now comes the 2nd part of the 4 railroads project, the preparations fpr the track construction of the English Great Western Railway.


to be continued.
Thank you for the likes I have received.
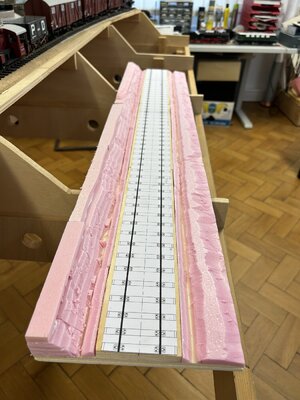
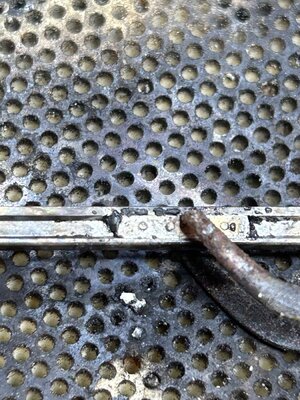
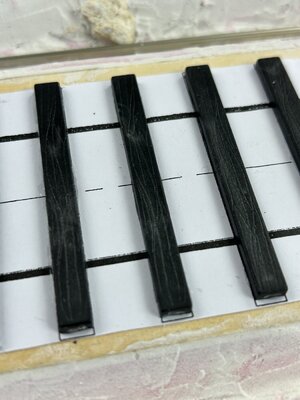
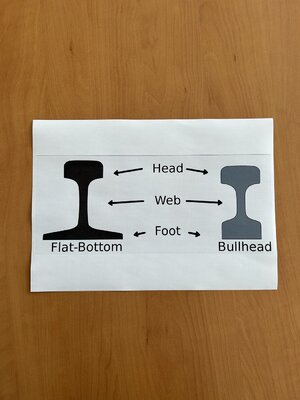
The Britisch railroads used to have a very special track system that distinguished them from continental Europe and the U.S. In our county and the U.S., flat-bottom rail predominated, while the British preferred their famous bullhead rail. Today, the flat-bottom rail has also gained acceptance in Great Britain.
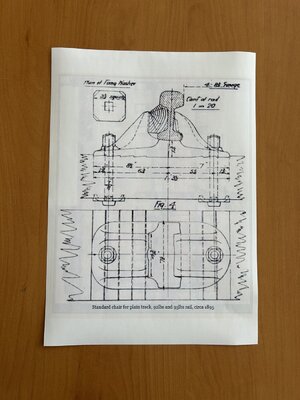
The rail chairs at GWR had 2 mounting bolts, while other companies often used 3 or 4.
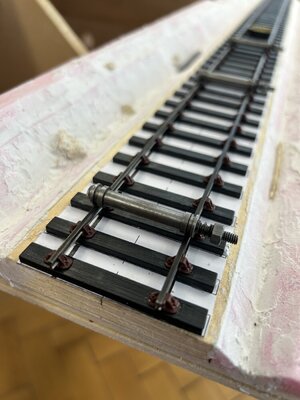
To build the model track, first lay one side. the second rail is then added using track gauges.
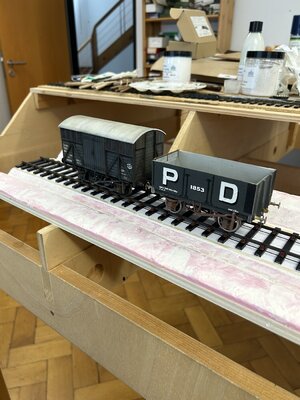
to be continued.
The Britisch railroads used to have a very special track system that distinguished them from continental Europe and the U.S. In our county and the U.S., flat-bottom rail predominated, while the British preferred their famous bullhead rail. Today, the flat-bottom rail has also gained acceptance in Great Britain.
The rail chairs at GWR had 2 mounting bolts, while other companies often used 3 or 4.
To build the model track, first lay one side. the second rail is then added using track gauges.


to be continued.
This is an excellent way to display your trains. Great work Adi! 
The landscaping is mesmerizing. A whole new set of skills on display, Adi! Wonderful!


