• Ships of Scale has incorportated an extra level of security when you log In. Please follow on-screen prompts to acknowledge that you are not a robot via a "Check Box" or a "Pictorial Check Box Puzzle". This is needed due to higher level of AI Activity Security.
  • SUBSCRIBE TO SHIPS IN SCALE TODAY!

    The beloved Ships in Scale Magazine is back and charting a new course for 2026!
    Discover new skills, new techniques, and new inspirations in every issue.

    NOTE THAT OUR NEXT ISSUE WILL BE July/August 2026
  • Win a Free Custom Engraved Brass Coin!!!
    As a way to introduce our brass coins to the community, we will raffle off a free coin during the month of August. Follow link ABOVE for instructions for entering.

The Black Swan by OcCre 1:75: Build Log

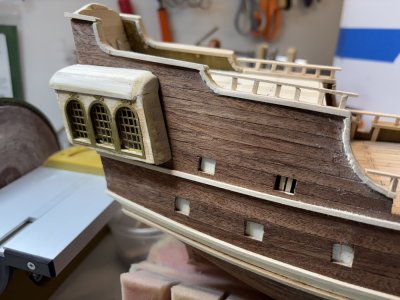
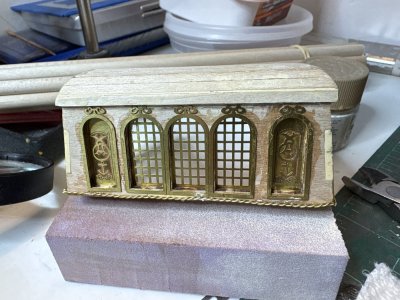
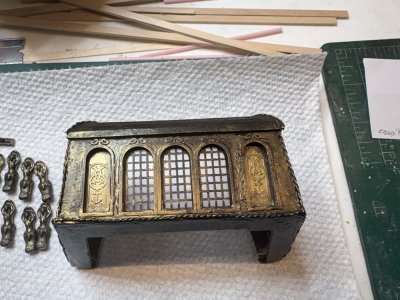
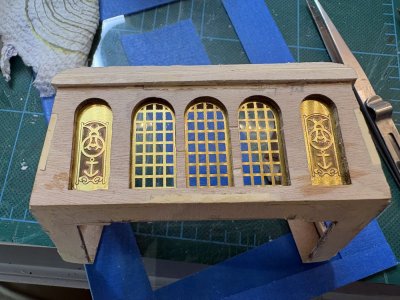
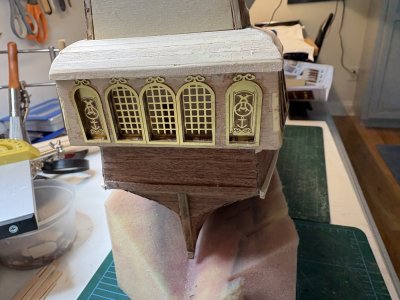
After filling and sanding the captain's cabin, I attached some PE windows and exterior window frames.
IMG_0248.jpeg

As I stated before the PE is very thick and hard to separate from the fret. I have a pair of fine snips to cut PE but the separation between the piece and the fret is too narrow to use. I used some single edge razor blades, but it was not easy. The edges of the PE were filed using a diamond file to get rid of any of the attachment points. The pieces were glued into place using CA cement.

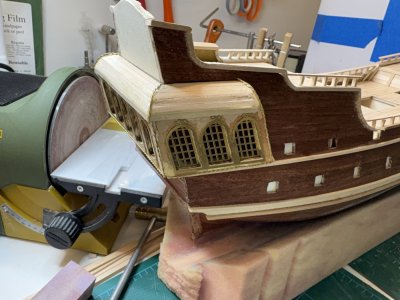
I put the cabin into position to see how it looked. It appears to be coming along nicely.
IMG_0251.jpeg


IMG_0252.jpeg

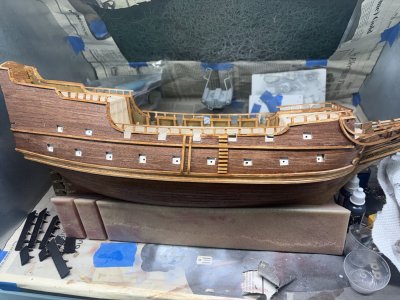
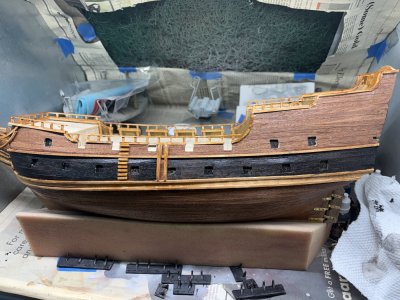
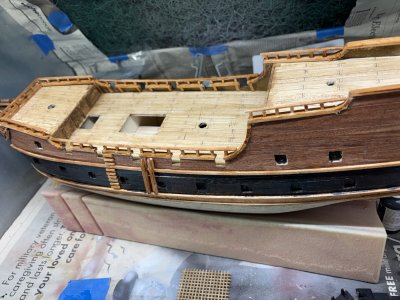
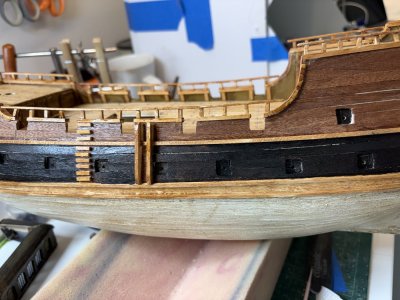
The captain's cabin is suppose to be painted black. At this point I am starting to consider how to paint the rest of the ship. The ship above the waterline is suppose to be painted black and below the waterline white. This is a fantasy ship, so I am thinking I can do what I want. I am thinking of painting the gun deck area black and leaving the upper poop and foredeck the natural plank color or perhaps even the reverse. Any thoughts about this would be appreciated.
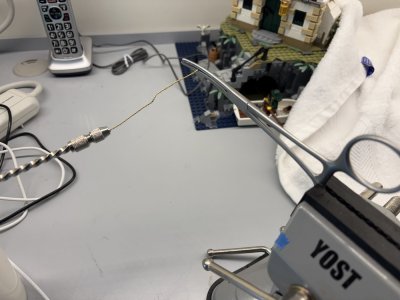
 
There is supposed to be some fine "filigree" work along the edges of the captain's cabin. In order to make it they show the use of an electric drill to twist to pieces of included brass wire together. I was afraid I would not have much control of the process using a drill so I used a "hand drill" type pin vise I have. I calmed 2 pieces of the brass wire to a hemostats and twisted it with the hand drill. It worked well.

IMG_0253.jpeg

The pieces were cut to length and installed using CA glue.

IMG_0256.jpeg

IMG_0257.jpeg
 
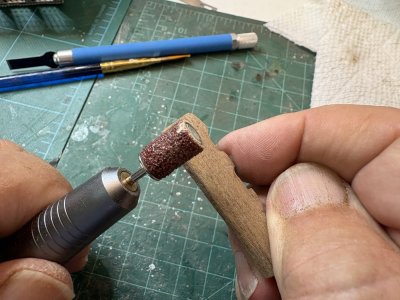
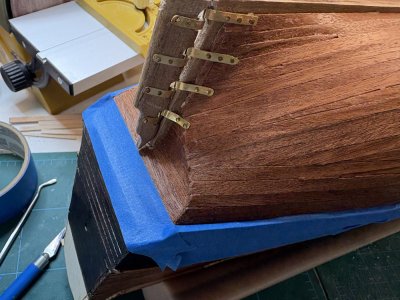
I primed the captain's cabin to ensure the metal components would accept the acrylic paint. While waiting for the primer to dry I moved on to the rudder. The rudder has to be shaped (rounded) and attached to the hull. I found using my nail drill
it was easy to do this.

IMG_0261.jpeg


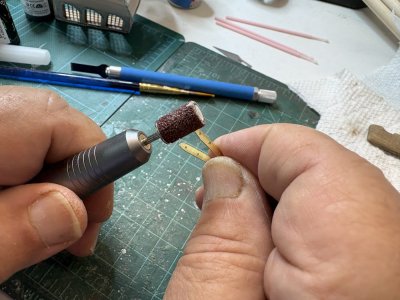
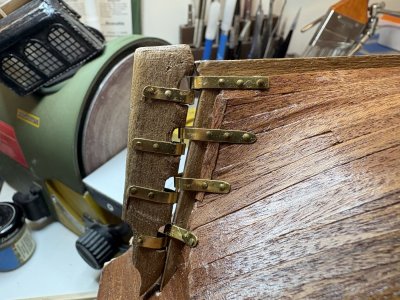
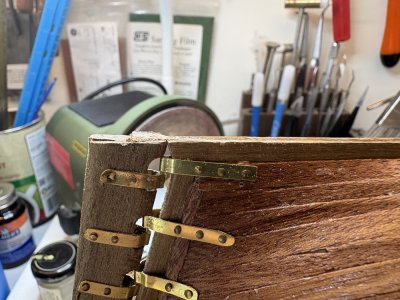
The brass strip hinges are provided by Occre. I did not expect Occre to include them. I was thinking we would be provided some brass strip. The included hinges are a nice touch. Some have to be shortened and they have to have the ends rounded. Once again the nail drill made quick work on them.

IMG_0260.jpeg
 
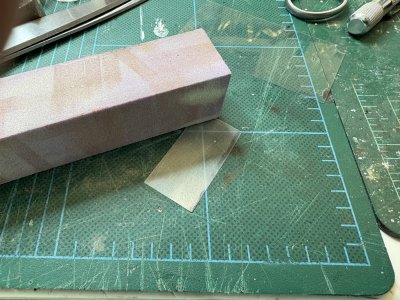
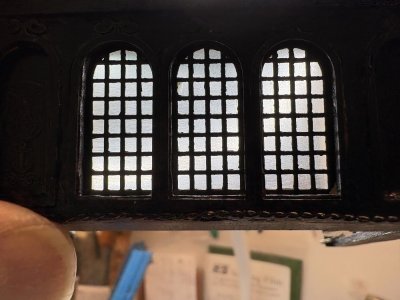
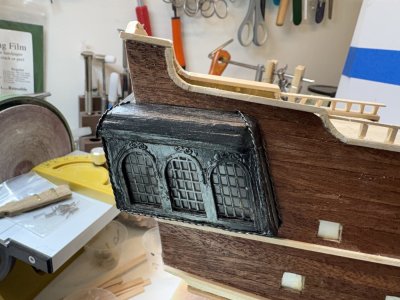
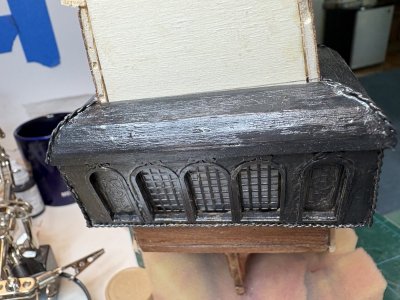
The captain's cabin was painted with 2 coats of the Occre black acrylic paint. The instructions have you use fine sandpaper to scratch up supplied acrylic sheet to obscure the inside of the cabin. I used a fine sanding block used for manicures.

IMG_0263.jpeg

These were glued to the inside of the windows using PVA.

IMG_0265.jpeg

I test fitted the cabin on the ship. As I said before they would have you elaborately mask and paint the inside area of the cabin black (then later painting the rest of the area black) :rolleyes:. I think it looks fine with out the black interior.
IMG_0266.jpegIMG_0267.jpeg
 
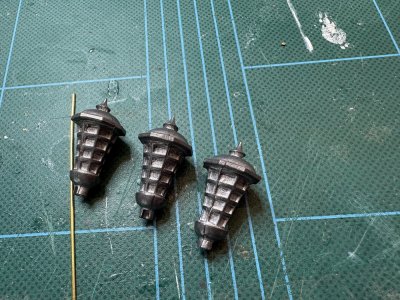
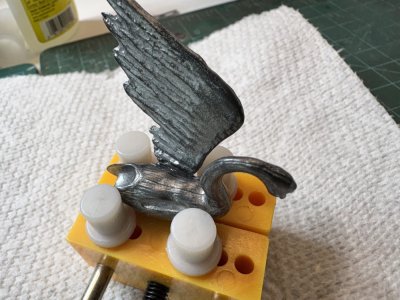
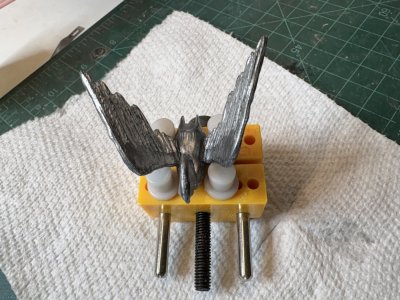
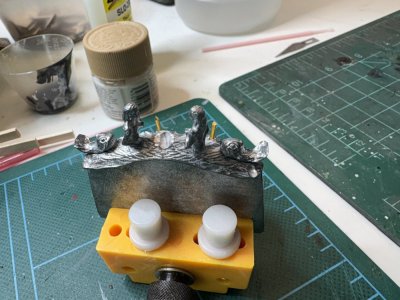
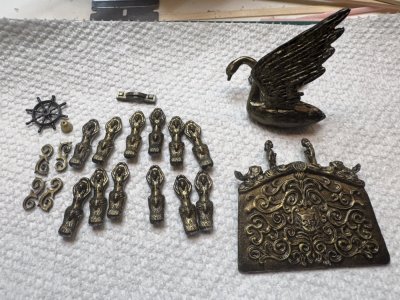
Some of the ships fanciful "artwork" has to be assembled and eventually painted. The figurehead swan has to have its wings attached. The artwork that at the rear of the ship above the captains cabin has to have 2 fish and mermaids attached as well as the rear lanterns assembled. I used CA glue to hold these metal parts together. I washed all the metal in alcohol to make sure the surfaces were free of any releasing agent to ensure a better adhesion of the glue. The lanterns are supported on 1.5mm brass rods with you cut out form supplied stock.
IMG_0272.jpeg


I anchored the swan to a small "vise" and attached the wings.

IMG_0270.jpeg

IMG_0271.jpeg

The fish and mermaids were similarly attached to the art piece that goes onto the transom.

IMG_0275 2.jpeg
 
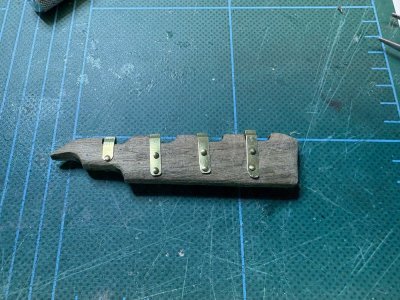
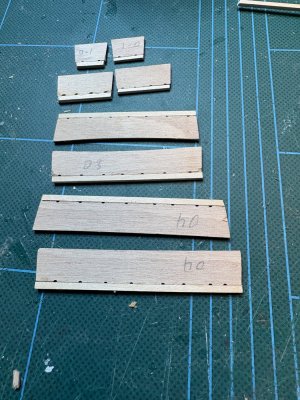
They instructed next to put some 2 x 2 mm strip on the edge of 8 laser cut pieces and then paint them black. After that they would have you glue on some support pieces on one side. It took me a while to figure out that these are to be chainplates for the deadeyes. Looking further along the instruction photos, placement of these are not seen. Suddenly they appear attached to the hull further along in the instruction pictures when showing placement of the deadeyes. I did not see any installation of them on any of the online instruction videos that Occre provide. I am not usually a grumpy old man, but I find the lack of any real mention of these important components annoying. Also painting them before you glue the support brackets on them would provide a much weaker join. and attaching them to a painted hull is also not a good idea. If I paint the hull I will install these first. I will probably use pins to provide positive anchoring of these chainplates.

Here are the pieces glued to 2 x 3mm strip.

IMG_0278.jpeg


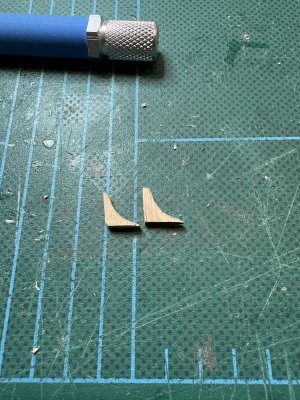
Of course they provide exactly the number of laser cut brackets needed. Of course I promptly lost one to the other dimension while I was sanding off char using my nail drill. They could easily have made more of these pieces in the laser cut plywood. There is plenty of space. I made a replacement on the scrap of the plywood. The replacement piece is on the right.

IMG_0280.jpeg

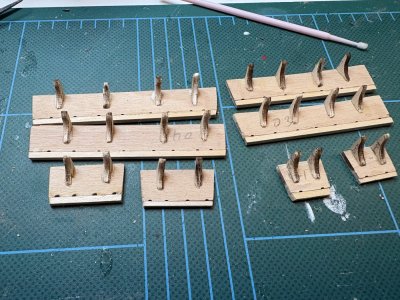
The brackets were then glued onto the chainplates.

IMG_0281.jpeg
 
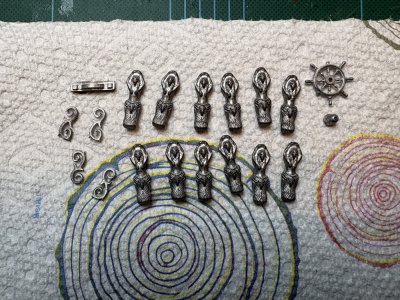
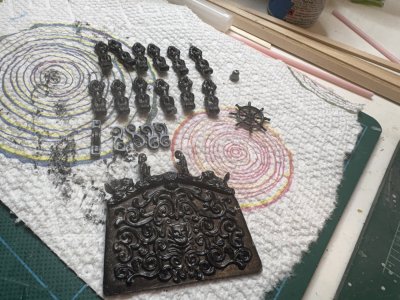
There are some metal pieces that are scroll work and mini figureheads that go below the captain's cabin, as well as the ships wheel and bell. These have to be painted. I washed them first in soap and water and then alcohol to get rid of any grease or releasing agents.

IMG_0284.jpeg

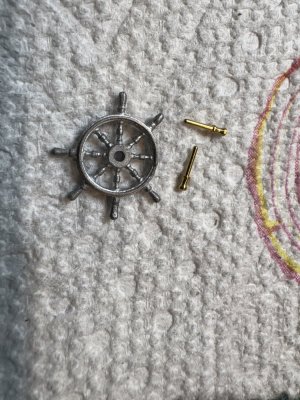
As you may note, the ships wheel is defective in that 2 of the handles are not completely formed. These handles have the shape of belaying pins. I decided to replace them with such. The belaying pins of the Black Swan are much larger than these handles. (way out of scale in my opinion. I am sure I'll be commenting on those in the future.) However I remembered I had a stash of smaller belaying pins from my Constitution cross section build. These appeared to be the appropriate size. Using my nail drill I sanded the areas where the handles were mis formed flat.

IMG_0286.jpeg

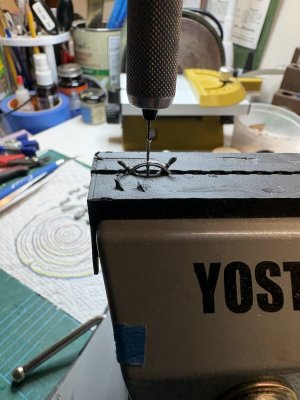
I drilled 2 depressions into the wheel.

IMG_0287.jpeg

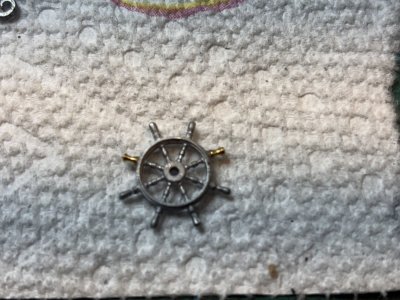
Using some small side cutters I nipped the stems off the belaying pins and glued them into place using CA.

IMG_0289.jpeg

The pieces were then painted with Occre black paint.

IMG_0290.jpeg
 
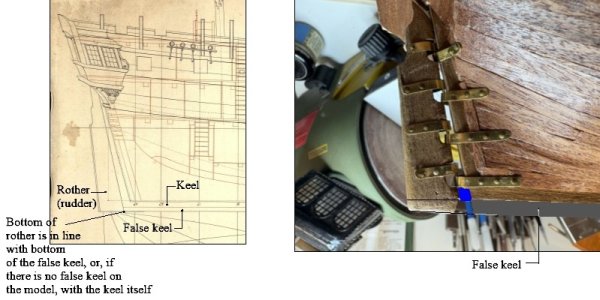
Is there going to be a false keel added? The reason I ask is that the rudder is not level with the keel and would be the first thing to ground in shallow water and get ripped off the ship.
Thanks
Allan
1787570270417.jpeg
 
Last edited:
Is there going to be a false keel added? The reason I ask is that the rudder is not level with the keel and would be the first thing to ground in shallow water and get ripped off the ship.
Thanks
Allan
View attachment 629509
This did not escape my attention. The rudder seemed to fit the best the way it is. I will probably cut the bottom of the rudder down and round it.
 
The rudder was cut to be flush with the keel.

IMG_0306.jpeg

I later rounded it with the mini sanding drum of the nail drill.

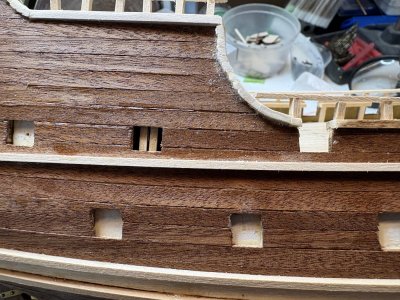
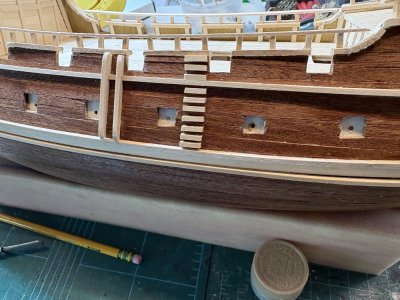
If you remember one of the inserts that were glued behind the gunport to hold the dummy guns popped out. Using the idea suggested by TexBilly I glued 2 support beams behind the gun port.

IMG_0302.jpeg

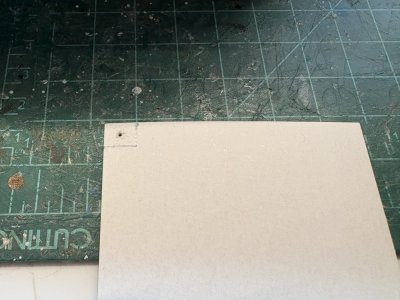
I cut out a small piece of card stock and glued it into place.

IMG_0300.jpeg

IMG_0303.jpeg

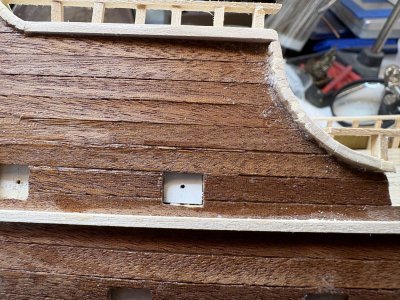
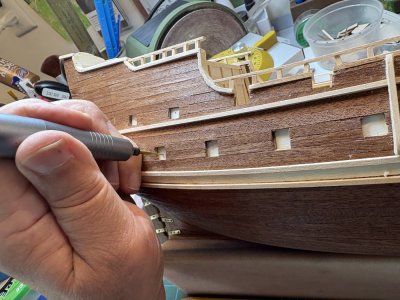
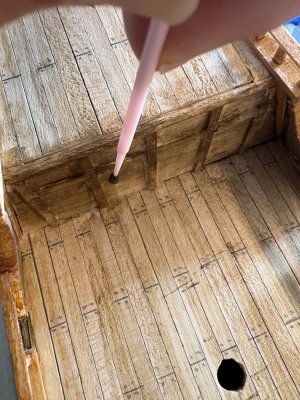
Using my nail drill I slowly, without applying much pressure, drilled 2mm holes in the gunport to accept the dummy cannons. I did not want more pieces to become dislodged. I first used a 1mm bit then enlarged the holes with a 2mm bit.

IMG_0304.jpeg

IMG_0305.jpeg
 
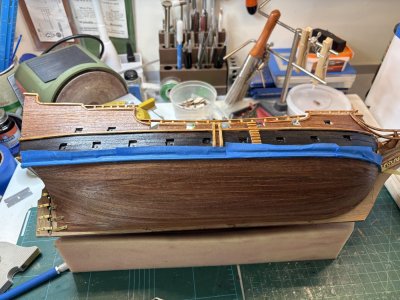
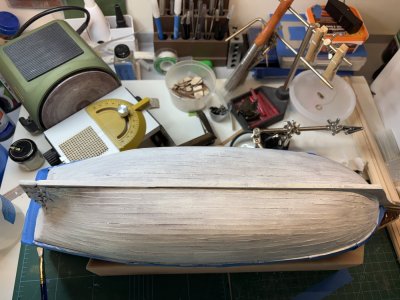
I decided to paint the bottom of the hull white as suggested. First off I masked off the wales and the top of the ship.

IMG_0316.jpegIMG_0317.jpeg


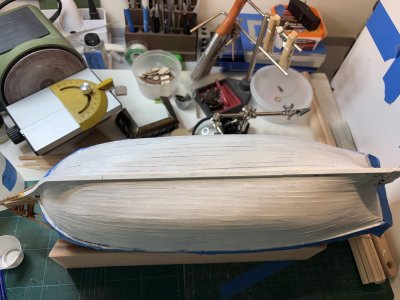
I then applies several coates of the Occre white diluted slightly with acrylic thinner to get a better flow. Here is a picture after the first 2 coats.

IMG_0323.jpeg

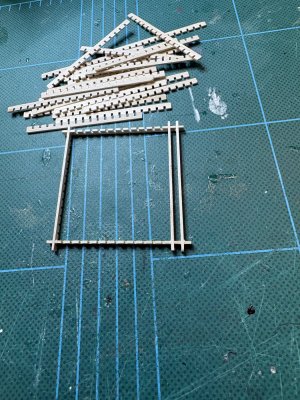
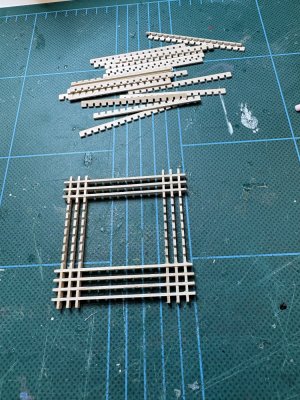
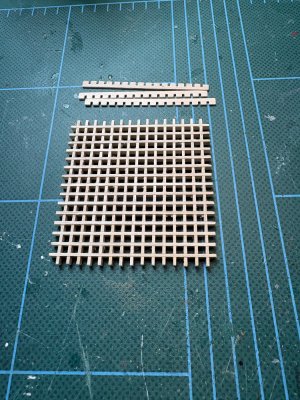
Waiting between coats for the paint to dry, I built the supplied grating for the hold. It went together easily. It is nice that even here Occre supplied a few more strips then necessary.

IMG_0319.jpeg

IMG_0320.jpeg

IMG_0322.jpeg
 
I put down 4 thinned coats of the white paint. I know I could have smoothed the hull out more but I kind of like the rough look that perhaps a pirate ship would have.

IMG_0324.jpeg

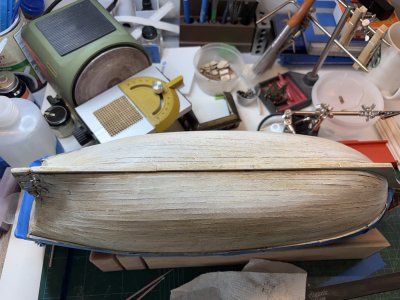
Occre has supplied Bitumen of Judea which I have learned is a natural asphalt substance that has been used for thousands of years to give things an antique look. I mixed it with a bit of water and painted it on. I then used a moistened rag to take some of it off.

IMG_0330.jpeg

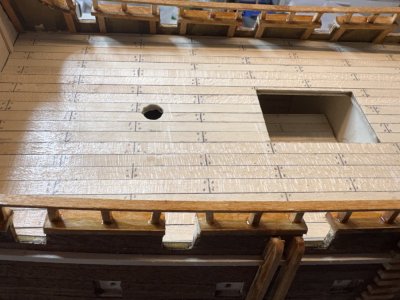
I used the sam product on the decking. It does provide a weathered look.

IMG_0339.jpeg

To get into tight corners I used Dental applicators. You can buy these things by the hundreds and they work great to apply glue or do paint touch ups.
IMG_0327.jpeg

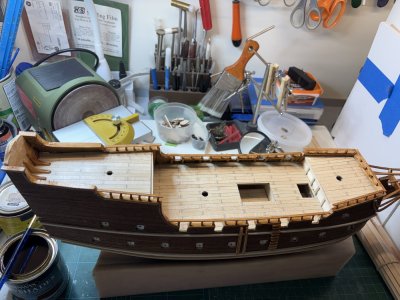
The hull and deck are looking much more weathered.

IMG_0334.jpeg
 
Back
Top