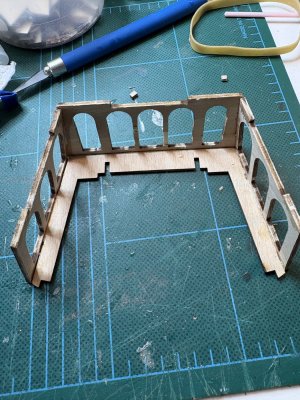
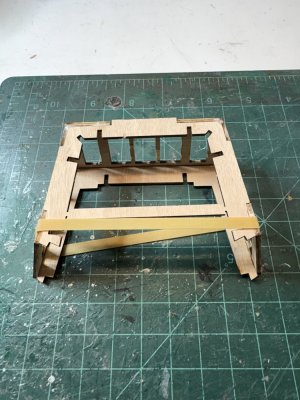
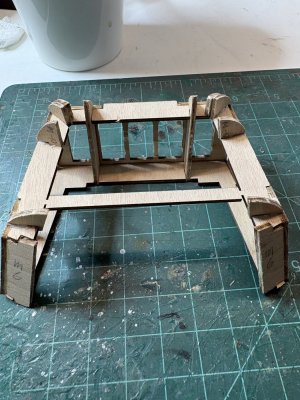
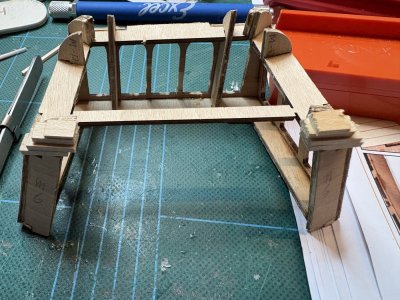
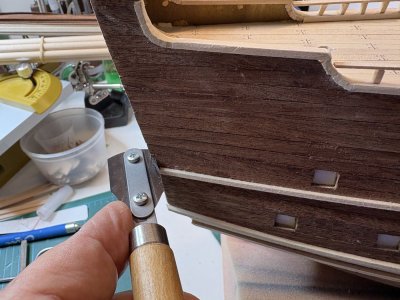
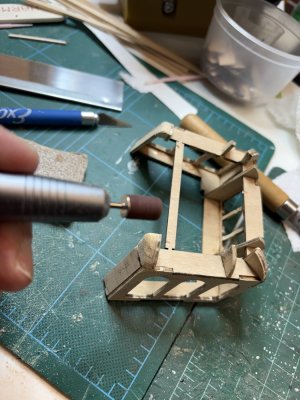
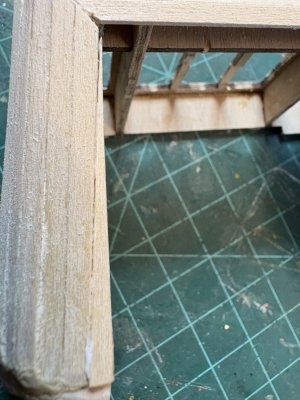
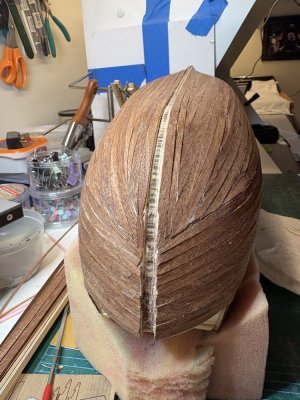
The next step is to attach the pieces that represent the keel. In order to do that you have to make sure the "keyway" which it attaches to is wide enough. I test fitted the pieces and had to widen the slot with a file in a few places for the pieces to fit.
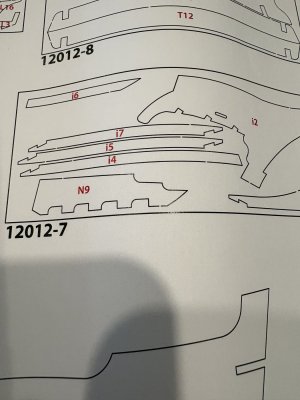
Just a note in the diagram of the pieces the keel pieces i-4 and i-7 were incorrectly labeled. They should be reversed. But it is pretty obvious that this is an error
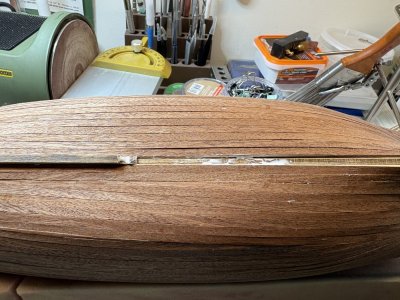
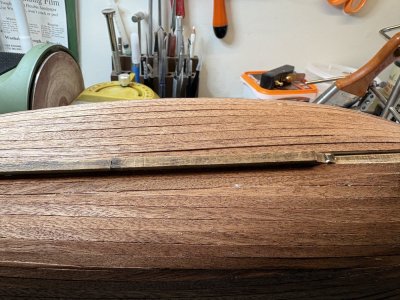
The keel pieces nicely key into each other.
Just a note in the diagram of the pieces the keel pieces i-4 and i-7 were incorrectly labeled. They should be reversed. But it is pretty obvious that this is an error
The keel pieces nicely key into each other.
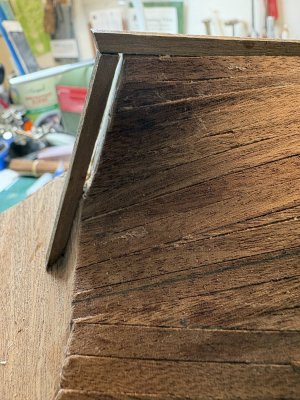
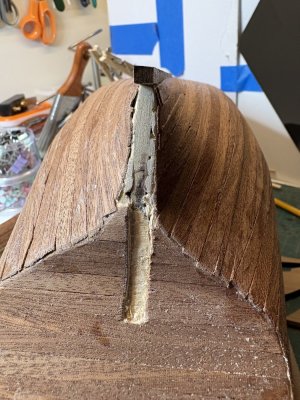
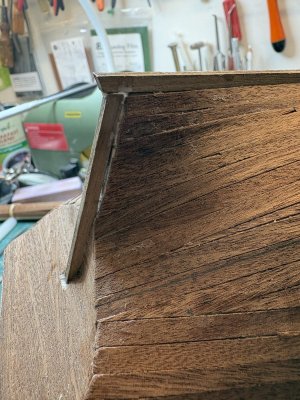
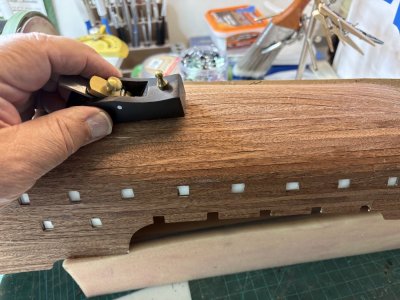
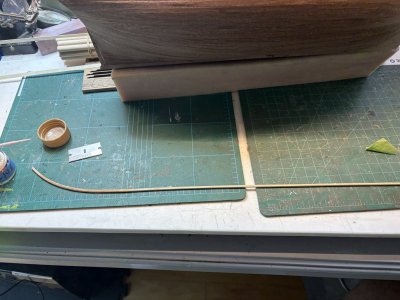
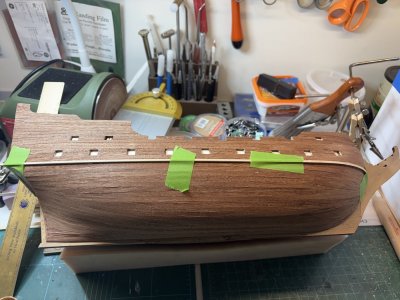
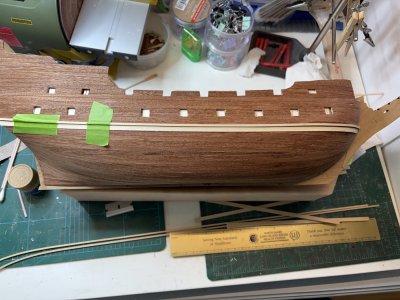
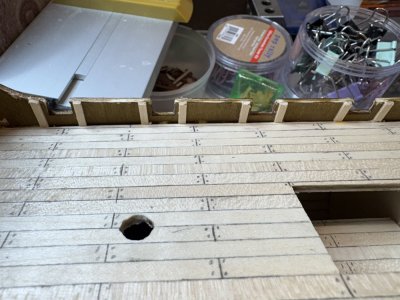
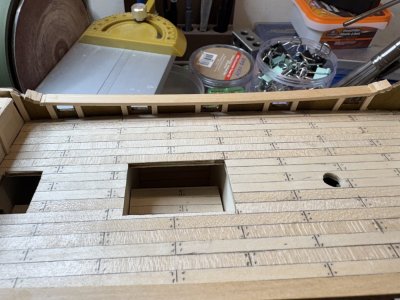
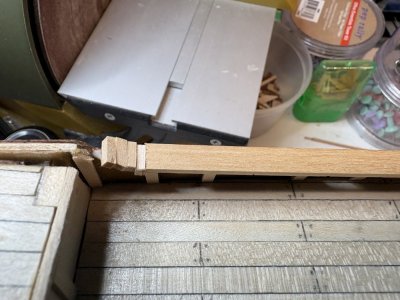
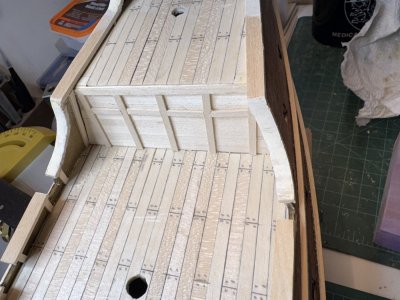
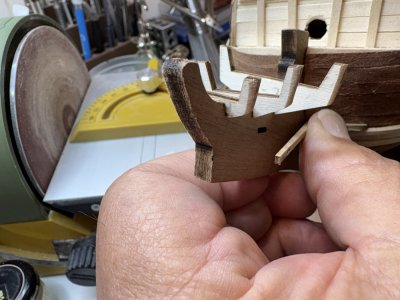
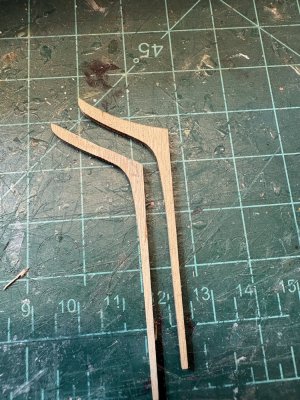
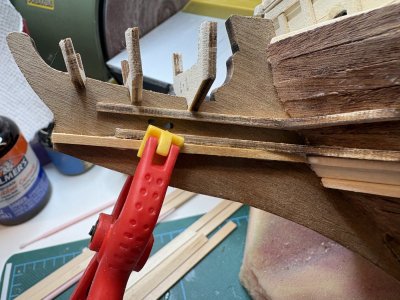
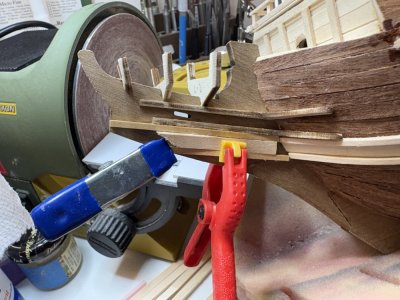
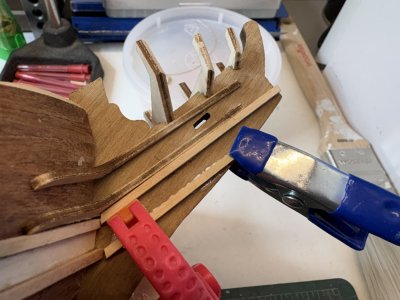
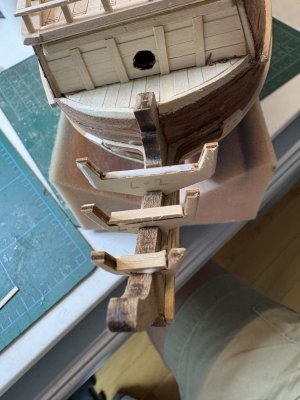
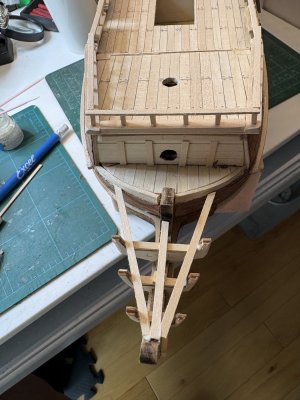
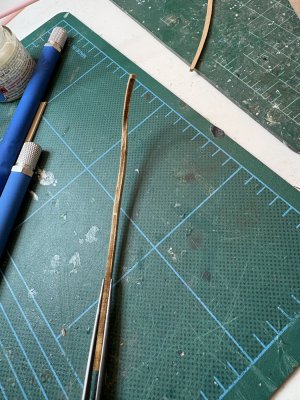
 ). After several frustrating tries I soaked the pieces and bent them while wet.