• Ships of Scale has incorportated an extra level of security when you log In. Please follow on-screen prompts to acknowledge that you are not a robot via a "Check Box" or a "Pictorial Check Box Puzzle". This is needed due to higher level of AI Activity Security.
  • SUBSCRIBE TO SHIPS IN SCALE TODAY!

    The beloved Ships in Scale Magazine is back and charting a new course for 2026!
    Discover new skills, new techniques, and new inspirations in every issue.

    NOTE THAT OUR NEXT ISSUE WILL BE July/August 2026
  • Win a Free Custom Engraved Brass Coin!!!
    As a way to introduce our brass coins to the community, we will raffle off a free coin during the month of August. Follow link ABOVE for instructions for entering.

The Black Swan by OcCre 1:75: Build Log

The gunport covers were primed, painted black and installed into the gunports. The cannons and "false" half cannons were prepared. I have to complement Occre on the casting of the cannons and really all their castings. They are exceptionally crisp and free of flash. Nice work on their part! The cannons were washed in dish soap and hot water to get rid of any releasing agent, rinsed and dried. I set them up on a piece of foam board to hold them and primed them and painted them black.
Great tip to have into account when working the gunport of the Golden Hind I´m building. Didn't think about cleaning and removal of any releasing agent. Always learning !!
 
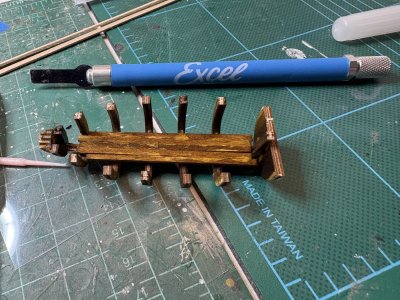
After the floor lumbers were attached to the launch the frame and floor were stained with the walnut stain.

IMG_0533.jpeg

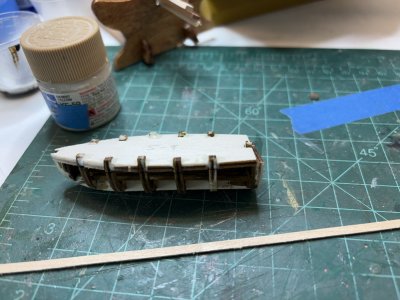
The laser cut building platform that provides support when planking the launch was glued into place and the frames faired in preparation for the planking.

IMG_0535.jpeg

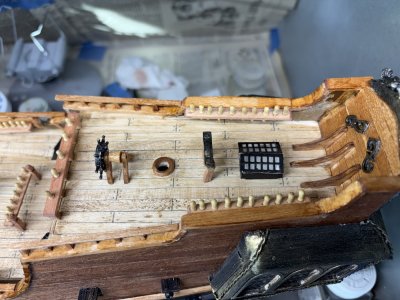
While waiting for things to dry the small skylight that provides light for the gallery was constructed and painted. It was glued to the appropriate location on the poop deck.

IMG_0534.jpeg
 
Last edited:
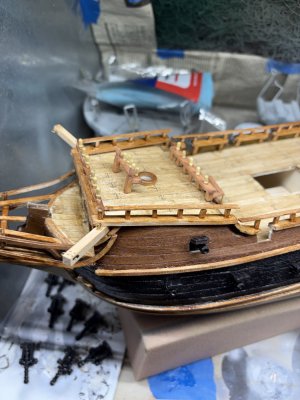
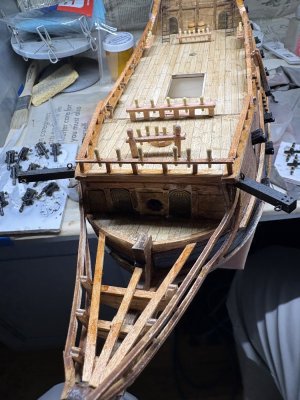
Two catheads were constructed using 4x4mm strip.

IMG_0544.jpeg

I wanted to make sure they were solidly attached to the hull so 5 minute epoxy was used to secure them.

IMG_0545.jpeg

They were then painted black.

IMG_0547.jpeg

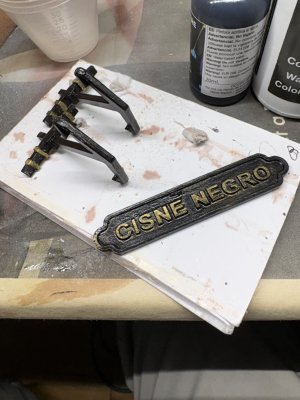
While I was waiting for the epoxy to set the anchors were assembled and painted as well as the plaque with the ships name that goes on the cradle that holds the ship.

IMG_0546.jpeg
 
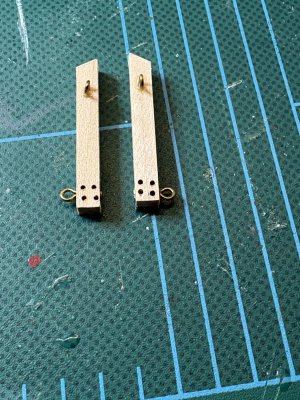
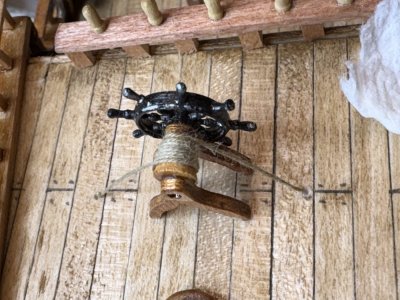
To simulate the steering cable. 0.15mm line was wrapped around the drum on the ships wheel. The instructions would have you set two eyebolts on the deck and tie the line to them. I did not like the look of this. Instead I drilled 2 0.8mm holes when the eyebolts would be attached and glued one end of the line into one of the holes and let it dry. I then wrapped the line around the drum. After several turns I glued the line to the drum suing a dab of glue on the bottom of the drum to conceal it. The free end of the line was held in tension using a clamp until the glue set. After that, the free end was fed into the second hole and held with tweezers in tension until the glue set.

IMG_0550.jpeg
 
Back
Top