The Druid Build [COMPLETED BUILD]

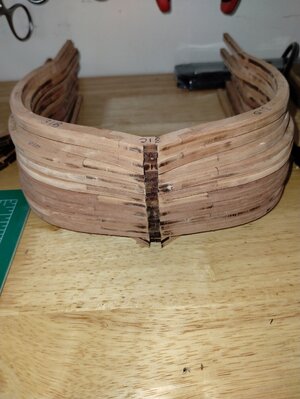
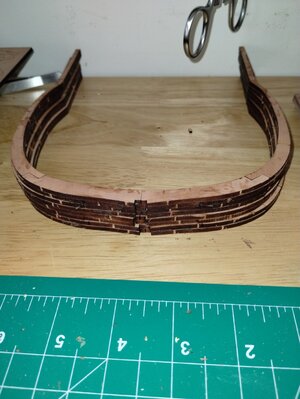
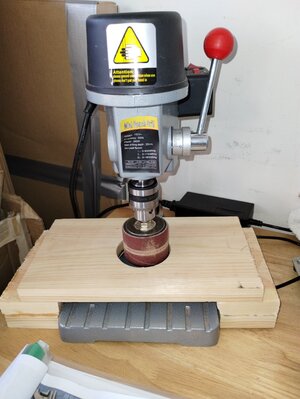
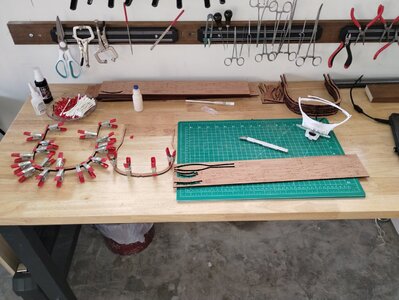
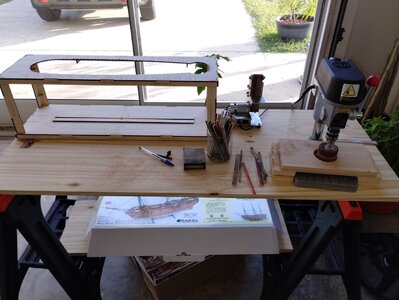
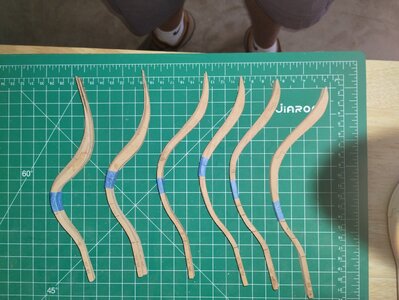
I have enclosed a few pictures outlining what I mentioned in my last post, I am planning on doing the frames in lots of 10 as there are over 40 to assemble, I cleaned up the first ten using my small drill press and a drum sanding attachment works well. I used a file to Chamfer the bevels on the frames according to the detail. The kit has lines embossed where the frames need beveling. that is a first!! on a kit for me!! great detail
 
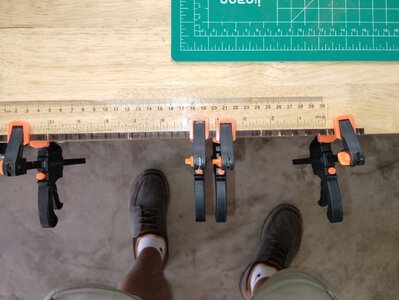
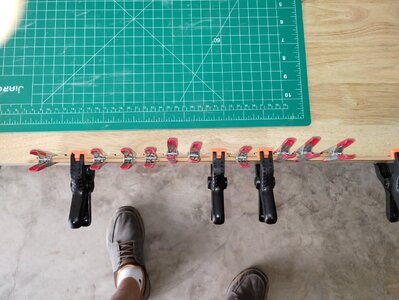
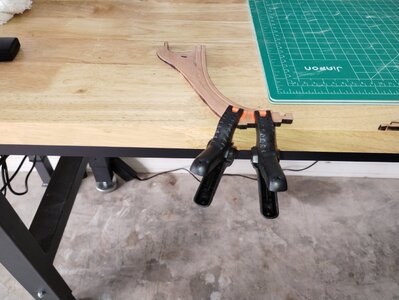
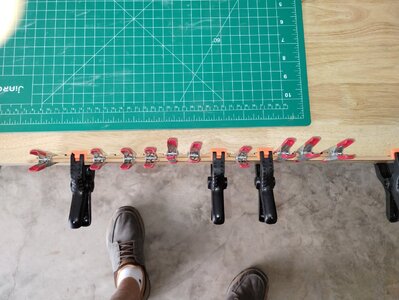
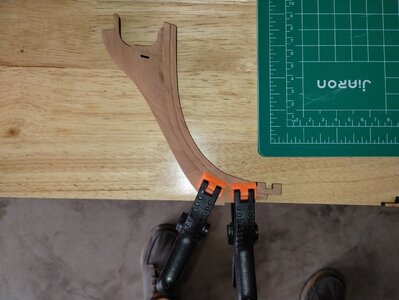
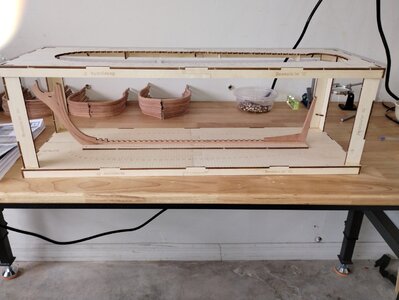
Started working on the Keel and Prow column. I decided to use the edge of my worktable as a straight edge as it is a perfect 90 degrees for both the keel pieces and connecting the prow to the keel. I have checked rechecked the fit and it looks good so I will glue!! again, I also adjusted all the keels pieces to match the kits diagram to also assure it is fit before I glued the parts together! I have a question for Donnie or anyone who has built this kit. On the Keel and the prow there is a 45-degree groove on one side only running the length the two pieces why only one side? or am I reading this wrong and both sides of the keel and prow need to be chamfered?

IMG_20231031_101537290.jpg

IMG_20231031_101550412.jpg

IMG_20231031_101537290.jpg

IMG_20231031_101559367.jpg
 
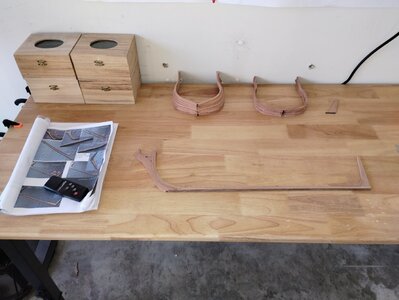
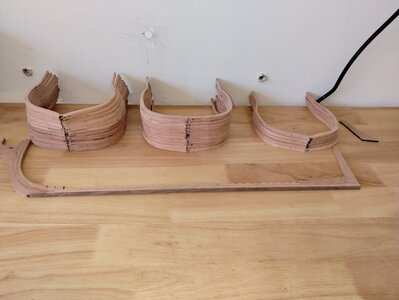
Finished up the Keel. Used a file to 90 the keel for the frames best I could.!! Will fine tune when I assemble frames into the keel and Jig! Back on the frames I kind of set up and assembly line to complete the frames and sand and detail them, to get them ready to install. I hope!! I used all 3 of my worktables one to glue and assemble second table to drum sand and 3rd to fine sand and tune the frames as there are some 35 or more of them to do. I have glued 20 frames so far and finished sanding and tuning 10 of them. a lot of work!!

IMG_20231102_173432783.jpg

IMG_20231102_173441250.jpg

IMG_20231102_173501093.jpg
 
Items I have assembled and Items in the process of completing, I have a few notes to share.
.The Unicorn Druid Model is very well Engineered everything fits well Materials are good.
. The Plans / instructional materials are scarce and limited.
. When removing the frame parts from the sheets be careful and make sure the tabs holding the part to the sheet are cut through with a razor knife on both sides of the part before trying to remove, as they will break if not!!
. When assembling the hull frames make sure the first layer has the frame numbers facing down and the 2nd frame layer is facing up this will assure all frame marking will be visible when assembling into jig and beyond.
. I waited to chamfer / bevel the frames, to the lines reference lines provided, after the frame was assembled. (Unicorn Nice Job)
. When assembling the Keel, Prow and all its parts I used the Drawing layout sheet #2 to use as the reference for assembly as parts need minor alterations.
. After the initial assembly of the frames, I used a spindle sander to remove the char, be careful if you use this method. I used 240 grit and still take it slow to assure you don't over sand! After lightly drum sanding, I followed up with hand to finish. but the drum method is worth it defiantly saves a lot of time.
. Spend whatever time it takes you to assure the Jig that is provided from Unicorn, is assembled Plumb this make take some time to do as everyone has their own ways of assuring parts are square. As Donnie said in his Druid build, the jig aligns everything up! Again, Nice Job Donnie!!

. Most of what I have mentioned is probably common assembly sense, for some of us but This is my first attempt of a POF, and hope this may help, some of us, :) I will continue this as I progress into this build and save some body assembly headaches / stress.

.
 
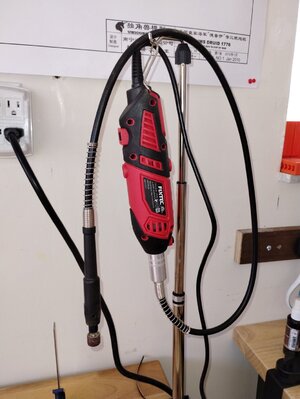
Starting to wind down on the frames up to number 32? The char left from the Lazers on the edges has been difficult to remove I started by using a drum sander attachment for the little drill press, but have sense moved on to using a drum sanding attachment to my roto tool, I feel I have more control over the removal?? It is important to me that the frames look especially clean as they do show on this Kit!! looking ahead I have not decided if the frames will be clear varnished, or I will apply a stain first than varnish?? I also have been putting a lot of thought into the assembly of the frames into the keel and jig!! Donnie's Approach starting in the middle of the keel and working toward the bow and stern makes good sense! I have been collecting all the tools I think I will need to assure the frames are square and level to the keel and jig?? This degree of accuracy that must be maintained will be new for me, at least in the hull area. Reminds me of my 1/8th scale formula one cars no room for inaccuracy. tolerances are Tite!!!

IMG_20231109_110027334.jpg

IMG_20231109_140017875.jpg
 
Trying to post something every couple days!
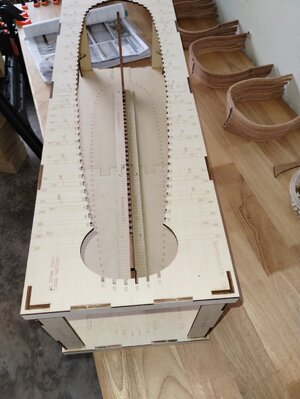
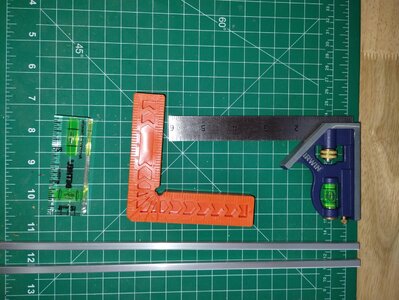
attached the keel to the jig using 6 1.4 x 5 mm screws through the bottom of the jig into the keel so it does not move worked well! Still working on the rib sections completed through # 37 POF kits a lot of time spent in this area!! the kit also supplies 6x6mm rib spacers to assist in holding the ribs in place. during construction! good idea!! I am waiting on some slow set wood glue to be used to glue the rib sections to the keel, using slow set due to the time I will be taking to assure. the ribs are in fact correctly installed to the keel! I also pre-assembled 30 of the ribs in place yesterday just to check to see how the ribs assembled into the keel adjusted / sanded the grooves on some to assure they fit correctly Tite but not too Tite! everything looked good. During the glue up I will be using a combination of levels, squares and some 6x6mm alum square rod I purchased to make sure ribs maintain the 6mm distance between the ribs and square and true actually when I preset them yesterday, they looked pretty square! Hopefully the glue up will go as planned. this kit is all new territory for me. Thumbsup

IMG_20231112_102046817.jpg

IMG_20231112_102112526.jpg

IMG_20231112_102136205.jpg

IMG_20231112_105509711.jpg
 
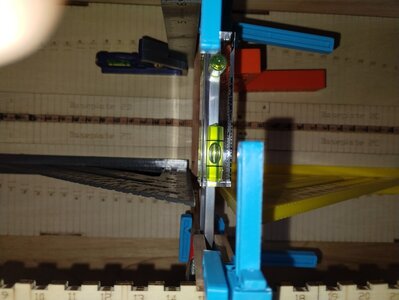
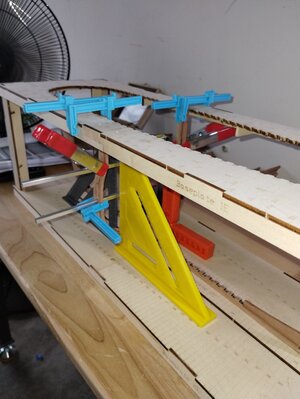
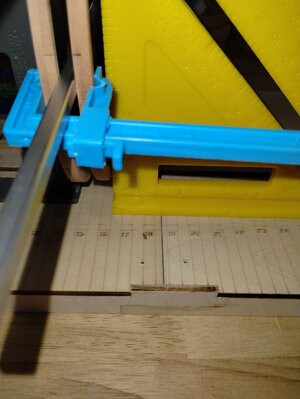
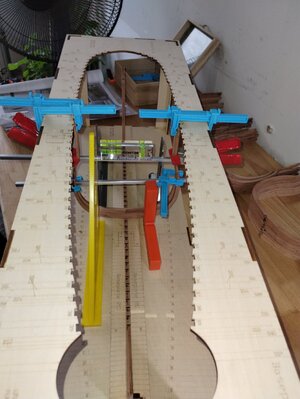
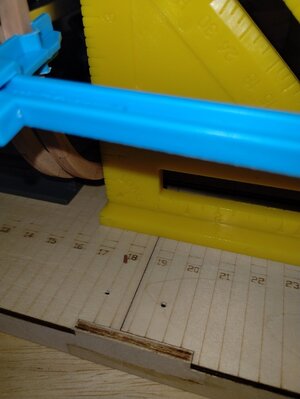
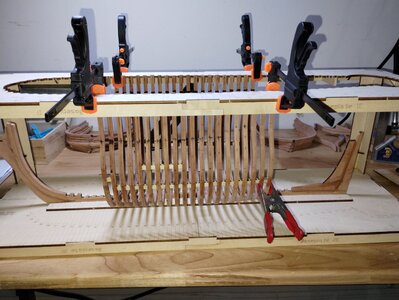
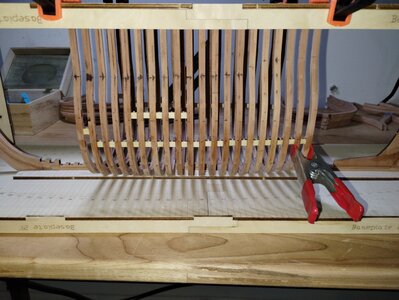
Decided to get started with the installation of the ribs to the keel. I started in the center of the keel #15 & #16 and will work in both directions toward the stern and bow, I installed #15 & 16 to make sure everything was plumb and square from 15 forward and 16 back to the stern! I purchased aluminum 6mm x 6mm square tube to help maintain the 6mm distance between the ribs. used squares to make sure the ribs lined up with the alignment marks and were square to the jig, used the bubble level sitting on one of the 6x6 tubes aligned with the rib cutoff marks on each side. to make sure the ribs are level with the keel?? Note when glueing make sure your glue is maintained within the point of the rib and the keel you don't want to glue the keel to the jig:) I feel if I assure the first 2 ribs are level and plumb that rest of the ribs will fall in line with, just a level and a square check? Thanks, Donnie, for the idea on rib alignment approach, this modeling site is great isn't it guys!!!

IMG_20231114_130239676.jpg

IMG_20231114_130255308.jpg

IMG_20231114_130309345.jpg

IMG_20231114_130539205.jpg

IMG_20231114_130709629.jpg

IMG_20231114_130808829.jpg
 
I guess you will need some more clamps for this job ..... starting midship is a good way
 
I guess you will need some more clamps for this job ..... starting midship is a good way
I know the pictures look busy but actually, won't be using that many clamps on the remainder of the ribs will install the lower spacers supplied with the kit as I go along to ensure the 6mm spacing between the ribs, spacers will be installed when finished in 3 levels along the hull, to ensure stability of the hull. So far, the only issue I have run into with this kit is the lack of instructions and illustrations. to help guide me as I progress! This will be a learning experience that is for sure. This type of kit would be a great group build, due to the lack of instruction!!!

IMG_20231114_165057373.jpg
 
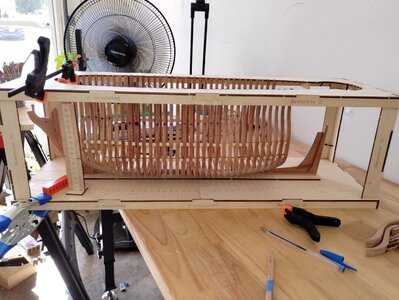
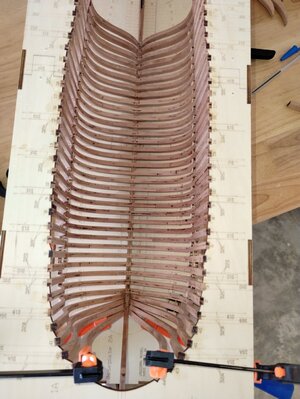
coming along on the installation of the rib sections into the jig. The only issue I have encountered so far is the rib alignment towards to stern. is creeping out of align with the jig align marks. on one side. I did a minor spacing adjustment on rib #27 about 1/2 mm to realign the rib. everything on the ribs running towards the bow seem to be fine. don't know exactly what happened? but like I mentioned the adjust was minor 1/2mm!! This part of the build makes me a little nervous as I have never done this type of hull assembly before I believe POB kits are more forgiving in this area?? I will have to probably wait till I begin to plank the upper portion to find out.:rolleyes:

IMG_20231116_160407193.jpg

IMG_20231116_160430877.jpg
 
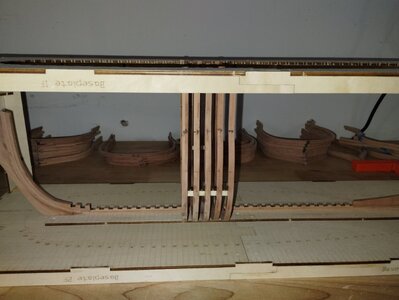
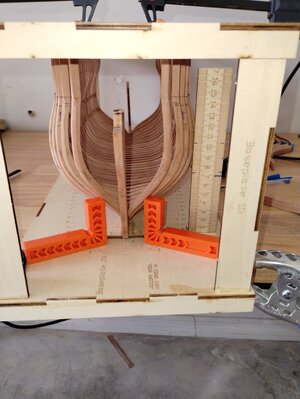
Progressing along with the rib assembly into the jig working on the set of 4 rib sections towards the prow. these ribs are different, each side is separate! Hard to figure out how to clap the lower keel position. when there is a will there is a way? everything looks square it gets a little tricky on the prow ribs, to measure squareness, maintain the 6mm spacing and level on these at least for me it is, also the contact points where the rib meets the keel needs to have a chamfered angle to fit snug against the keel,

IMG_20231119_123043188.jpg

IMG_20231119_123109422.jpg

IMG_20231119_123434686.jpg
 
The front picture of the rib position from the prow looks out of square / crooked but it is the angle of the photo.
 
You guys that tackle these POF builds are truly brave, ambitious, courageous and impressive in taking on these challenging tasks!
I find it very impressive, humbling and not a little daunting!:eek:

Great work! Pete
 
Progressing along with the rib assembly into the jig working on the set of 4 rib sections towards the prow. these ribs are different, each side is separate! Hard to figure out how to clap the lower keel position. when there is a will there is a way? everything looks square it gets a little tricky on the prow ribs, to measure squareness, maintain the 6mm spacing and level on these at least for me it is, also the contact points where the rib meets the keel needs to have a chamfered angle to fit snug against the keel,

View attachment 408002

View attachment 408003

View attachment 408004
This all looks very promising Bandido! Well done!
 
Pete so far it hasn't been to bad, this is mt first attempt and i am using Donnie's build for a reference, that is one of the reasons I purchased this kit, to help me through my first POF kit
 
Back
Top