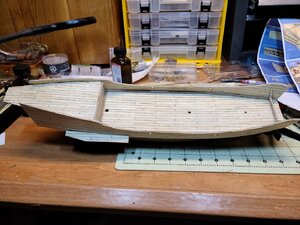
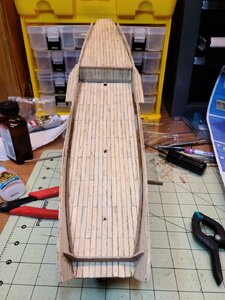
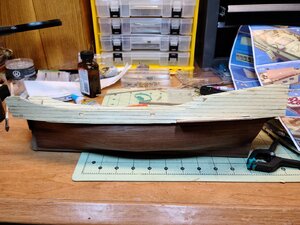
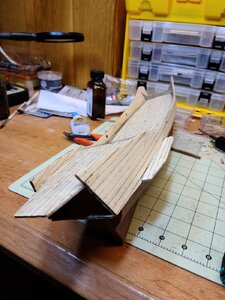
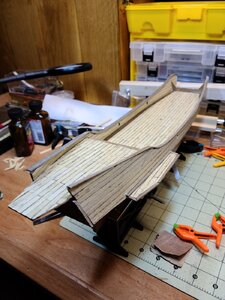
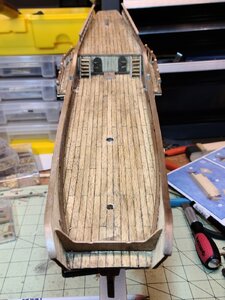
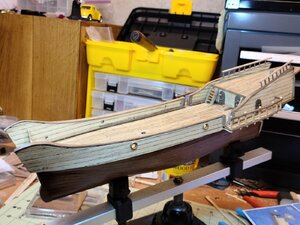
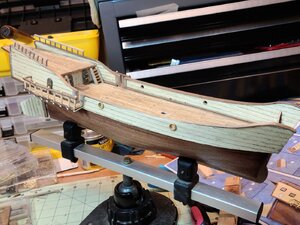
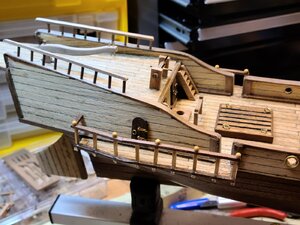
Ok... I couldn't wait till my retirement and moving to Florida, as I wrote yesterday in my introductory thread. And here we are. Today I took all my tools out of the box. And settle a space in the basement.
As you saw, I have a long list of kits waiting. Very easy ones and others difficults.
My last ship was done 35 years ago. It was a Red Dragon from Art.Lat.. I won a price in an expo. But soon after we all moved to Belgium. And with us all my basic tools and a couple of kits. The only 3 and a half ships I was able to built, stayed in Argentina.
Years later we landed in USA. tried some builts. But I have to much work and adolescentes at home. All to boxes again.
A few years backs, my parents decided to bring from Argentina those 3 and a half ship's (1 unfinish). As I though that I would never see the Red Dragon again, in 2004 I got a new one from eBay ( bill was still inside the box).
Well, today I decided to start with that one. An easy one that will help me to train myself again on ship modeling.
The Red Dragon is in our house in Florida with my parents and today my mom sent me some pictures.
I will try to attach some of the pictures.
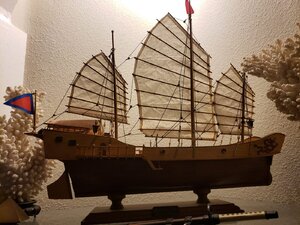
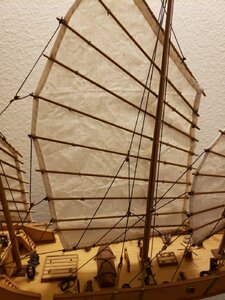
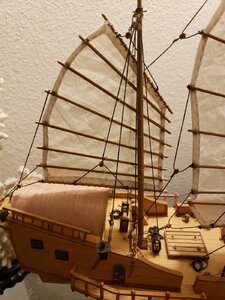
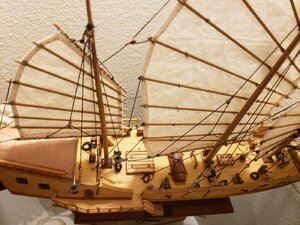
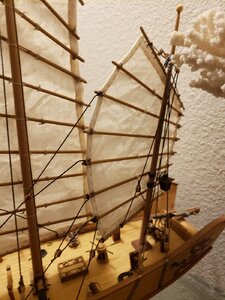
Not bad. My mom (84 YO) took them with the phone.
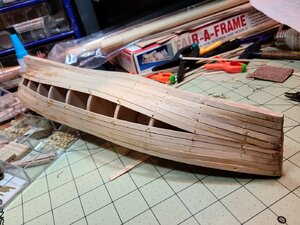
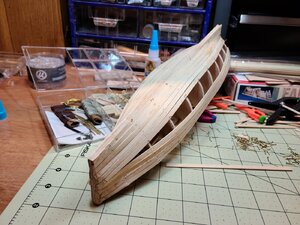
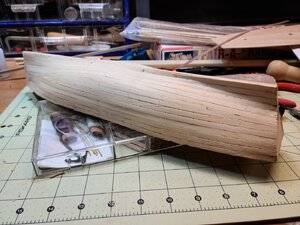
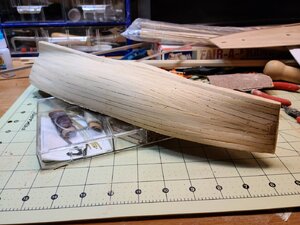
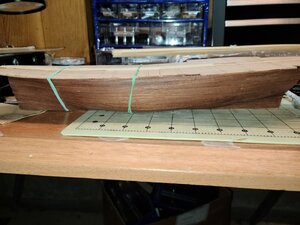
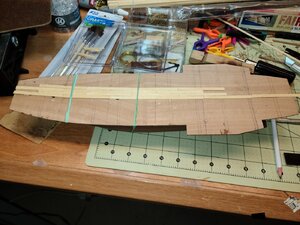
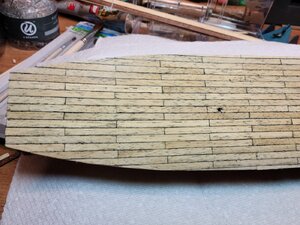
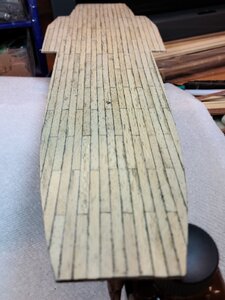
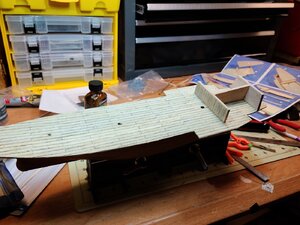
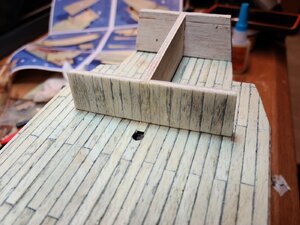
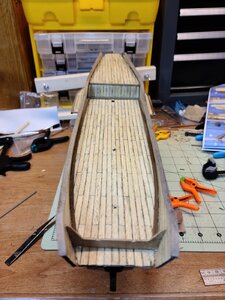
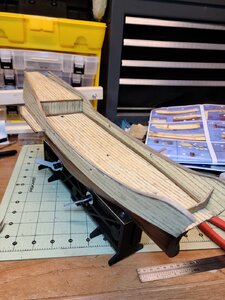
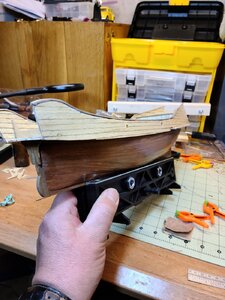
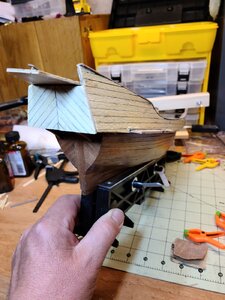
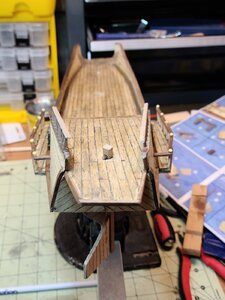
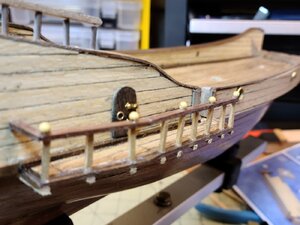
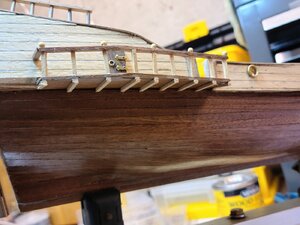
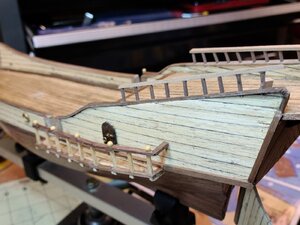
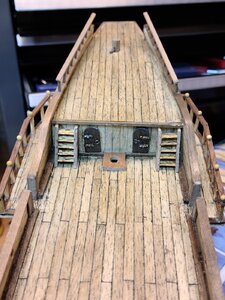
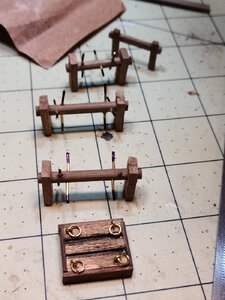
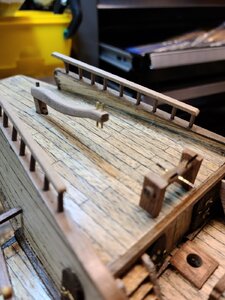
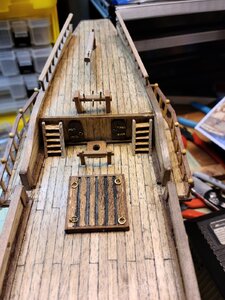
Ok... so here is my new Red Dragon built.
It is a simple but very pretty Chinese junk. With all the elements to start to learn model ship building from a Kit. This particular box only have color pictures and the text in a booklet. But the construction guide is poor. Pictures are excellent. That encourage me when it will be time to build the ZHL kits from China in a few years.
I am not sure how long it will take to build this Red Dragon and I hope it has the same quality as the one I did 35 years ago.
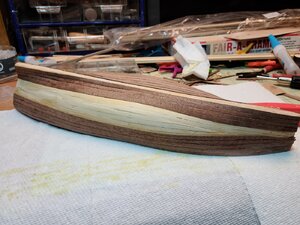
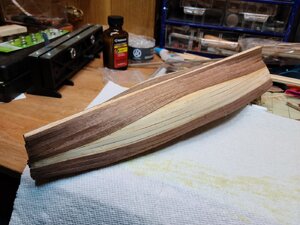
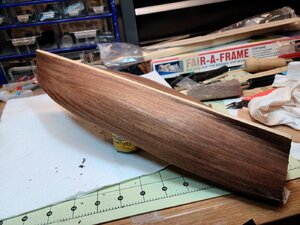
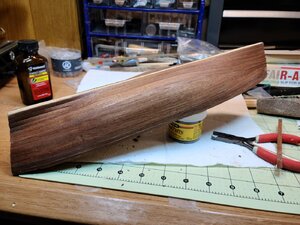
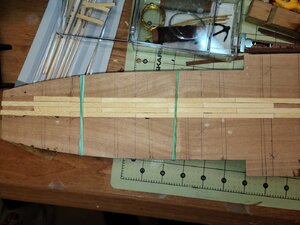
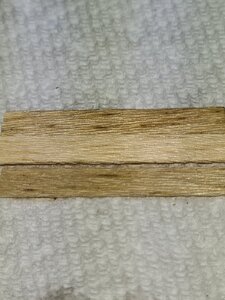
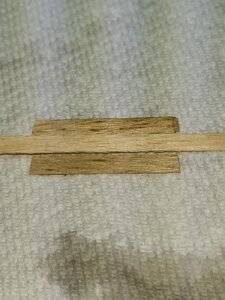
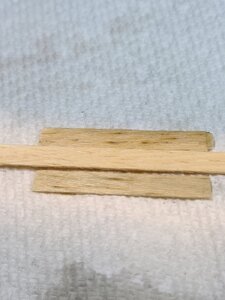
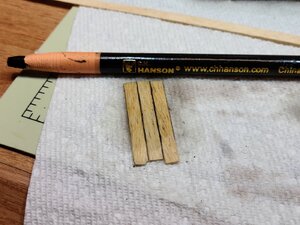
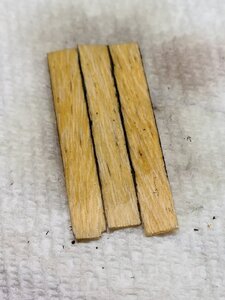
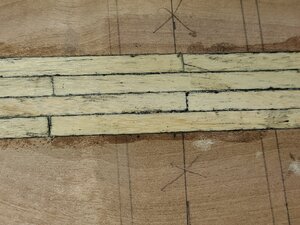
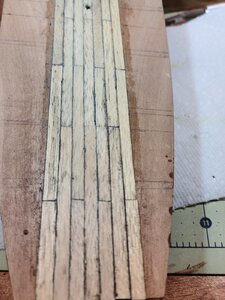
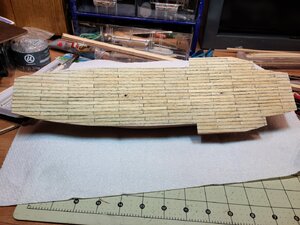
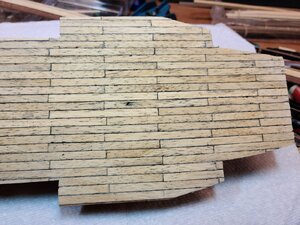
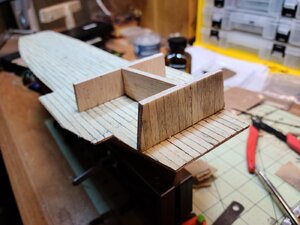
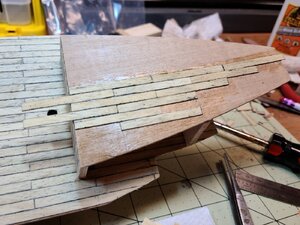
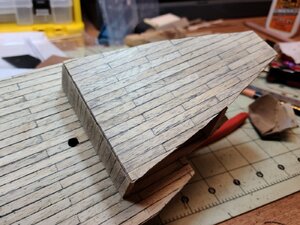
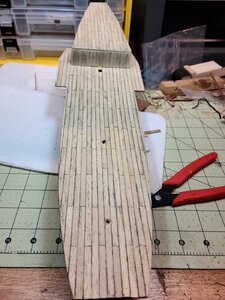
So stop Bla Bla and ..... here we go. All starts here :
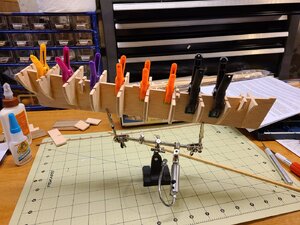
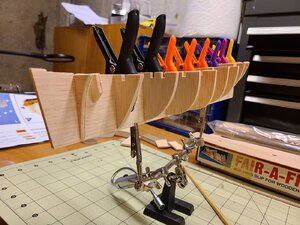
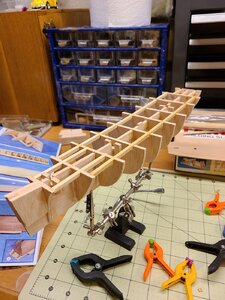
Next will be the first planking. Let's see if I can do it like when I was younger.
Cheers
Daniel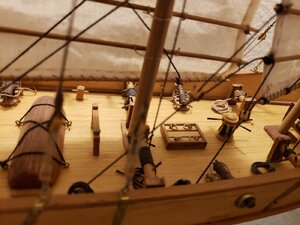
As you saw, I have a long list of kits waiting. Very easy ones and others difficults.
My last ship was done 35 years ago. It was a Red Dragon from Art.Lat.. I won a price in an expo. But soon after we all moved to Belgium. And with us all my basic tools and a couple of kits. The only 3 and a half ships I was able to built, stayed in Argentina.
Years later we landed in USA. tried some builts. But I have to much work and adolescentes at home. All to boxes again.
A few years backs, my parents decided to bring from Argentina those 3 and a half ship's (1 unfinish). As I though that I would never see the Red Dragon again, in 2004 I got a new one from eBay ( bill was still inside the box).
Well, today I decided to start with that one. An easy one that will help me to train myself again on ship modeling.
The Red Dragon is in our house in Florida with my parents and today my mom sent me some pictures.
I will try to attach some of the pictures.


Not bad. My mom (84 YO) took them with the phone.
Ok... so here is my new Red Dragon built.
It is a simple but very pretty Chinese junk. With all the elements to start to learn model ship building from a Kit. This particular box only have color pictures and the text in a booklet. But the construction guide is poor. Pictures are excellent. That encourage me when it will be time to build the ZHL kits from China in a few years.
I am not sure how long it will take to build this Red Dragon and I hope it has the same quality as the one I did 35 years ago.
So stop Bla Bla and ..... here we go. All starts here :


Next will be the first planking. Let's see if I can do it like when I was younger.
Cheers
Daniel

Last edited:


