- Joined
- Oct 13, 2022
- Messages
- 75
- Points
- 88

this zhl model alwasy been on my list once am done with the other 3 I have on the way I will be jumping on this beauty , what are you up too in the Philippines ? am bad between UK and ph mostly cedu area

 |
The beloved Ships in Scale Magazine is back and charting a new course for 2026! Discover new skills, new techniques, and new inspirations in every issue. NOTE THAT OUR NEXT ISSUE WILL BE July/August 2026 |
|
 |
As a way to introduce our brass coins to the community, we will raffle off a free coin during the month of August. Follow link ABOVE for instructions for entering. |
|

We Have a home there in Luzon Pangasinan Province Lived there for 5 years than bought this place in Florida hope to do a 6 mo 6 mo thing!this zhl model alwasy been on my list once am done with the other 3 I have on the way I will be jumping on this beauty , what are you up too in the Philippines ? am bad between UK and ph mostly cedu area
Took a little break from modeling, but been working on the ship off and on Finished most of the wood carvings on the ship. Everything fit great!!We Have a home there in Luzon Pangasinan Province Lived there for 5 years than bought this place in Florida hope to do a 6 mo 6 mo thing!


")


The wood carving upgrade I purchased, the nose piece comes in 3 pieces: the front, two side pieces, and, of course, the crown. The pictures I took do not do it justice, but they will give you a general ideaHi. May I ask you to take a photo of the nose figure. I'm interested in taking a closer look at her.


 www.jrusselljinishiangallery.com

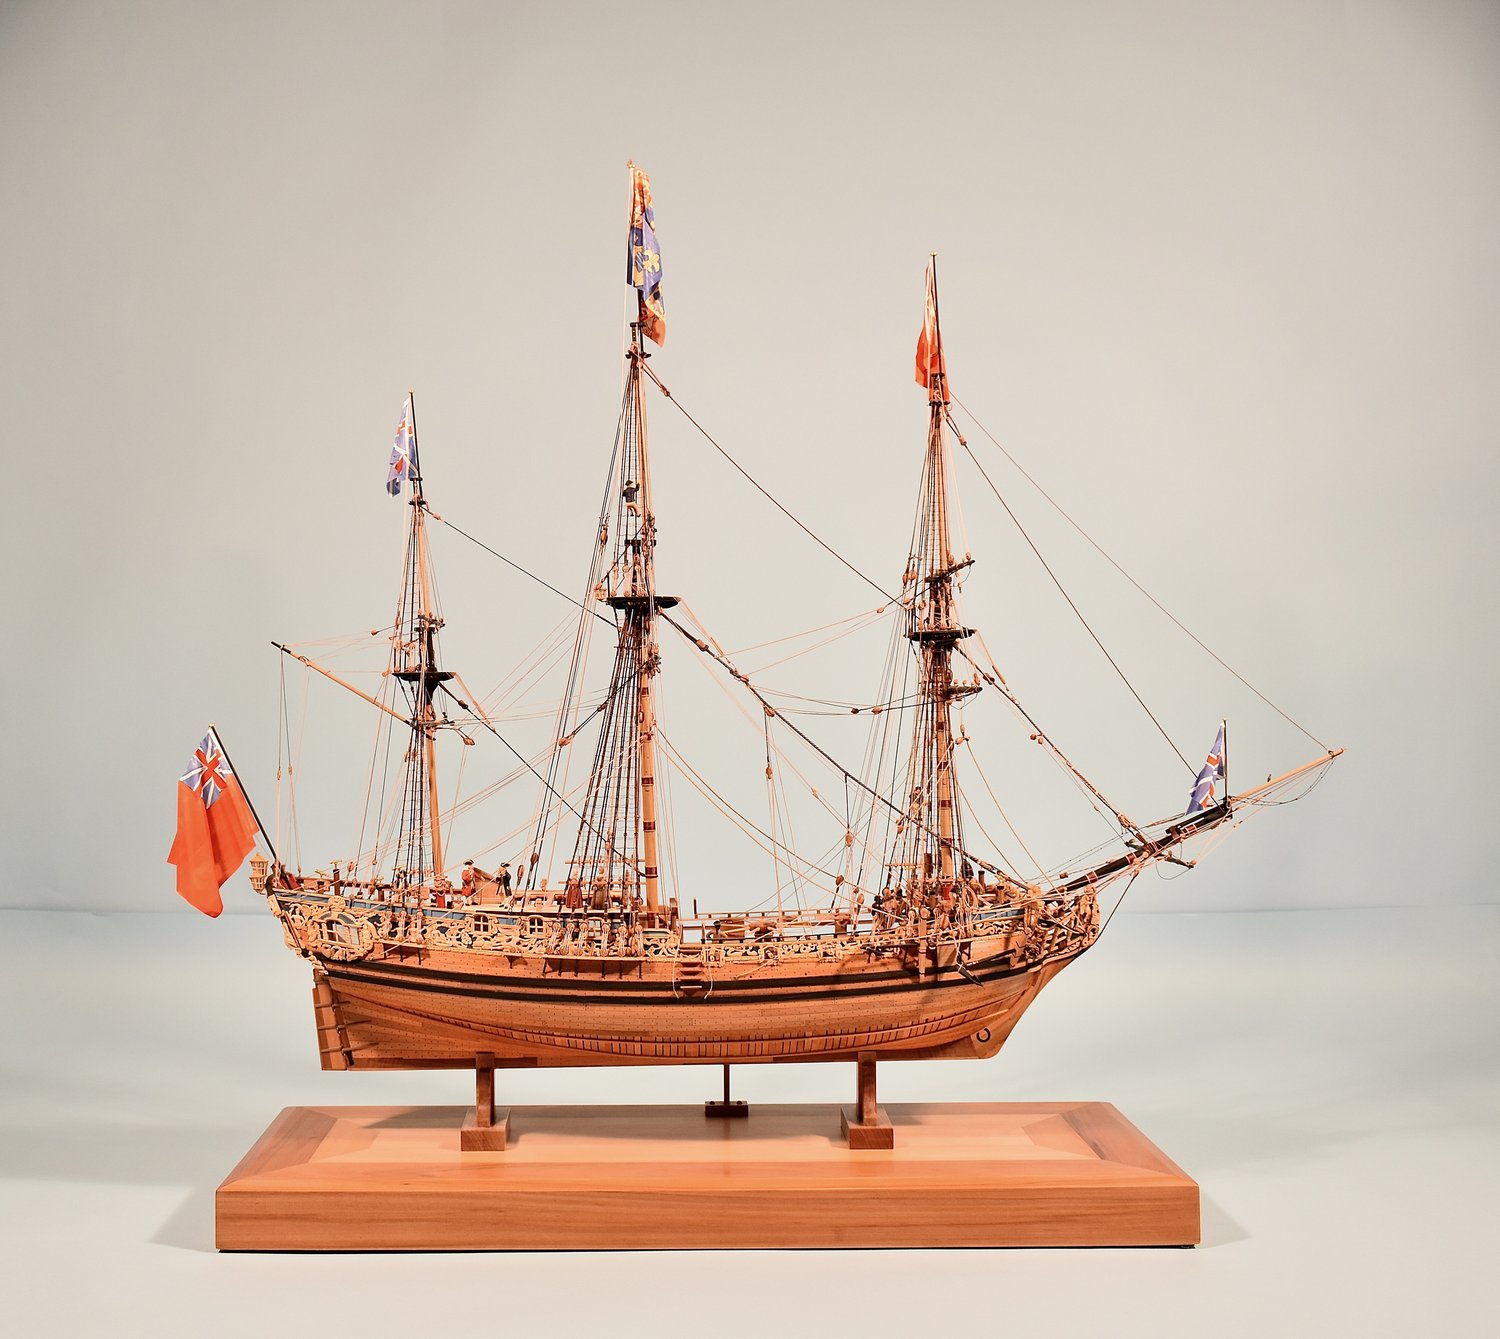
Allan,,again, you amaze me.. I'm building the 1/30 RC and this link is amazing, workmanship and historical perspective..stern deadwood presented port/stbd interesting..I opened up several areas on my RC as well..lots of additional info here. Thanks again!For anyone interested in building the HMY Caroline, the Lloyd McCaffery model is a great source of details. He is light years ahead of my ambitions but still helps to set some goals.
AllanHMY ROYAL CAROLINE, 1749 — J. Russell Jinishian Gallery
One example of the photos in the above site follows:
View attachment 516561
The workmanship is just wonderful!! the carvings I purchased are nothing compared to the above the detail on the head pieces are just about perfectFor anyone interested in building the HMY Caroline, the Lloyd McCaffery model is a great source of details. He is light years ahead of my ambitions but still helps to set some goals.
AllanHMY ROYAL CAROLINE, 1749 — J. Russell Jinishian Gallery
One example of the photos in the above site follows:
View attachment 516561
is that head piece molded or carved wood??The workmanship is just wonderful!! the carvings I purchased are nothing compared to the above the detail on the head pieces are just about perfect
I purchased them thru ZHL made specifically for the ZHL Royal Caroline kitHello Bandido.
The carvings are really beautiful. May I ask where you bought them and do they do other wood carvings on commission?
Best regards
Günter


 Sorry about the photographs not one of my areas of expertise!!!

