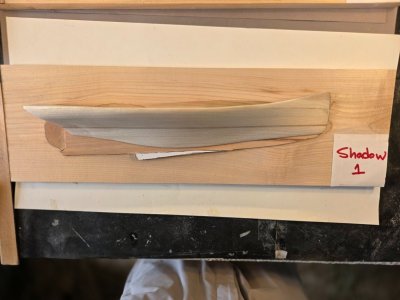
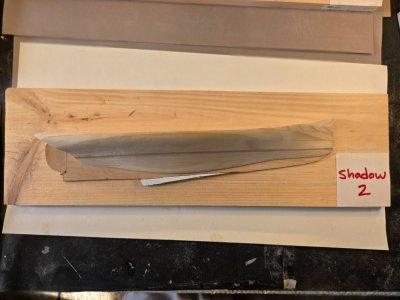
39. Build Log: The "Shadow" 1871 Racing Yacht by Nathanael G. Herreshoff - Wooden Half-Hull Presentation model
"Verdigris, Knuckles, and the Long View"
It’s been a while since my last update, and not because the shop went quiet. Quite the opposite. The past few weeks have been the unglamorous middle of a build, where the boat stops changing shape and starts arguing with you about details. Multiply this twice for building both Shadows side-by-side to this point. Here’s where things stand.
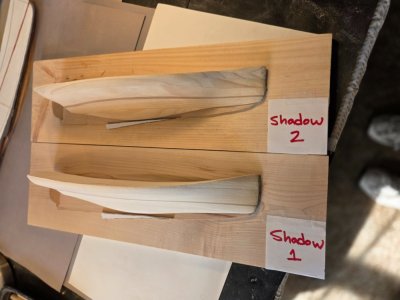
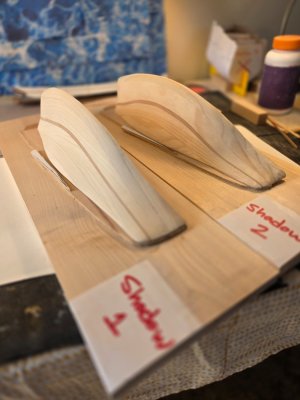
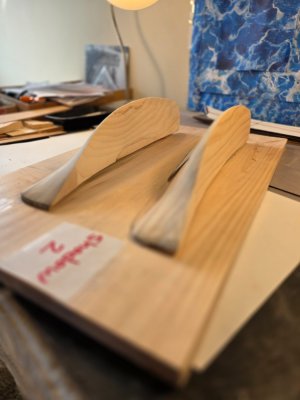
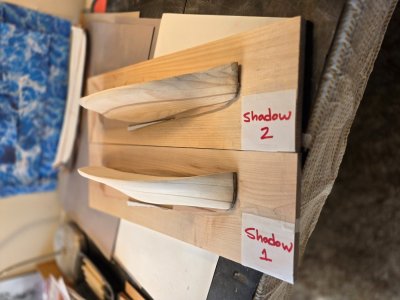
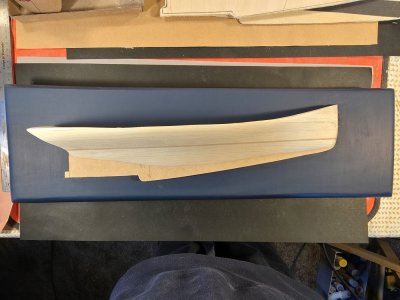 Final fairing and the tumblehome
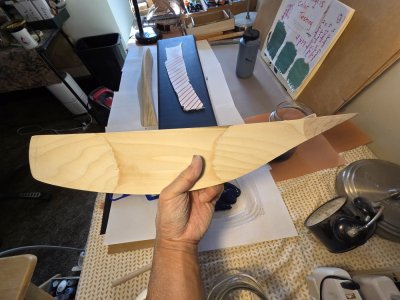
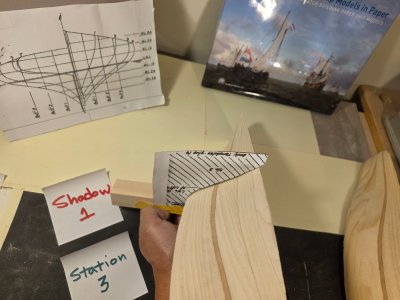
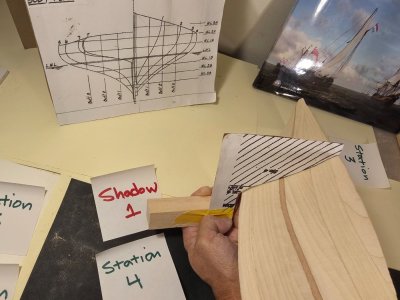
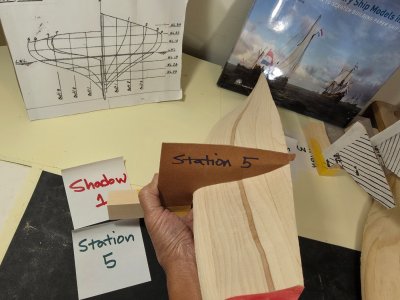
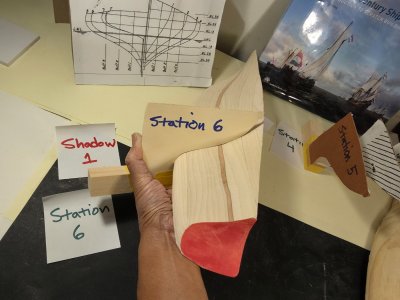
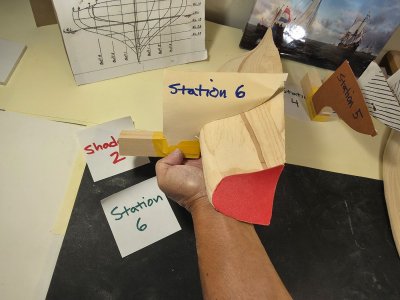
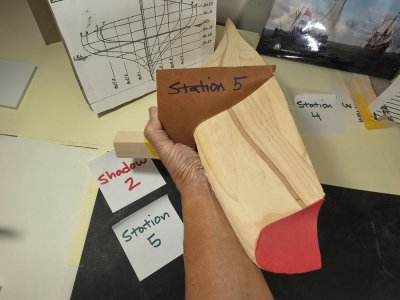
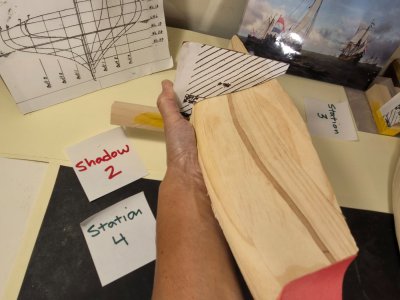
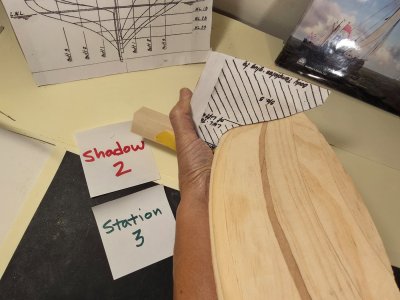
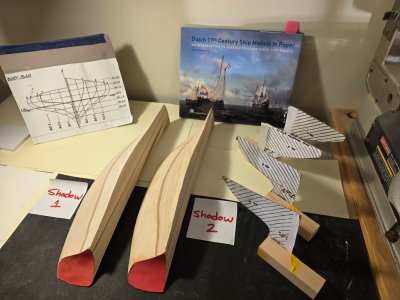
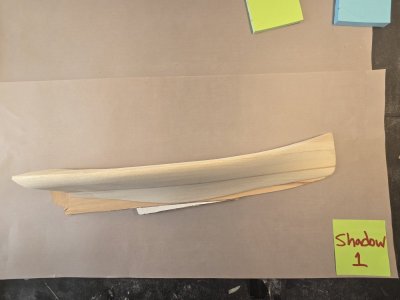
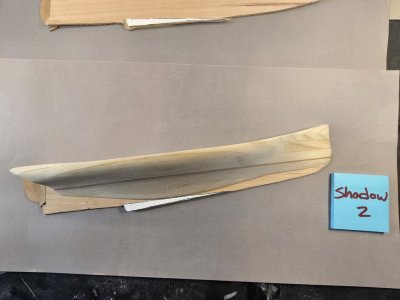
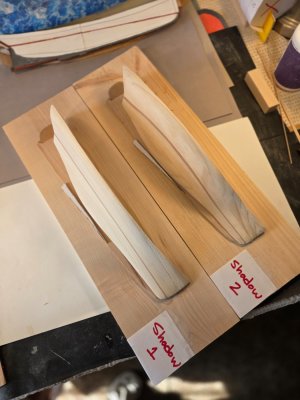
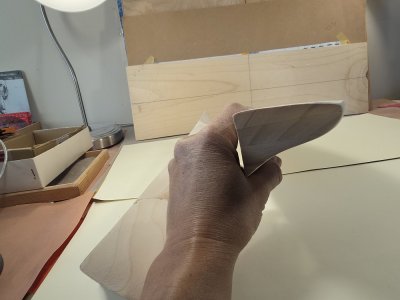
Last week, I spent a full day carving the tumblehome into both hulls. The plans leave it for last, and now I understand why. Tumblehome is the point of no return. Take too much and you’ve built a different boat. Take too little and Shadow looks like she’s been holding her breath. Add to that, I had to preserve the athwartships camber running from the backboard to the tumblehomed sheer. The more athwartships camber the less the tumblehome...the more the tumblehome the less the athwartships camber. And Im about 1/16" away from saying goodnight to the saddleback camber from the stem to the stern.
It was a day of sanding, sighting down the sheer, sanding again, and resisting the urge to “just take a little more.” I believe that was the last of the final fairing, though I’ve said that before in this build and been humbled.
 Cutting the knuckle at the transom
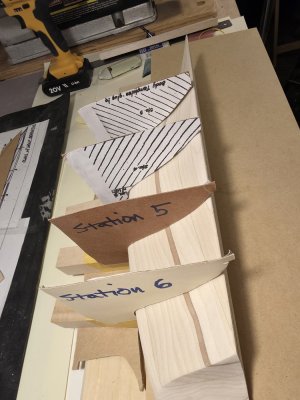
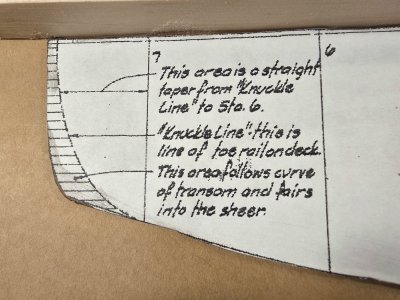
The other small but fussy job was cutting the knuckle where the hull meets the transom. On a half-hull this is one of the places the eye goes first. A soft, mushy transition reads as amateur, while a crisp knuckle reads as a boat. It’s a small feature that does a lot of work, which describes most of Herreshoff’s details.
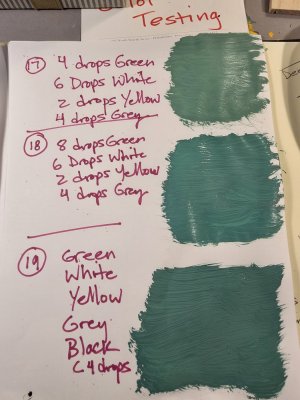
 Verdigris paint testing
Shadow 1 will be white above the waterline, verdigris below, with a cherry-red waterline and a navy backboard.
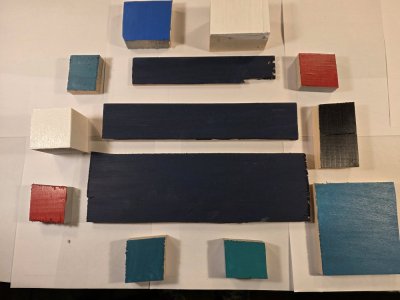
My color reference is the Shadow diorama at the Herreshoff Marine Museum in Bristol, RI.
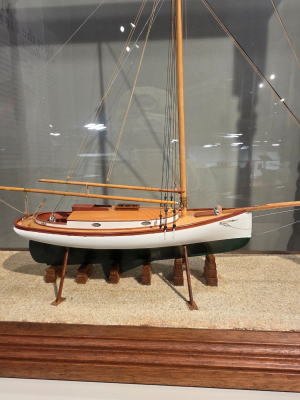
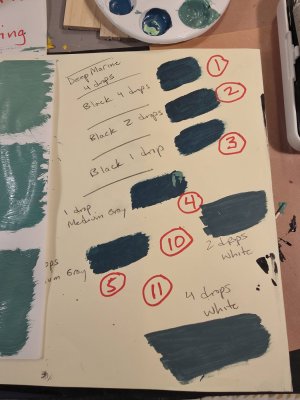
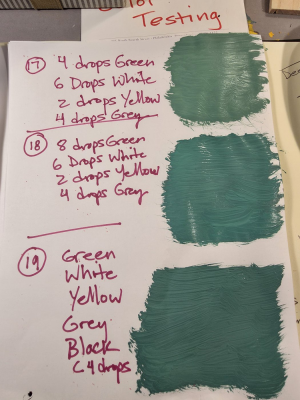
As you can see, the verdigris is VERY dark green. Verdigris doesn’t come in a bottle, at least not the one I want, so I’ve been mixing teal green with other colors to chase it. After 19 tries, I got the verdigris color as dark as I wanted...perhaps not as dark as the Museum diorama, but I don't want the bottom of the hull to blend into the Navy-blue backboard, so I'm keeping it a shade or two lighter so that the color values of the backboard and lower hull are distinguishable. The hull colors will be semi-gloss to gloss, with a matte enamel overcoat to pull everything together. If you’ve ever tried to match a museum color from photographs, you know the color changes depending on the lighting, the camera, and apparently the phase of the moon. I'm going with #19 (for now).
 Backboards
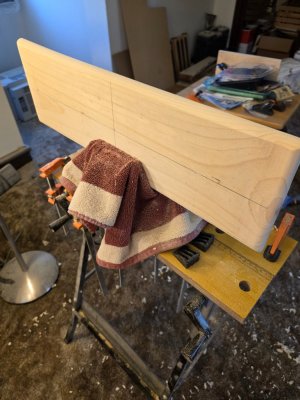
Both backboards are 7" × 23.5" × ¾". I worked a soft, rounded chamfer onto the edges with wood scrapers to echo the hull’s tumblehome. It’s a small gesture, but it makes the board feel like part of the model instead of a shelf it happens to be sitting on.
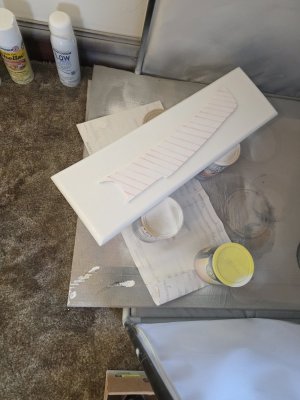
Shadow 1’s board got two coats of white Rust-Oleum 2X primer, final-sanded to 1000 grit, then matte navy rolled on with a small roller. Matte navy is beautiful and unforgiving, because it shows every variation in film thickness. So the plan is one more very light pass at 1000 grit, staying well clear of the rounded edges (a white primer halo on navy is a sin I’d rather not confess here), then a final thinned wash coat or two to even the color. The backing plate is fabricated out of Navy Penguin heavy-duty white cardboard, taped on with double-edged tape. The backing plate will be removed to expose the unpainted, unglued surface, which I will lightly outline with clear enamel nail polish to create a border between the raw glue surface and the Navy-blue backboard.
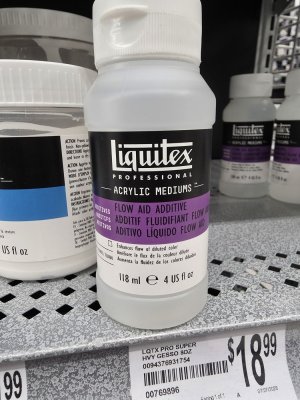
One lesson learned this week: thinning acrylic heavily with plain water can starve the paint of binder and leave it blotchy. The fix is a flow improver such as Liquitex Flow-Aid or Winsor & Newton Flow Improver, which lets the paint level out without falling apart. Liquitex wants you to dilute their concentrate 1:20 with water before it goes anywhere near your paint. I now own a jar labeled “flow water.”
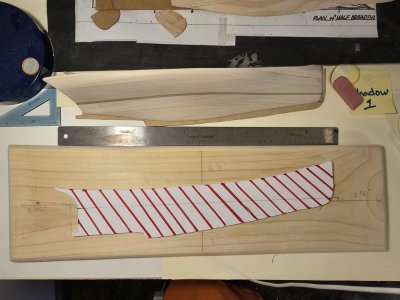
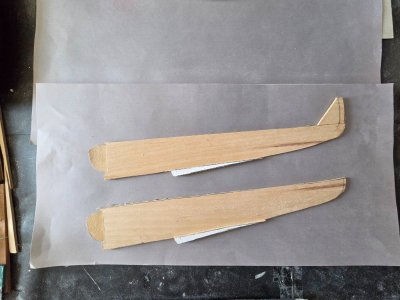
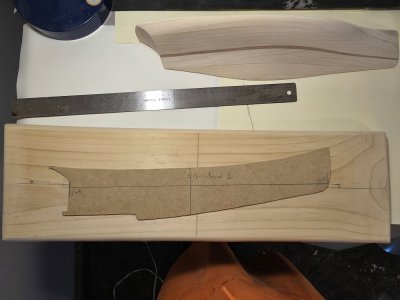
Shadow 1’s backing plate, carrying the keel, centerboard, stem and rudder, is cut from 1/8" basswood sheet. It will be glued to the backboard before final finishing. I rejected the oak plywood I first tried (lamination showing at the edges, tearout, and a two-way warp). The basswood sheet isn’t romantic, but it’s flat and it takes paint. Its edges will carry the white, verdigris and cherry waterline so the plate reads as part of the hull. I lifted the bow of the half-hull by 5 mm and lowered the stern 5 mm to suggest a hydrodynamic forward movement. Thankfully, I still have room to maneuver the hull backing plate by 4-5 mm either way.
A small brass nameplate (on order) will sit in the lower right corner under the bow, reading “SHADOW · N. G. Herreshoff · 1871.”
 Veneers: cold glue, hot iron
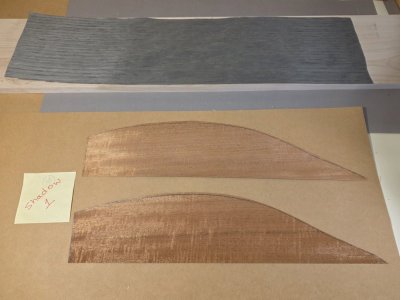
This build is my first time working with veneers. The deck surface on both Shadows, the top of lift 7, will be covered with two layers of 1/32" mahogany from Volpe Veneers. Shadow 1’s veneers are cut. Shadow 2’s stay in the drawer until the pinas is done.
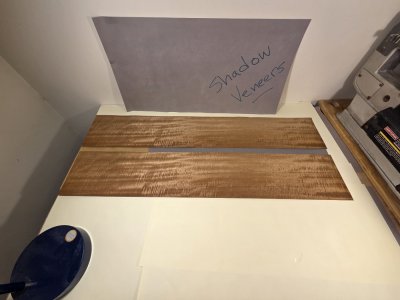
Veneer at 1/32" is less a piece of wood than a strongly held opinion about wood. It splits if you look at it sideways, curls the moment humidity shifts, and remembers every bad decision made underneath it. So the method matters.
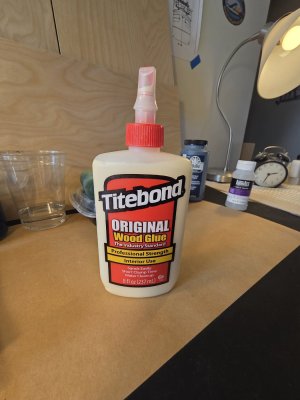
I’m using the cold glue, hot iron method. You roll a thin, even coat of PVA glue onto both the deck and the back of the veneer, then let both dry completely, until the glue goes from white to clear. Then you lay the veneer in place and press it down with a household iron. The heat reactivates the dried glue, and as it cools under pressure, it bonds. You’re not wrestling clamps or cauls over a cambered deck, and there’s no wet glue soaking into the veneer and making it swell and wrinkle. The iron also lets me coax the veneer down over the saddleback camber of the deck a few inches at a time.
The glue matters, and this is where Titebond Original earns its place over Titebond II. Original is a plain aliphatic resin that softens and re-tacks readily under heat, which is the whole trick. Titebond II is formulated for water resistance and cures to a tougher, more heat-resistant film. That’s great for an outdoor bench, but it’s less willing to reactivate under an iron, and you can end up with a bond that’s only partly there. The upgraded glue is the wrong tool for this job. Not the first time “newer” and “better” have parted ways in my shop.
 Prepping the deck: de-fibering the tearout
Before any veneer goes down, the decks need attention. Shaping the deck sheer left some tearout on the top of lift 8: torn and lifted fibers where the grain didn’t cooperate. At 1/32", veneer hides nothing. Every raised fiber, pit, or ridge underneath will telegraph straight through to the finished surface, and the iron makes it worse by pressing the veneer down into every low spot.
So the tearout gets de-fibered first. That means scraping and sanding away the loose, torn fibers until I’m back to sound wood. Then I fill any real voids with a mix of glue and fine sawdust, and level the whole deck flat to the camber with a sanding block. The goal is a surface that’s boring: no fuzz, no highs, no lows. Nobody will ever see this step, which is precisely why it has to be right.
One boat at a time (mostly)
Here’s a decision I’ve been circling for a while. Shadow 1 gets finished now, and Shadow 2 waits until Witsen’s pinas is done.
Shadow 2 is the natural-wood version, soft maple lifts gel-stained against a stained maple backboard. Soft maple and stain have a relationship best described as complicated, and that board deserves my full attention rather than whatever is left over between pinas sessions. Her mahogany deck veneer stays uncut until then. I’ve also made a promise at home that after the pinas, I stop juggling so many builds at once. The original commitment was “one model at a time.” Through careful negotiation with the Commodore it has since been amended to “two boats at a time.” I’m a recovering lawyer. Old habits die hard.
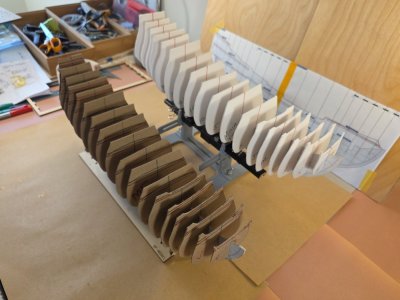 The long view: four months, one first half-hull
This is my first half-hull model, ever. Four-plus months in, here’s what Shadow has taught me.
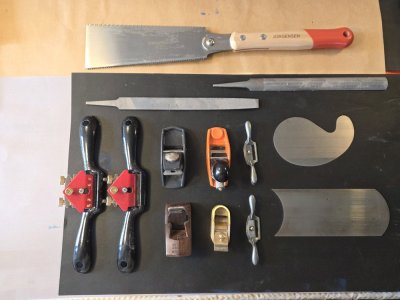
The biggest thing these half-hulls were meant to teach me wasn’t Herreshoff. It was carving. I set out to build them with hand tools and as little power-tool help as I could manage. The one honest exception is the scroll saw, which did the bulk shaping throughout: roughing out lifts, the backing plate, and anything else where the alternative was a week with a coping saw and a sore shoulder. After the scroll saw, the hulls were shaped by hand, and the toolkit grew boat by boat:
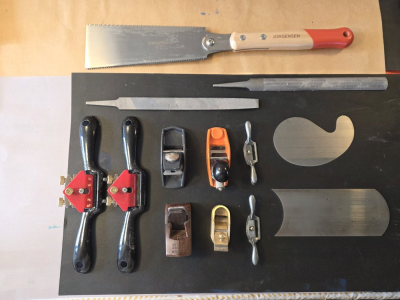
- Scrapers. These are the unsung heroes of the build. They took me from rough to fair on the hulls and did all the edge work on the backboards. If I could keep only one tool, it might be a card scraper.
- Mini planes and a concave “baby” plane. The concave plane earned its keep in the hollows, where a flat-soled plane just skates over the work.
- A Japanese pull saw and a coping saw for the cuts the scroll saw couldn’t reach or shouldn’t attempt.
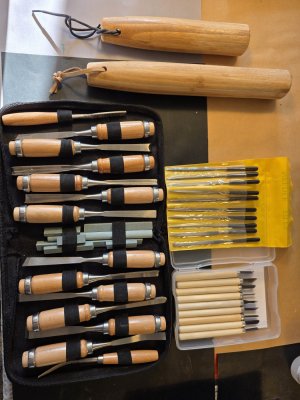
- Large and mini chisels for the knuckle, the stem and the transom. I learned to sharpen them more often than I thought necessary, and then a bit more. I had fun fabricating my chisel mallets, large and small.
- Rasps for hogging off wood fast without the drama of a power sander.
- Spokeshaves in several sizes, which turned out to be the right tool for long, fair curves like the sheer and the run aft. There’s a moment when a sharp spokeshave starts throwing curls instead of dust, and you understand why people used to build entire boats this way.
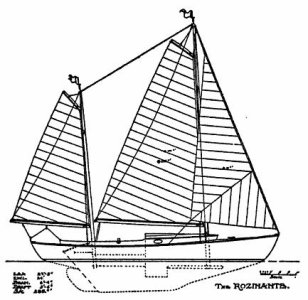
I’m not going to pretend I’ve mastered any of these yet. But I’m far more confident with hand tools than I was in June, and that confidence is what I’m carrying into the next Herreshoff half-hulls in this Project: Rozinante, Stiletto, Gloriana and Ticonderoga. Gloriana’s reverse-curve spoon bow in particular is going to demand everything the Shadows taught me, plus some things they didn’t.
A few other lessons:
- Lifts are honest. A lift model shows you exactly where you were careless, because every glue line is a contour line. The cherry waterline strip has been a constant, unforgiving reference.
- Wood lies, or at least the label does. My “maple” sheets turned out to be red oak. Lift 8 is red oak because the plans called for ¾" stock and red oak was the only ¾" I had. In the end I decided to own the oak rather than apologize for it.
- Stain is chemistry, not decoration. Soft maple blotches. Gel stain is your friend. Test on offcuts, every time.
- Sequence matters more than skill. Tumblehome last. Veneer near the end. Backing plate before priming. Most of my mistakes weren’t technique, they were order of operations.
- Simplify when the build tells you to. I dropped the stand-off mounts on both models and flush-mounted the hulls, partly for time and partly because these are first half-hulls. There’s no shame in leaving a few tricks for the next boat.
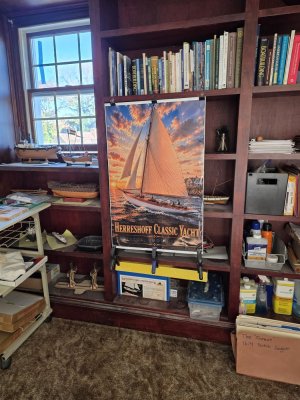
- Research is half the build. WoodenBoat Plan No. 22 got me started, but the museum’s diorama, the archival drawings and the arguments with myself over provenance are what made this feel like a Herreshoff and not just a boat-shaped object.
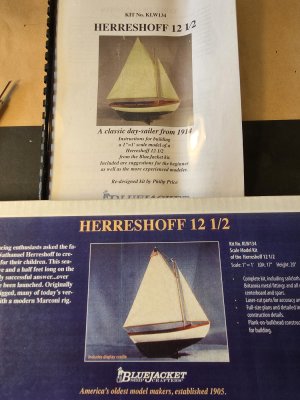
And the biggest lesson is that doing both Shadow 1 and Shadow 2 simultaneously (because I had the extra soft maple in the shop) was a mistake because it added the extra layer of attempting to make both half-hulls match each other. Not the best use of my time, but I'll put off finishing Shadow 2 until I finish Witsen's Pinas in a few weeks. Thankfully, my next Herreshoff build will be the Herreshoff 12 1/5 Daysailer from the Bluejacket Ship Crafters kit, so hoping for a "palate cleanser" full hull before I start to loft the table of offsets for "Rozinante," L.Francis Herreshoff's cruising yacht masterpiece.